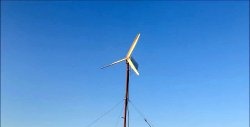
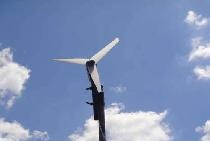
Windmill made from an old hoverboard and water pipe
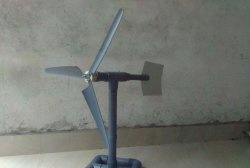
The motor wheel and other parts from an old hoverboard will be the optimal basis for making a wind generator. Plywood is used as the tail, and the blades are cut from PVC pipe. Such a windmill is capable of generating power up to 150 W at a wind speed of 5-7 m/s.
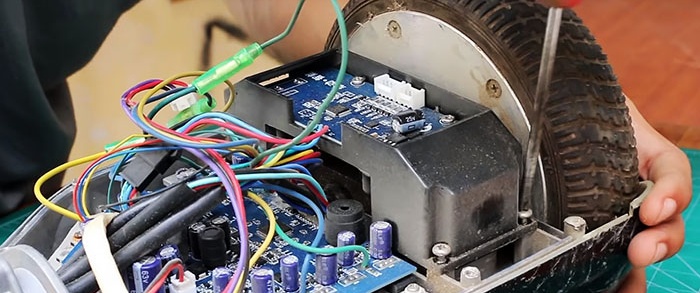
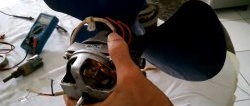
First you need to disassemble the hoverboard, unscrew all the bolts and pull the motor out of the housing using pliers. Considerable effort will be required; the structure is secured quite strongly.
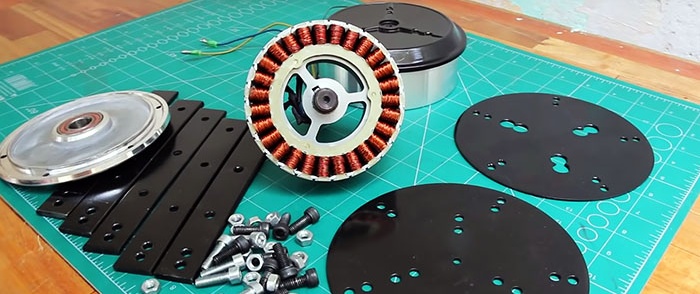
Next, we make an adapter-holder. Cut out 2 circles from the plate and cut 5 strips. We drill holes in the workpiece as shown in the figure.
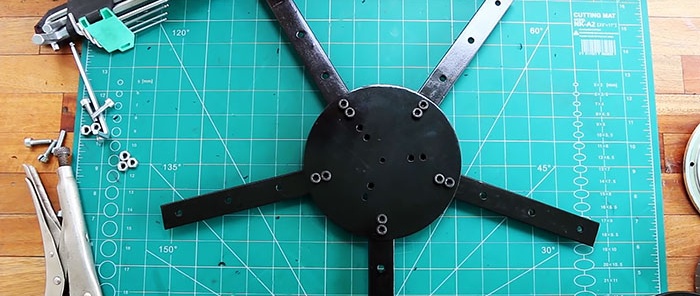
The holes are needed for attaching the parts to each other and installing the blades.
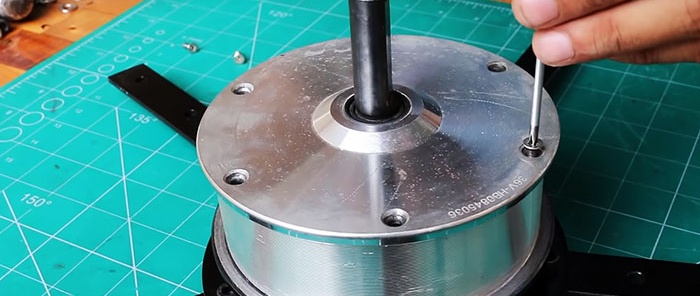
We mount the motor.
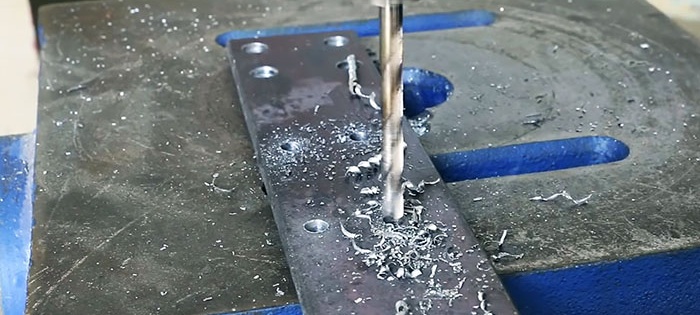
Another plate will serve as an adapter between the tail and the spinner. We also drill holes on it to secure the tail, blade part and turning mechanism.
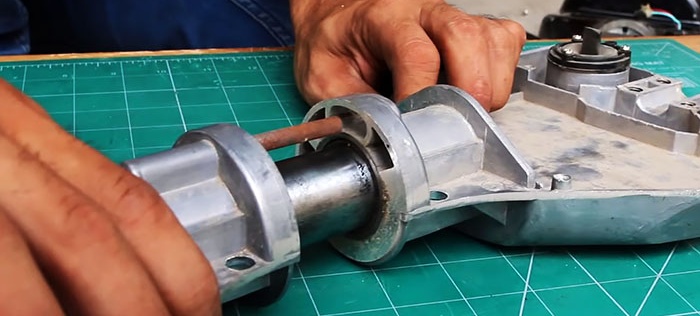
As a rotating mechanism we use another part of the hoverboard - the hinge part. To do this, we cut the body and remove the connecting rod.
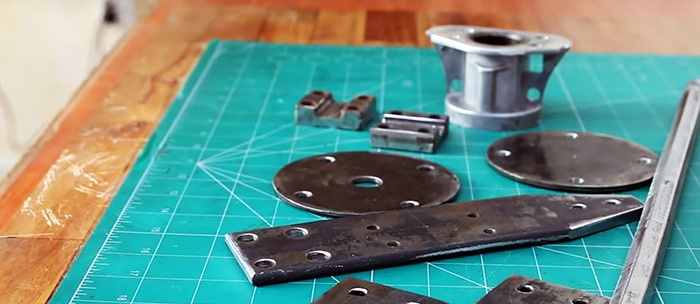
To fasten the rotating mechanism and the main structure of the windmill we use 2 metal plates. We weld one of the plates to the mounting post on the roof. The second plate is installed on the connecting rod.
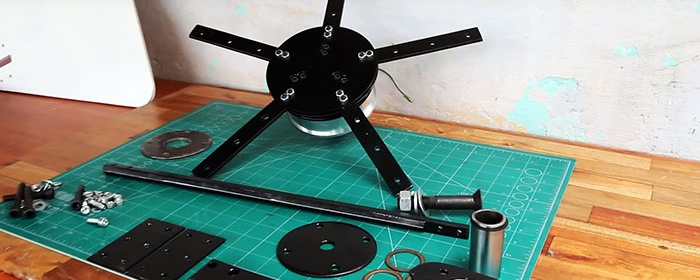
We collect the received parts.
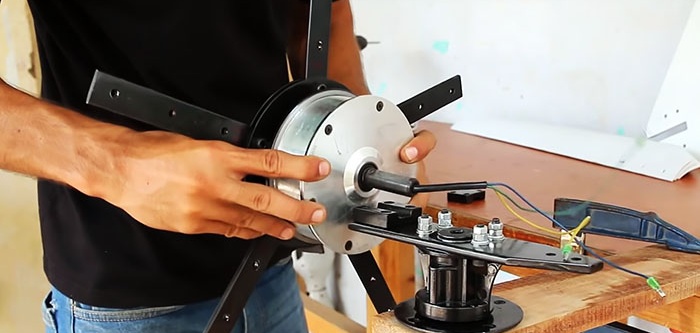
We install the base of the structure.
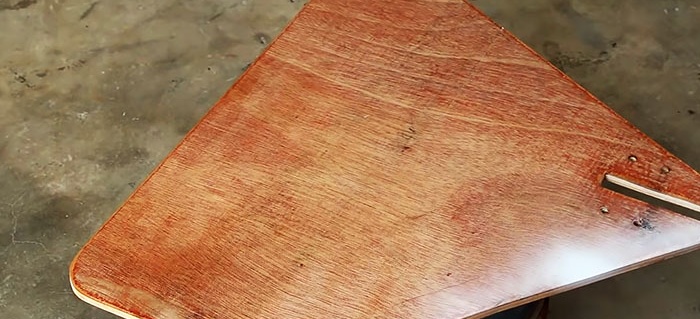
We cut the tail out of plywood and attach it to the adapter using 2 metal plates.
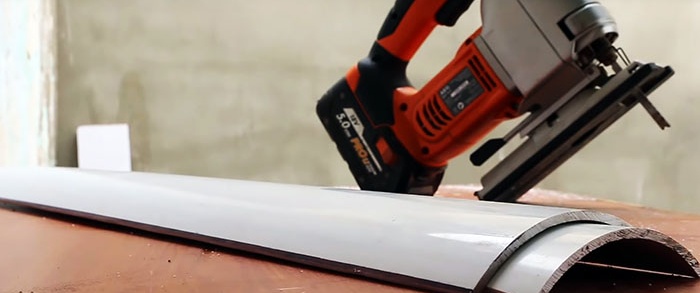
Take a PVC pipe and cut out 5 blades with a jigsaw. Each wing is cut with an extension. In our case, the narrowest part is 5 cm wide, and the widest part is 12.5 cm, the length is slightly more than a meter.
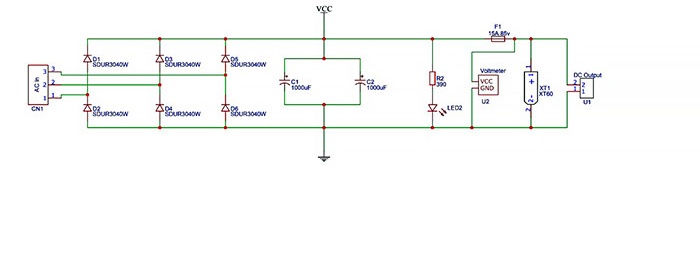
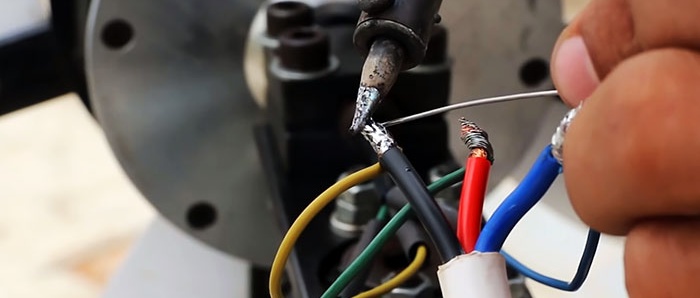
A three-phase wheel motor generates three-phase alternating current. To convert alternating current into direct current, we connect a rectifier to the motor, which is built according to the specified circuit.
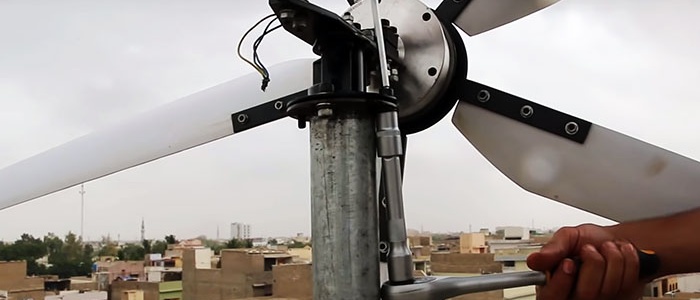
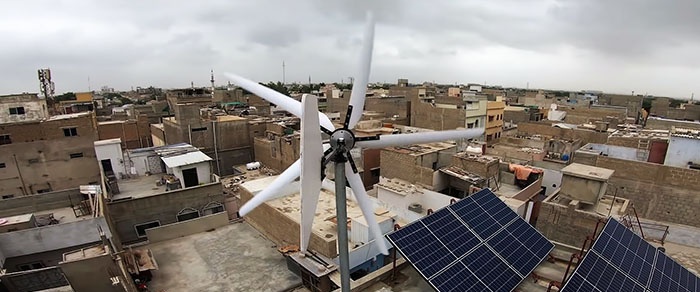
We are installing a wind generator on the roof. As a support we use a galvanized pipe with a metal plate on top. To fasten the lower part we take metal brackets.
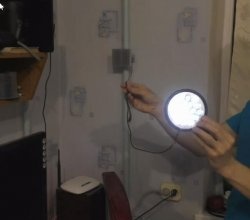
We install the wind generator on a support and connect it to a 12V battery. The battery is charged when the windmill rotates.


Materials and tools:
- hoverboard with working motor wheel;
- 6-inch PVC pipe;
- galvanized pipe with a diameter of 3 inches;
- 5mm round metal plates;
- inch metal strips;
- plywood;
- bolts and nuts;
- hand drill;
- rectifier;
- angle grinder;
- jigsaw;
- pliers;
- soldering iron
Manufacturing process

First you need to disassemble the hoverboard, unscrew all the bolts and pull the motor out of the housing using pliers. Considerable effort will be required; the structure is secured quite strongly.

Next, we make an adapter-holder. Cut out 2 circles from the plate and cut 5 strips. We drill holes in the workpiece as shown in the figure.

The holes are needed for attaching the parts to each other and installing the blades.

We mount the motor.

Another plate will serve as an adapter between the tail and the spinner. We also drill holes on it to secure the tail, blade part and turning mechanism.

As a rotating mechanism we use another part of the hoverboard - the hinge part. To do this, we cut the body and remove the connecting rod.

To fasten the rotating mechanism and the main structure of the windmill we use 2 metal plates. We weld one of the plates to the mounting post on the roof. The second plate is installed on the connecting rod.

We collect the received parts.

We install the base of the structure.

We cut the tail out of plywood and attach it to the adapter using 2 metal plates.

Take a PVC pipe and cut out 5 blades with a jigsaw. Each wing is cut with an extension. In our case, the narrowest part is 5 cm wide, and the widest part is 12.5 cm, the length is slightly more than a meter.

A three-phase wheel motor generates three-phase alternating current. To convert alternating current into direct current, we connect a rectifier to the motor, which is built according to the specified circuit.

We are installing a wind generator on the roof. As a support we use a galvanized pipe with a metal plate on top. To fasten the lower part we take metal brackets.

We install the wind generator on a support and connect it to a 12V battery. The battery is charged when the windmill rotates.

Watch the video
Similar master classes
Particularly interesting
Comments (1)

