How to increase the functionality of an angle grinder with removable equipment
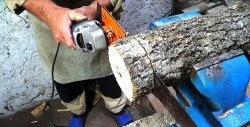
The versatility of an angle grinder or grinder can be judged at least by the most popular equipment for it - discs, which are divided into cutting (abrasive and diamond), roughing (cord brushes), stripping, sharpening (from 6 mm thick), grinding and polishing. Also, the variety of work performed by this tool is facilitated by the location of the axes of the engine and the tool at an angle of 90 degrees relative to each other.
The application range of this sander can be further expanded and productivity and efficiency can be increased with the help of removable accessories that you can make yourself, with a little effort and diligence. Moreover, we can make do with ordinary materials and simple tools.
In addition to the grinder, which we are going to improve, we will need:
The materials we will need are:
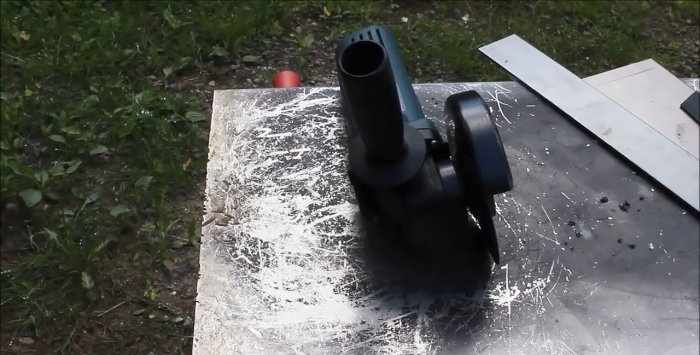
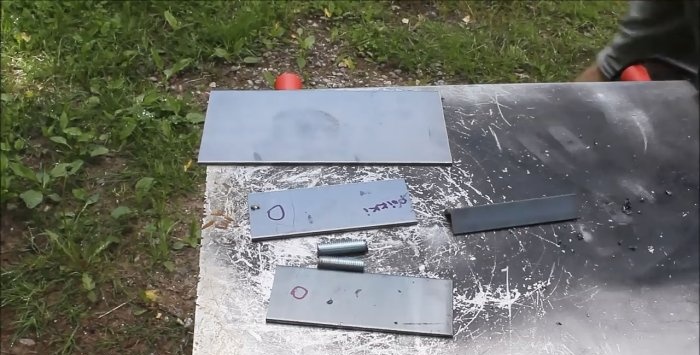
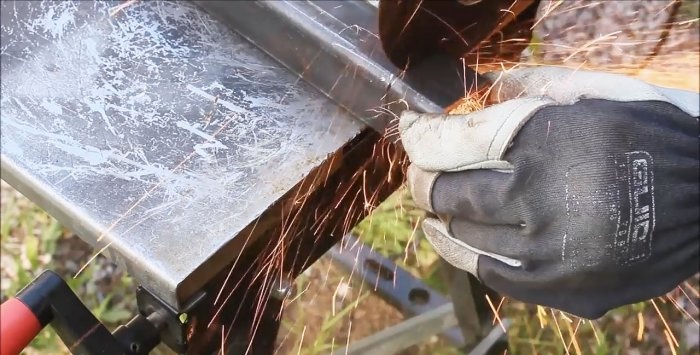
Using a grinder, we cut blanks of the required size from sheet metal or strip, as well as steel angle.
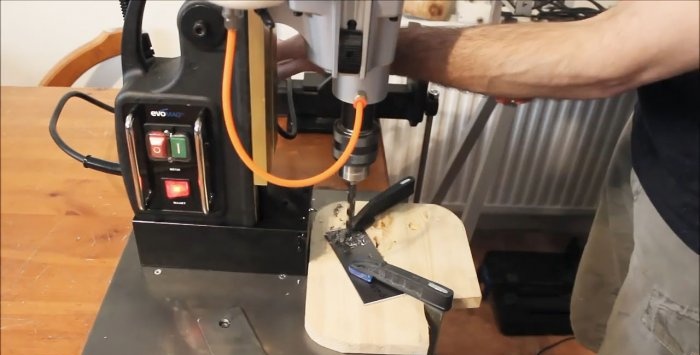
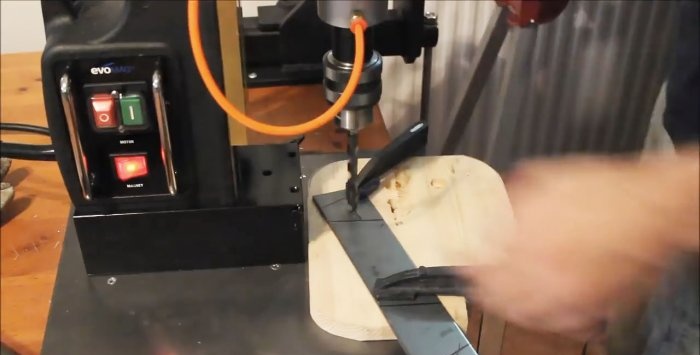
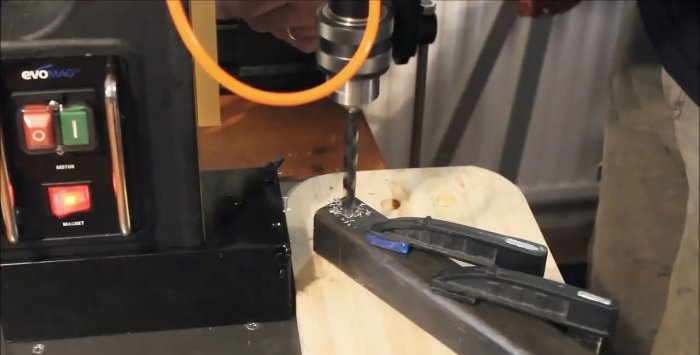
All edges and corners of the workpieces are processed and rounded using a grinding wheel. We mark and make holes of the required diameter in the workpieces on a drilling machine.
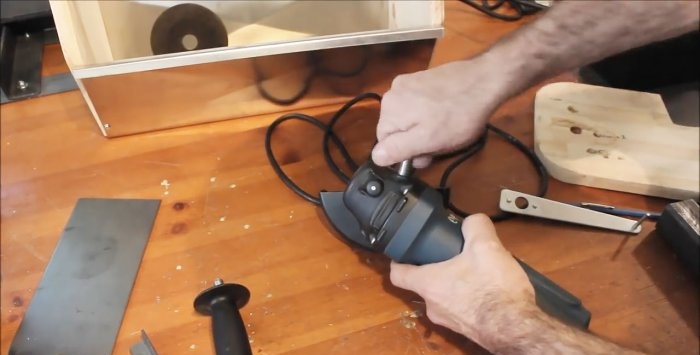
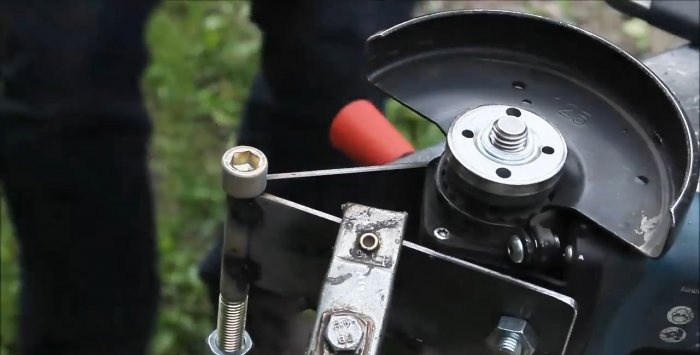
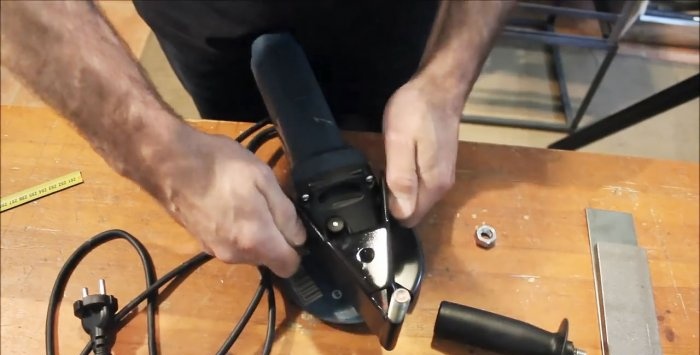
We screw pre-prepared pins into the threaded holes on the sides of the angle grinder.
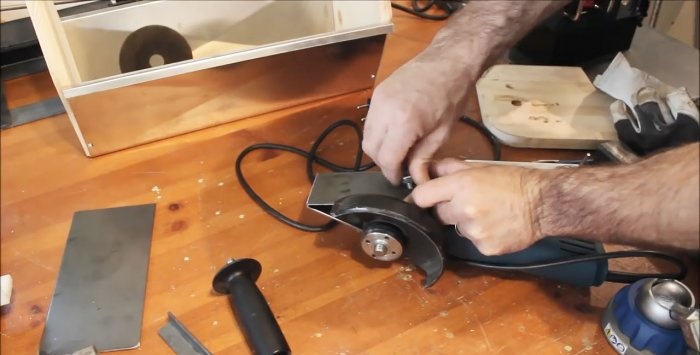
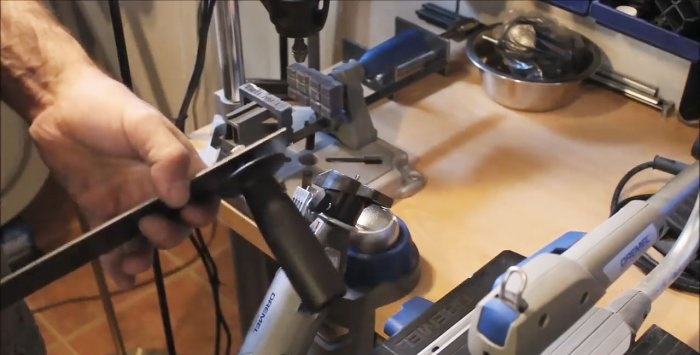
Using a mini-drill with a finger cutter attached to the table, we remove chamfers in the holes of the workpieces. We fix two plates on the grinder using studs and nuts. At the point where the plates converge, a bolt with a round head for a hexagon and a thread for a nut will be welded.
On a sheet metal bending machine we make a 30 degree bead on the narrow side of a large sheet metal piece.
Using a cutting disc, we cut out an element in the form of an equilateral trapezoid from a narrow strip of metal according to the markings and make a hole in the middle on a drilling machine.
In this and other holes in the workpieces, we remove chamfers using a finger cutter mounted on the shaft of a mini-drill.
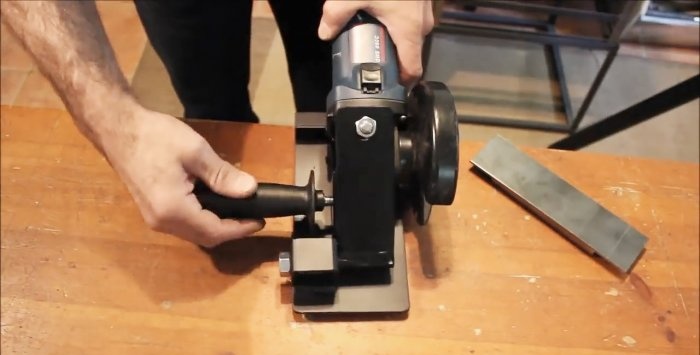
We insert the shank of the grinder handle into the hole of the element in the shape of an equilateral trapezoid and, on the other side of the plate, screw and tighten the nut, which we will subsequently weld to the plate.
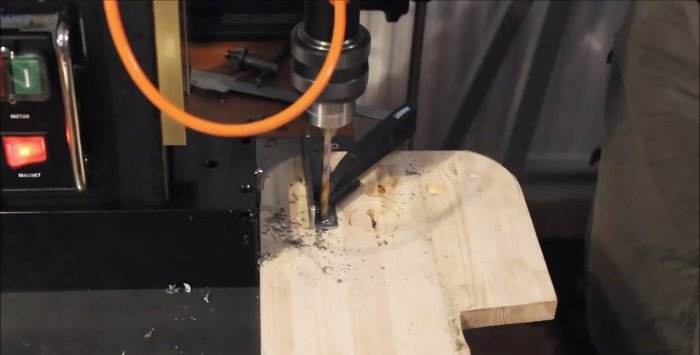
In the profile square pipe we drill a through hole through two opposite sides. We also drill a hole on one shelf of the steel angle along the edges.
Using a grinder, we cut off the element with the previously drilled hole from the profile square pipe.
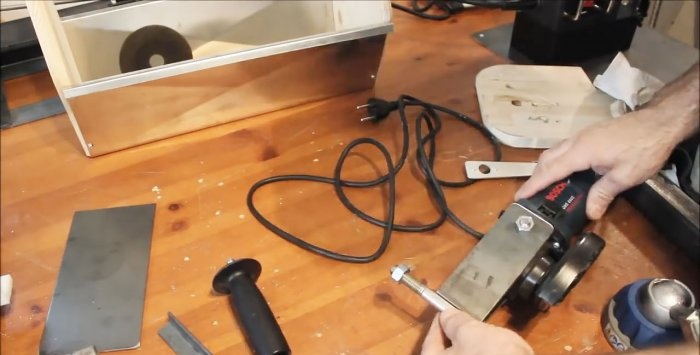
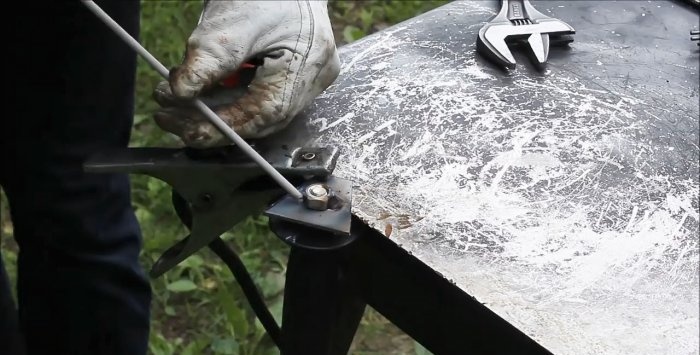
We install strips with holes on the studs and secure them with nuts.We check the place where the plates converge with a rectangular square, in the vertical and horizontal planes, by loosening or tightening the nuts on the studs. After that, we finally tighten the nuts.
We weld the nut screwed onto the thread of the grinder handle to the plate in the form of an equilateral trapezoid.
We place a trapezoidal plate with a welded nut on the converging plates mounted on the grinder, and weld it in the place where it coincides in plan with the lower plates.
We weld a bolt with a round head to the place where the plates converge on the grinder, and the head should be located on the side where the disc is installed on the grinder.
We remove the converging plates from the angle grinder and finally weld the bolt to them. We grind all welding joints with a grinding disc.
Using the holes, install a fragment of the profile pipe onto the bolt welded to the converging plates and tighten it with a nut.
We place the equipment with the grinder on the flanged plate. Moreover, the fragment of the profile pipe should, on one side, coincide with the length of the side of the plate, and the other should rest against the base of the flange.
In this position, we weld a fragment of the profile pipe to the plate, first making sure that its sides are perpendicular to the side of the base plate.
To make cooking convenient, we remove the equipment together with the grinder, leaving only a fragment of a square pipe on the plate.
After its final installation, we weld a steel corner with holes closer to the other edge of the plate and matching in length to the width of the plate.
We cut out the outer half of the vertical shelf of the corner using a grinder. We clean all seams and processing areas with a grinding wheel.
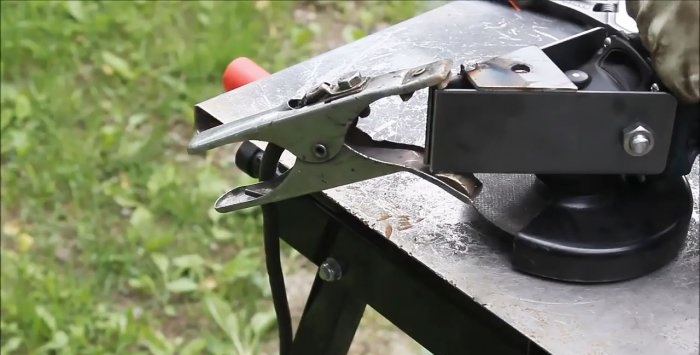
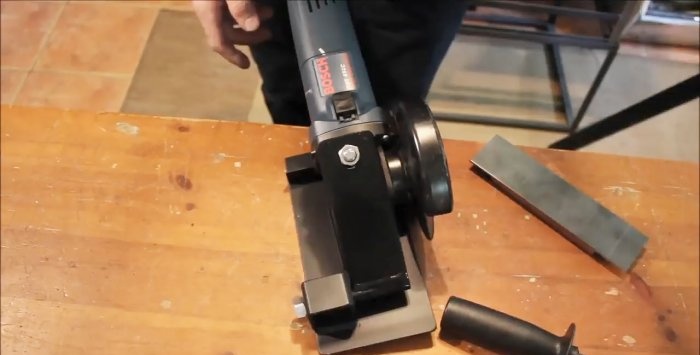
We paint the welded assemblies with black paint from an aerosol can.We assemble all the parts of the equipment on the grinder using studs, nuts and bolts.
We control the distance from the disk to the edge of the slider plate. It should be the same everywhere.
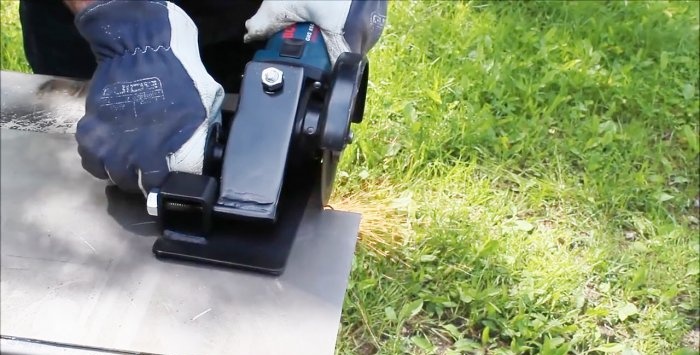
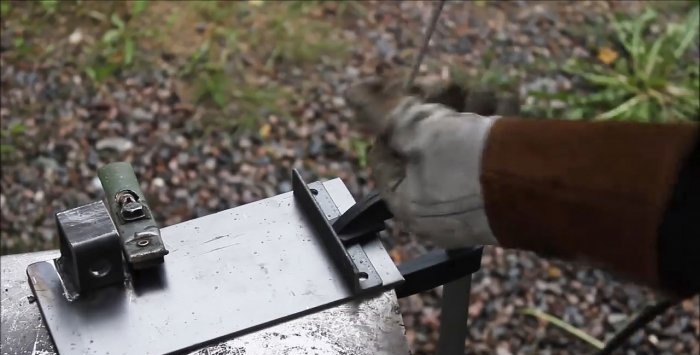
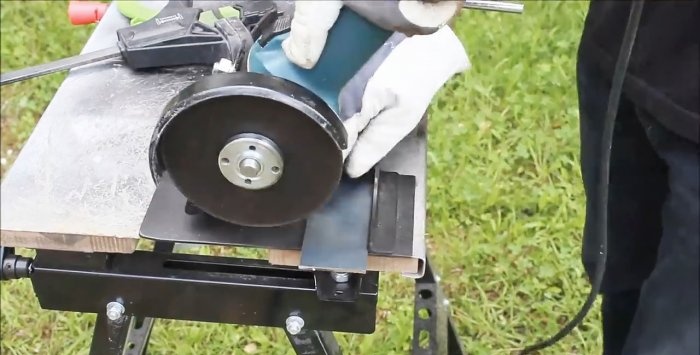
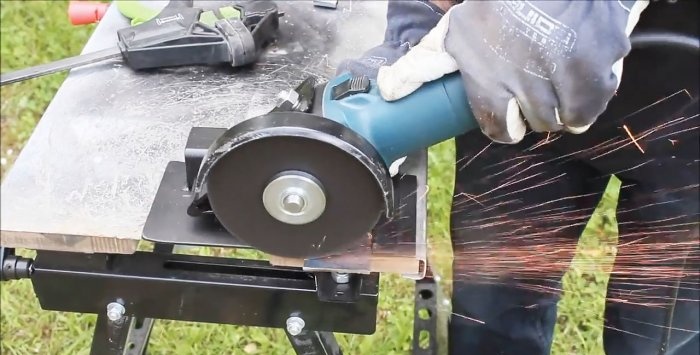
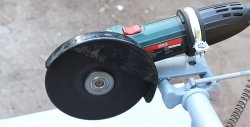
A grinder mounted on a slider can make movements around the bolt in a vertical plane like a pendulum saw disk.
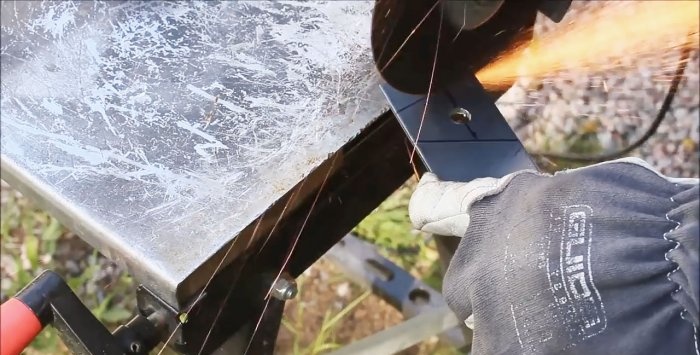
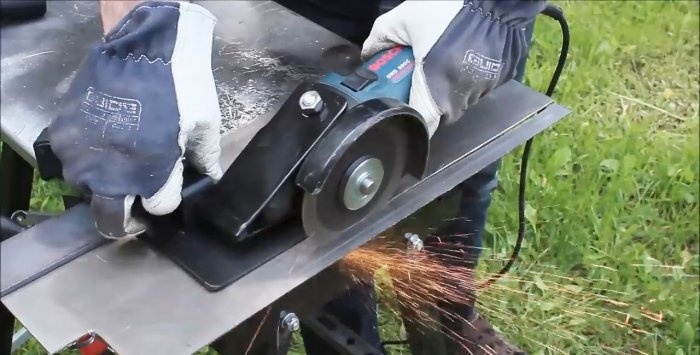
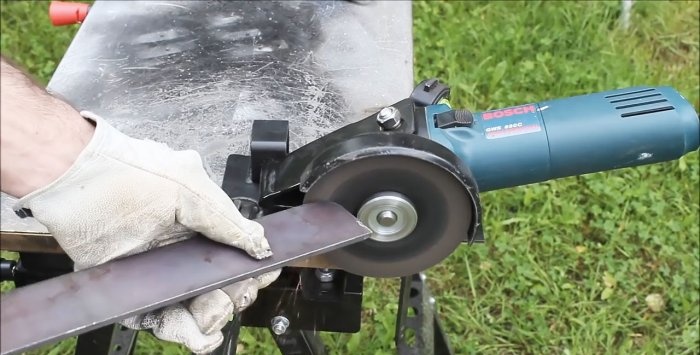
Now an angle grinder with such equipment can quickly and accurately cut sheet metal, cut rectangular fragments, clean edges, cut narrow strips from a long sheet along a guide with high precision, cut pipe and strip material, round corners on workpieces by replacing the cutting disc with a grinding one, clean rust-proofing blanks, giving them a marketable appearance, etc.
Also read how to make a very simple stand for an angle grinder - https://home.washerhouse.com/en/4355-prostaya-stoyka-dlya-bolgarki.html
The application range of this sander can be further expanded and productivity and efficiency can be increased with the help of removable accessories that you can make yourself, with a little effort and diligence. Moreover, we can make do with ordinary materials and simple tools.
Will need
In addition to the grinder, which we are going to improve, we will need:
- drilling machine;
- mini drill;
- sheet bending machine;
- welding equipment;
- spanners;
- measuring tool.
The materials we will need are:
- sheet metal 2 mm thick;
- steel equal angle;
- profile square pipe;
- round head hex bolt;
- studs, nuts, washers;
- a can of black spray paint.
Removable equipment manufacturing technology
Using a grinder, we cut blanks of the required size from sheet metal or strip, as well as steel angle.
All edges and corners of the workpieces are processed and rounded using a grinding wheel. We mark and make holes of the required diameter in the workpieces on a drilling machine.
We screw pre-prepared pins into the threaded holes on the sides of the angle grinder.
Using a mini-drill with a finger cutter attached to the table, we remove chamfers in the holes of the workpieces. We fix two plates on the grinder using studs and nuts. At the point where the plates converge, a bolt with a round head for a hexagon and a thread for a nut will be welded.
On a sheet metal bending machine we make a 30 degree bead on the narrow side of a large sheet metal piece.
Using a cutting disc, we cut out an element in the form of an equilateral trapezoid from a narrow strip of metal according to the markings and make a hole in the middle on a drilling machine.
In this and other holes in the workpieces, we remove chamfers using a finger cutter mounted on the shaft of a mini-drill.
We insert the shank of the grinder handle into the hole of the element in the shape of an equilateral trapezoid and, on the other side of the plate, screw and tighten the nut, which we will subsequently weld to the plate.
In the profile square pipe we drill a through hole through two opposite sides. We also drill a hole on one shelf of the steel angle along the edges.
Using a grinder, we cut off the element with the previously drilled hole from the profile square pipe.
We install strips with holes on the studs and secure them with nuts.We check the place where the plates converge with a rectangular square, in the vertical and horizontal planes, by loosening or tightening the nuts on the studs. After that, we finally tighten the nuts.
We weld the nut screwed onto the thread of the grinder handle to the plate in the form of an equilateral trapezoid.
We place a trapezoidal plate with a welded nut on the converging plates mounted on the grinder, and weld it in the place where it coincides in plan with the lower plates.
We weld a bolt with a round head to the place where the plates converge on the grinder, and the head should be located on the side where the disc is installed on the grinder.
We remove the converging plates from the angle grinder and finally weld the bolt to them. We grind all welding joints with a grinding disc.
Using the holes, install a fragment of the profile pipe onto the bolt welded to the converging plates and tighten it with a nut.
We place the equipment with the grinder on the flanged plate. Moreover, the fragment of the profile pipe should, on one side, coincide with the length of the side of the plate, and the other should rest against the base of the flange.
In this position, we weld a fragment of the profile pipe to the plate, first making sure that its sides are perpendicular to the side of the base plate.
To make cooking convenient, we remove the equipment together with the grinder, leaving only a fragment of a square pipe on the plate.
After its final installation, we weld a steel corner with holes closer to the other edge of the plate and matching in length to the width of the plate.
We cut out the outer half of the vertical shelf of the corner using a grinder. We clean all seams and processing areas with a grinding wheel.
We paint the welded assemblies with black paint from an aerosol can.We assemble all the parts of the equipment on the grinder using studs, nuts and bolts.
We control the distance from the disk to the edge of the slider plate. It should be the same everywhere.
A grinder mounted on a slider can make movements around the bolt in a vertical plane like a pendulum saw disk.
Possibilities of an angle grinder with equipment
Now an angle grinder with such equipment can quickly and accurately cut sheet metal, cut rectangular fragments, clean edges, cut narrow strips from a long sheet along a guide with high precision, cut pipe and strip material, round corners on workpieces by replacing the cutting disc with a grinding one, clean rust-proofing blanks, giving them a marketable appearance, etc.
Also read how to make a very simple stand for an angle grinder - https://home.washerhouse.com/en/4355-prostaya-stoyka-dlya-bolgarki.html
Watch the video
Similar master classes
Particularly interesting
Comments (0)

