How to make an excellent stand for an angle grinder from an old car pump
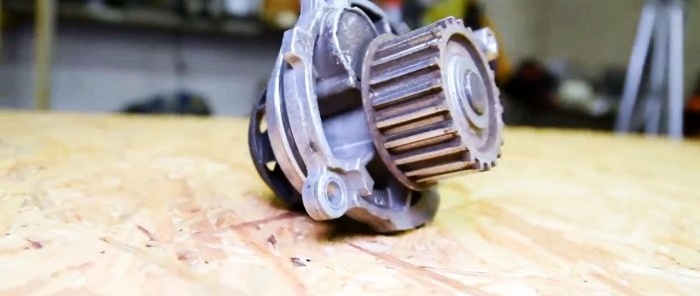
What do a useless pump have in common with a perfectly working grinder? It seems nothing: the first one is only good as scrap metal, and the second one will serve its intended purpose for a long time.
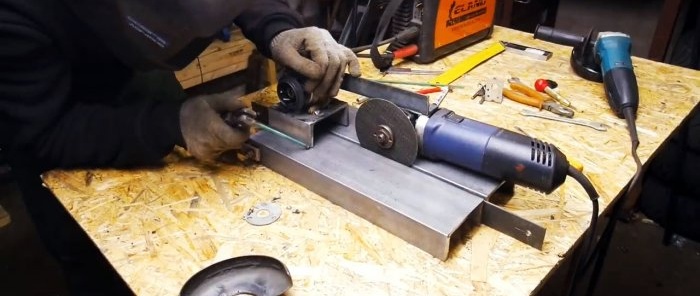
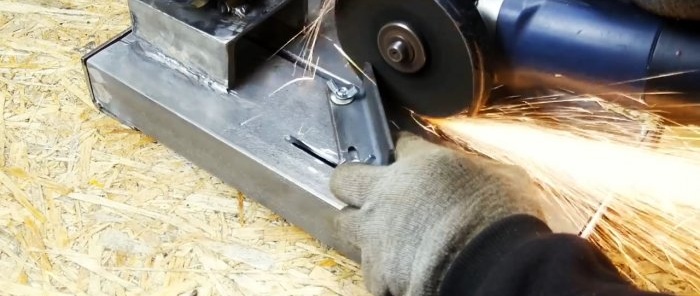
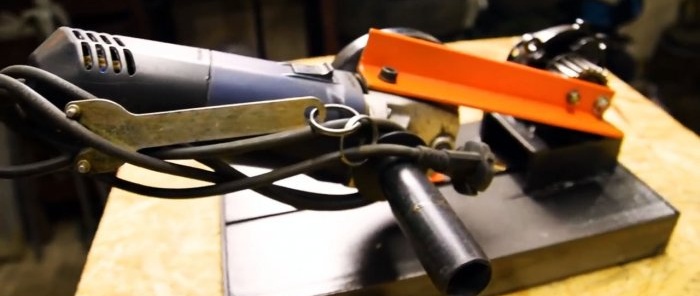
But let’s not rush - this unit can become the basis for making a homemade stand for an angle grinder, which will simplify and increase the accuracy of cutting round and profile pipes, angles, channels, etc. at any angle.
In addition to the already mentioned grinder and pump, we will need the following materials and products:
For work we will need: measuring devices, drill, tap, grinder, welding, wrenches, vice, etc.
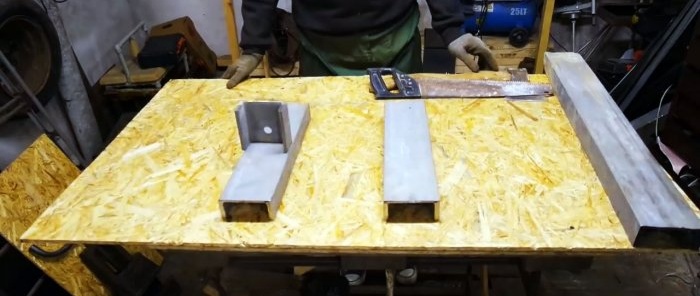
We mark and cut two identical blanks from the steel channel, which will serve as the basis of our stand for the grinder, as well as a small fragment.
To secure the old pump to the base of the stand, drill out one of the holes in the boss to match the diameter of the second hole. We do the same with one extended nut.
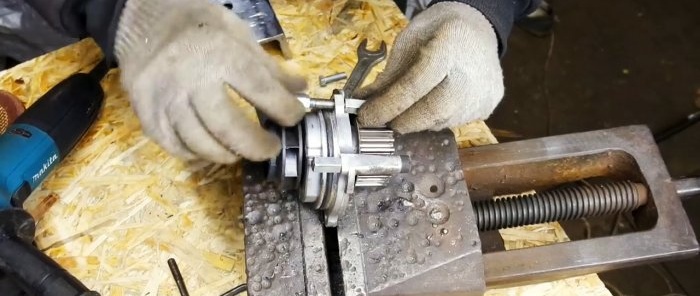
We place the drilled nut under the head of the bolt and thread it into the hole in the pump flange and tighten it with an extended nut on the other side. We do the same with a bolt installed in a hole with a boss, but without a drilled nut.
We fix the pump with nuts in a vice and use a grinder to remove the part of the flange that protrudes beyond their plane and is located between them.
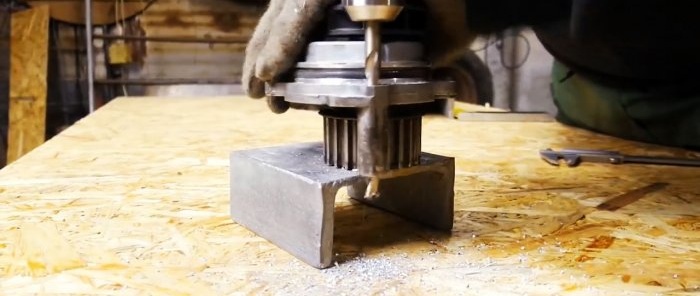
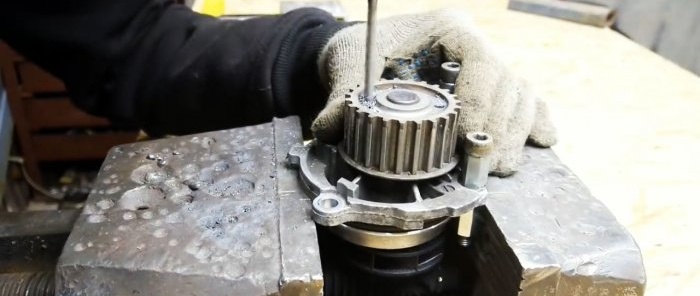
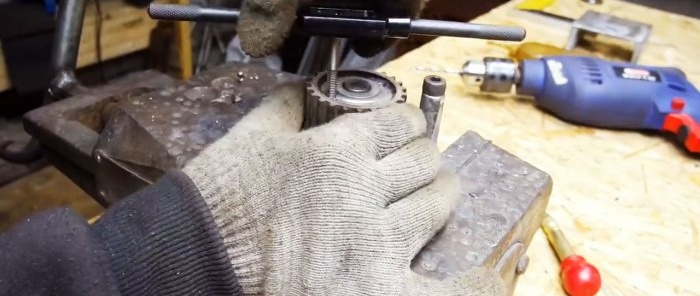
In the pump gear disk, we drill two blind holes with a diameter symmetrical to its central axis and cut threads into them with a tap.
We grind the channel fragment on all sides with a grinder, removing burrs, rust and rounding the edges.
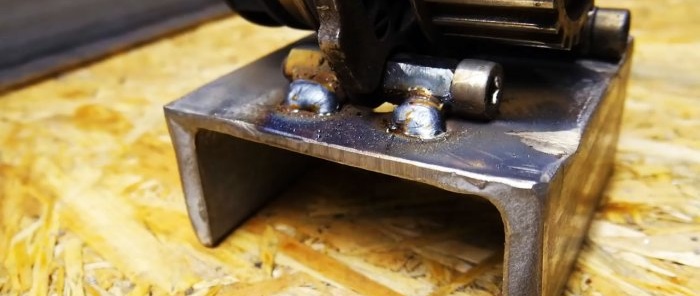
We install the pump on it so that the three elongated nuts on the bolts fit tightly to the flange of the channel fragment and weld them using semi-automatic welding.
Using a grinder, we cut off a part from the equal angle angle and drill two holes longitudinally in the center from one end on the shelf, using the threaded holes in the pump gear disk as a template.
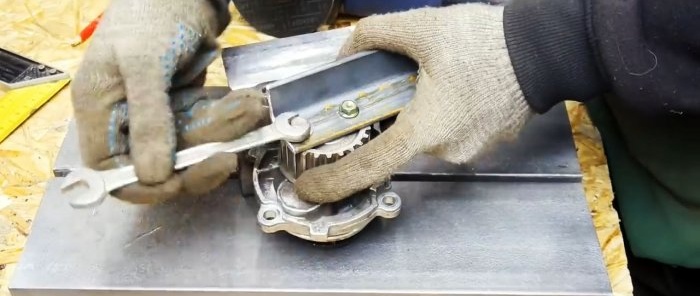
Use a grinder to slightly reduce the height of the gear axis cap so that it does not interfere with the tight fit of the corner to the gear rim and tighten it to the gear with two bolts.
We temporarily remove the protective casing from the grinder, install the cutting disc and screw the corner with the pump to the tool with a bolt instead of the removed handle.
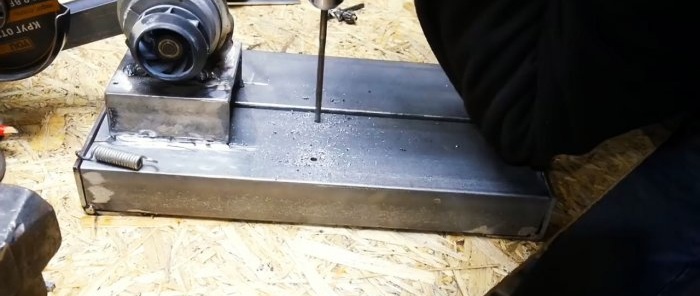
We lay two channels with the shelf up, placing a plate between them with a thickness slightly greater than the thickness of the cutting disc. Having verified the accuracy of installation of the angle grinder, we weld a fragment of the channel with the pump attached to it, symmetrically relative to the halves of the base of the rack.
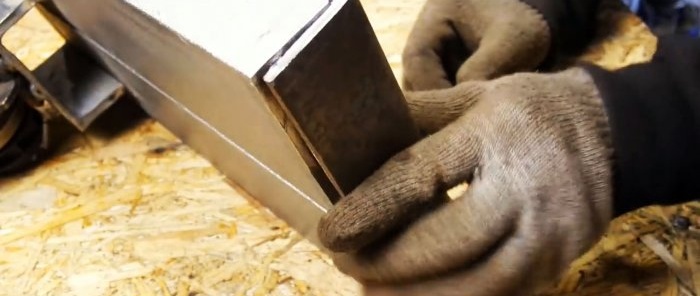
We align the ends of the channels, round the outer corners of the legs and weld a cross-section of an equal-flange angle to them to fix the gap between the channels in which the disk will rotate.
On the side of the pump impeller, in the flange of the short channel, we make a hole for hooking the extension spring, and we hook the other one to the impeller blade.
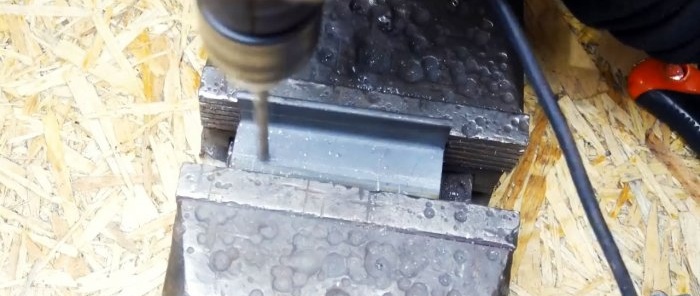
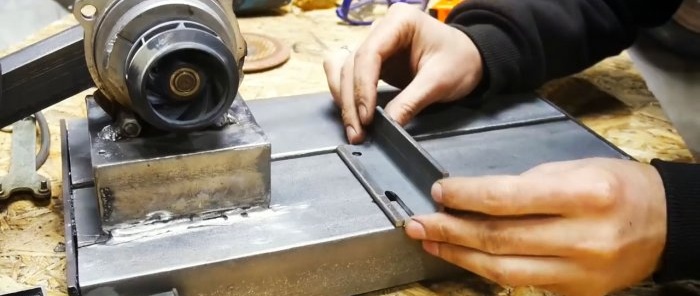
We cut off an equal-flange corner and mark one shelf at one end for a round hole, and at the other for an oblong hole with an end exit and make them with a drill and grinder.
We install the corner shelf without holes opposite the center of the cutting disk at a right angle and mark the projections of the holes in the corner on the channel. We drill one round and another oblong hole perpendicular to the corner.
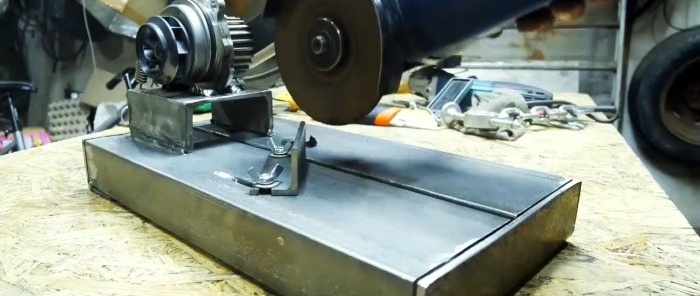
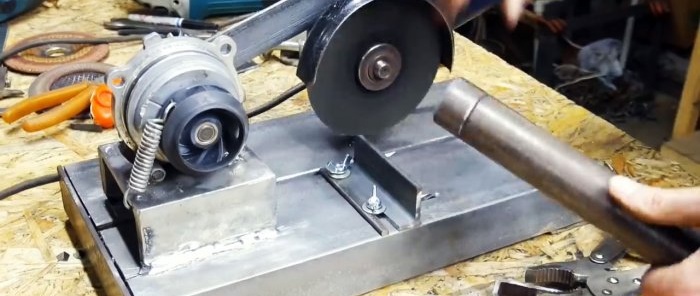
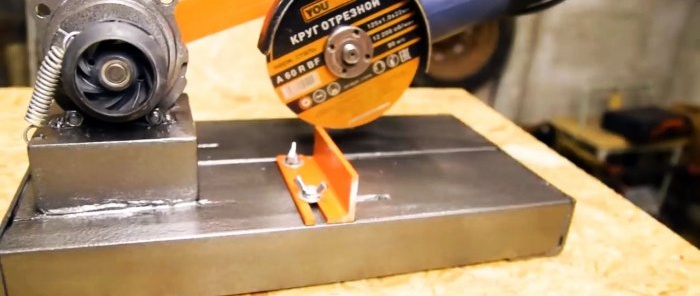
We secure the angle to the channel with bolts and two wing nuts. Now you can, by pressing the workpieces against the corner, cut them at 90 degrees or at any other angle, changing the position of the corner.
We disassemble the installation, wipe all parts, cover the areas that cannot be painted with paper, and apply two types of paint - gray and orange. As soon as the paint has dried, we reassemble the installation and it is completely ready for use.
But let’s not rush - this unit can become the basis for making a homemade stand for an angle grinder, which will simplify and increase the accuracy of cutting round and profile pipes, angles, channels, etc. at any angle.
Will need
In addition to the already mentioned grinder and pump, we will need the following materials and products:
- channel;
- equal angle;
- a set of bolts, extended nuts and wing nuts;
- extension spring;
- spray paint in two colors.
For work we will need: measuring devices, drill, tap, grinder, welding, wrenches, vice, etc.
The process of making a stand for an angle grinder from a car pump
We mark and cut two identical blanks from the steel channel, which will serve as the basis of our stand for the grinder, as well as a small fragment.
To secure the old pump to the base of the stand, drill out one of the holes in the boss to match the diameter of the second hole. We do the same with one extended nut.
We place the drilled nut under the head of the bolt and thread it into the hole in the pump flange and tighten it with an extended nut on the other side. We do the same with a bolt installed in a hole with a boss, but without a drilled nut.
We fix the pump with nuts in a vice and use a grinder to remove the part of the flange that protrudes beyond their plane and is located between them.
In the pump gear disk, we drill two blind holes with a diameter symmetrical to its central axis and cut threads into them with a tap.
We grind the channel fragment on all sides with a grinder, removing burrs, rust and rounding the edges.
We install the pump on it so that the three elongated nuts on the bolts fit tightly to the flange of the channel fragment and weld them using semi-automatic welding.
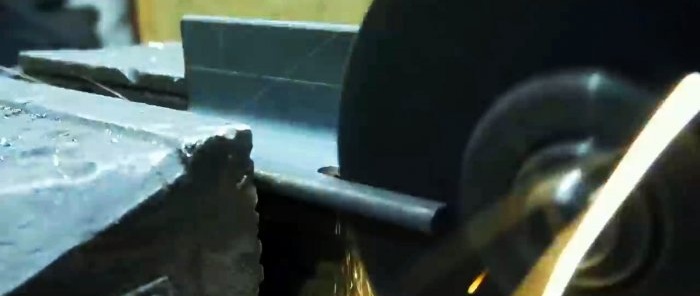
Using a grinder, we cut off a part from the equal angle angle and drill two holes longitudinally in the center from one end on the shelf, using the threaded holes in the pump gear disk as a template.
Use a grinder to slightly reduce the height of the gear axis cap so that it does not interfere with the tight fit of the corner to the gear rim and tighten it to the gear with two bolts.
We temporarily remove the protective casing from the grinder, install the cutting disc and screw the corner with the pump to the tool with a bolt instead of the removed handle.
We lay two channels with the shelf up, placing a plate between them with a thickness slightly greater than the thickness of the cutting disc. Having verified the accuracy of installation of the angle grinder, we weld a fragment of the channel with the pump attached to it, symmetrically relative to the halves of the base of the rack.
We align the ends of the channels, round the outer corners of the legs and weld a cross-section of an equal-flange angle to them to fix the gap between the channels in which the disk will rotate.
On the side of the pump impeller, in the flange of the short channel, we make a hole for hooking the extension spring, and we hook the other one to the impeller blade.
We cut off an equal-flange corner and mark one shelf at one end for a round hole, and at the other for an oblong hole with an end exit and make them with a drill and grinder.
We install the corner shelf without holes opposite the center of the cutting disk at a right angle and mark the projections of the holes in the corner on the channel. We drill one round and another oblong hole perpendicular to the corner.
We secure the angle to the channel with bolts and two wing nuts. Now you can, by pressing the workpieces against the corner, cut them at 90 degrees or at any other angle, changing the position of the corner.
We disassemble the installation, wipe all parts, cover the areas that cannot be painted with paper, and apply two types of paint - gray and orange. As soon as the paint has dried, we reassemble the installation and it is completely ready for use.
Watch the video
Similar master classes
Making a long cutting stand for an angle grinder

Homemade high-performance pump for pumping water to
Cutting attachment for a drill from a grinder disc
How to increase the functionality of an angle grinder with removable equipment
Removable device for cutting circles in sheet metal with
A simple stand for an angle grinder
Particularly interesting
Comments (4)

