How to make an instantaneous water heater from a gas cylinder
Such a boiler will be indispensable in a country house or in a private house where there is no centralized or autonomous source of hot water. To make it, you will need a minimum of costs, a little time and basic skills in cutting, soldering and welding metal.
The tools we need are: grinder, semiautomatic welding machine, gas torch, drill, hammer, dremel, etc.
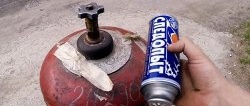
Before performing all work, fill the cylinder with water to remove possible gas and gasoline residues.
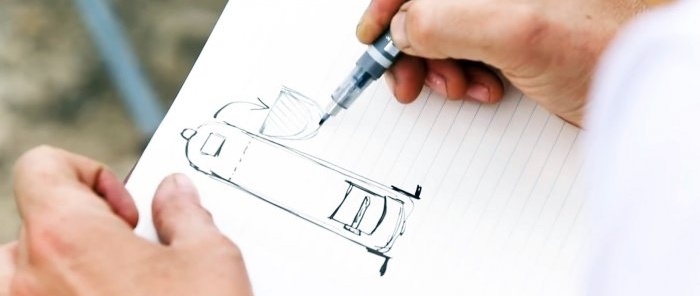
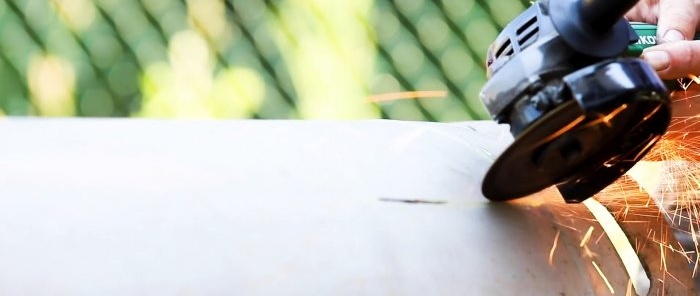
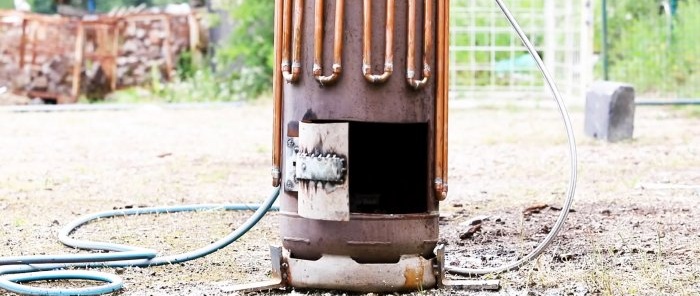
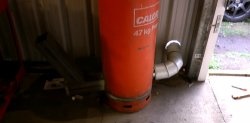
At the bottom side of the gas cylinder, following the markings, we make a rectangular cutout using a grinder.
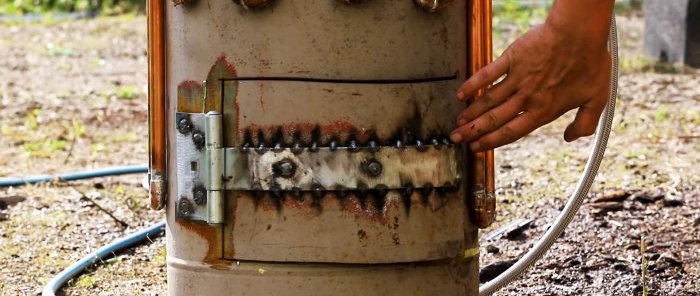
We cut off the excess arrow loops from the fastening bar, and bend the remaining part into an arc, helping ourselves with a hammer.
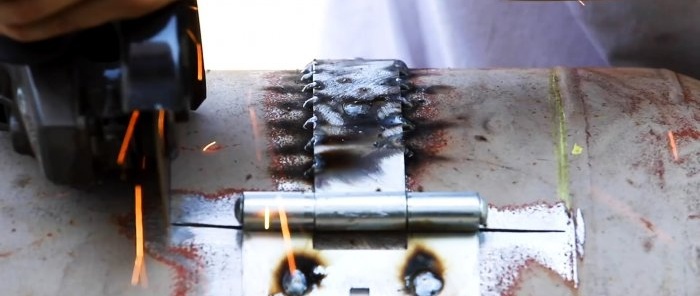
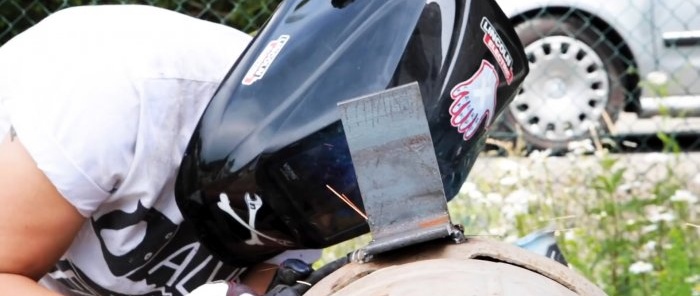
We apply the working surface of the loop to the side surface of the cylinder outside the vertical cut, and press the bent part of the bar against the section of the cylinder intended for the cut. In this position, we weld the arrow loop to the cylinder, after which we complete the cutting. We clean the edges with a grinder.
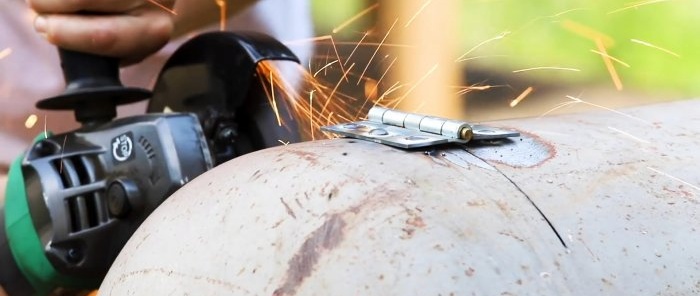
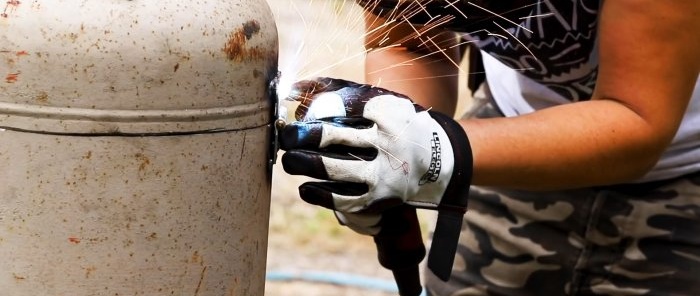
We start cutting the top of the balloon with a small arc along the cut line. We attach a regular door hinge to it and weld one wing to the cylinder outside the cut. Then we continue cutting until the top part is completely separated from the bottom.
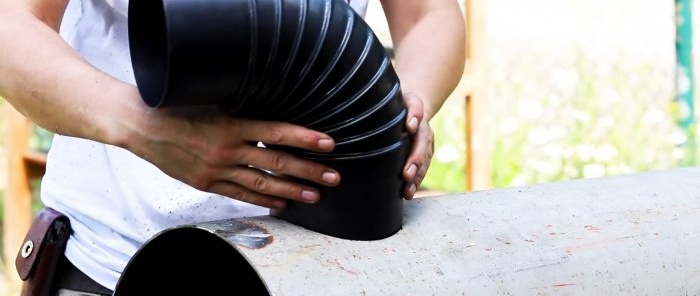
Slightly stepping down from the top edge of the cylinder, we apply the end of the plastic elbow and mark the location of the cutout of the round hole.
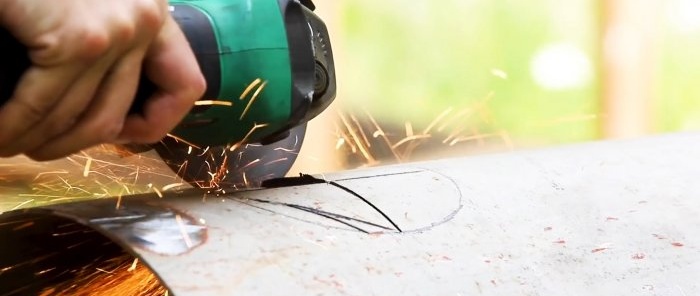
To do this, we first use an angle grinder and finish with a Dremel. We insert the elbow into the resulting hole, orienting its exit to the top.
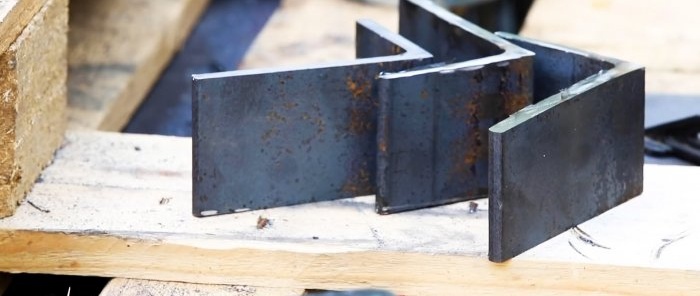
We cut three identical fragments from the steel corner and weld them to the base of the cylinder on the side at an equal distance around the circumference, directing one of the shelves outward. This will increase the stability of the cylinder when it is in a vertical position.
We install the upper part previously separated from the cylinder and weld the second wing of the hinge to the surface of the lid. The hinge will allow you to tilt the hood and open access to the fuel combustion zone.
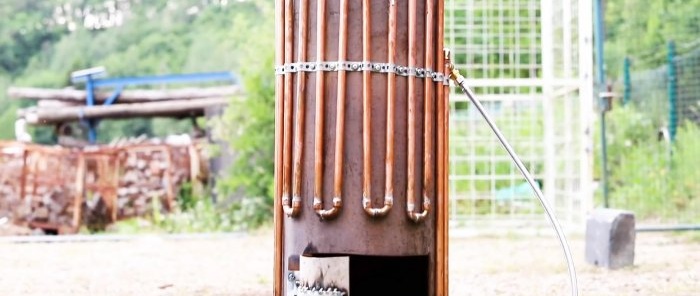
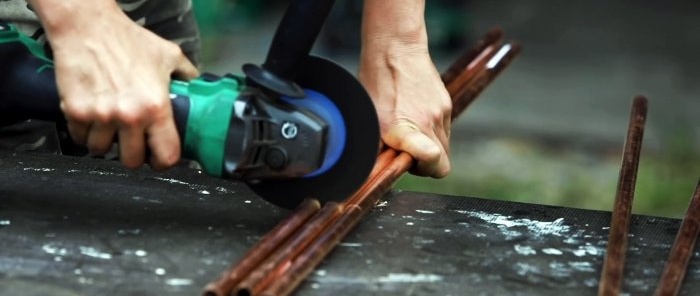
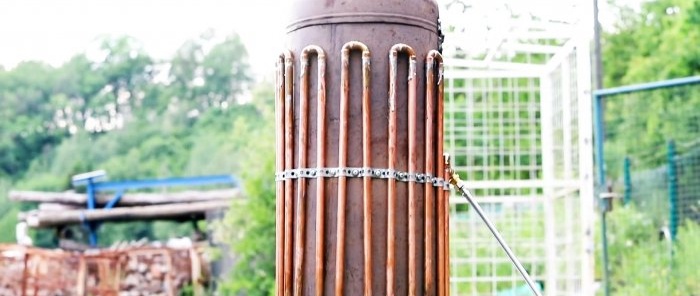
We cut the copper tubes to the required length and use copper elbows to connect them together.
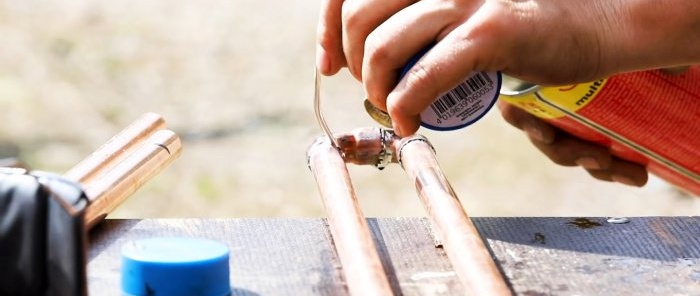
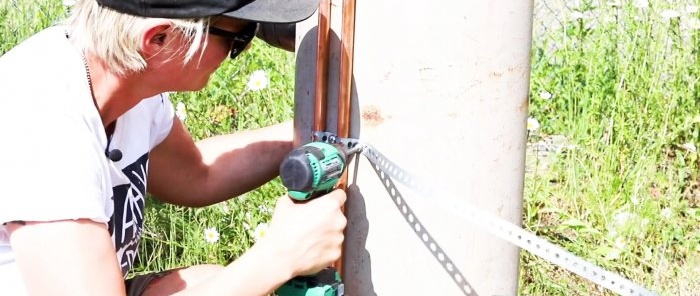
We apply flux to the joints with a brush and seal it with solder, melting it with a gas burner. We fix the tubes on the outer surface of the cylinder using perforated mounting tape and screws with washers, which we screw with a drill into holes pre-drilled in the wall of the cylinder.
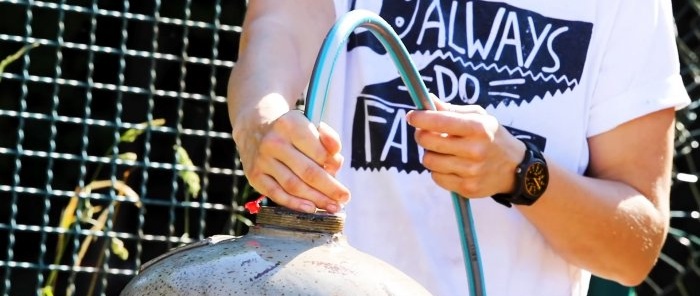
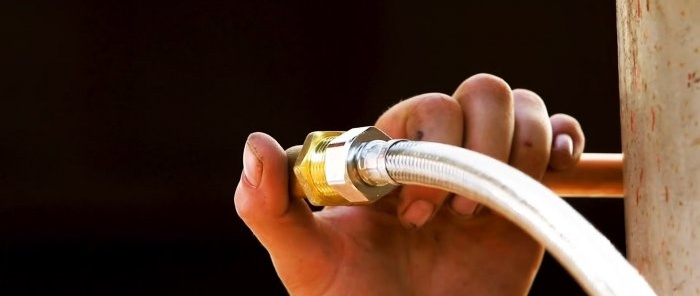
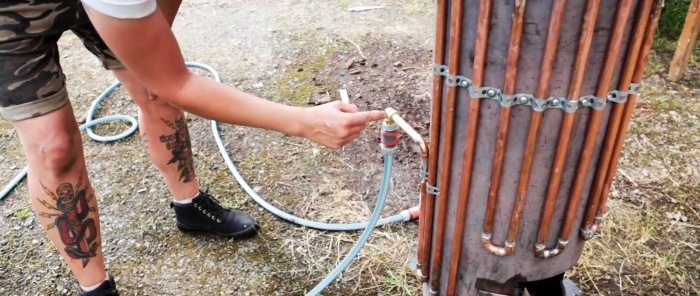
We connect a water hose to the entrance of the copper pipes using connectors and supply water.We make sure that there are no leaks and water comes out from the other end of the copper tubes. We connect the output with a heat-resistant hose to the consumer, for example, a shower head through a water starter.
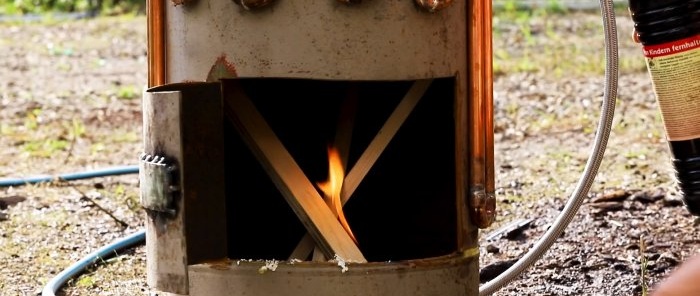
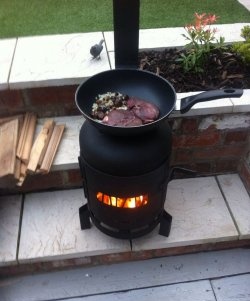
Let's check the operation of the instantaneous water heater. We turn on the cold water supply with the starter closed, light a fire in the firebox and wait for a steady flame.
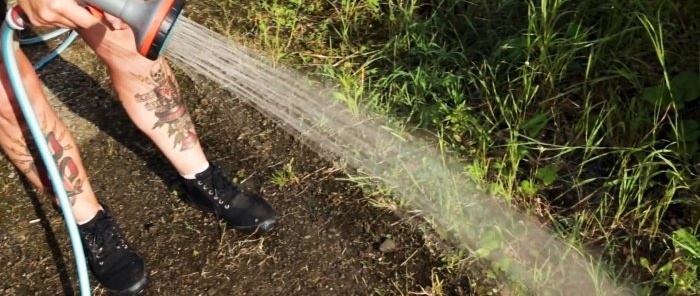
Then we close the firebox door and, throwing away the lid on top, add the main fuel. After a while, we open the starter and make sure that warm or even hot water comes out of the shower head.
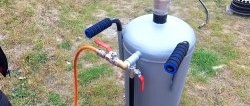
Finished look:
Will need
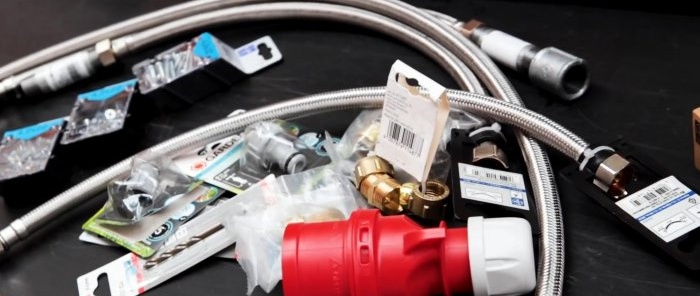
- Before starting work, we need to find and purchase:
- old gas cylinder;
- door hinges and awnings;
- plastic pipe and corrugated elbow;
- copper tubes and elbows;
- hoses, connectors and adapters;
- solder and flux for soldering copper pipes;
- perforated mounting tape;
- screws with washers;
- steel corner.
The tools we need are: grinder, semiautomatic welding machine, gas torch, drill, hammer, dremel, etc.
Water heater manufacturing process
Before performing all work, fill the cylinder with water to remove possible gas and gasoline residues.
At the bottom side of the gas cylinder, following the markings, we make a rectangular cutout using a grinder.
We cut off the excess arrow loops from the fastening bar, and bend the remaining part into an arc, helping ourselves with a hammer.
We apply the working surface of the loop to the side surface of the cylinder outside the vertical cut, and press the bent part of the bar against the section of the cylinder intended for the cut. In this position, we weld the arrow loop to the cylinder, after which we complete the cutting. We clean the edges with a grinder.
We start cutting the top of the balloon with a small arc along the cut line. We attach a regular door hinge to it and weld one wing to the cylinder outside the cut. Then we continue cutting until the top part is completely separated from the bottom.
Slightly stepping down from the top edge of the cylinder, we apply the end of the plastic elbow and mark the location of the cutout of the round hole.
To do this, we first use an angle grinder and finish with a Dremel. We insert the elbow into the resulting hole, orienting its exit to the top.
We cut three identical fragments from the steel corner and weld them to the base of the cylinder on the side at an equal distance around the circumference, directing one of the shelves outward. This will increase the stability of the cylinder when it is in a vertical position.
We install the upper part previously separated from the cylinder and weld the second wing of the hinge to the surface of the lid. The hinge will allow you to tilt the hood and open access to the fuel combustion zone.
We cut the copper tubes to the required length and use copper elbows to connect them together.
We apply flux to the joints with a brush and seal it with solder, melting it with a gas burner. We fix the tubes on the outer surface of the cylinder using perforated mounting tape and screws with washers, which we screw with a drill into holes pre-drilled in the wall of the cylinder.
We connect a water hose to the entrance of the copper pipes using connectors and supply water.We make sure that there are no leaks and water comes out from the other end of the copper tubes. We connect the output with a heat-resistant hose to the consumer, for example, a shower head through a water starter.
Let's check the operation of the instantaneous water heater. We turn on the cold water supply with the starter closed, light a fire in the firebox and wait for a steady flame.
Then we close the firebox door and, throwing away the lid on top, add the main fuel. After a while, we open the starter and make sure that warm or even hot water comes out of the shower head.
Finished look:
Watch the video
Similar master classes
Particularly interesting
Comments (3)

