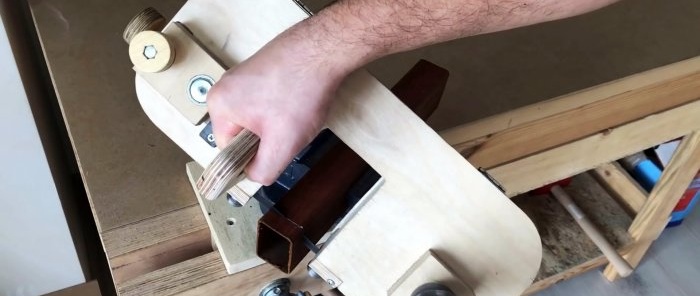
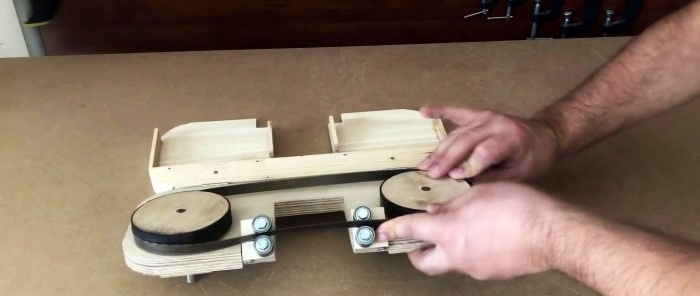
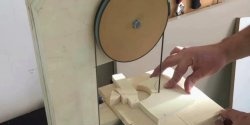
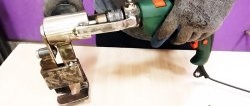
Homemade hand-held plywood band saw driven by a screwdriver
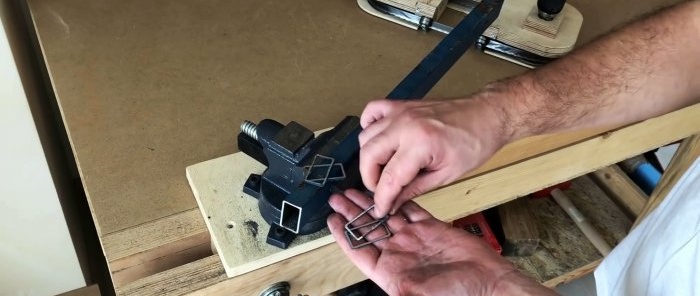
A manual band saw for metal allows you to make a very thin, smooth cut, superior in quality to the result from a grinder. However, this is an expensive tool, the purchase of which is not practical for the average user. For home needs, you can make it yourself.
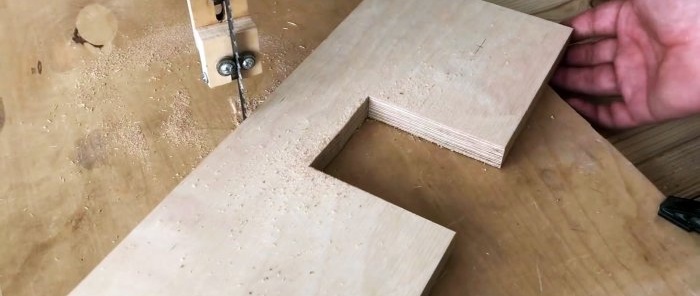
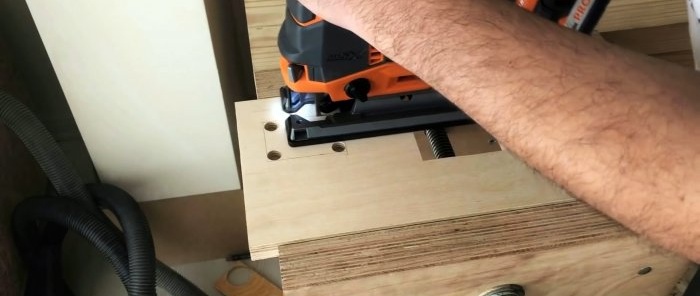
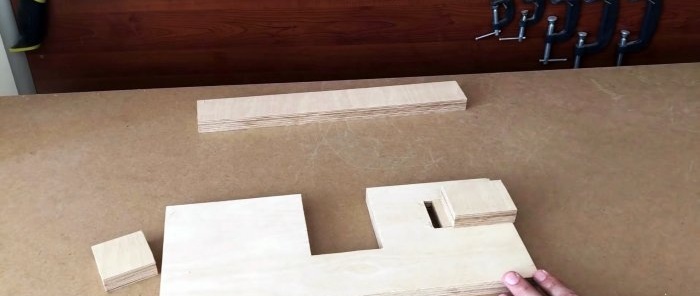
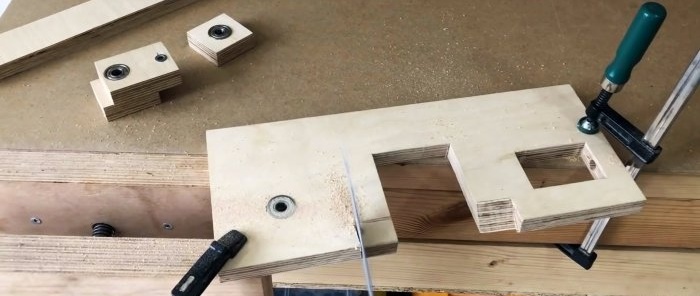
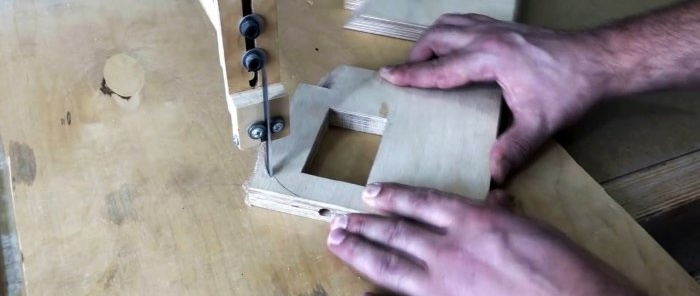
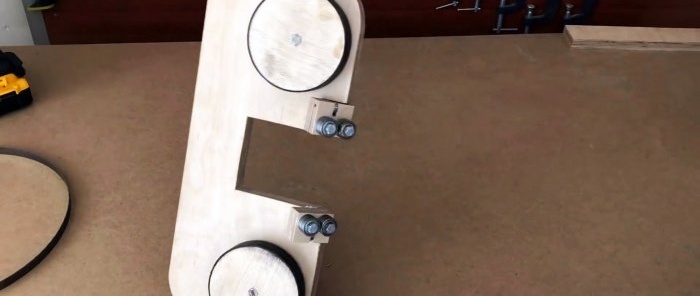
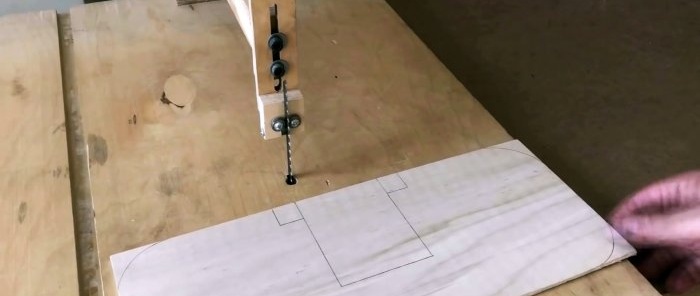
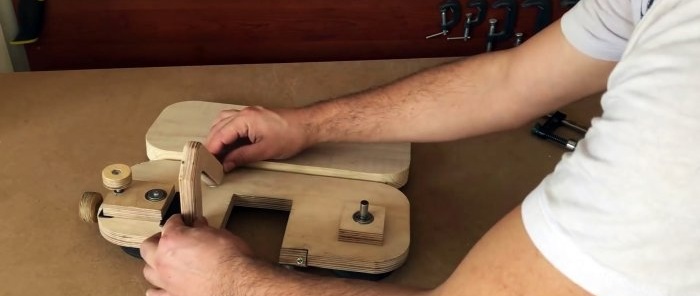
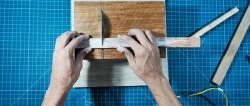
From 20 mm plywood you need to cut a saw frame blank. 2 windows are cut out in it, as in the photo.
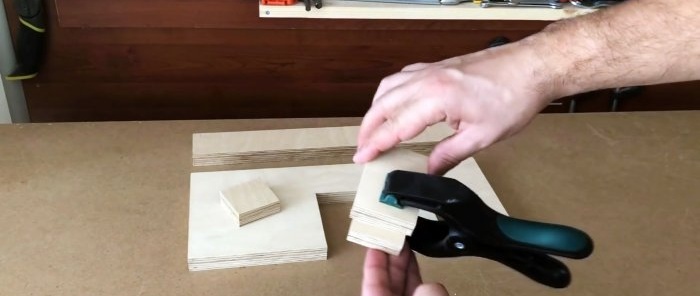
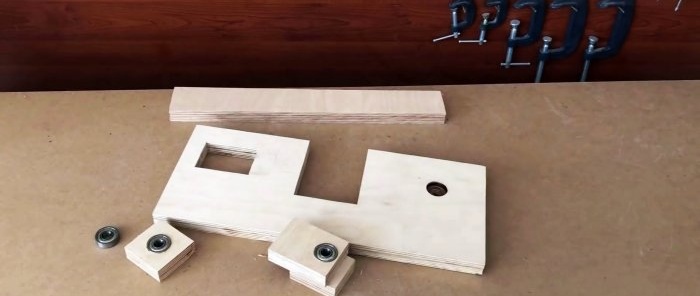
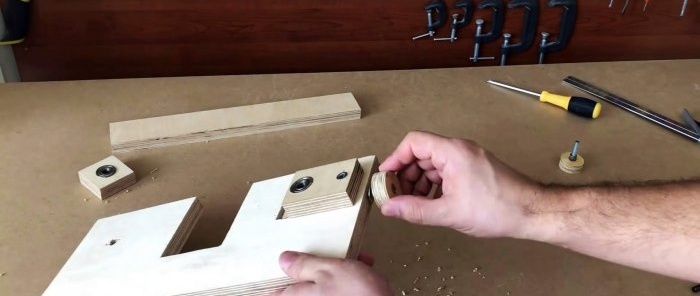
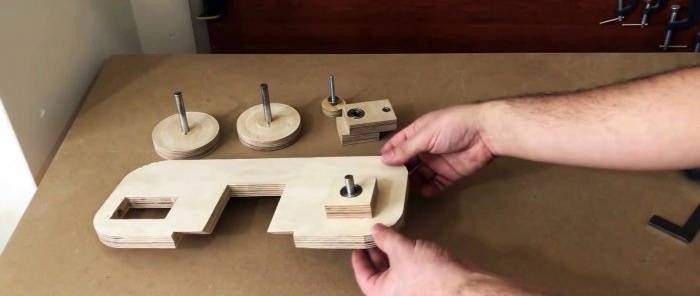
Then 3 square embeds are cut out of plywood to strengthen the frame for installing pulleys. Two of them are glued together. In this case, the lower one is made smaller. The square at the bottom should fit into the cutout of the frame, but be a little shorter behind it.
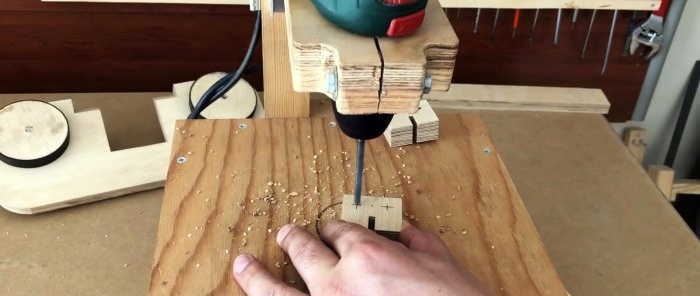
Markings are made on the frame for installing the left pulley. A through hole is drilled through it. It is also necessary to drill through the previously made embeds.
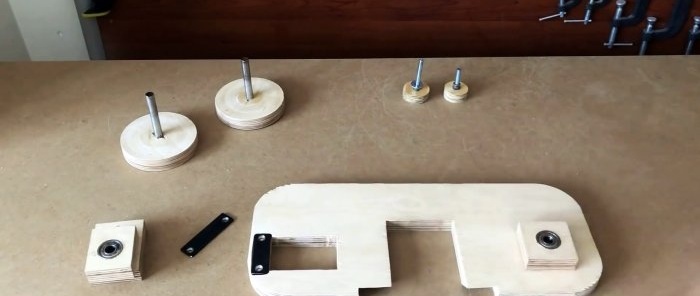
After this, you need to widen the holes with a core drill to half the thickness of the plywood, and clean them out for installing the bearings. On a double mortgage, bearings are placed on both sides.
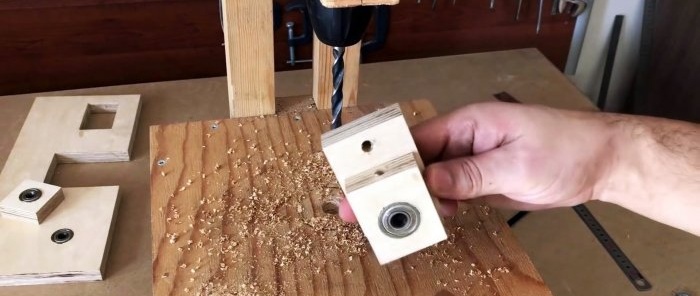
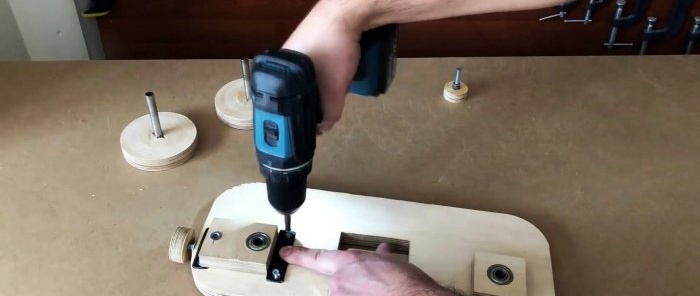
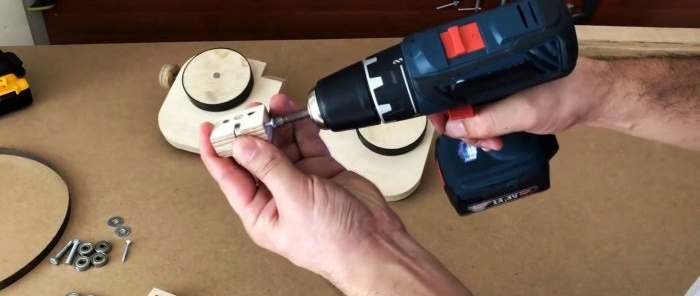
In the double mortgage you need to drill 2 holes with a 9 mm drill. One is made through the protrusion of the larger square, the second from the end of the smaller one in the direction of the bearing. Then M6 self-tapping furniture nuts are screwed into them.
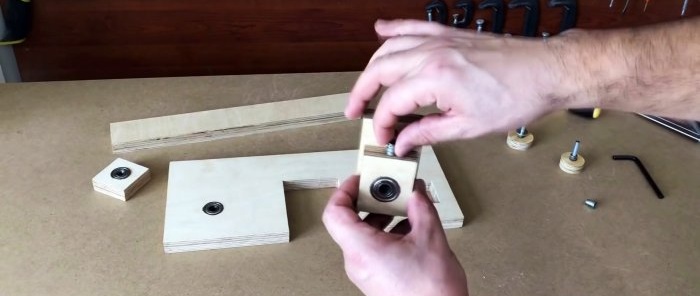
Next, you need to drill a hole in the end of the frame opposite the window for the adjustable pulley. It needs to coincide with the hole in the double mortgage. Then a plywood wing bolt is screwed through it. It will regulate the tension of the saw blade. The same bolt is screwed into the second nut. It will change the angle of the pulley.
There are 2 cuts made on the frame at 45 degrees on the sides of the central window.
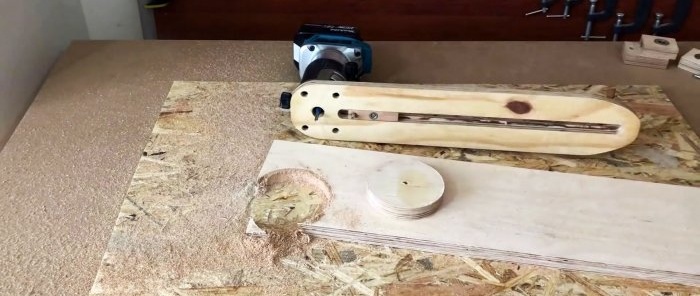
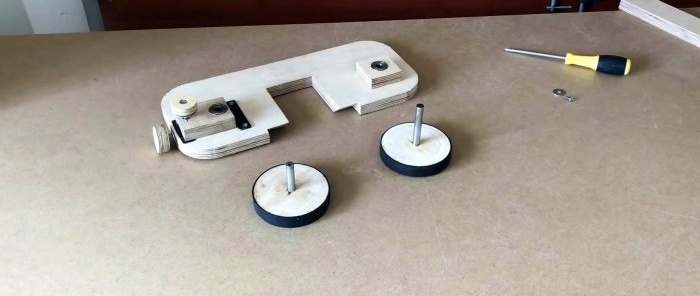
Also, 2 drive pulleys are cut from plywood.
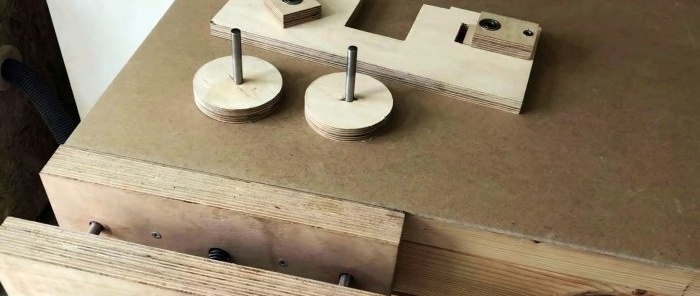
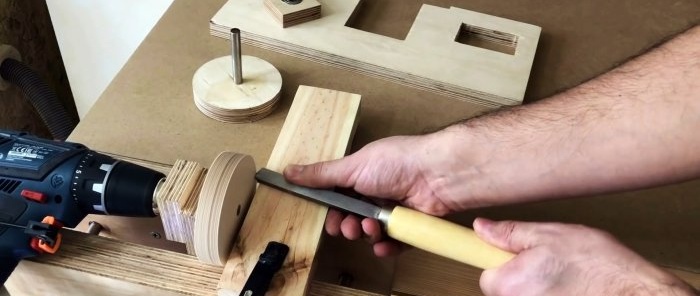
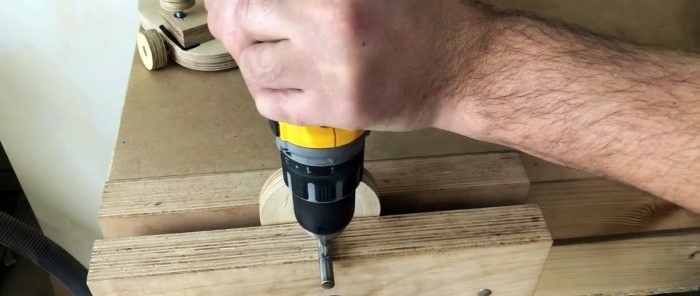
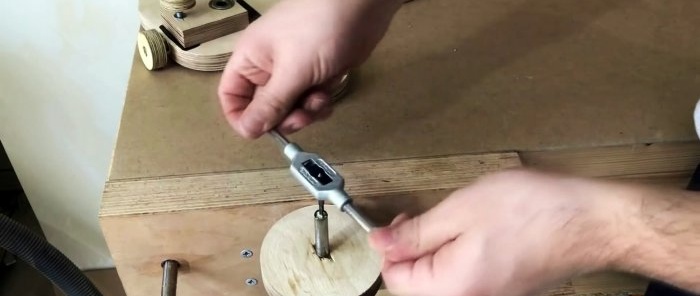
A hole is made in their center into which steel rods are pressed. Before this, the edges of the round timber are sawed lengthwise. After pressing, dowels made of nails are driven into the cuts. The resulting pulleys are trimmed on a lathe, or simply by rotating in a screwdriver.
The corners of the bed are rounded.
Then the left embed is glued onto it. A recess is made on the sides of the window for the sliding embed, into which reinforcing steel plates are screwed.
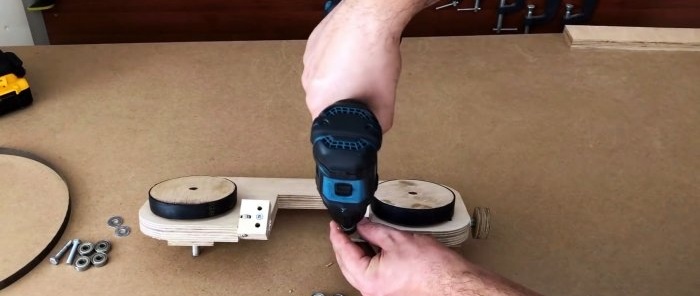
Next, drive pulleys are installed taking into account the size of the saw blade. The left axis is cut flush with the frame, and a bolt is screwed into its end into a previously made hole with a thread. A side hole is made in the axis of the second pulley on the sliding insert for installing a cotter pin. Before installation, both pulleys are equipped with a pair of washers so that they do not rub against the frame.
Inserts are cut out of plywood for installation on previously made 45-degree cutouts on the frame.
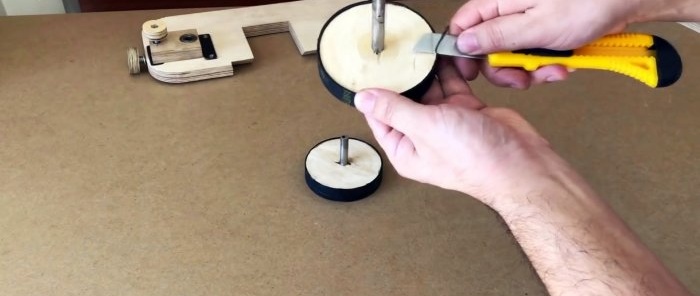
Rubber from a cut-off car inner tube is also glued onto them.
They will allow you to bend the saw blade to the correct angle of attack. The inserts are screwed into place.
A cut is made where the tape will rub over them. You need to drill through it on the side and insert a micro bearing inside. Then 4 regular bearings are installed on top of the inserts, which will serve as limiting rollers.
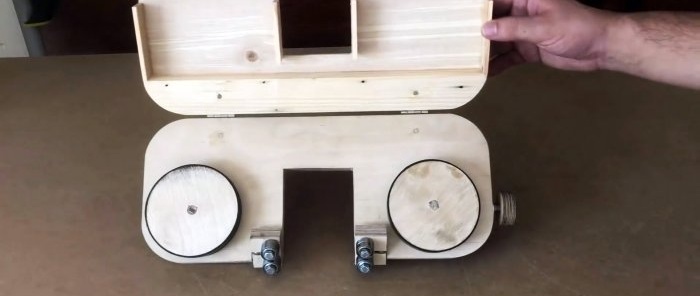
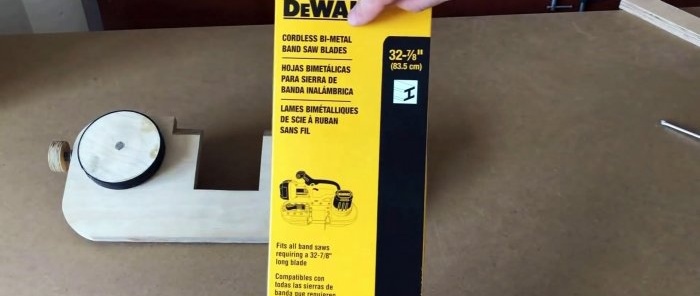
A protective casing is made from thin plywood and timber. It is screwed onto the frame using hinges. The saw blade is then installed and adjusted.
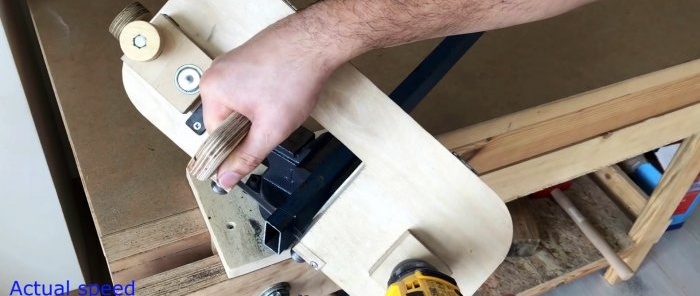
The handle is glued to the frame in a convenient place. Once the glue has dried, you can clamp the uncut pulley axle into the screwdriver chuck and start using the saw.
Basic materials:
- plywood 3 mm, 20 mm;
- small bearings – 12 pcs.;
- micro bearings – 2 pcs.;
- furniture nuts for furniture M6 – 2 pcs.;
- M6 bolts – 2 pcs.;
- car camera;
- steel round timber d9-10 mm;
- mini loops – 2 pcs.
Making a saw
From 20 mm plywood you need to cut a saw frame blank. 2 windows are cut out in it, as in the photo.
Then 3 square embeds are cut out of plywood to strengthen the frame for installing pulleys. Two of them are glued together. In this case, the lower one is made smaller. The square at the bottom should fit into the cutout of the frame, but be a little shorter behind it.
Markings are made on the frame for installing the left pulley. A through hole is drilled through it. It is also necessary to drill through the previously made embeds.
After this, you need to widen the holes with a core drill to half the thickness of the plywood, and clean them out for installing the bearings. On a double mortgage, bearings are placed on both sides.
In the double mortgage you need to drill 2 holes with a 9 mm drill. One is made through the protrusion of the larger square, the second from the end of the smaller one in the direction of the bearing. Then M6 self-tapping furniture nuts are screwed into them.
Next, you need to drill a hole in the end of the frame opposite the window for the adjustable pulley. It needs to coincide with the hole in the double mortgage. Then a plywood wing bolt is screwed through it. It will regulate the tension of the saw blade. The same bolt is screwed into the second nut. It will change the angle of the pulley.
There are 2 cuts made on the frame at 45 degrees on the sides of the central window.
Also, 2 drive pulleys are cut from plywood.
A hole is made in their center into which steel rods are pressed. Before this, the edges of the round timber are sawed lengthwise. After pressing, dowels made of nails are driven into the cuts. The resulting pulleys are trimmed on a lathe, or simply by rotating in a screwdriver.
The corners of the bed are rounded.
Then the left embed is glued onto it. A recess is made on the sides of the window for the sliding embed, into which reinforcing steel plates are screwed.
Next, drive pulleys are installed taking into account the size of the saw blade. The left axis is cut flush with the frame, and a bolt is screwed into its end into a previously made hole with a thread. A side hole is made in the axis of the second pulley on the sliding insert for installing a cotter pin. Before installation, both pulleys are equipped with a pair of washers so that they do not rub against the frame.
Inserts are cut out of plywood for installation on previously made 45-degree cutouts on the frame.
Rubber from a cut-off car inner tube is also glued onto them.
They will allow you to bend the saw blade to the correct angle of attack. The inserts are screwed into place.
A cut is made where the tape will rub over them. You need to drill through it on the side and insert a micro bearing inside. Then 4 regular bearings are installed on top of the inserts, which will serve as limiting rollers.
A protective casing is made from thin plywood and timber. It is screwed onto the frame using hinges. The saw blade is then installed and adjusted.
The handle is glued to the frame in a convenient place. Once the glue has dried, you can clamp the uncut pulley axle into the screwdriver chuck and start using the saw.
Watch the video
Similar master classes
Particularly interesting
Comments (1)

