How to Make a Simple and Multifunctional Rocket Stove
Any materials are suitable for making such a stove: stones, bricks, wall blocks, metal and even stumps. It is quite simple and you don’t need to be a professional stove maker to make it yourself.
We will make the stove from the following materials (used can be used):
The only tools you will need are welding, a grinder and a hammer. Since we will be dealing with cutting and welding metal, we need gloves and safety glasses.
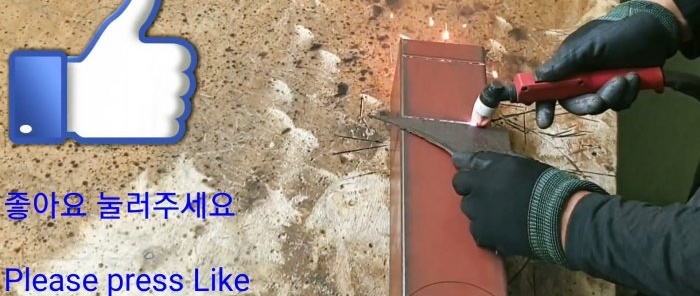
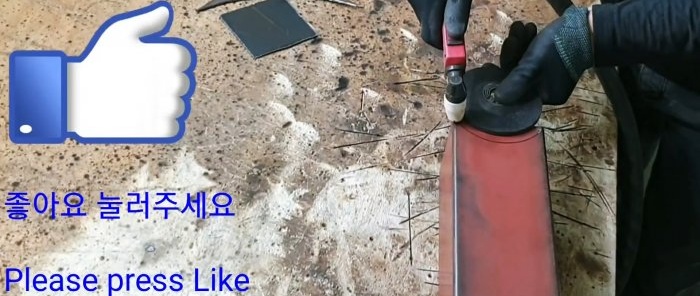
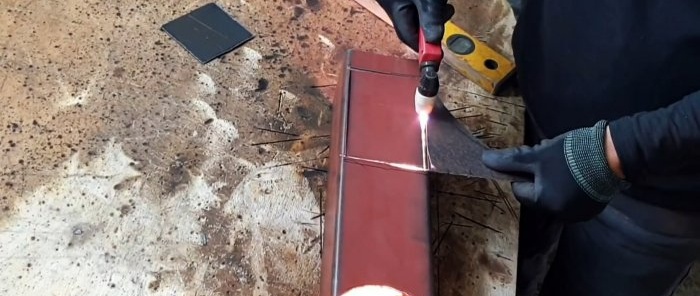
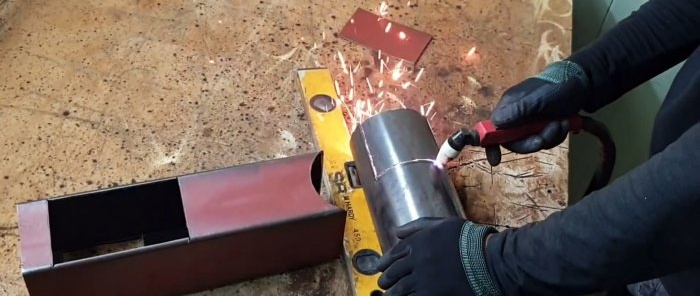
We mark a round and also a profile square pipe and cut out a square hole by welding on one side, leaving a jumper, and a saddle on the other.
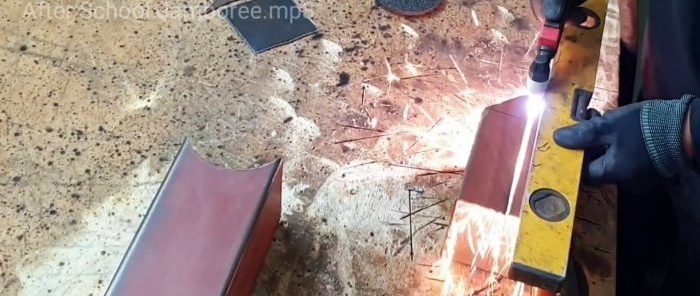
We cut a fragment from the same square pipe, bevel one end and divide it longitudinally in the middle. We remove the short part and use the rest.
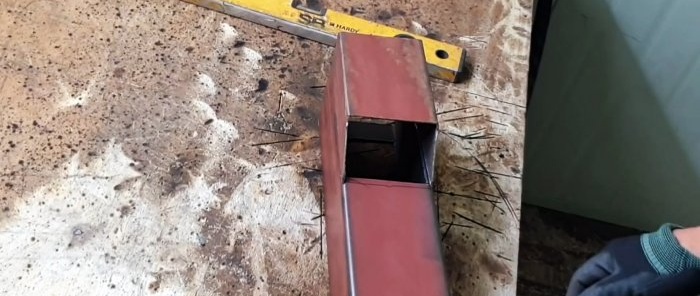
Under the square cutout in the profile pipe we make a rectangular cutout also with a jumper.
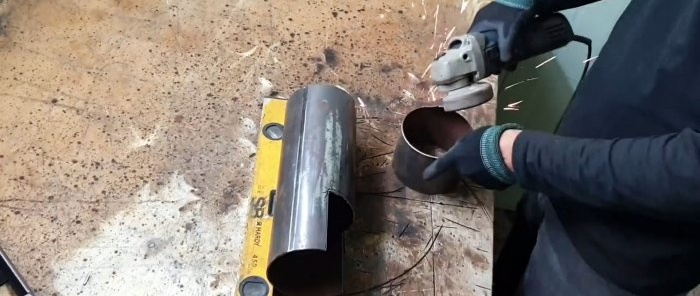
In the round pipe at the end we make a cutout open at the end, commensurate with the saddle of the square pipe, and at the other end we cut off a small cylinder according to the markings.
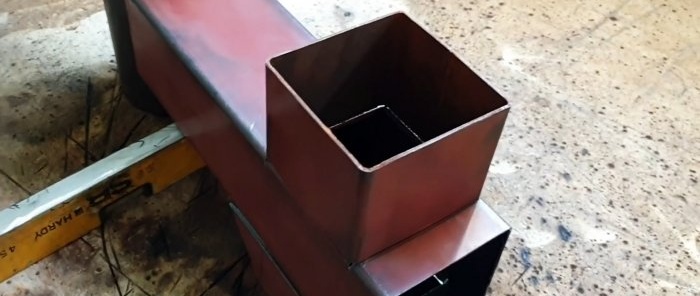
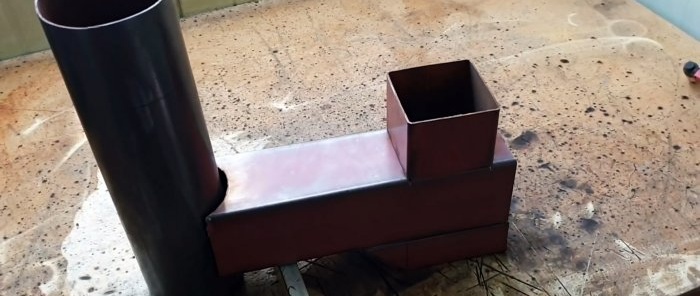
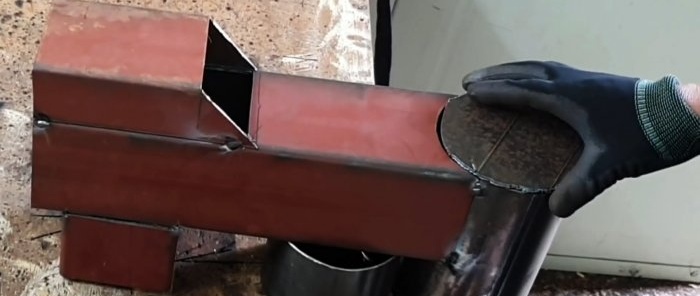
We weld the long part of the round pipe vertically to the square saddle, and to the other side - also vertically a fragment of the square pipe. On the reverse side from the bottom, we weld a part of the profile pipe to the rectangular cutout, directing the bevel inward.
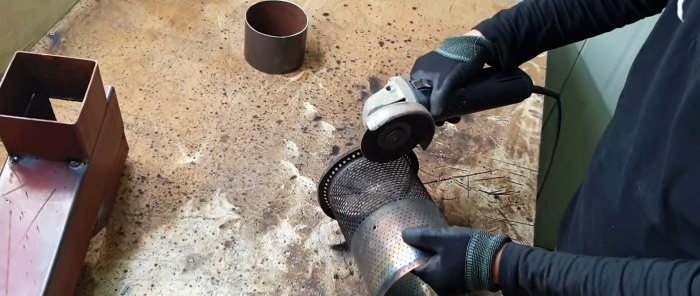
We cut the mesh cylinder, which turns into a perforated one made of sheet iron, with a grinder in the longitudinal direction, first removing the flange. We insert the mesh into a fragment of a round pipe.
We seal the bottom of the cylindrical pipe with a steel plug. We also weld the bevel of part of the profile pipe with a plate of suitable size.
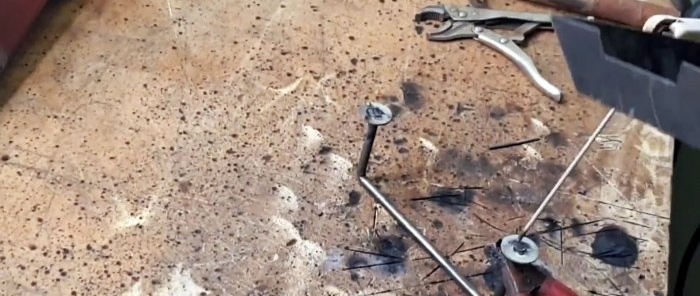
We bend two steel rods of equal length in the form of a bracket, insert the legs into the washers and weld them.
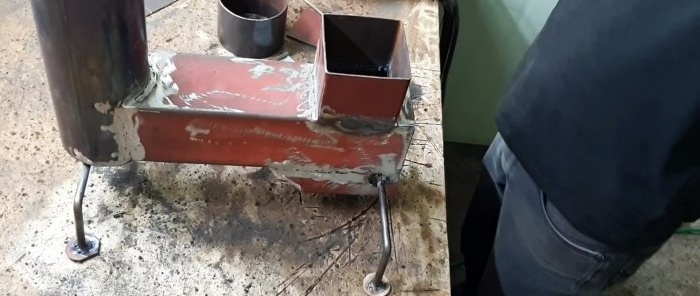
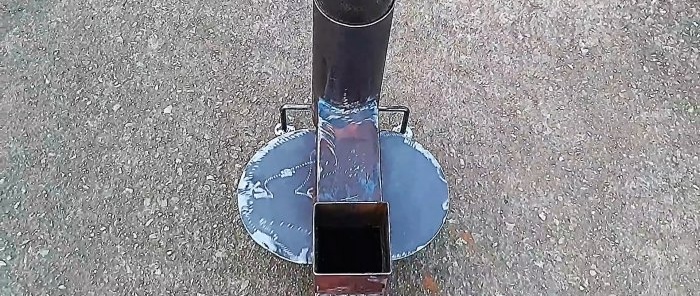
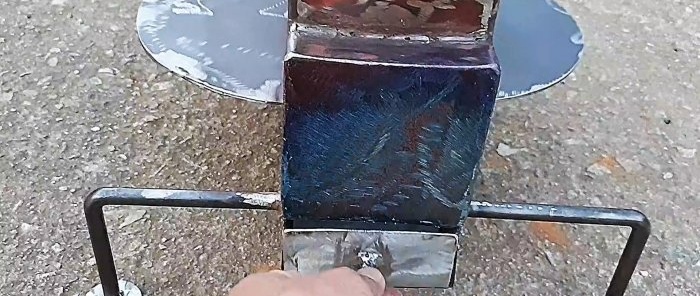
We also weld the end of the profile pipe with a square plate. We weld one bracket with washers across the profile pipe under the round one, with the legs pointing down. We cut the second into two halves and weld it on the sides of the profile pipe at the other end, also with the legs down.
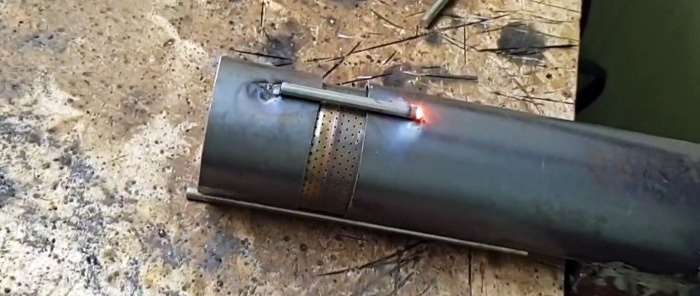
We attach a cylindrical fragment with a mesh using steel rods arranged vertically to a round pipe by welding.
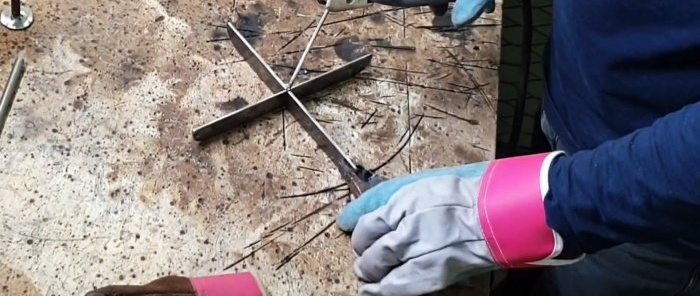
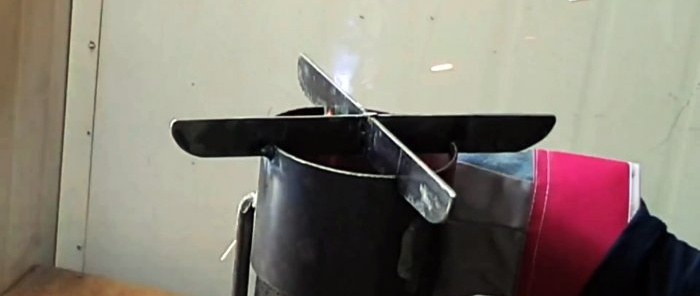
We assemble two plates with rounded ends and slots in the middle into a cross and in this position we weld and clean the seams. At the end of the cylindrical pipe we make 4 slots evenly in a circle. We insert the ends of the cross into the slots and weld it to the pipe.
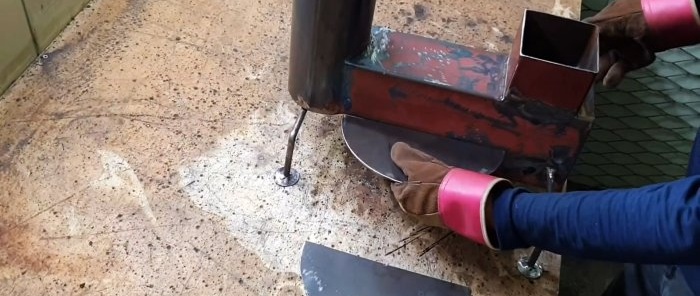
We divide the steel sheet disk into two halves and weld it with cuts on the sides of the profile pipe at the level and parallel to its bottom, starting from the surface of the round pipe.
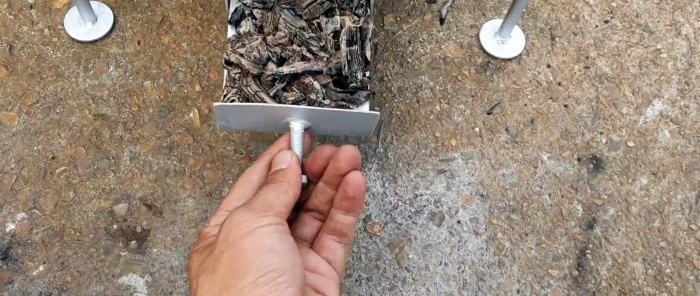
We insert a plate into the open end of the section of the profile pipe, to the outer end of which we weld a transverse plate of the same width and height that covers the end opening. We weld a bolt to the center of the transverse plate.
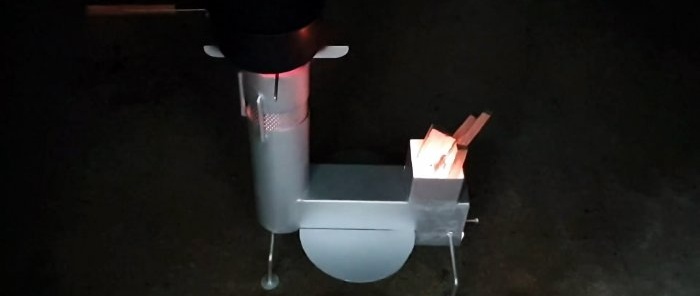
We cover all external surfaces of the structure with heat-resistant paint. After the paint has dried, we check our homemade product in action. We load firewood into the firebox and light it from below. Let the fire burn.
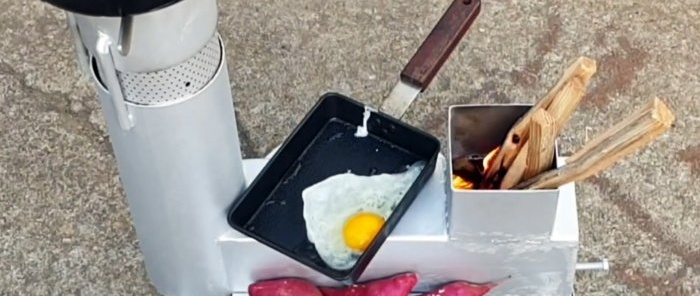
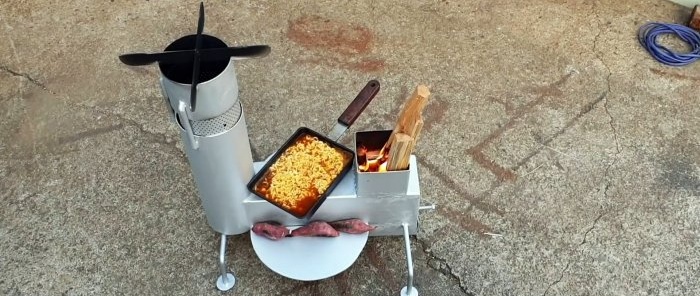
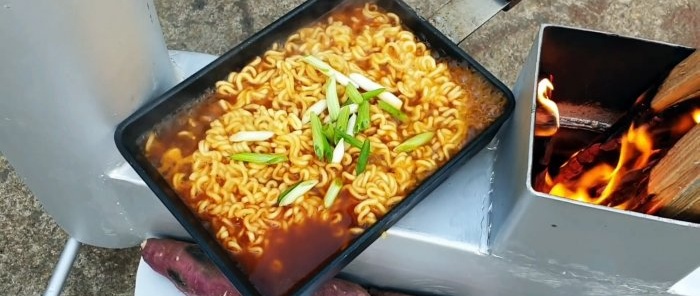
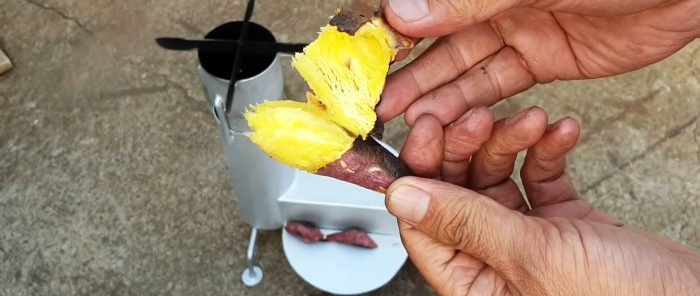
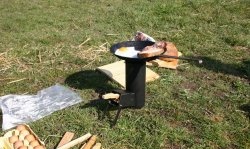
We place a pan of water for tea on the pipe, vegetables for stewing in semicircles, cook scrambled eggs in a frying pan on the combustion chamber, fry meat with onions and other dishes. The energy of the furnace is regulated by the volume of fuel added and the degree of opening of the blower.
Will need
We will make the stove from the following materials (used can be used):
- round pipe;
- profile square pipe;
- metal rod;
- steel strip;
- cylindrical mesh;
- steel sheet;
- fireproof paint, etc.
The only tools you will need are welding, a grinder and a hammer. Since we will be dealing with cutting and welding metal, we need gloves and safety glasses.
Rocket furnace manufacturing process
We mark a round and also a profile square pipe and cut out a square hole by welding on one side, leaving a jumper, and a saddle on the other.
We cut a fragment from the same square pipe, bevel one end and divide it longitudinally in the middle. We remove the short part and use the rest.
Under the square cutout in the profile pipe we make a rectangular cutout also with a jumper.
In the round pipe at the end we make a cutout open at the end, commensurate with the saddle of the square pipe, and at the other end we cut off a small cylinder according to the markings.
We weld the long part of the round pipe vertically to the square saddle, and to the other side - also vertically a fragment of the square pipe. On the reverse side from the bottom, we weld a part of the profile pipe to the rectangular cutout, directing the bevel inward.
We cut the mesh cylinder, which turns into a perforated one made of sheet iron, with a grinder in the longitudinal direction, first removing the flange. We insert the mesh into a fragment of a round pipe.
We seal the bottom of the cylindrical pipe with a steel plug. We also weld the bevel of part of the profile pipe with a plate of suitable size.
We bend two steel rods of equal length in the form of a bracket, insert the legs into the washers and weld them.
We also weld the end of the profile pipe with a square plate. We weld one bracket with washers across the profile pipe under the round one, with the legs pointing down. We cut the second into two halves and weld it on the sides of the profile pipe at the other end, also with the legs down.
We attach a cylindrical fragment with a mesh using steel rods arranged vertically to a round pipe by welding.
We assemble two plates with rounded ends and slots in the middle into a cross and in this position we weld and clean the seams. At the end of the cylindrical pipe we make 4 slots evenly in a circle. We insert the ends of the cross into the slots and weld it to the pipe.
We divide the steel sheet disk into two halves and weld it with cuts on the sides of the profile pipe at the level and parallel to its bottom, starting from the surface of the round pipe.
We insert a plate into the open end of the section of the profile pipe, to the outer end of which we weld a transverse plate of the same width and height that covers the end opening. We weld a bolt to the center of the transverse plate.
We cover all external surfaces of the structure with heat-resistant paint. After the paint has dried, we check our homemade product in action. We load firewood into the firebox and light it from below. Let the fire burn.
We place a pan of water for tea on the pipe, vegetables for stewing in semicircles, cook scrambled eggs in a frying pan on the combustion chamber, fry meat with onions and other dishes. The energy of the furnace is regulated by the volume of fuel added and the degree of opening of the blower.
Watch the video
Similar master classes
Particularly interesting
Comments (0)

