How to make a top-loading oven from a metal tank
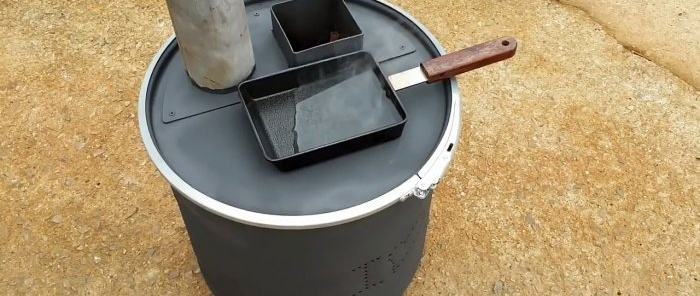
This stove can be used to heat a garage, a new building in cold weather, or be used in the yard for cooking. Its manufacture does not require high qualifications, scarce materials or special tools.
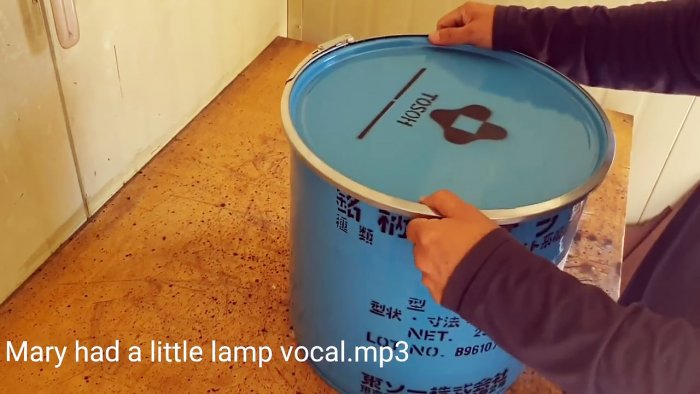
The basis for our universal oven will be a metal tank with a lid and a crimp hoop.
We must also stock up on the following materials and supplies:
The tools we will need in our work are: a grinder with a cutting disc and a grinding wheel, welding equipment, a plasma cutter, a grinder, a mechanical emery machine, a drill and pliers for installing rivets.
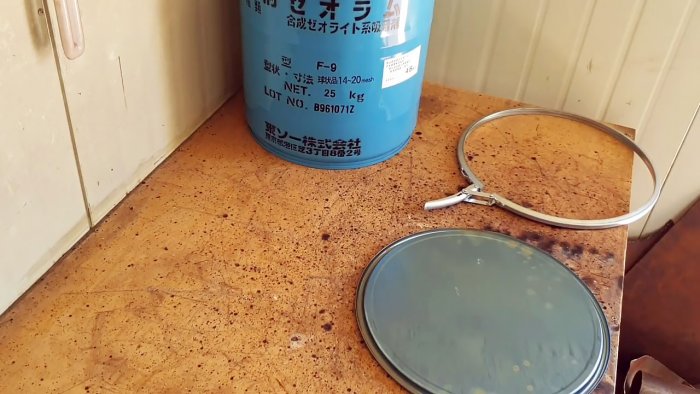
If the tank is new, then remove the sealing ring, which will still burn when the stove is lit. A crimp ring will be useful for securing the lid to the tank.
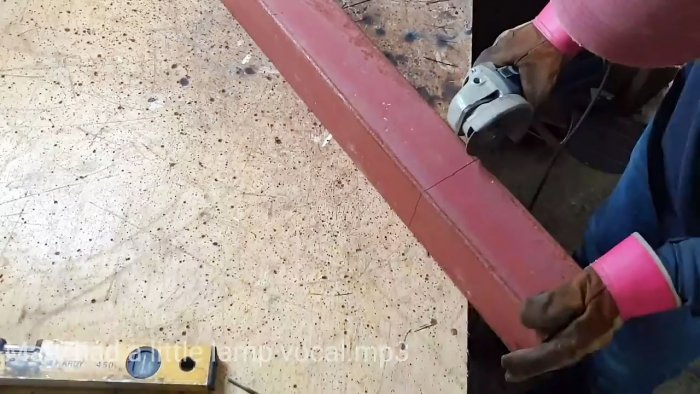
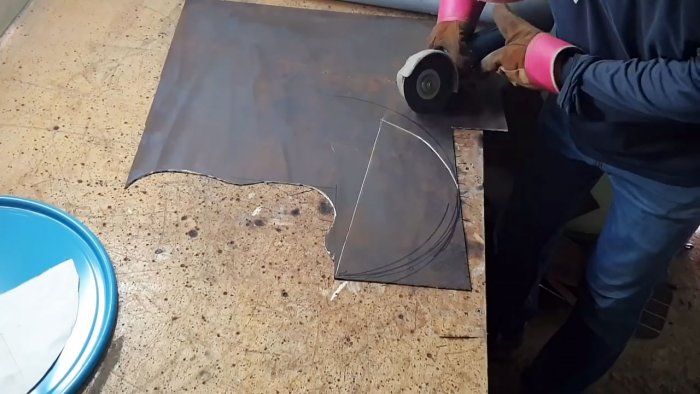
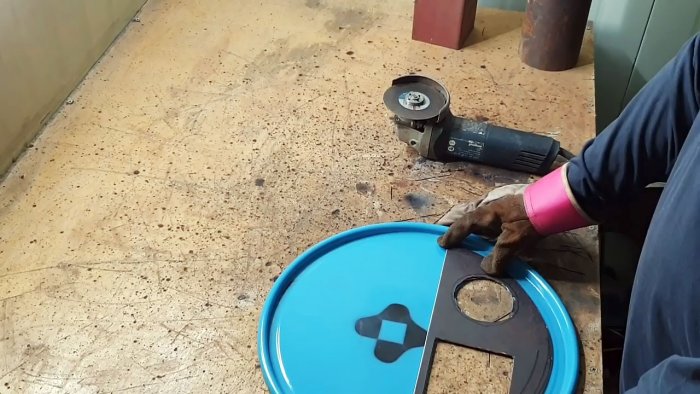
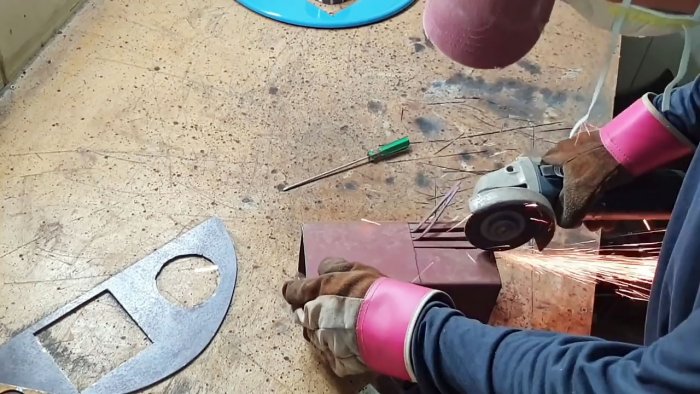
Using a grinder, we cut a piece of the required length from the profile pipe, and from the sheet material - a segment in size close to the semicircle of the lid.
Enough so that profile and round pipes can be placed vertically on it.
We mark the surface of the segment for a square cutout and next to it for a round one. We make a square hole with a grinder, and a round hole with a plasma cutter.
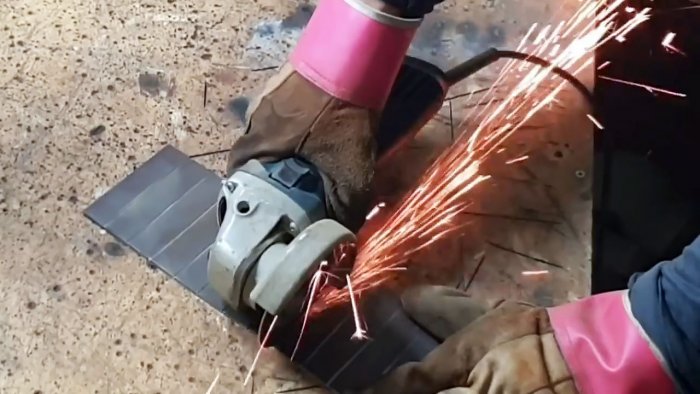
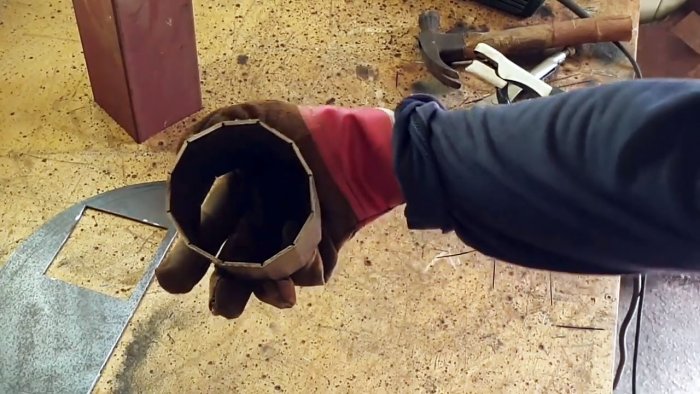
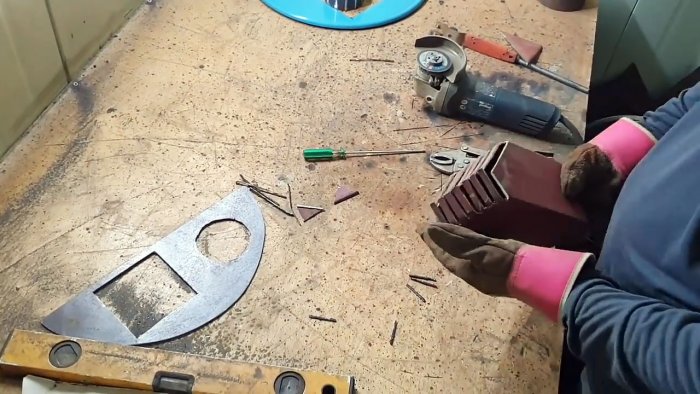
We make a polyhedron from a strip of metal sheet. To do this, on its inner side we make shallow transverse notches along the entire width and bend the strip until the opposite edges meet.
We seal the joint by welding.
We process the segment along the perimeter and the cutouts on an emery wheel and grinder, removing burrs and cutting off irregularities.
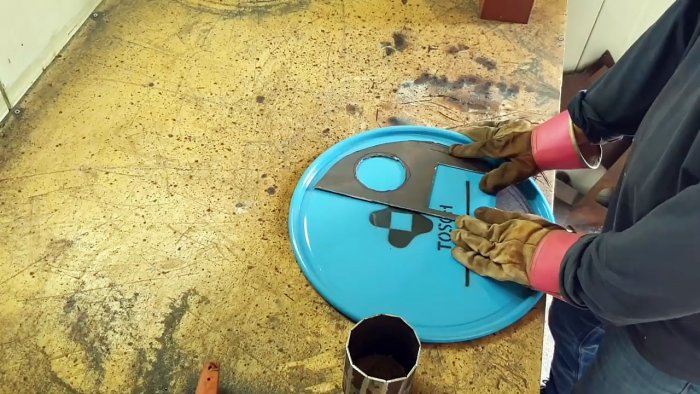
Using the segment as a template, we mark the cutouts on the tank lid, which we then implement using a grinder.
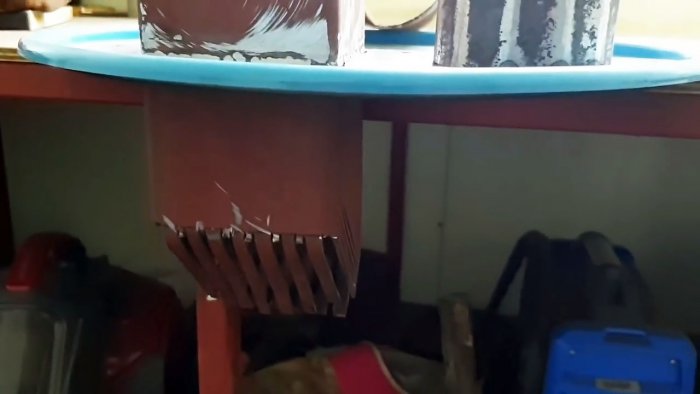
At one end of the profile pipe we make a grate. To do this, use a grinder to cut out narrow strips in opposite directions, which we remove, and tilt the wide ones inward until their ends touch. For better organization of combustion, we shift the junction of the strips from the center, making the length of the strips, on the one hand, shorter.
On two adjacent sides of the pipe at the level of the grate we make inclined slots for air to enter the firebox.
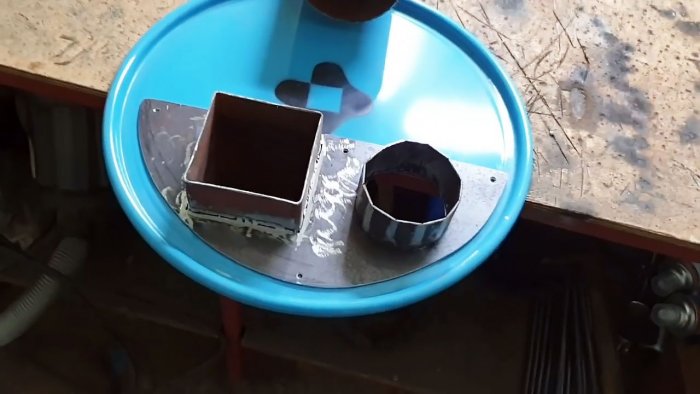
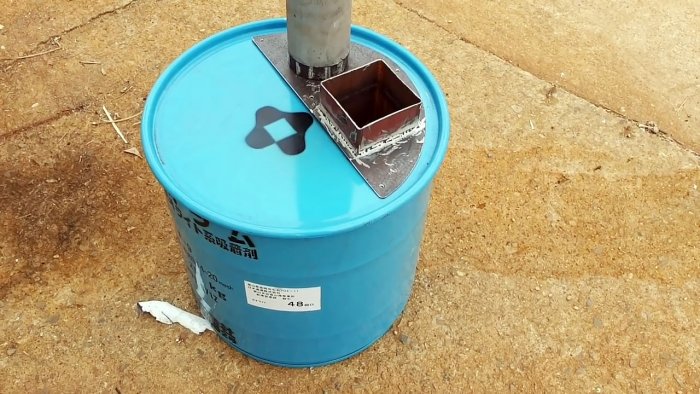
We install the profile pipe into the square hole of the segment and weld it at a certain level. On the same side of the segment we weld the polygon in place.
We place an exhaust pipe on the polyhedron and light a fire in the firebox. Even in a furnace that is not yet fully finished, a draft arises and the fuel burns steadily, and the flame and smoke do not come out of the firebox, but go down and enter the chimney.
In order to remove paint and stickers from the tank, remove the lid, place it on top and light a fire to calcinate its parts.
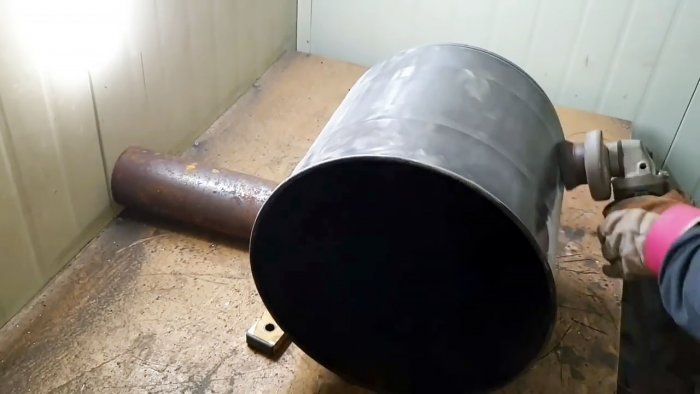
We process all surfaces of the tank and lid with a cupped wire wheel attached to the spindle of the grinder.
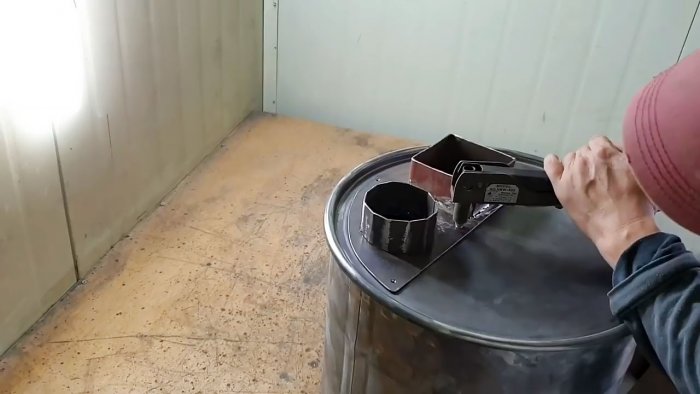
We attach the segment with the welded firebox and the polygon to the lid using four rivets.
After making sure of the quality of the rivet, we put the lid in place and secure it to the tank using a crimp hoop.
On the side surface of the tank we drill a system of holes for air to enter the firebox.
Taking into account the depth of the tank and the location of the firebox, we manufacture a divider designed to organize flows in the furnace in such a way that ensures its highest efficiency.
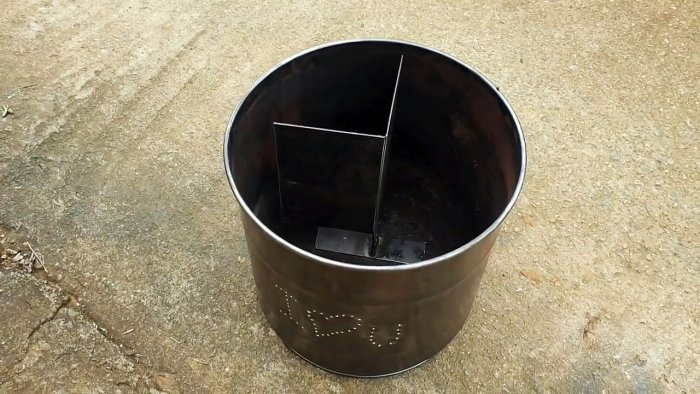
It consists of one metal strip equal to the height of the tank, to which we weld a horizontal plate from below for structural stability. At a right angle to the long strip we attach a short one that does not reach the bottom of the oven.
We place the divider in the tank so that its plates do not come into contact with the walls, but at the same time separate the firebox from the entrance to the exhaust pipe and force the hot flow to move along a longer path in the furnace and give it almost all the thermal energy.
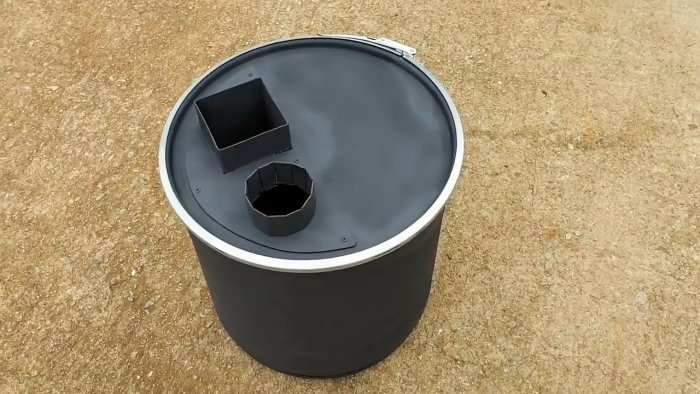
Place the cover in place and secure it with a crimp hoop. We paint the outer surface of the oven with heat-resistant paint from an aerosol can.
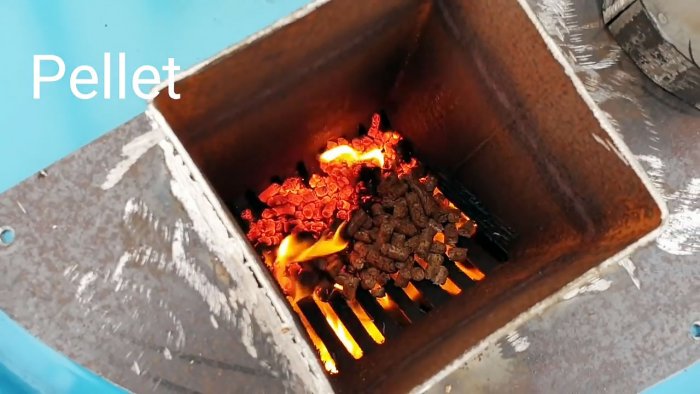
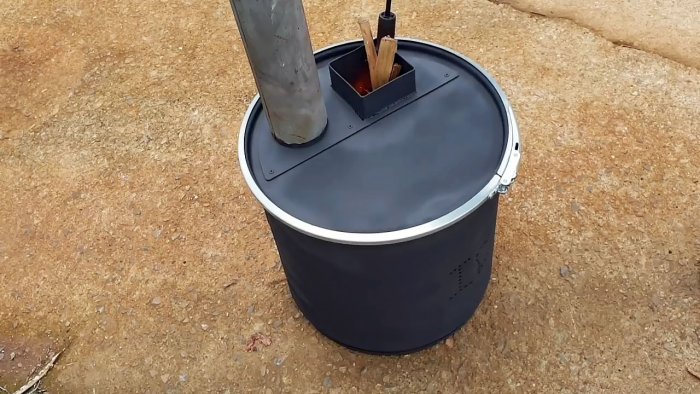
We install the exhaust pipe in place, put firewood in the firebox and light it from a gas burner. After a short time, the stove will reach a stable combustion mode and will not only heat the room, but will also allow you to boil tea and even cook food.
Will need
The basis for our universal oven will be a metal tank with a lid and a crimp hoop.
We must also stock up on the following materials and supplies:
- a piece of profile square pipe;
- sheet metal;
- tin pipe;
- a can of aerosol paint.
The tools we will need in our work are: a grinder with a cutting disc and a grinding wheel, welding equipment, a plasma cutter, a grinder, a mechanical emery machine, a drill and pliers for installing rivets.
Furnace manufacturing process
If the tank is new, then remove the sealing ring, which will still burn when the stove is lit. A crimp ring will be useful for securing the lid to the tank.
Using a grinder, we cut a piece of the required length from the profile pipe, and from the sheet material - a segment in size close to the semicircle of the lid.
Enough so that profile and round pipes can be placed vertically on it.
We mark the surface of the segment for a square cutout and next to it for a round one. We make a square hole with a grinder, and a round hole with a plasma cutter.
We make a polyhedron from a strip of metal sheet. To do this, on its inner side we make shallow transverse notches along the entire width and bend the strip until the opposite edges meet.
We seal the joint by welding.
We process the segment along the perimeter and the cutouts on an emery wheel and grinder, removing burrs and cutting off irregularities.
Using the segment as a template, we mark the cutouts on the tank lid, which we then implement using a grinder.
At one end of the profile pipe we make a grate. To do this, use a grinder to cut out narrow strips in opposite directions, which we remove, and tilt the wide ones inward until their ends touch. For better organization of combustion, we shift the junction of the strips from the center, making the length of the strips, on the one hand, shorter.
On two adjacent sides of the pipe at the level of the grate we make inclined slots for air to enter the firebox.
We install the profile pipe into the square hole of the segment and weld it at a certain level. On the same side of the segment we weld the polygon in place.
We place an exhaust pipe on the polyhedron and light a fire in the firebox. Even in a furnace that is not yet fully finished, a draft arises and the fuel burns steadily, and the flame and smoke do not come out of the firebox, but go down and enter the chimney.
In order to remove paint and stickers from the tank, remove the lid, place it on top and light a fire to calcinate its parts.
We process all surfaces of the tank and lid with a cupped wire wheel attached to the spindle of the grinder.
We attach the segment with the welded firebox and the polygon to the lid using four rivets.
After making sure of the quality of the rivet, we put the lid in place and secure it to the tank using a crimp hoop.
On the side surface of the tank we drill a system of holes for air to enter the firebox.
Taking into account the depth of the tank and the location of the firebox, we manufacture a divider designed to organize flows in the furnace in such a way that ensures its highest efficiency.
It consists of one metal strip equal to the height of the tank, to which we weld a horizontal plate from below for structural stability. At a right angle to the long strip we attach a short one that does not reach the bottom of the oven.
We place the divider in the tank so that its plates do not come into contact with the walls, but at the same time separate the firebox from the entrance to the exhaust pipe and force the hot flow to move along a longer path in the furnace and give it almost all the thermal energy.
Place the cover in place and secure it with a crimp hoop. We paint the outer surface of the oven with heat-resistant paint from an aerosol can.
We install the exhaust pipe in place, put firewood in the firebox and light it from a gas burner. After a short time, the stove will reach a stable combustion mode and will not only heat the room, but will also allow you to boil tea and even cook food.
Watch the video
Similar master classes
Unusual corner connection of a profile pipe
How to increase the functionality of an angle grinder with removable equipment
How to make a hydraulic press from a bottle jack
A lift for instantly jacking up a car with your own
Do-it-yourself motor drill from a trimmer
How to make a corner connection between three square profiles
Particularly interesting
Comments (0)

