How to make a reliable jigsaw for shape cutting
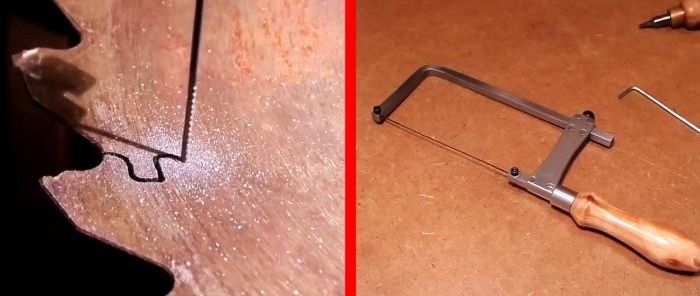
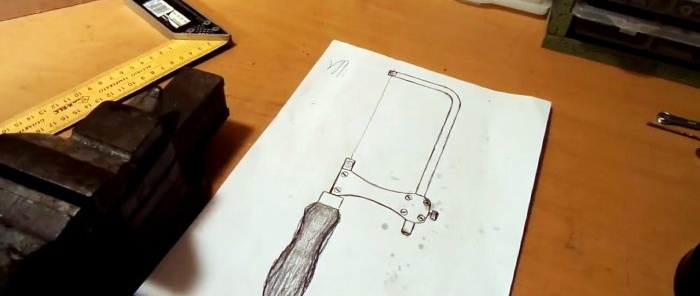
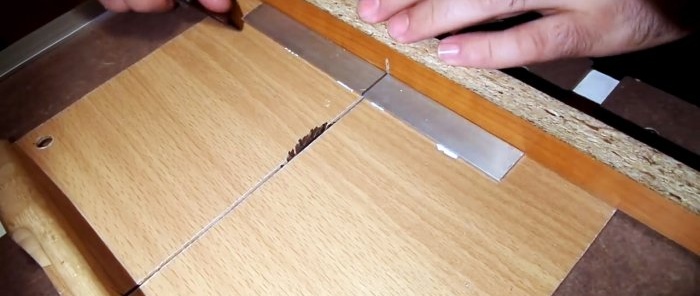
It is very convenient to use a tool made for yourself, which is why many people prefer it. You can start collecting your arsenal of homemade equipment and devices by making a jigsaw for figure cutting. Assembling it is a fun, precise job that will test your skills and take them to the next level for more complex DIY projects.
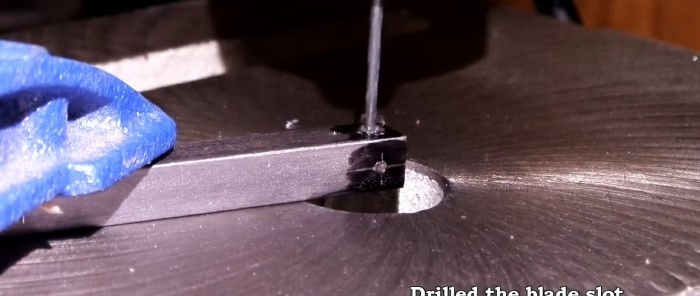
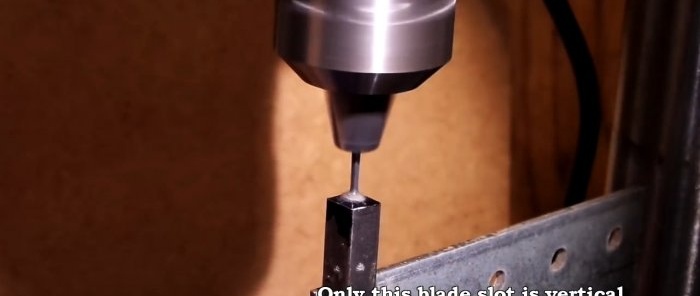
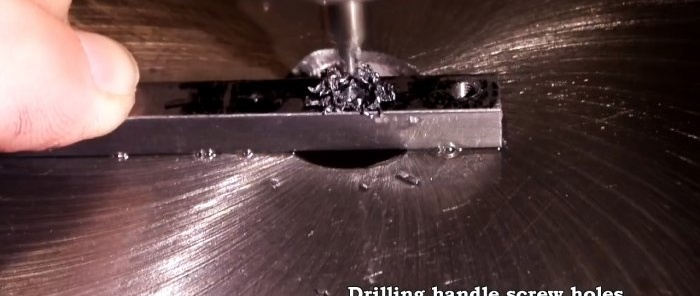
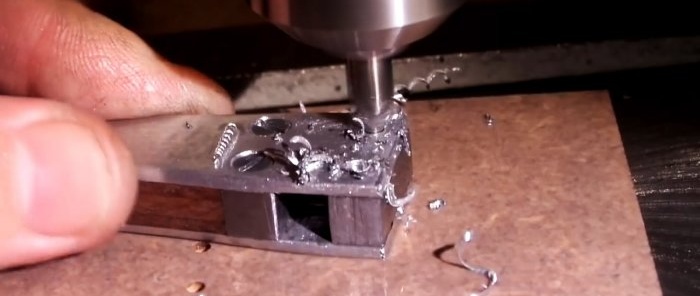
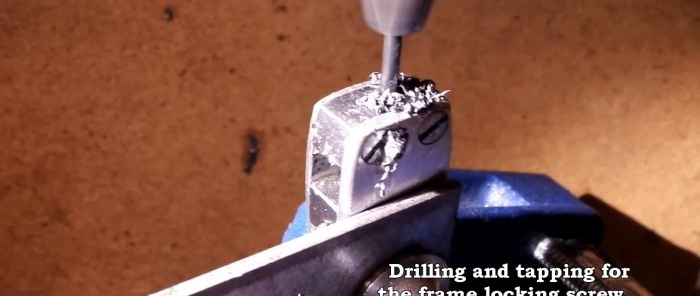
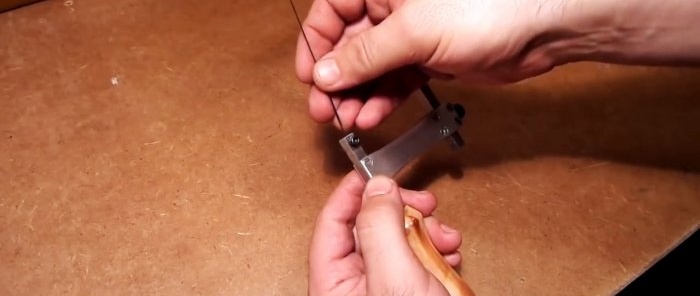
Having retreated 5 mm from the end of the aluminum square, you need to drill through it. The drill is selected with a diameter so that it can accommodate the saw blade for a shaped cut. Then you need to lighten the side so that you get into the previous hole, but without going through the square.
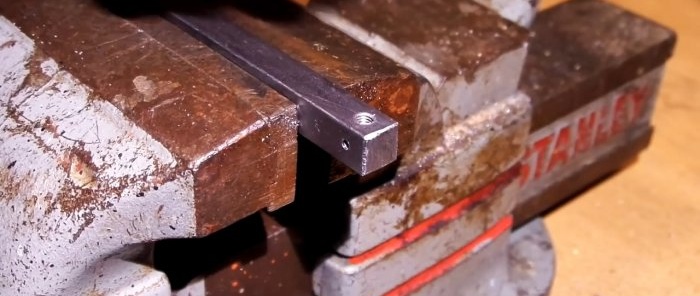
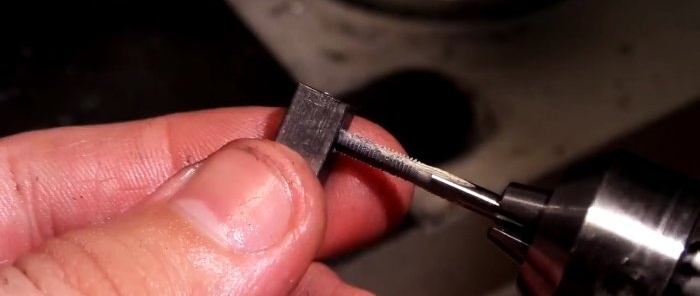
A thread is cut into it for an M3 screw, which will clamp the nail file.
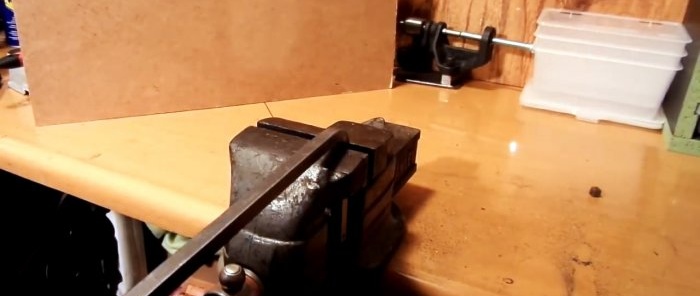
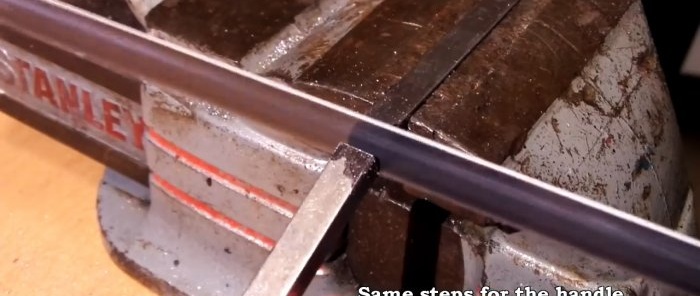
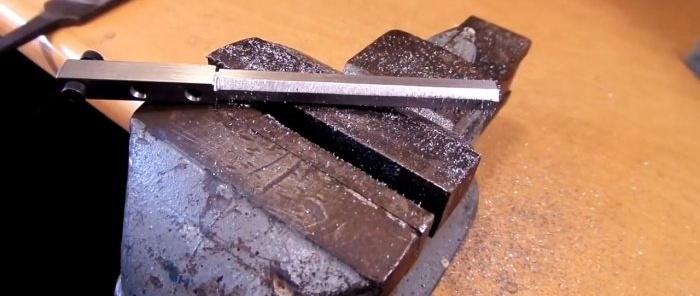
After this, you need to make a mark on the square, clamp it in a vice, and bend the L-shaped workpiece along it at a right angle.The cutting depth of the finished tool will depend on the length of the indentation from the edge when bending. After this, you need to straighten the bend with a file, removing the protruding deformed metal.
The length of the L-shaped workpiece after bending should be selected depending on which files will be used: 130 mm, 160 mm or more. The design allows for adjustment to suit different fabrics, so the length of the larger side can be left at least 20 cm.
In a similar way, you need to drill another square blank and cut a thread in it. In the jigsaw, it will hold the second end of the file, and will be used to install the handle.
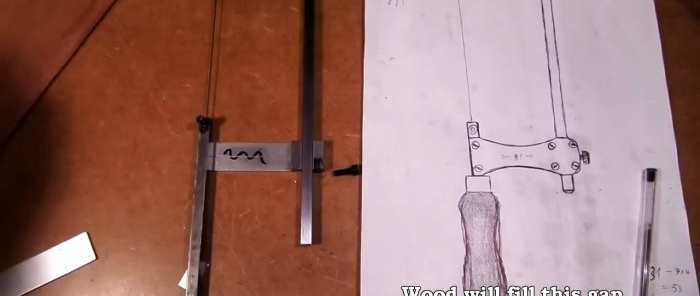
To connect 2 workpieces together into a jigsaw frame, you need to make a jumper for them. It will consist of 2 strips of aluminum sheet. Their length should be 10 mm longer than the short side of the L-shaped part. The jumper will be screwed to the square with the handle. On the other side, 2 square inserts will be attached to it with screws, between which an L-shaped blank will be located. This will allow the latter to slide.
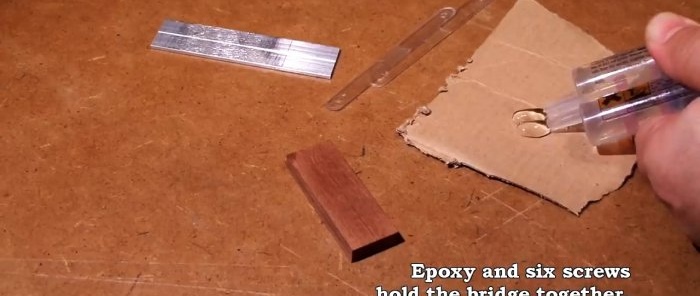
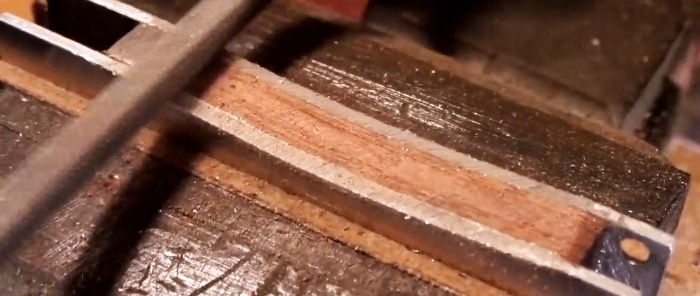
A solid piece of wood or glued veneer must be glued into the empty space between the lintel plates.
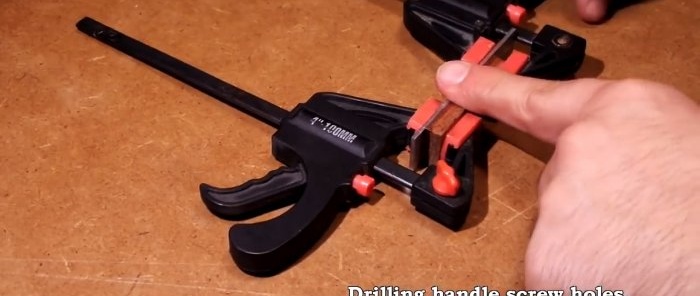
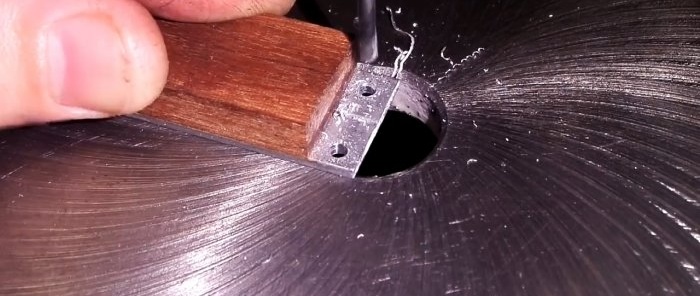
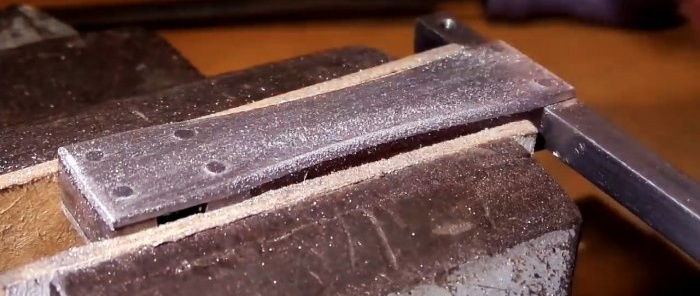
2 holes are drilled from one edge of the resulting workpiece for screwing it to the square of the handle.
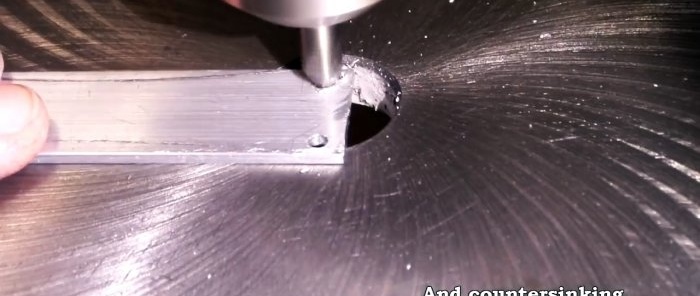
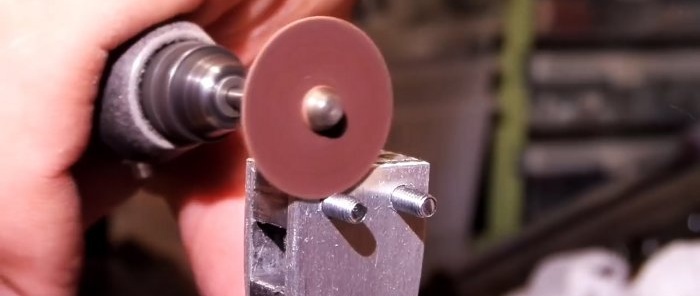
Then 4 holes are made at the second end to secure short inserts. If desired, you can sand the lintel on the sides, giving it smooth shapes. Then the countersunk holes are threaded and the screws are screwed into them. They fix the inserts and screw the part to the square of the handle.
A hole is drilled at the end of the jumper through the first insert. A thread is cut into it to install the adjusting screw.
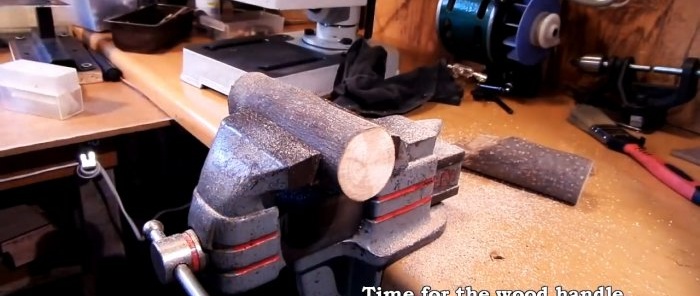
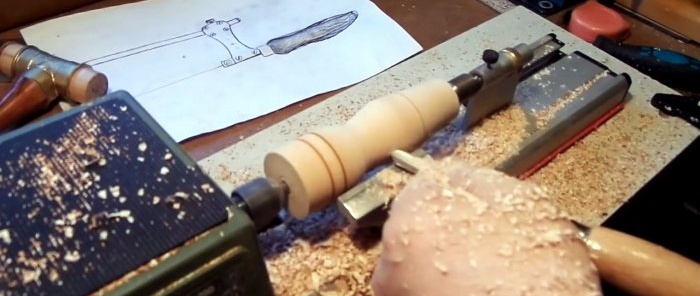
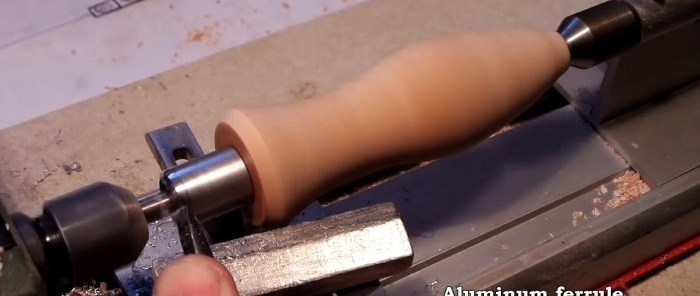
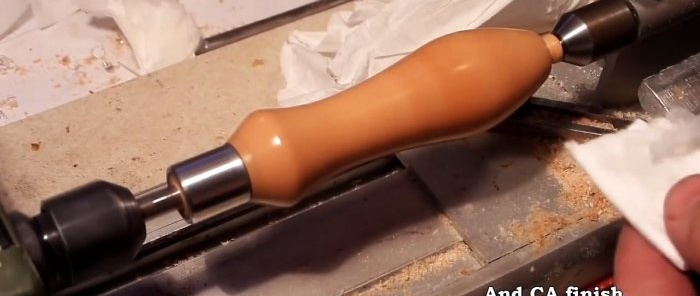
A handle is carved from wood.Then the edges on the square for its installation are ground off, and it is placed on glue. Immediately soak the handle with oil.
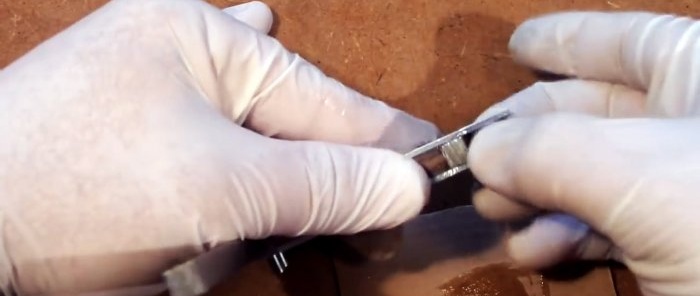
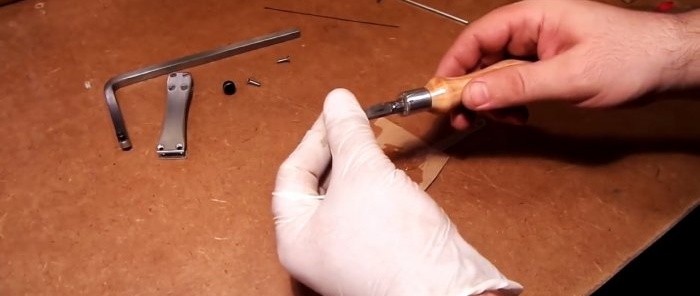
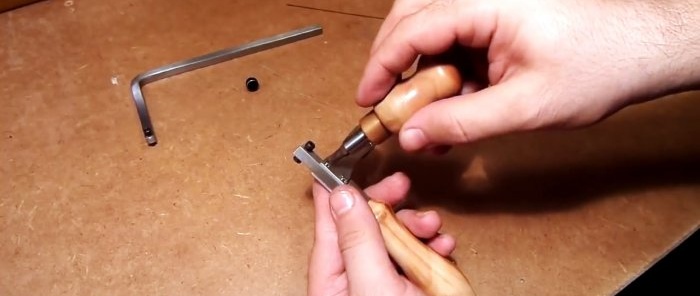
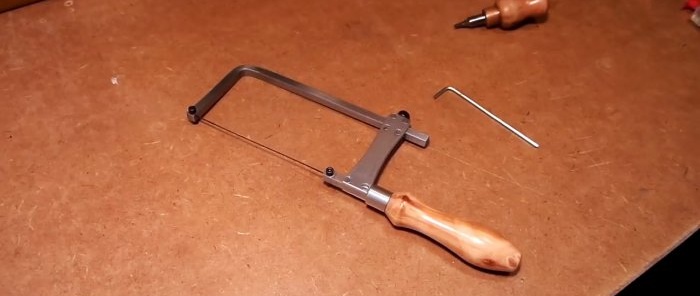
To assemble the jigsaw, you need to screw the crossbar onto the square of the handle, insert the L-shaped part of the frame into the gap between the inserts. Then the nail file is clamped, the upper sliding part of the frame is tightened a little and the screw is tightened.
Thanks to the use of a square, the resulting jigsaw is guaranteed not to go with a screw, like many factory analogues made from thin-walled tubes. Thanks to the adjustability, it can be used in conjunction with files of different lengths, so the homemade product is worth your time.
Materials:
- aluminum square 10x10 mm or thinner;
- M3 hexagon screws 3 pcs.;
- M3 regular screws – 6 pcs.;
- sheet aluminum;
- wooden blank for handle;
- lath or veneer;
- saw blade.
Making a jigsaw
Having retreated 5 mm from the end of the aluminum square, you need to drill through it. The drill is selected with a diameter so that it can accommodate the saw blade for a shaped cut. Then you need to lighten the side so that you get into the previous hole, but without going through the square.
A thread is cut into it for an M3 screw, which will clamp the nail file.
After this, you need to make a mark on the square, clamp it in a vice, and bend the L-shaped workpiece along it at a right angle.The cutting depth of the finished tool will depend on the length of the indentation from the edge when bending. After this, you need to straighten the bend with a file, removing the protruding deformed metal.
The length of the L-shaped workpiece after bending should be selected depending on which files will be used: 130 mm, 160 mm or more. The design allows for adjustment to suit different fabrics, so the length of the larger side can be left at least 20 cm.
In a similar way, you need to drill another square blank and cut a thread in it. In the jigsaw, it will hold the second end of the file, and will be used to install the handle.
To connect 2 workpieces together into a jigsaw frame, you need to make a jumper for them. It will consist of 2 strips of aluminum sheet. Their length should be 10 mm longer than the short side of the L-shaped part. The jumper will be screwed to the square with the handle. On the other side, 2 square inserts will be attached to it with screws, between which an L-shaped blank will be located. This will allow the latter to slide.
A solid piece of wood or glued veneer must be glued into the empty space between the lintel plates.
2 holes are drilled from one edge of the resulting workpiece for screwing it to the square of the handle.
Then 4 holes are made at the second end to secure short inserts. If desired, you can sand the lintel on the sides, giving it smooth shapes. Then the countersunk holes are threaded and the screws are screwed into them. They fix the inserts and screw the part to the square of the handle.
A hole is drilled at the end of the jumper through the first insert. A thread is cut into it to install the adjusting screw.
A handle is carved from wood.Then the edges on the square for its installation are ground off, and it is placed on glue. Immediately soak the handle with oil.
To assemble the jigsaw, you need to screw the crossbar onto the square of the handle, insert the L-shaped part of the frame into the gap between the inserts. Then the nail file is clamped, the upper sliding part of the frame is tightened a little and the screw is tightened.
Thanks to the use of a square, the resulting jigsaw is guaranteed not to go with a screw, like many factory analogues made from thin-walled tubes. Thanks to the adjustability, it can be used in conjunction with files of different lengths, so the homemade product is worth your time.
Watch the video
Similar master classes

How to assemble a string jigsaw for figure cutting
How to make a simple machine for shaped cutting of metal from a drill
How to make a 12 V electric jigsaw from scrap materials

How to beautifully cut an egg without a figured knife

How to convert a sewing machine into a jigsaw

How to connect aluminum and copper wire
Particularly interesting
Comments (0)

