How to make a computer desk in Scandinavian style
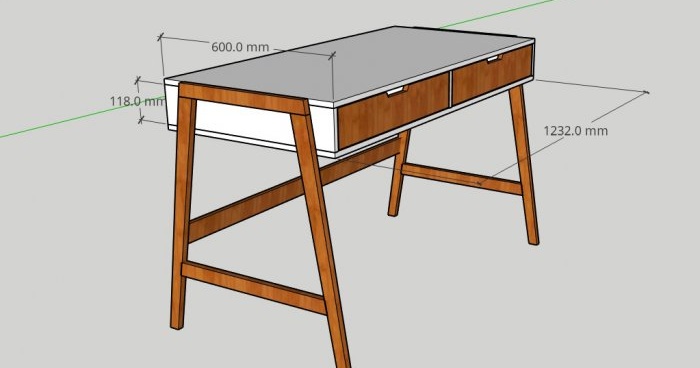
Initially, I worked out a 3D model in the SketchUp program in order, firstly, to approve the shape and design of the table for myself, and secondly, to understand the right amount of material required to start work.
Link to the 3D project if anyone needs it: https://yadi.sk/d/6hQpWZJpNB3_Lg
Making a table
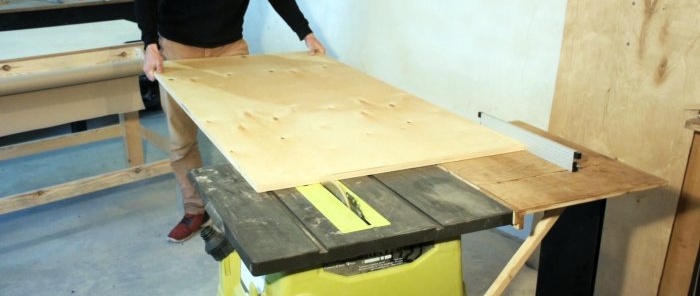
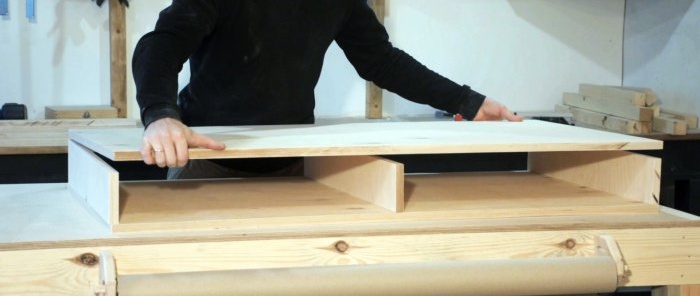
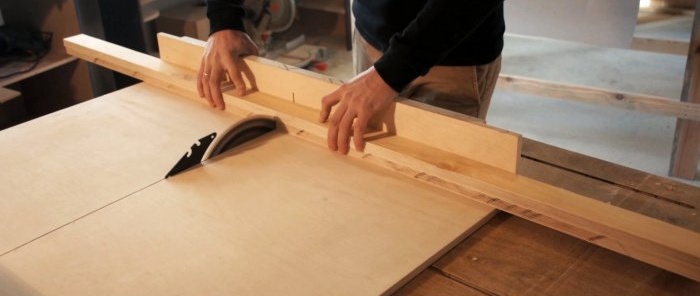
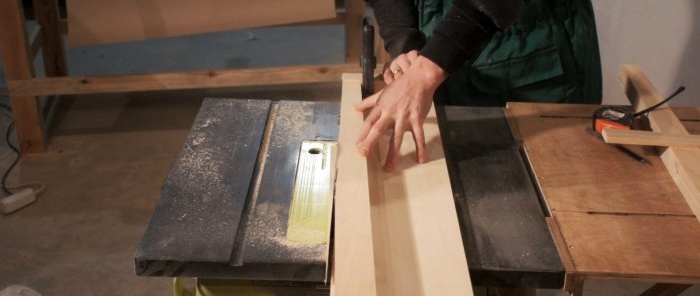
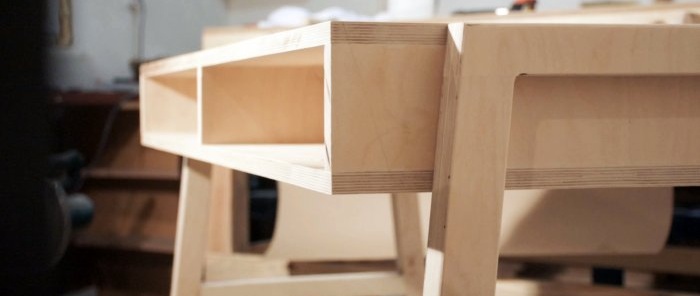
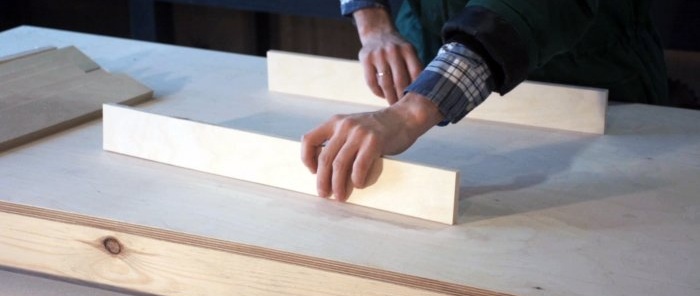
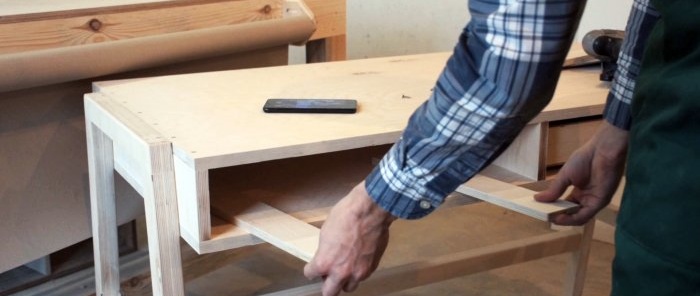
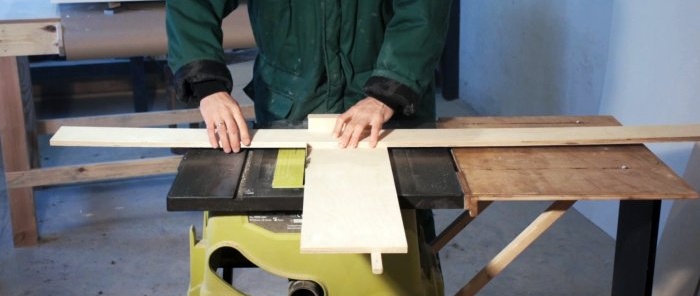
Then I started cutting 18 mm plywood for the tabletop, which consists of 5 elements, 3 racks, an upper tabletop and the same bottom.
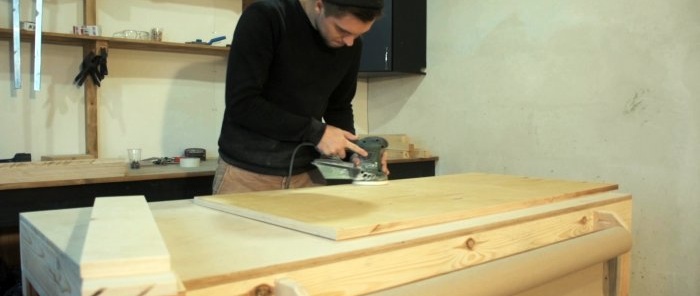
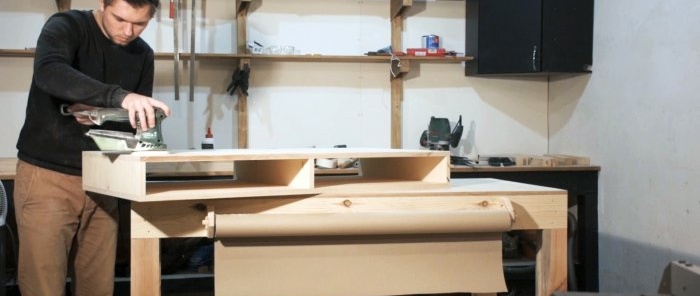
Before assembly, I sanded all the internal walls, since after assembly it will no longer be possible to approach them.
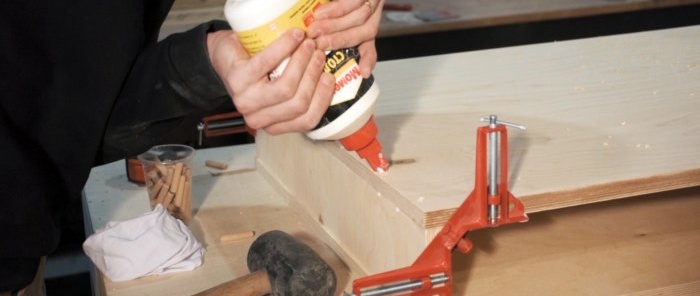
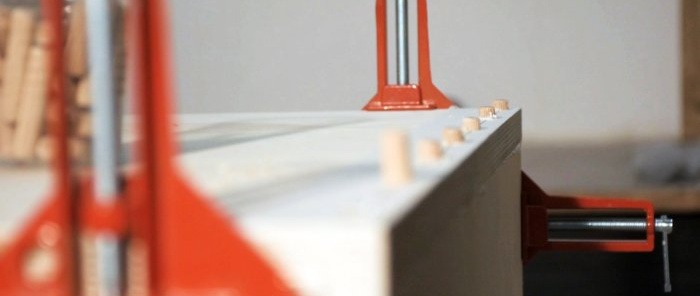
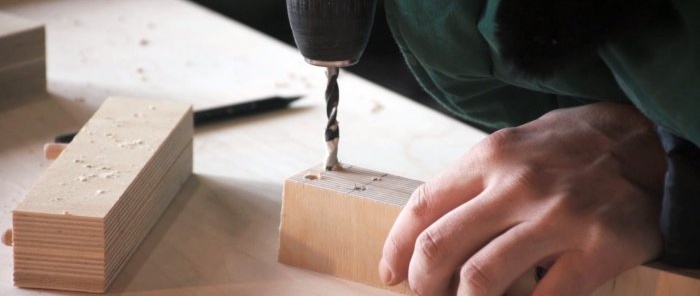
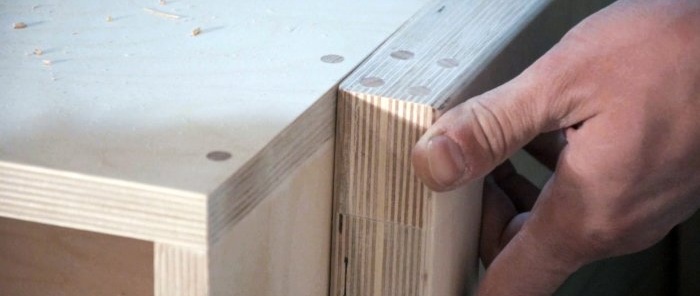
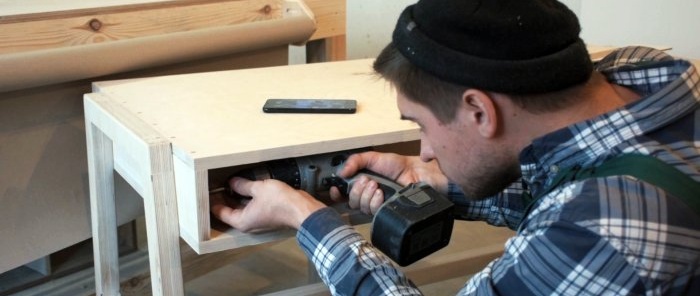
I decided to attach the top of the tabletop with glue and dowels.
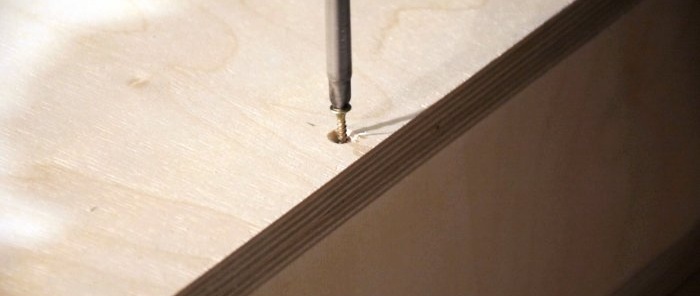
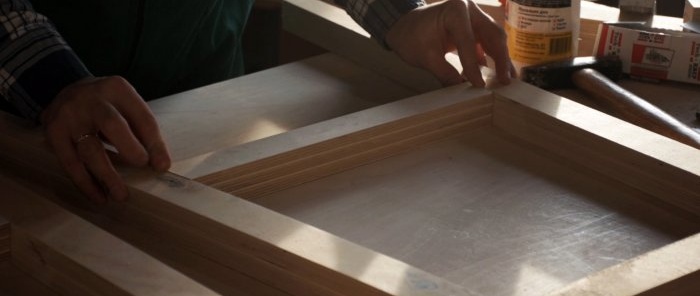
I glued the bottom tabletop and tightened it with self-tapping screws.
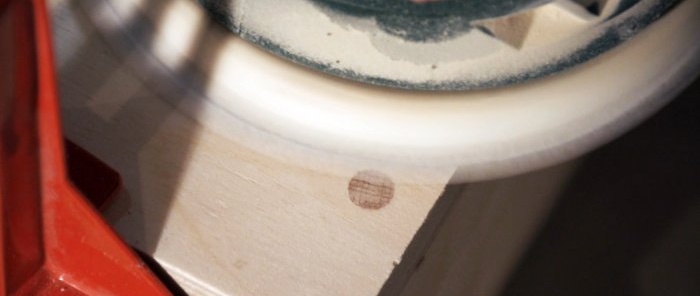
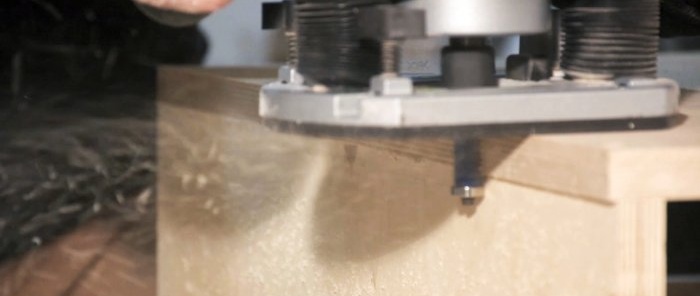
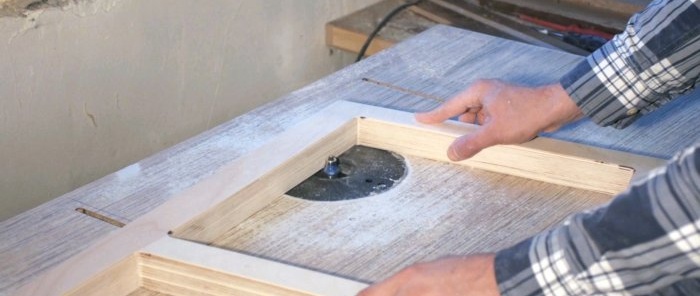
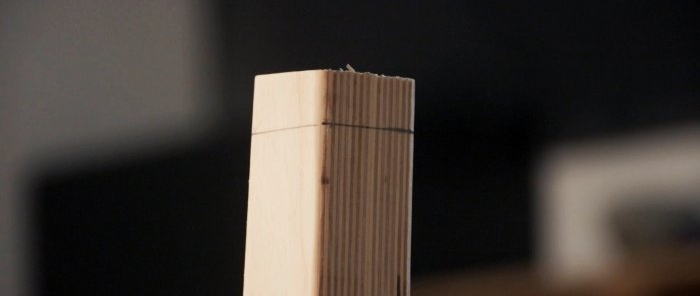
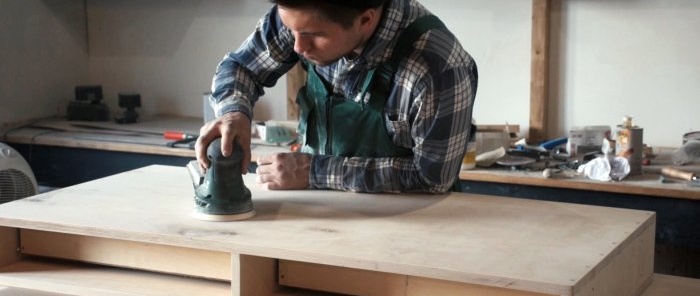
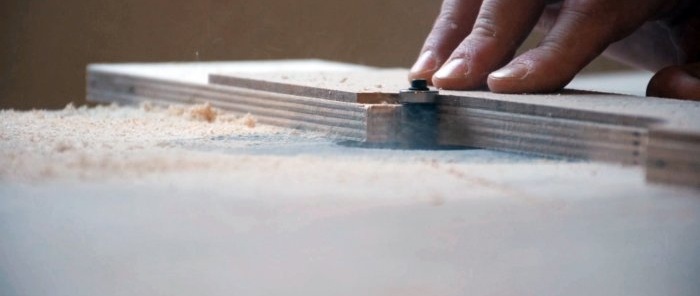
After assembly, the protruding ends were passed through with a copy cutter and pre-polished with coarse 80 grit.
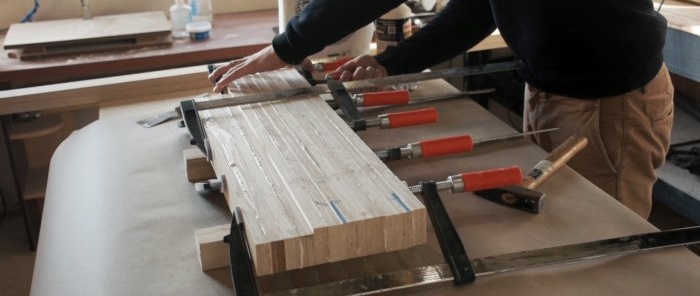
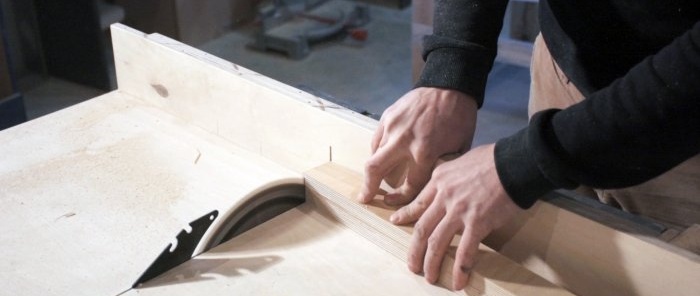
For the underframe I used the same 18 mm plywood. I spread it into strips 50 mm wide for the legs and 40 mm wide for the drawers. I glued the strips together in pairs to ultimately get a thickness of 36 mm.
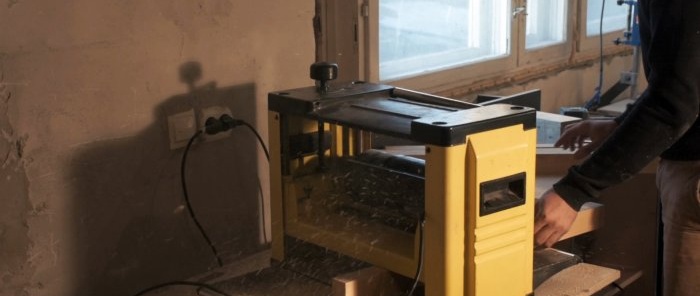
After the glue had dried, I passed the elements of the underframe through a surface planer.
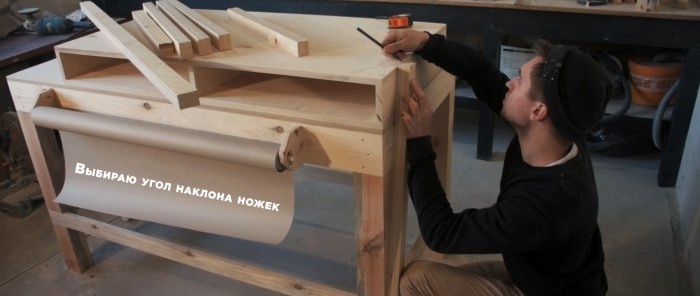
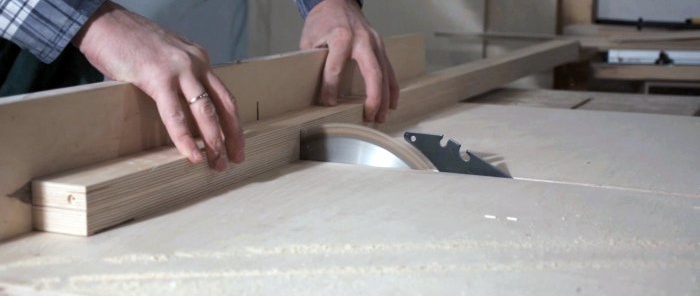
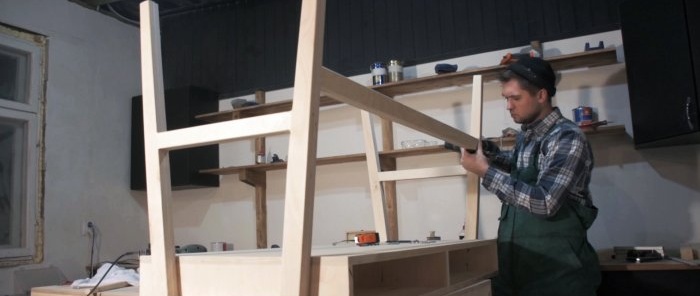
Before cutting down the legs, I visually tried on the angle of inclination and sawed off the legs and drawers on the carriage with a spacer to maintain the angle.
On the legs I made a narrowing towards the bottom.
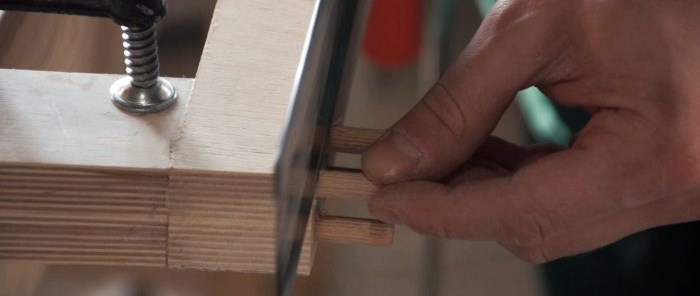
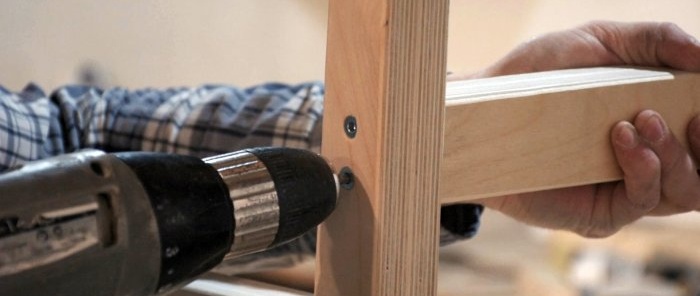
I connected the legs with self-tapping screws and hid them with dowels.
After the drawer was installed, I cut off and secured the legs in place.
And I went through all the edges of the legs with a molding cutter.
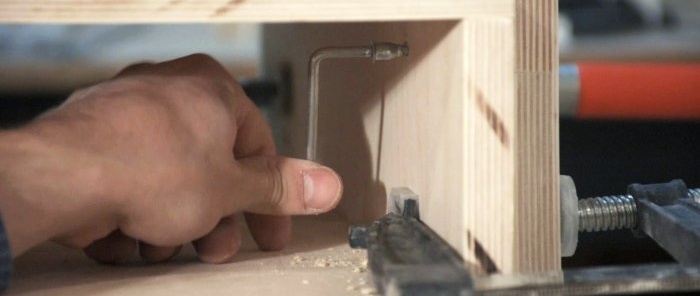
I attached the underframe to the tabletop using Euroscrews from inside the tabletop.
I sawed off the leg and fastened the legs with euroscrews so that the table could be easily disassembled and transported.
I measured the angle and height of the legs, cut them and sanded them.
The main part is ready.
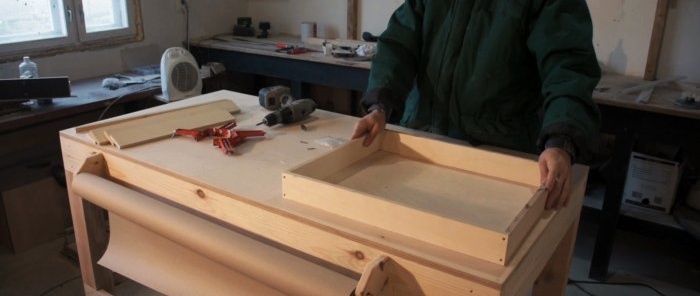
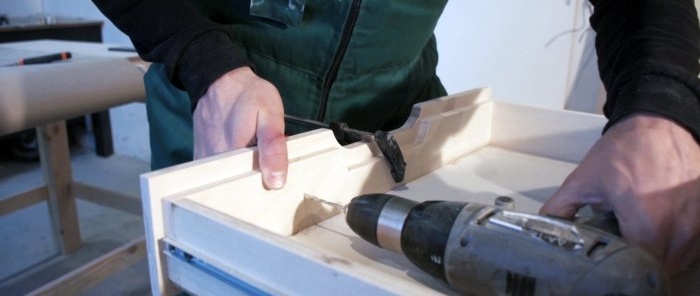
I sawed parts of the boxes from 12 mm plywood and connected them with glue and self-tapping screws.
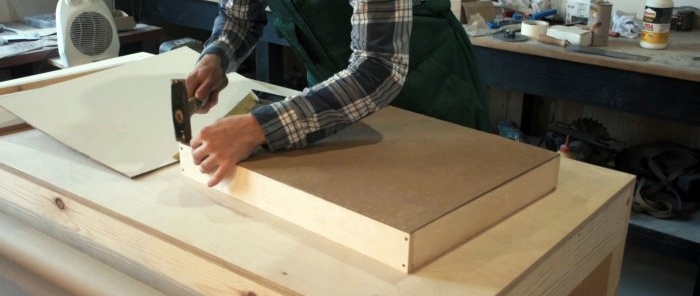
For the bottom of the box, I cut painted fiberboard to size and nailed it with small nails.
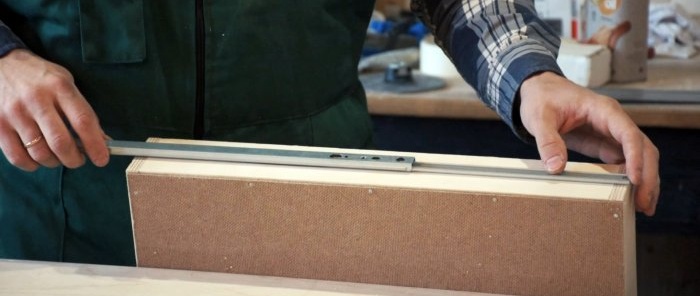
I used non-separable ball guides.
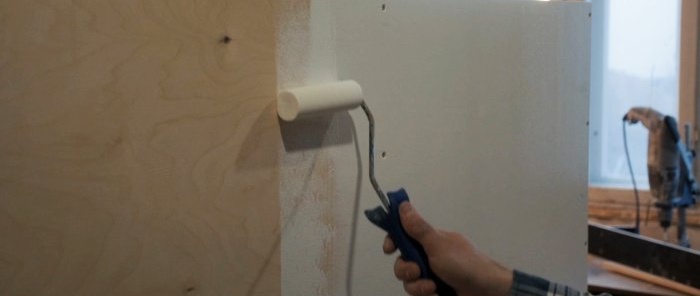
I disassembled the table in order to finally sand it with grit up to 320 and paint the tabletop with white wear-resistant paint.
I coated the base with wood oil.
For the fronts of the drawers I used 12 mm plywood. The facades are internal so their size is 2 mm on each side less than the opening for the drawers.
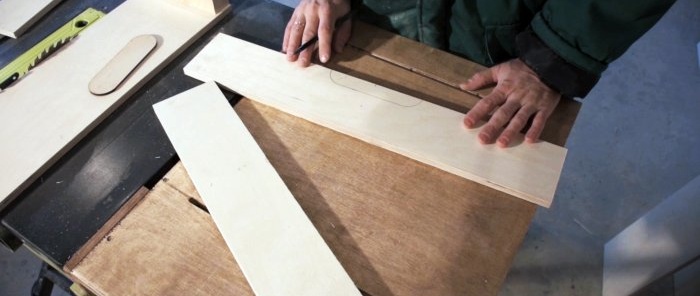
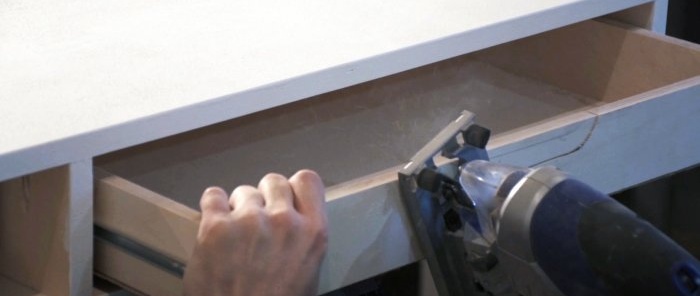
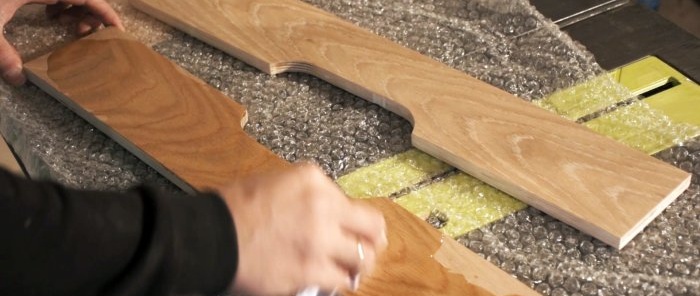
I cut the handles for the drawers into the fronts themselves.
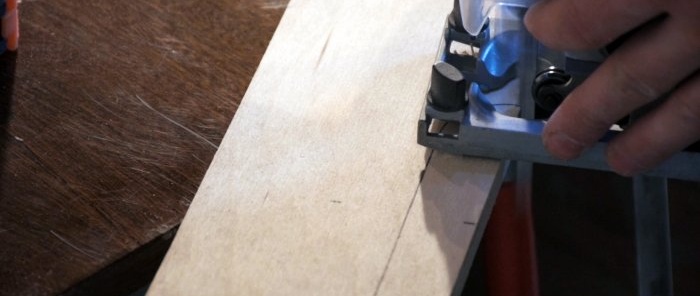
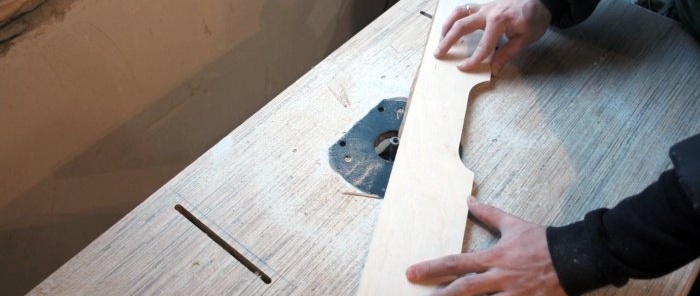
First I made a rough cut with a jigsaw, and then prepared the mold to level the handle with a copy cutter.
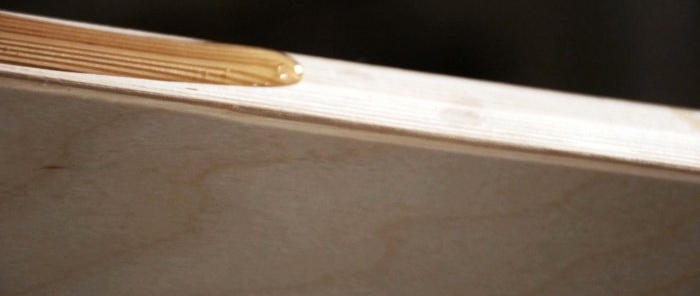
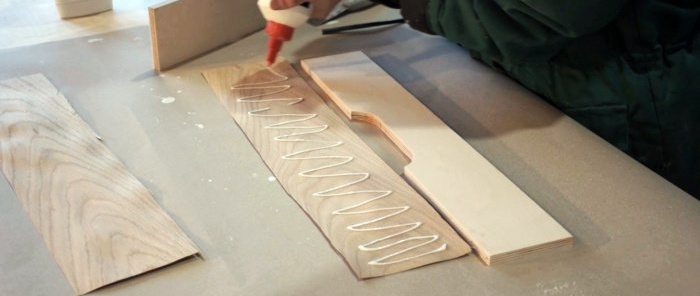
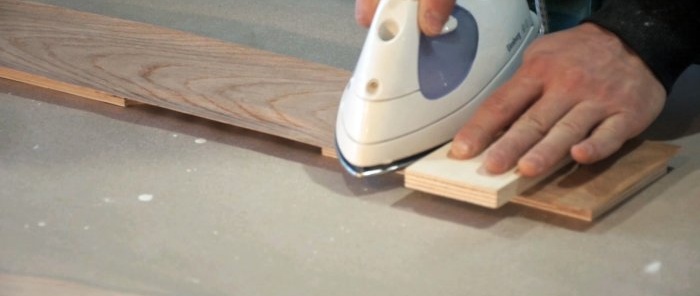
For the facades I bought veneer, I don’t remember what kind of wood. I glued it with PVA wood glue using an iron. Once the glue was dry, I cut off the excess veneer with a copy bit.
On the drawers, I used a jigsaw to cut a piece in the shape of the handle so that it would not be visible.
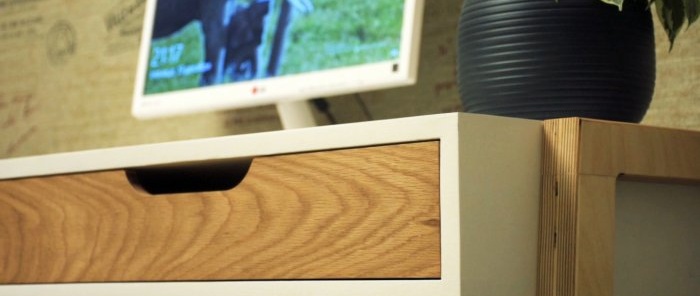
I sanded it with 320 grit, coated the fronts with wood oil and screwed them into place.
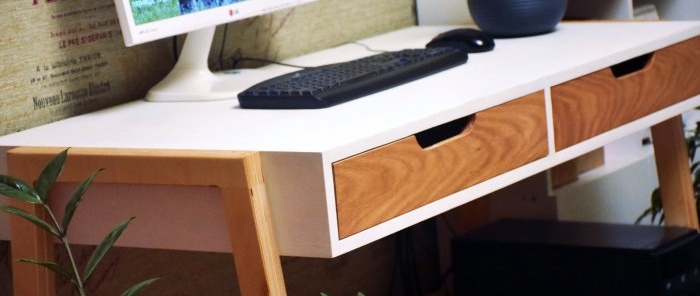
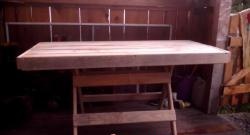
The resulting result.
Watch the video
The detailed manufacturing process can be seen in the video below.
Thank you for your attention!
Similar master classes
Particularly interesting
Comments (3)

