How to make a simple retro lamp in loft style
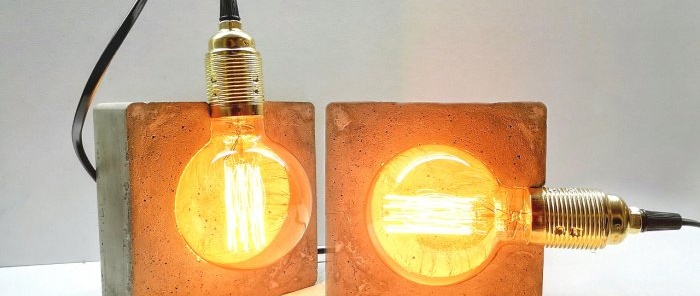
Making an original designer lamp yourself is very simple. To do this, you will need everything that can be easily found at any hardware store. This master class will discuss how to make a loft-style lamp from concrete. This craft will definitely bring warmth and comfort to your home.
To make such a lamp we will need:
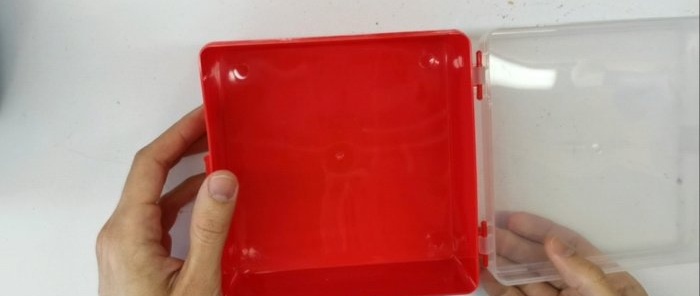
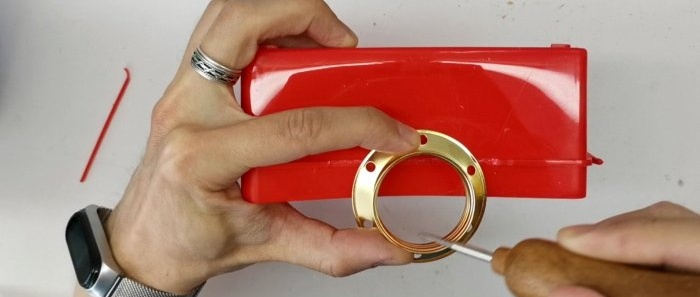
I took a plastic container and in the center of one of the sides I marked and cut out a semicircle for the cartridge.
Mixing concrete. I took 1:1 proportions, 2 cups of cement and 2 cups of sand. And 1 more glass of water. It is important not to add too much water. The finished mixture should be like pie dough or a little thinner. In this case, the concrete must be thoroughly mixed so that there are no lumps like in semolina porridge.
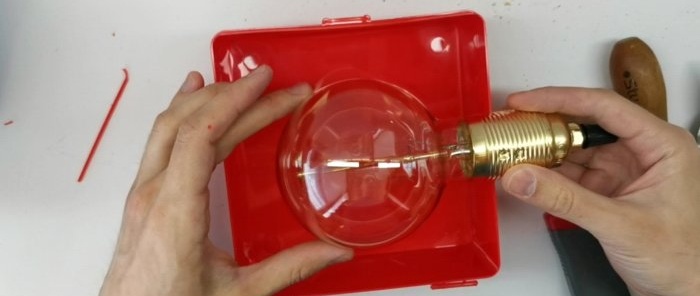
I marked out how the light bulb would be placed in the container.
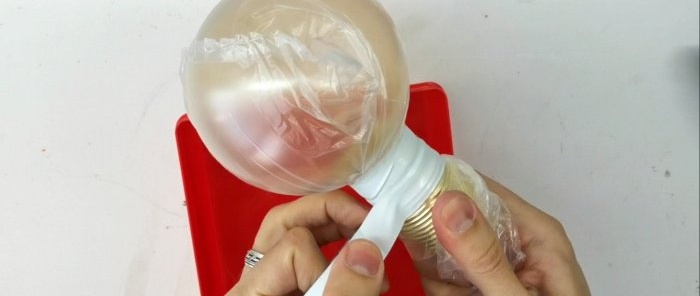
Now you need to protect the light bulb and base from the cement mixture. I took a plastic bag and duct tape.
Important! You need to get all the air out of the bag!
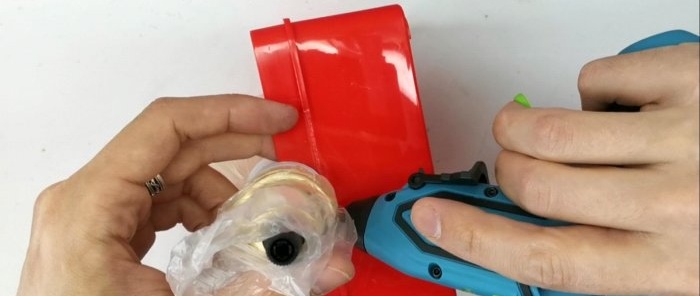
I fixed the light bulb with hot glue.
So that the form could be easily separated from the concrete after it dries, I prepared a soap solution and lubricated the container and the light bulb.
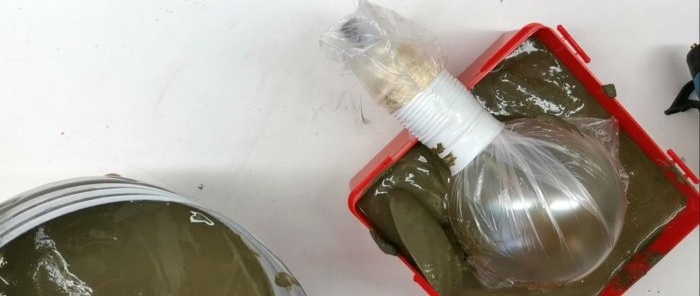
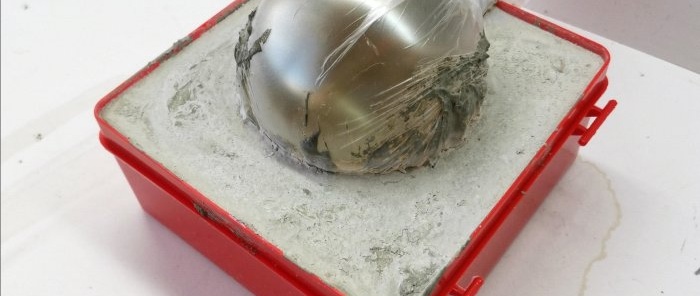
I'm pouring concrete.
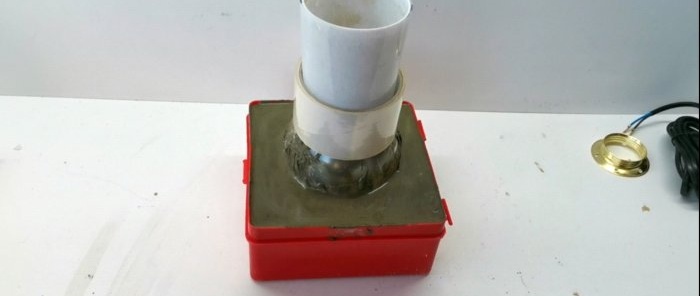
To ensure that the light bulb was at the level I needed, I installed a weighting agent.
I left it to dry for two days.
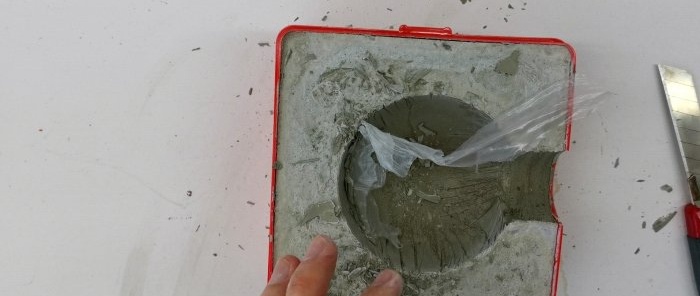
I carefully remove the light bulb and remove the remains of the stuck bag.
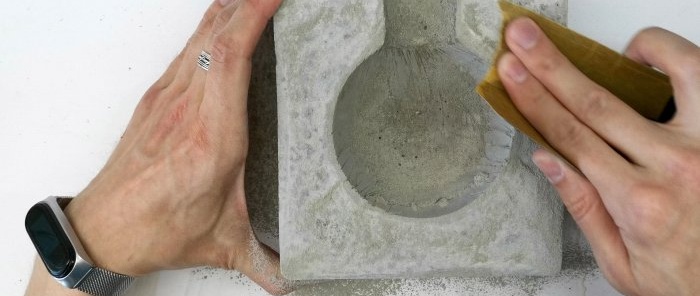
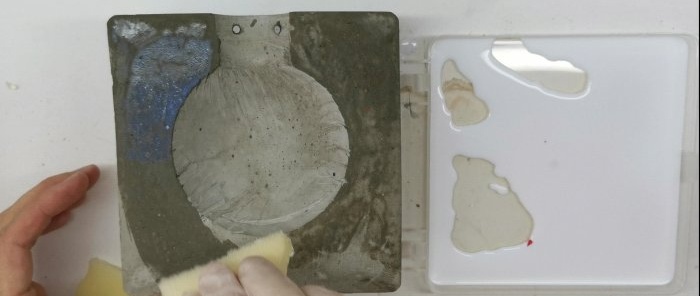
Cleaned it up with sandpaper.
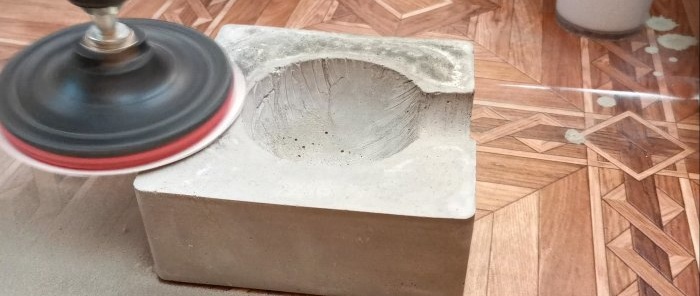
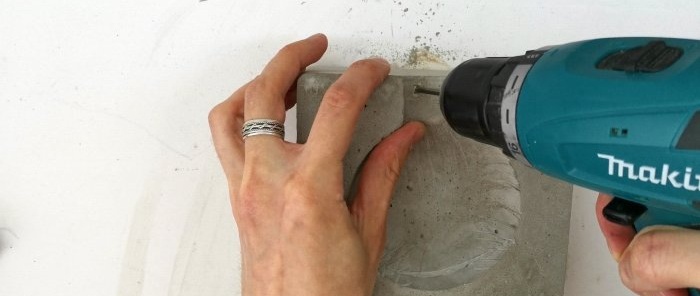
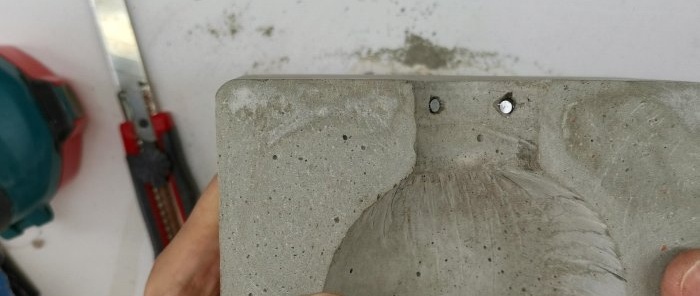
To fix the light bulb in the concrete form, I drilled 2 holes and glued neodymium magnets into them.
Two magnets are enough to hold the light bulb. For greater reliability, you can add a couple more.
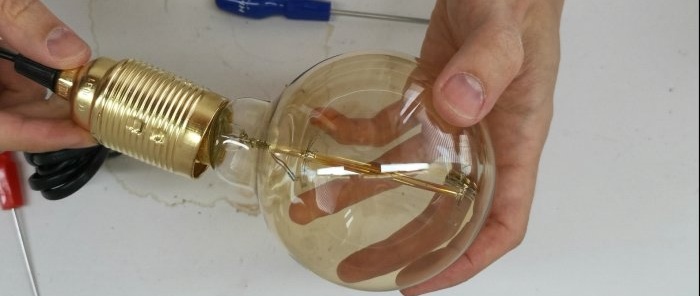
All that remains is to prime and connect the wire to the base.
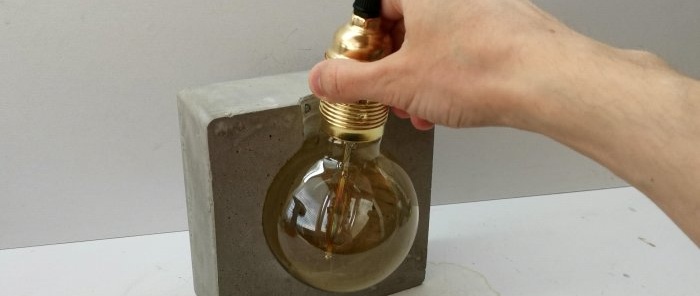
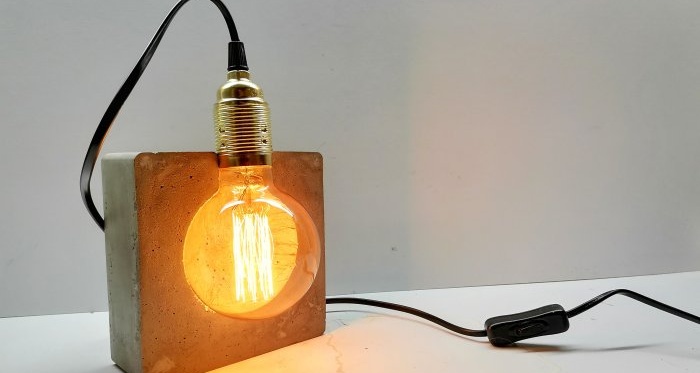
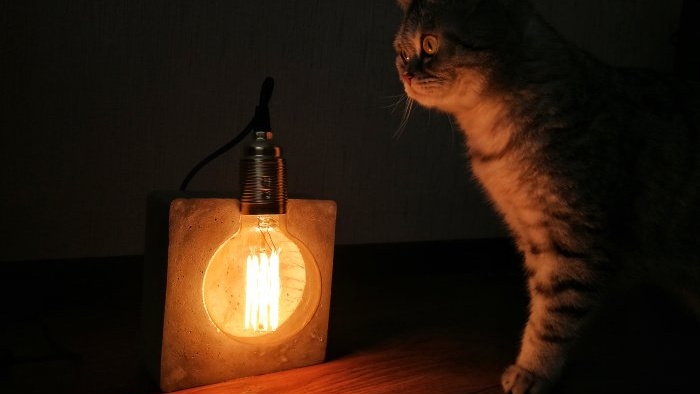
The lamp is ready.
Will need
To make such a lamp we will need:
- - Retro light bulb -
- - Retro socket and electrical wire with plug and switch -
- - Cement.
- - Sand.
- - Container (I used a food container).
Making a lamp
I took a plastic container and in the center of one of the sides I marked and cut out a semicircle for the cartridge.
Mixing concrete. I took 1:1 proportions, 2 cups of cement and 2 cups of sand. And 1 more glass of water. It is important not to add too much water. The finished mixture should be like pie dough or a little thinner. In this case, the concrete must be thoroughly mixed so that there are no lumps like in semolina porridge.
I marked out how the light bulb would be placed in the container.
Now you need to protect the light bulb and base from the cement mixture. I took a plastic bag and duct tape.
Important! You need to get all the air out of the bag!
I fixed the light bulb with hot glue.
So that the form could be easily separated from the concrete after it dries, I prepared a soap solution and lubricated the container and the light bulb.
I'm pouring concrete.
To ensure that the light bulb was at the level I needed, I installed a weighting agent.
I left it to dry for two days.
I carefully remove the light bulb and remove the remains of the stuck bag.
Cleaned it up with sandpaper.
To fix the light bulb in the concrete form, I drilled 2 holes and glued neodymium magnets into them.
Two magnets are enough to hold the light bulb. For greater reliability, you can add a couple more.
All that remains is to prime and connect the wire to the base.
The lamp is ready.
Watch the video
Similar master classes
Particularly interesting
Comments (1)

