Now you can make beautiful cement pots yourself
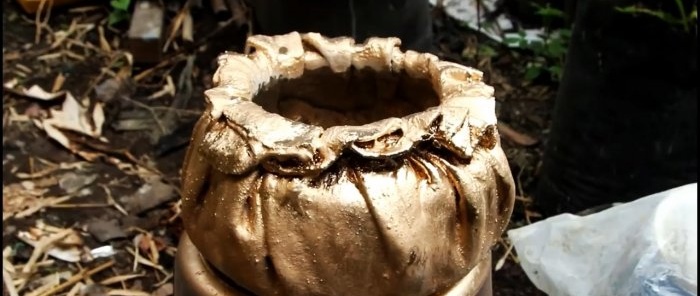
For replanting plants, you can make cement pots in the form of bags. They look very fresh and unusual. Cement pots can be made of any size from very small to large ones intended for planting ornamental trees.
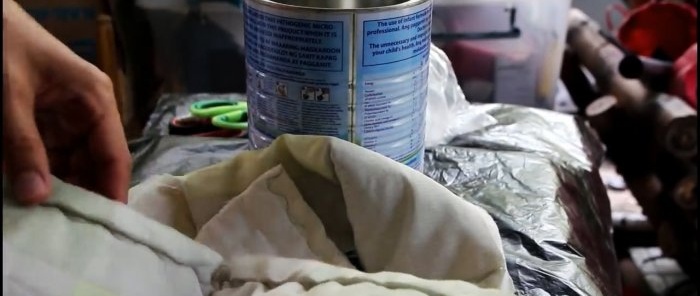
First you need to choose a shape approximately equal to the desired volume of the pot. This could be a tin can, a plastic paint bucket, or even a factory-made flowerpot.
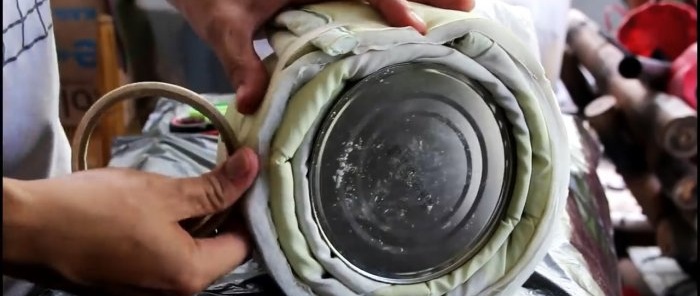
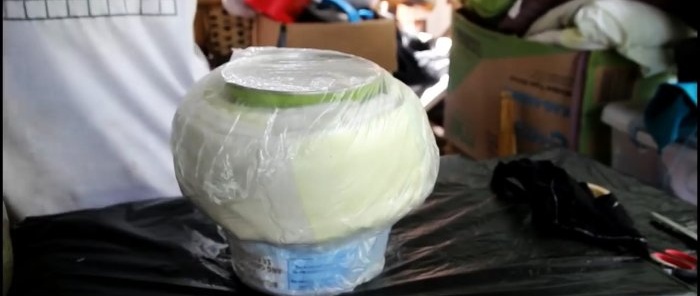
You need to wrap any fabric around the selected container from below at the bottom to obtain expansion. Its edges can be secured with tape or the fabric can be wrapped with thread.
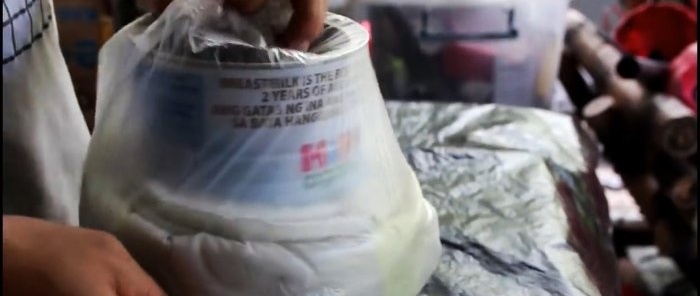
Then a plastic bag is put on the form.
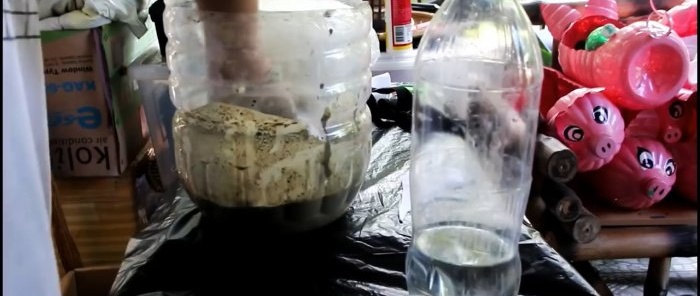
Cement and water are mixed in a separate, fairly large container. You need to get a liquid consistency that can saturate the fabric, but not quite fluid like pure water.
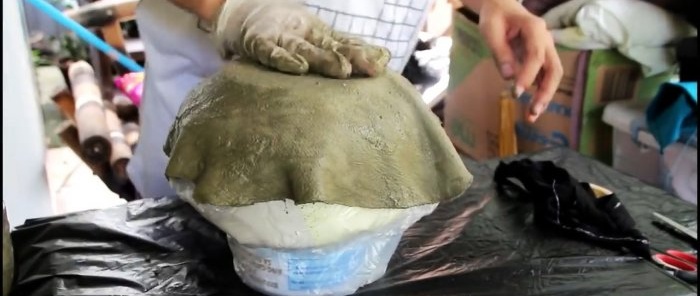
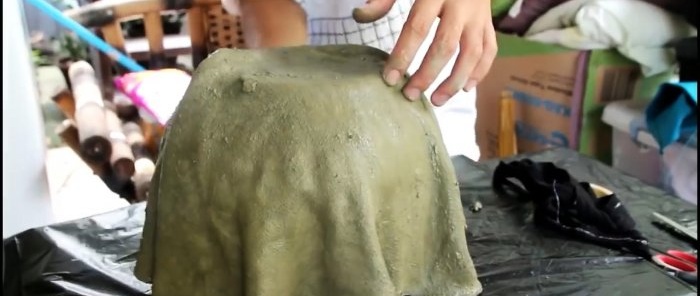
Fabric scraps are soaked in a cement bath. This could be an old sheet, T-shirt or something similar. It is enough to prepare 3 flaps. One of them should be of such a size that it completely covers the shape. The rest are made smaller.The flaps are soaked in cement mortar and placed on a form turned upside down. The fabric wound around it should be placed in the center.
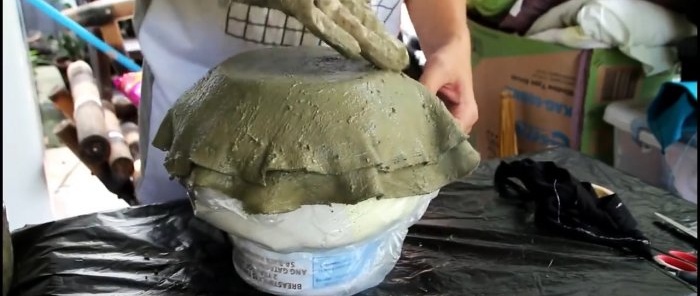
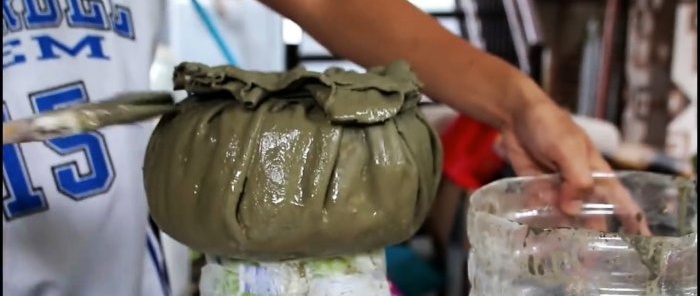
First, 2 smaller flaps are applied, then a large one. They should be smoothed well to expel the air and get neat, uniform folds on all sides.
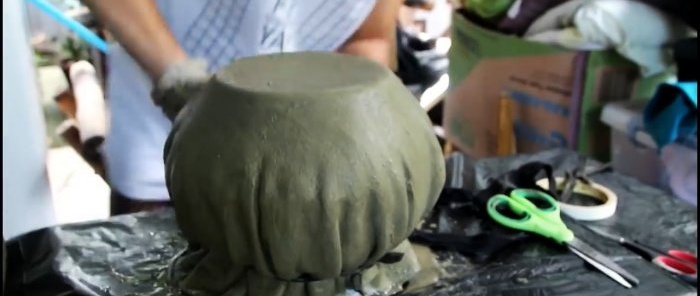
Then you need to tie a ribbon or rope around the bottom of the shape to make it thinner. The hanging flap is trimmed if necessary, and the folds are finally aligned.
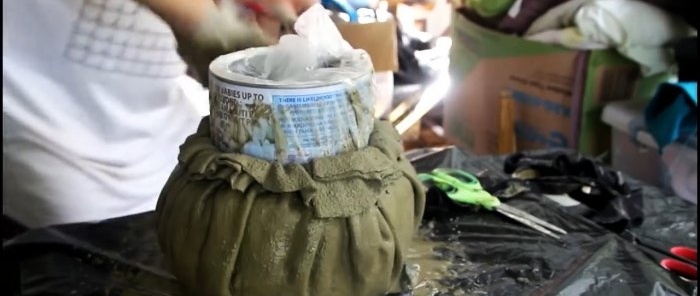
The form is turned over and the part of the fabric above the tape is folded down. After this, the workpiece must dry for 24 hours.
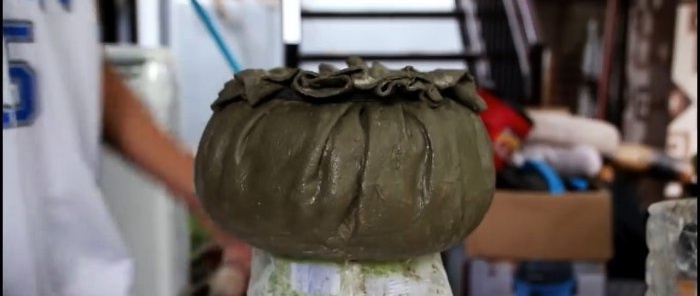
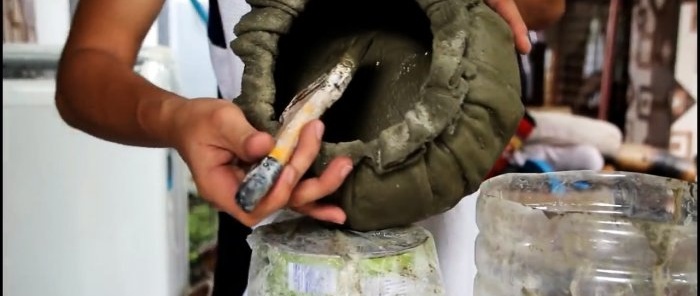
On the second day, liquid cement mortar is prepared again. A form with a roll of expanding fabric is removed from the workpiece. Then it is coated with cement using a paint brush. The solution is applied externally and internally. You just need to hide the areas with protruding fabric.
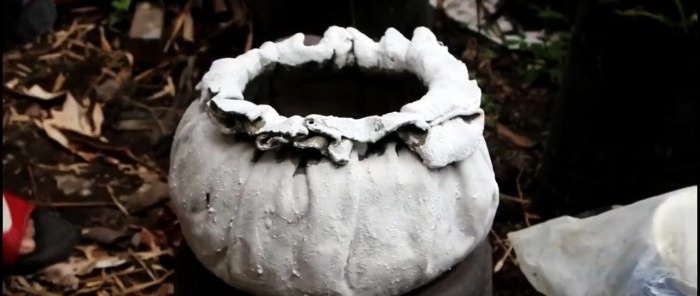
After letting the pot dry at least overnight, you need to sand it to remove sloppy marks. After this it is painted.
It is optimal to use spray paint, then it will lay perfectly without traces of bristles from the brush. In just a couple of hours, the paint will dry enough for the pot to be used for its intended purpose.
Materials:
- cement;
- water;
- textile;
- dye.
Pot making process
First you need to choose a shape approximately equal to the desired volume of the pot. This could be a tin can, a plastic paint bucket, or even a factory-made flowerpot.
You need to wrap any fabric around the selected container from below at the bottom to obtain expansion. Its edges can be secured with tape or the fabric can be wrapped with thread.
Then a plastic bag is put on the form.
Cement and water are mixed in a separate, fairly large container. You need to get a liquid consistency that can saturate the fabric, but not quite fluid like pure water.
Fabric scraps are soaked in a cement bath. This could be an old sheet, T-shirt or something similar. It is enough to prepare 3 flaps. One of them should be of such a size that it completely covers the shape. The rest are made smaller.The flaps are soaked in cement mortar and placed on a form turned upside down. The fabric wound around it should be placed in the center.
First, 2 smaller flaps are applied, then a large one. They should be smoothed well to expel the air and get neat, uniform folds on all sides.
Then you need to tie a ribbon or rope around the bottom of the shape to make it thinner. The hanging flap is trimmed if necessary, and the folds are finally aligned.
The form is turned over and the part of the fabric above the tape is folded down. After this, the workpiece must dry for 24 hours.
On the second day, liquid cement mortar is prepared again. A form with a roll of expanding fabric is removed from the workpiece. Then it is coated with cement using a paint brush. The solution is applied externally and internally. You just need to hide the areas with protruding fabric.
After letting the pot dry at least overnight, you need to sand it to remove sloppy marks. After this it is painted.
It is optimal to use spray paint, then it will lay perfectly without traces of bristles from the brush. In just a couple of hours, the paint will dry enough for the pot to be used for its intended purpose.
Watch the video
Similar master classes
Particularly interesting
Comments (0)

