How to make a powerful machine from old drums and hubs
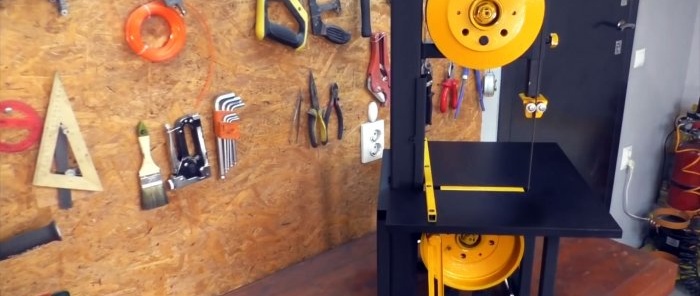
If you want to assemble a band saw with your own hands, use this design. It provides all the necessary adjustments, and most importantly has reliable components.
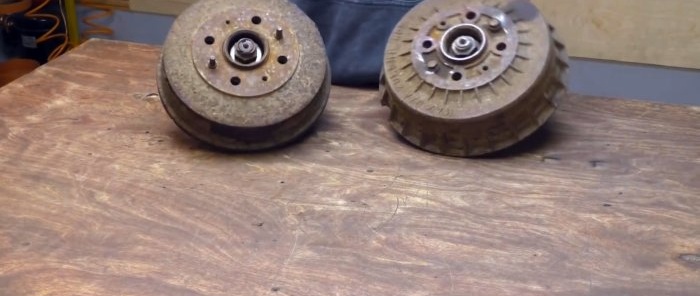
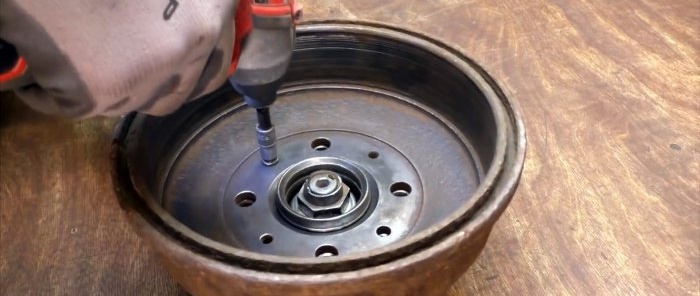
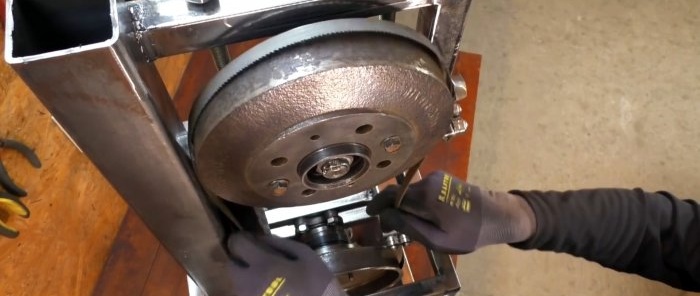
The drums on the hubs must be turned the other way around, screwed on and the rim cut off on them. Naturally, the parts need to be cleaned and checked to ensure that everything rotates easily.
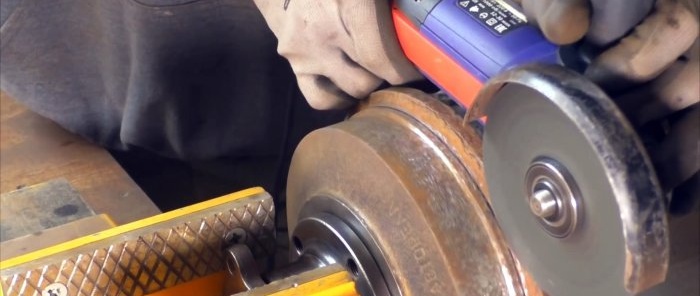
We clamp the hub in a vice and use a grinder to cut off the edge of the drum.
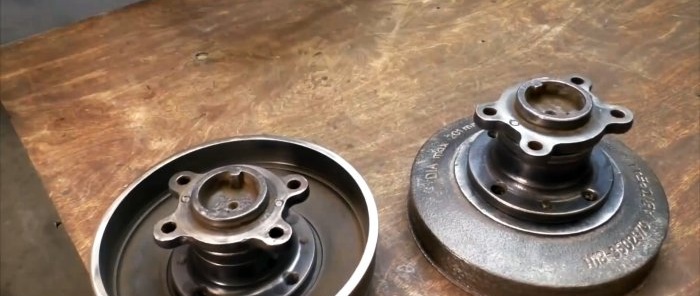
The result is 2 rollers with axes.
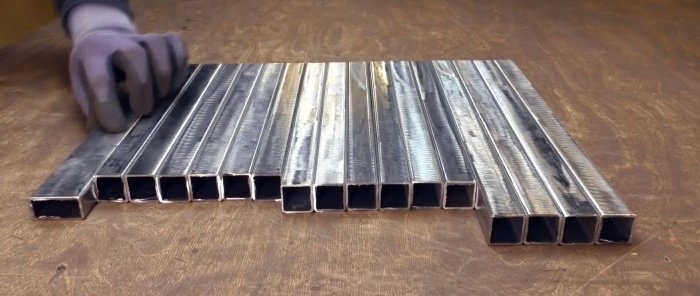
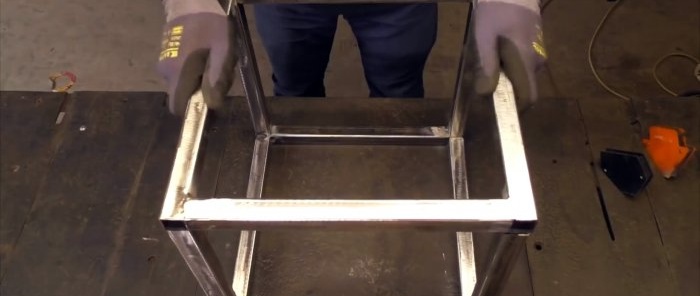
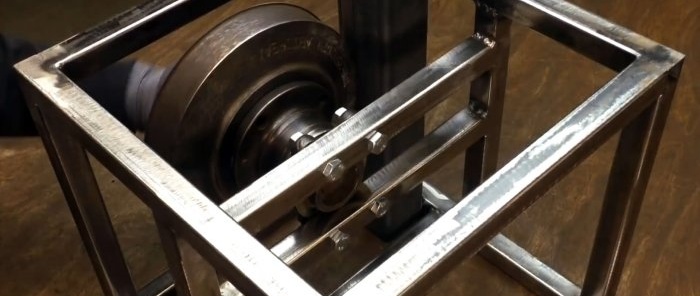
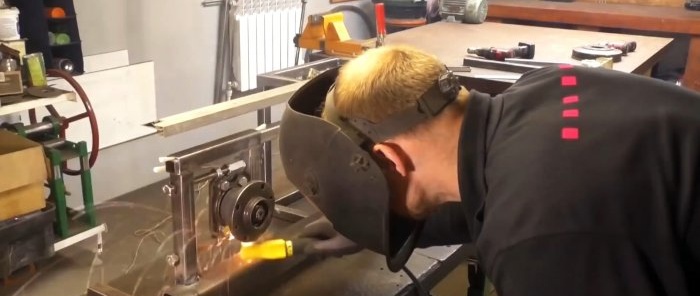
The frame of the machine is welded from a 20x20 mm profile pipe. Its size depends on the diameter of the brake drums, the selected saw blade and the dimensions of the motor.
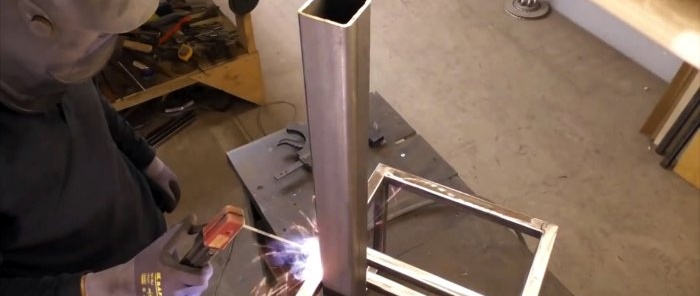
A 50x50 mm pipe stand is welded to the frame to secure the upper roller.
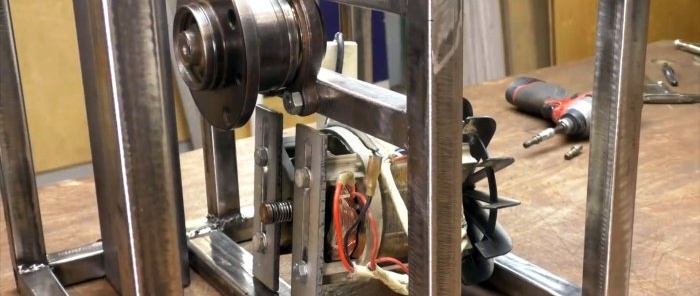
The lower roller is screwed to the frame.
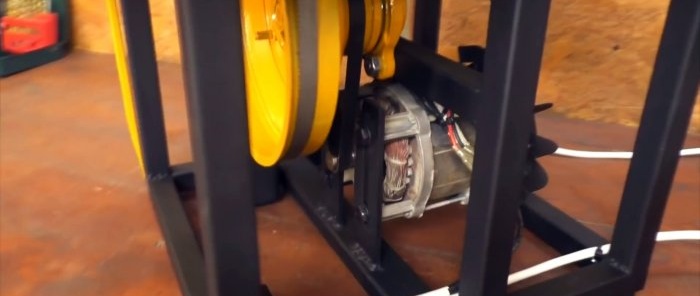
A platform is provided under it to place the electric motor so that the drive belt can be pulled between its pulley and the hub.
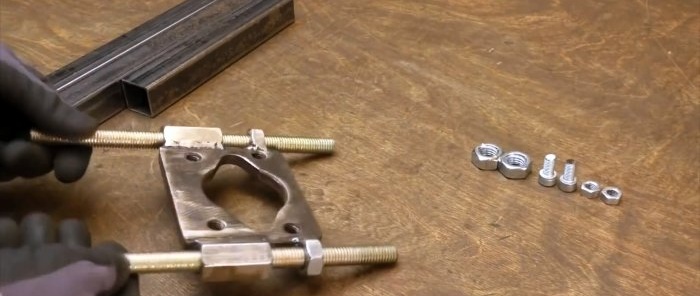
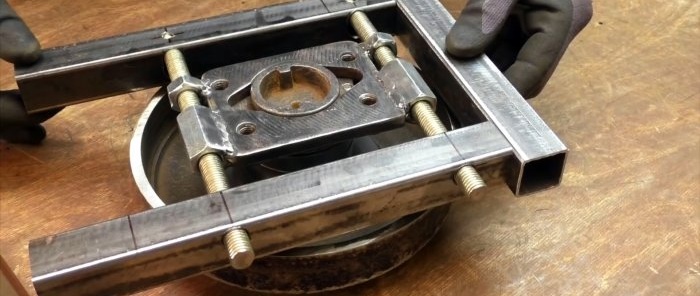
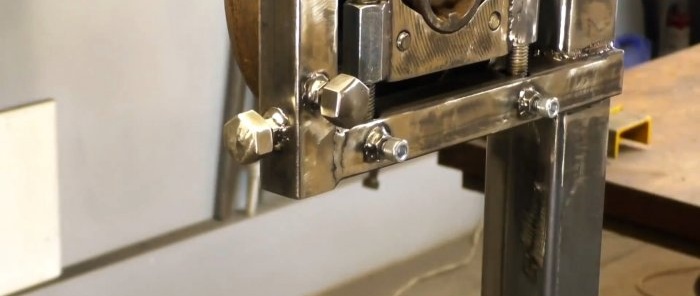
The upper roller must be fixed movably to tension the belt. For it, a frame is welded with an adapter plate sliding on studs. It is welded with an installed roller at the top of the 50x50 mm rack.
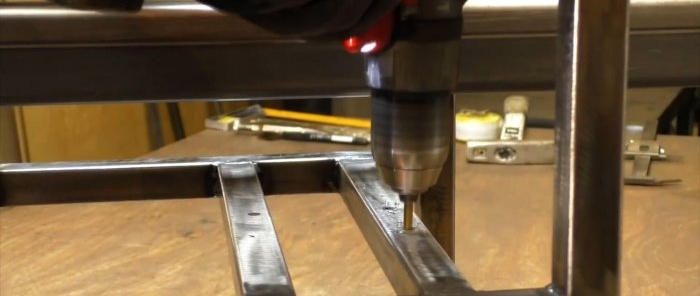
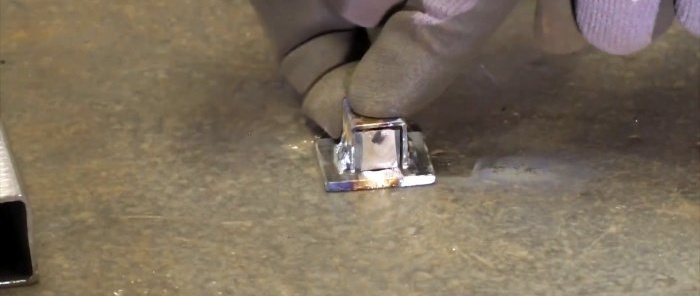
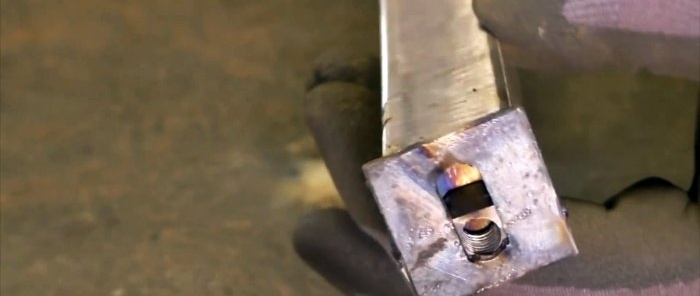
The vertical tube of the welded frame is used as a guide for the 15x15 mm pipe. To fix the latter, you will need to drill and weld nuts to screw in the clamping bolts.
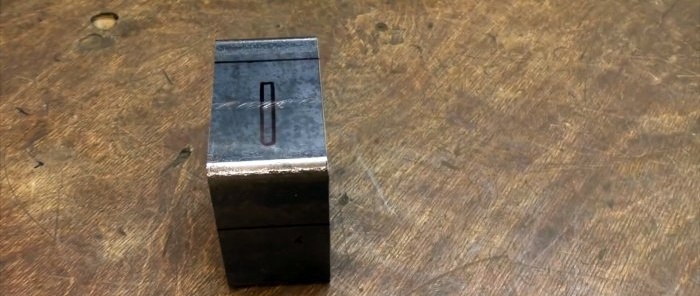
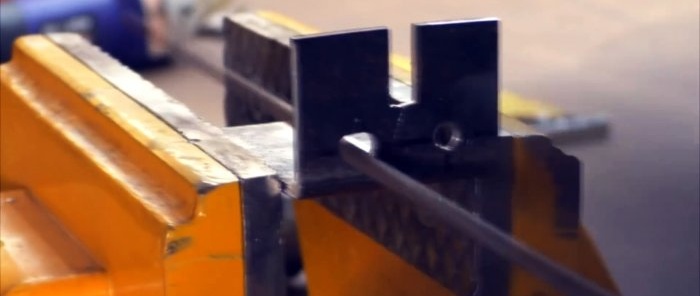
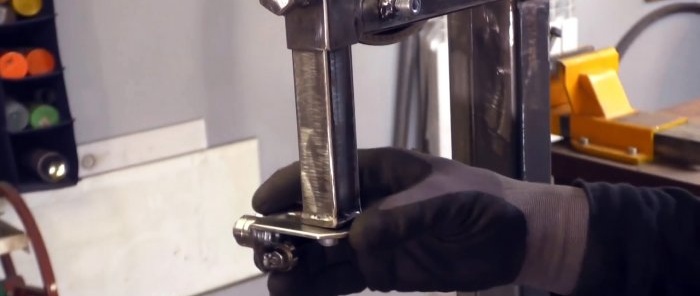
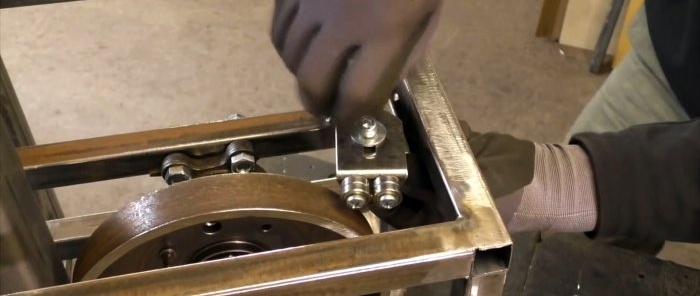
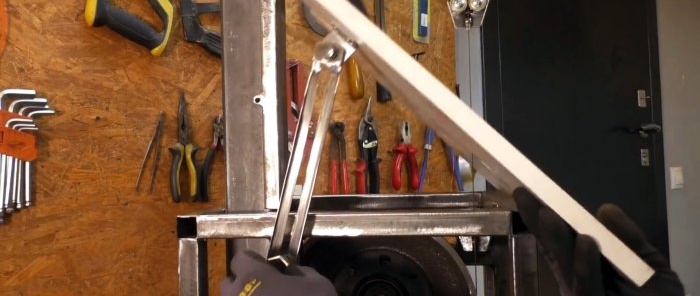
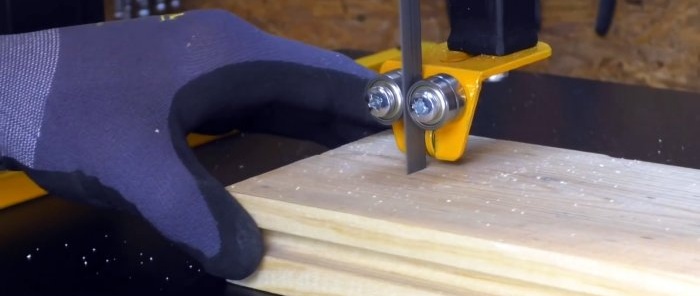
Next you need to make 2 tape catchers. To do this, 2 corners are cut from a section of a large profile pipe.
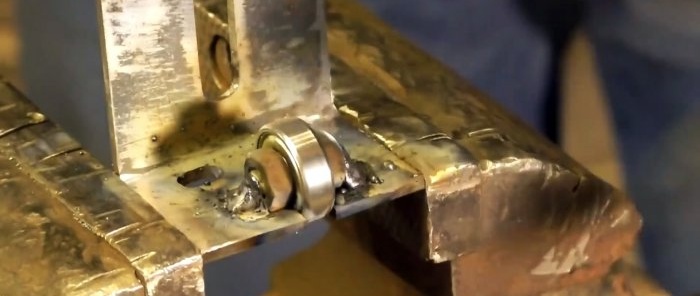
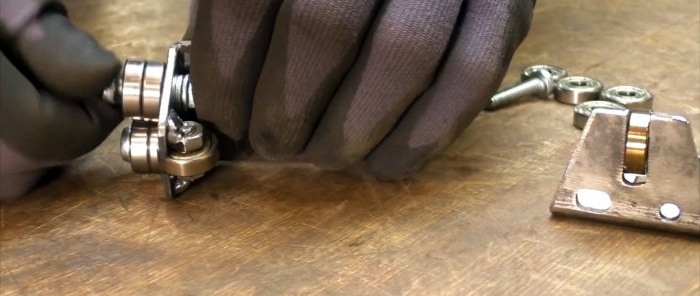
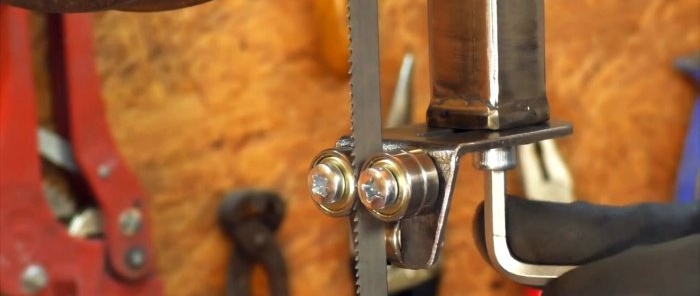
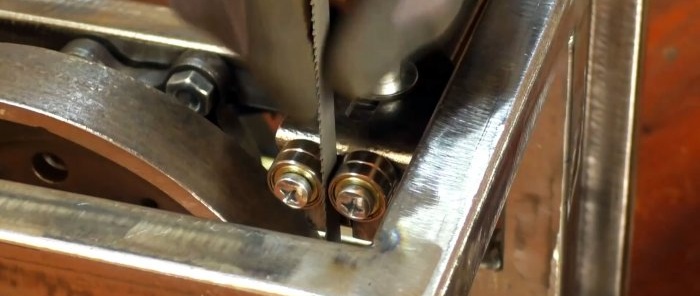
A wide open longitudinal slot is made in them from the short edge. A long internal cut is made on the opposite half. An axle with a bearing is welded into the first one. On the same half of the corner, bearings are screwed on the outside, as in the photo.
One tape catcher is screwed from the end to a 15x15 mm sliding tube. The second one is attached to the frame below near the first roller connected to the motor.
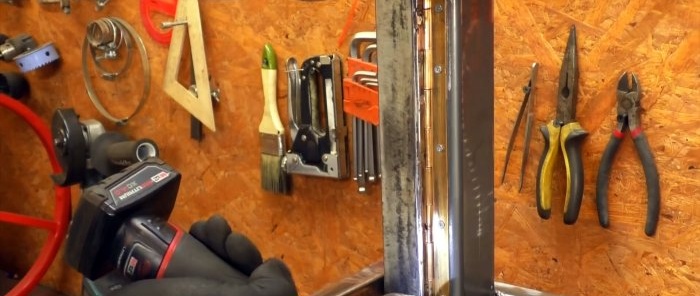
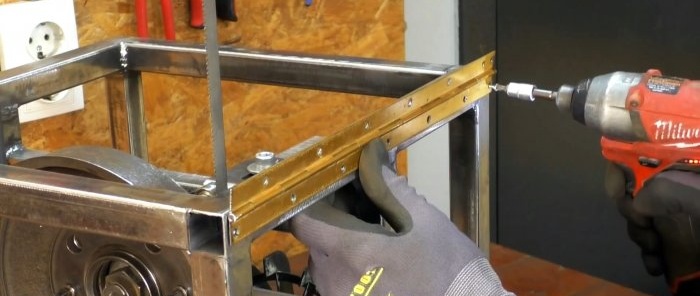
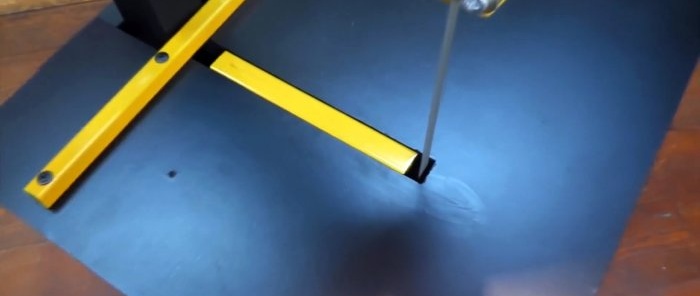
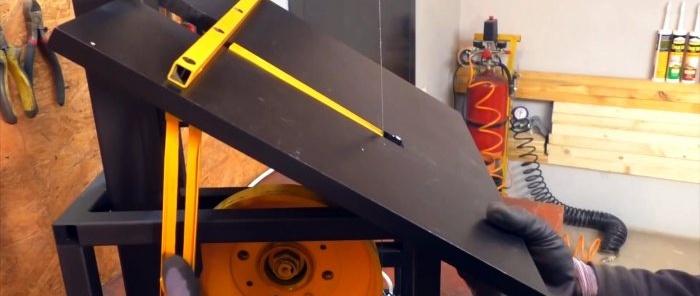
A table is cut out of chipboard or plywood to fit the size of the frame. It is screwed to the frame via a piano hinge. A parallel stop is attached to the table, and a section of profile pipe is inserted into the cut on the table top to insert the tape.
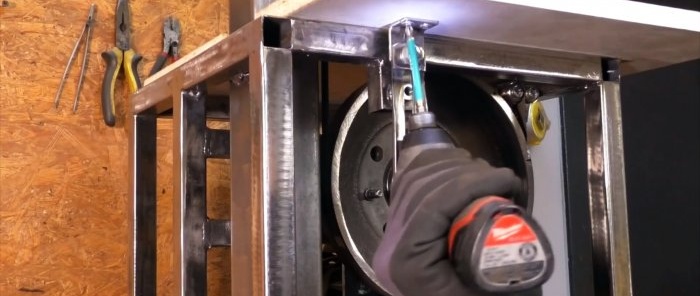
To be able to adjust the angle of the table, you need to make a sliding support underneath it. For this, a strip with a longitudinal cut is prepared. It is attached to the tabletop from the edge opposite the hinge using a mounting bracket. A nut is welded opposite the strip on the frame to press the support with the bolt in the desired position.
Next, the machine is painted, power is supplied to the engine, and a power button is installed.Before starting, the saw blade tension is adjusted by shifting the upper roller and the position of the catchers.
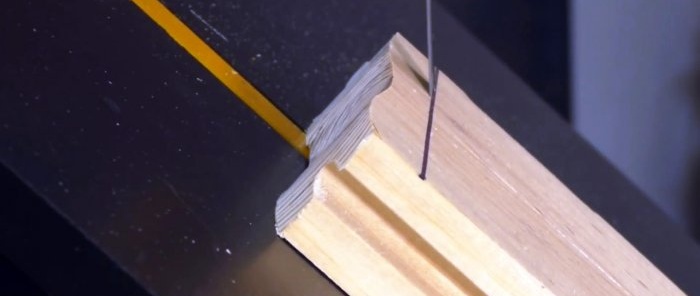
When using a powerful motor, the saw will be able to work with both wood and metal. Thanks to the table adjustment, it is possible to adjust the cutting angle.
Basic materials:
- hubs with brake drums – 2 pcs.;
- electric motor;
- profile pipe 15x15 mm, 20x20 mm, 50x50 mm;
- bolts, nuts, studs;
- small bearings – 10 pcs.;
- Chipboard or plywood;
- piano loop;
- saw blade.
Band saw manufacturing process
The drums on the hubs must be turned the other way around, screwed on and the rim cut off on them. Naturally, the parts need to be cleaned and checked to ensure that everything rotates easily.
We clamp the hub in a vice and use a grinder to cut off the edge of the drum.
The result is 2 rollers with axes.
The frame of the machine is welded from a 20x20 mm profile pipe. Its size depends on the diameter of the brake drums, the selected saw blade and the dimensions of the motor.
A 50x50 mm pipe stand is welded to the frame to secure the upper roller.
The lower roller is screwed to the frame.
A platform is provided under it to place the electric motor so that the drive belt can be pulled between its pulley and the hub.
The upper roller must be fixed movably to tension the belt. For it, a frame is welded with an adapter plate sliding on studs. It is welded with an installed roller at the top of the 50x50 mm rack.
The vertical tube of the welded frame is used as a guide for the 15x15 mm pipe. To fix the latter, you will need to drill and weld nuts to screw in the clamping bolts.
Next you need to make 2 tape catchers. To do this, 2 corners are cut from a section of a large profile pipe.
A wide open longitudinal slot is made in them from the short edge. A long internal cut is made on the opposite half. An axle with a bearing is welded into the first one. On the same half of the corner, bearings are screwed on the outside, as in the photo.
One tape catcher is screwed from the end to a 15x15 mm sliding tube. The second one is attached to the frame below near the first roller connected to the motor.
A table is cut out of chipboard or plywood to fit the size of the frame. It is screwed to the frame via a piano hinge. A parallel stop is attached to the table, and a section of profile pipe is inserted into the cut on the table top to insert the tape.
To be able to adjust the angle of the table, you need to make a sliding support underneath it. For this, a strip with a longitudinal cut is prepared. It is attached to the tabletop from the edge opposite the hinge using a mounting bracket. A nut is welded opposite the strip on the frame to press the support with the bolt in the desired position.
Next, the machine is painted, power is supplied to the engine, and a power button is installed.Before starting, the saw blade tension is adjusted by shifting the upper roller and the position of the catchers.
When using a powerful motor, the saw will be able to work with both wood and metal. Thanks to the table adjustment, it is possible to adjust the cutting angle.
Watch the video
Similar master classes

How to make a band saw from bicycle wheels
How to make a 2 in 1 machine from a hub
The simplest grinder made from a grinder, a bicycle hub and a roller
From an old hub we make a workbench with a rotary
Do-it-yourself miter saw based on a grinder with a broach
How to make a low-voltage mini cutting machine from a cardan cross
Particularly interesting
Comments (8)

