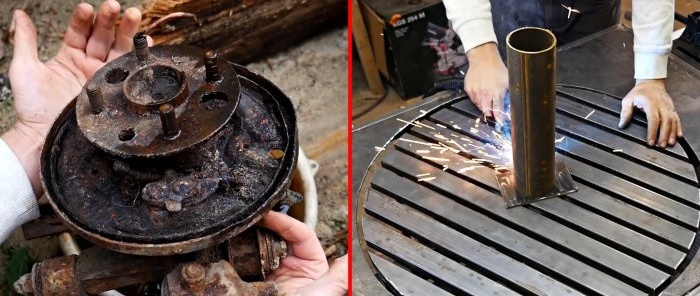
From an old hub we make a workbench with a rotating platform for welding work
Having little free space in the garage or a cramped workshop, it is very difficult to equip a comfortable workspace there. The workbench has to be placed under the wall, which, when working on it, forces you to turn over heavy workpieces, since it is impossible to approach them from the other side of the tabletop. You can solve the problem by making a rotating bench with shelves.
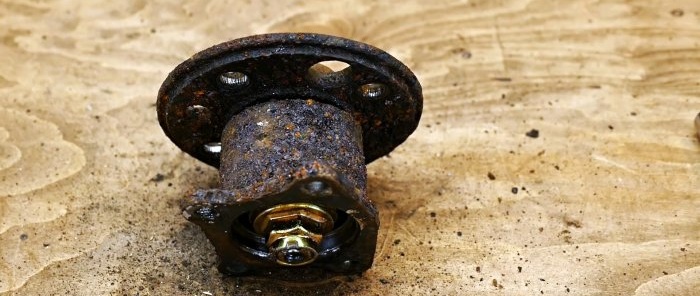
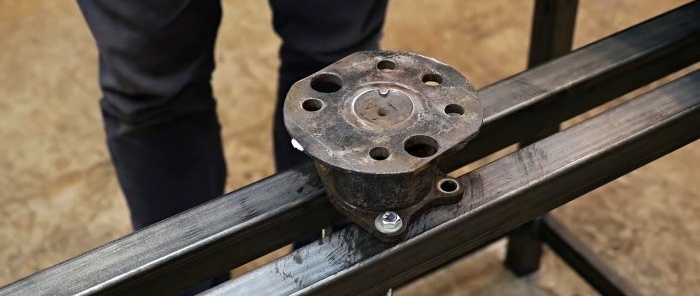
Assembling the workbench must begin with the manufacture of the rotating mechanism. For this you will need to select a front wheel hub with a bearing.
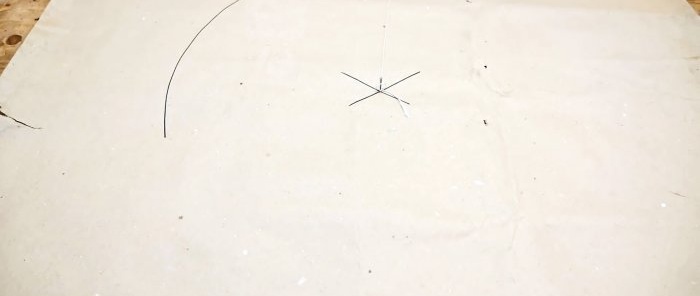
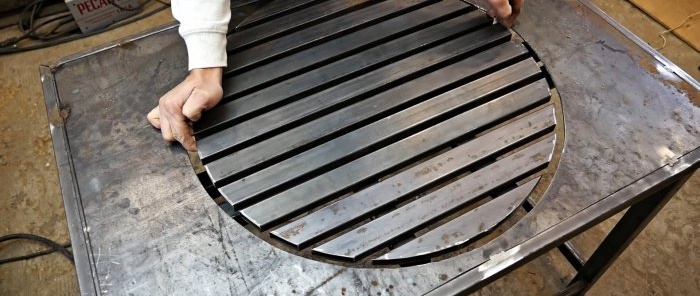
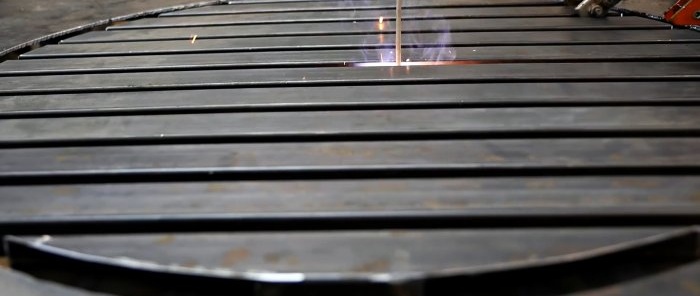
Then a turntable is welded from profile pipes. To make it, you need to draw a round template 100-150 mm narrower than the width of the tabletop of the future workbench.
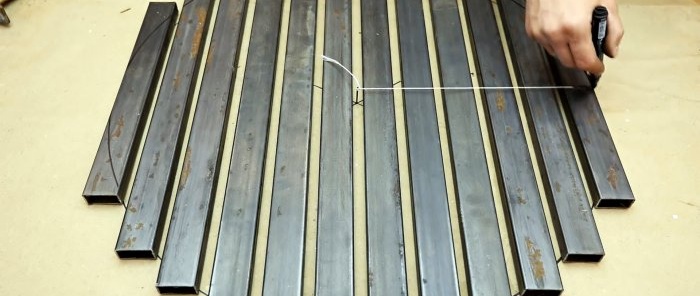
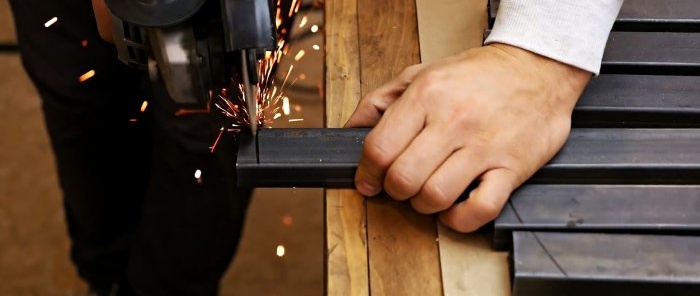
Profile pipes are laid parallel to it with a small gap.
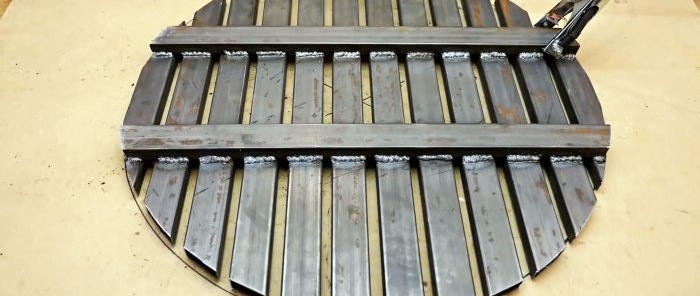
They are then welded together with two crossbars and cut to the shape of a cardboard template.
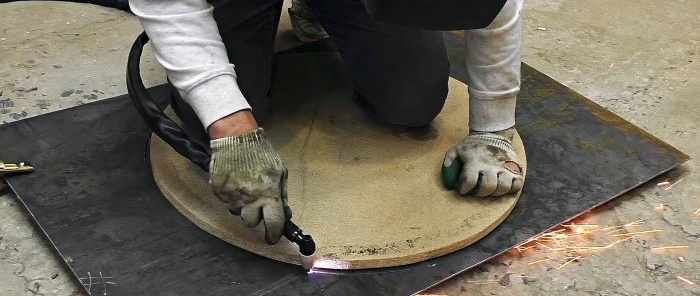
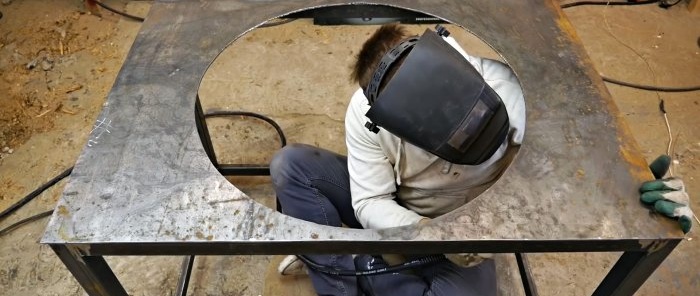
Next, you need to take sheet steel from which you plan to make the workbench table top. In its center you need to cut a hole 5-10 mm wider than the diameter of the turntable.
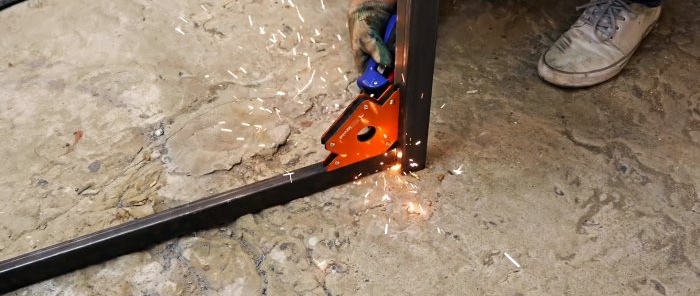
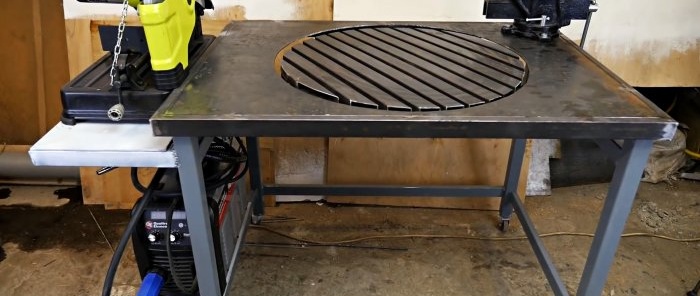
The base of the workbench is welded from a profile pipe. It consists of 4 legs. They can be made from a pipe 50x50 mm or thicker. The legs are connected to each other at the top and bottom with thinner pipes. Then a table top with a hole for the turntable is welded to the base.
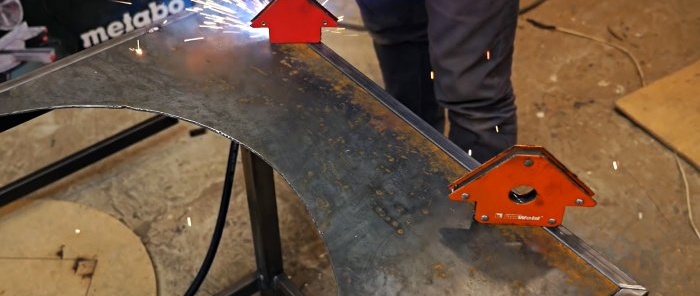
To strengthen the workbench, sides made of a profile pipe are welded along the perimeter of the tabletop. Their ends are cut at 45 degrees.
2 pipes are welded to the transverse sides from below, running along under the tabletop. They must be lowered so that the hub and turntable can be installed on them. In this case, it is necessary that the platform and the tabletop be on the same level. Next, the hub is bolted to the tubes. A turntable is welded on top of it. It is better not to weld the hub at the bottom so that you can remove it if you need to change the bearing in the future.
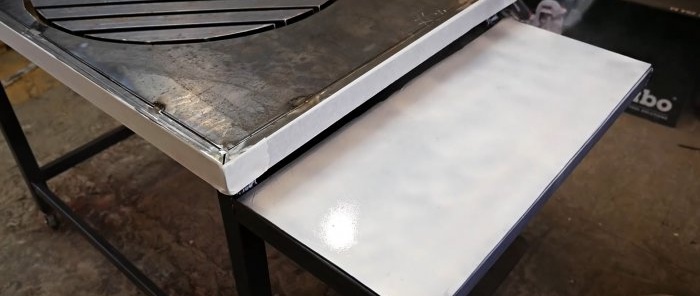
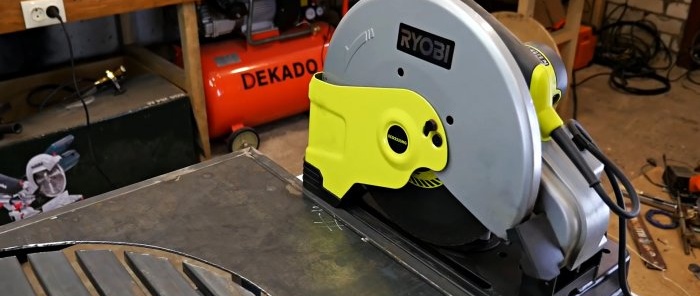
You can add shelves to the side of the workbench legs. They are also made from a profile pipe and covered with sheet steel. You can install a welding machine, miter saw, etc. on them.
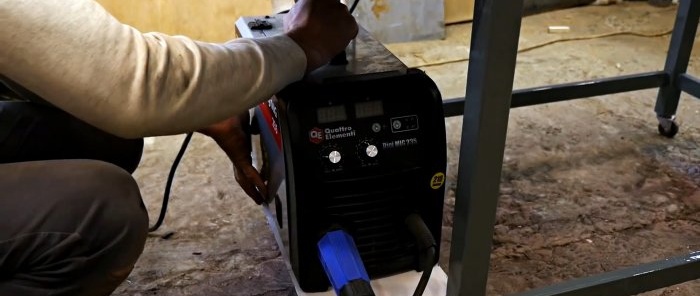
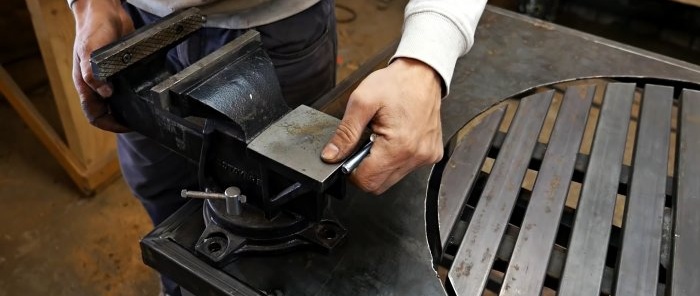
After painting, the existing equipment is installed on the workbench shelves. A vice is screwed to the side of the tabletop.
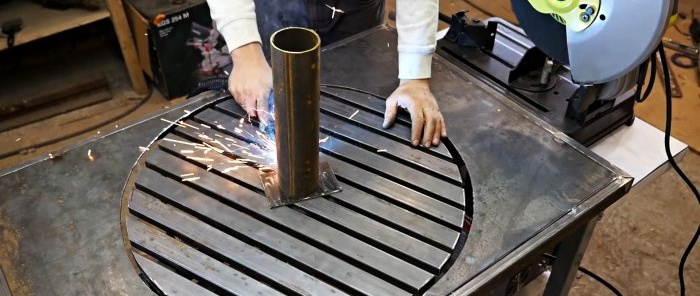
When working on a workbench, you can cut the workpiece locally using a crosscut saw, and then weld it on the turntable. The latter, thanks to rotation, allows you to turn the workpiece with the desired side towards you, which eliminates running around the table.
Materials:
- car front hub with bearing;
- profile pipes of different diameters;
- sheet metal 3-5 mm;
- M12 bolts – 4 pcs.;
- dye.
The process of making a workbench
Assembling the workbench must begin with the manufacture of the rotating mechanism. For this you will need to select a front wheel hub with a bearing.
Then a turntable is welded from profile pipes. To make it, you need to draw a round template 100-150 mm narrower than the width of the tabletop of the future workbench.
Profile pipes are laid parallel to it with a small gap.
They are then welded together with two crossbars and cut to the shape of a cardboard template.
Next, you need to take sheet steel from which you plan to make the workbench table top. In its center you need to cut a hole 5-10 mm wider than the diameter of the turntable.
The base of the workbench is welded from a profile pipe. It consists of 4 legs. They can be made from a pipe 50x50 mm or thicker. The legs are connected to each other at the top and bottom with thinner pipes. Then a table top with a hole for the turntable is welded to the base.
To strengthen the workbench, sides made of a profile pipe are welded along the perimeter of the tabletop. Their ends are cut at 45 degrees.
2 pipes are welded to the transverse sides from below, running along under the tabletop. They must be lowered so that the hub and turntable can be installed on them. In this case, it is necessary that the platform and the tabletop be on the same level. Next, the hub is bolted to the tubes. A turntable is welded on top of it. It is better not to weld the hub at the bottom so that you can remove it if you need to change the bearing in the future.
You can add shelves to the side of the workbench legs. They are also made from a profile pipe and covered with sheet steel. You can install a welding machine, miter saw, etc. on them.
After painting, the existing equipment is installed on the workbench shelves. A vice is screwed to the side of the tabletop.
When working on a workbench, you can cut the workpiece locally using a crosscut saw, and then weld it on the turntable. The latter, thanks to rotation, allows you to turn the workpiece with the desired side towards you, which eliminates running around the table.
Watch the video
Similar master classes
Particularly interesting
Comments (0)

