How to make an economical compact infrared heater
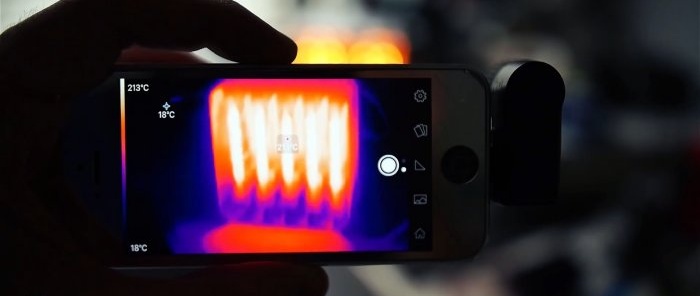
Infrared radiation does not heat the air, but the surrounding objects. In this regard, the parts of the body placed under it immediately feel warm. Purchased heaters are quite large, so if you need a compact device, you can only make it yourself.
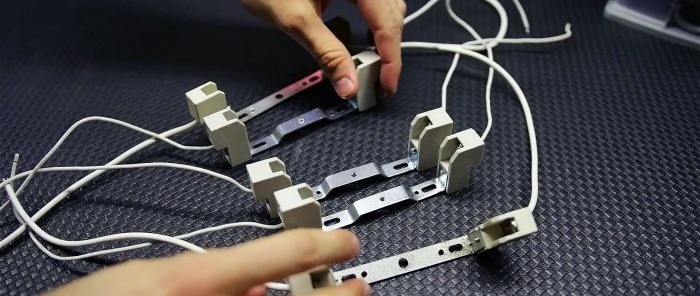
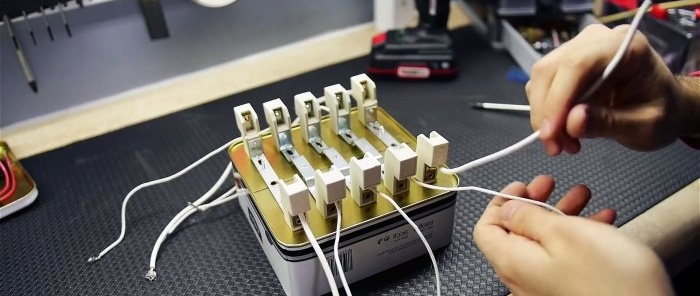
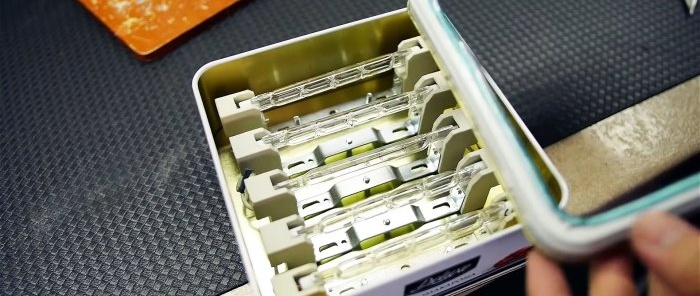
Lamp sockets with holders must be screwed inside the tin box.
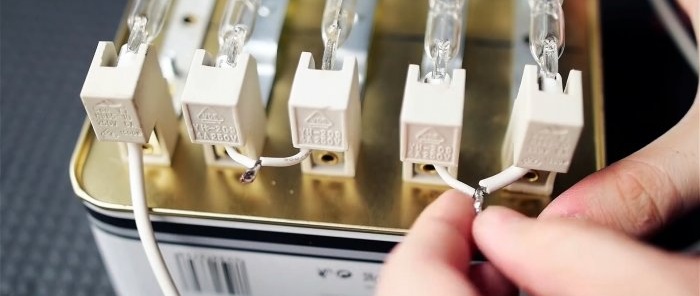
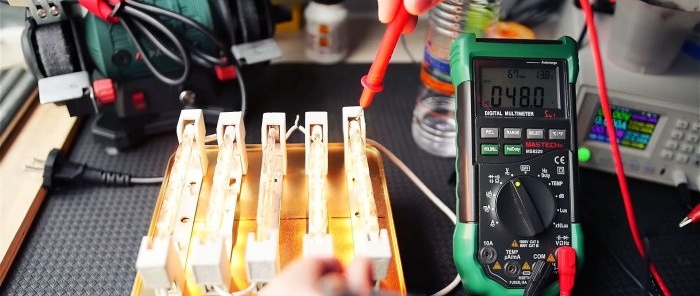
The cartridges need to be connected to each other in series, then each of the lamps will receive 44 V.
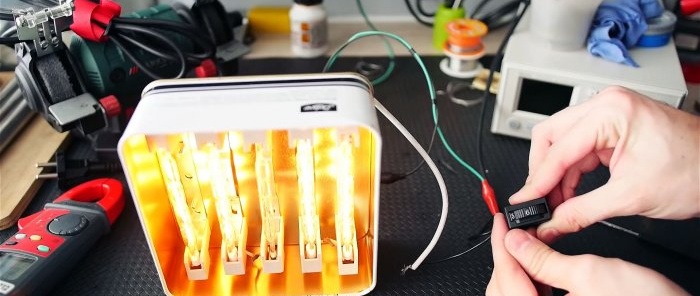
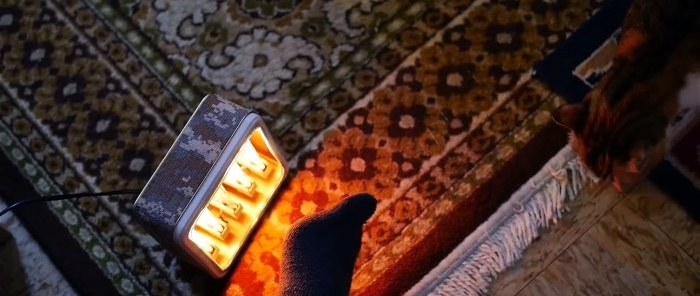
The result will be a faint glow, but powerful heat. The cartridges are screwed inside the box, their twist is insulated with heat shrink.
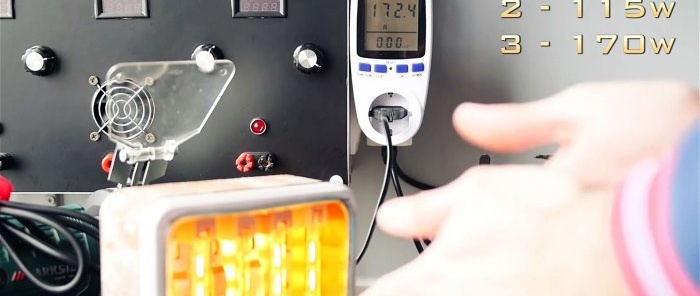
Power is supplied to the lamps through a thermal relay. It will interrupt the circuits when the reflector is critically heated, which will reduce the fire danger. It also wouldn’t hurt to embed a push-button switch on the body.To adjust the heating, you can use a regulator from a grinder or drill.
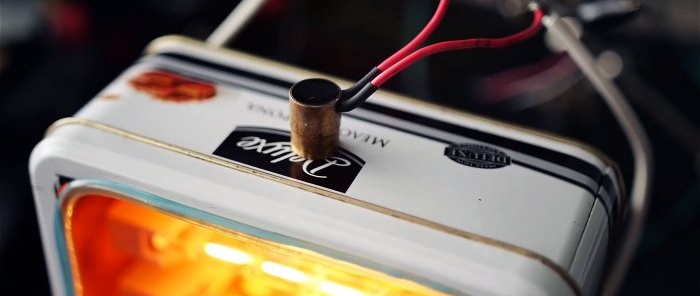
You can make the heater more high-tech by installing a touch sensor. Its contact is connected to the metal body. As a result, touching the box will turn on/off the lamps and switch the heating power mode.
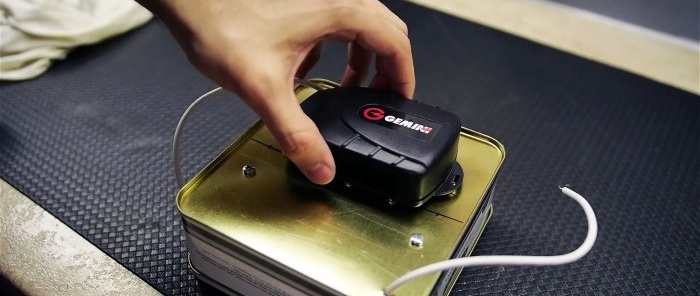
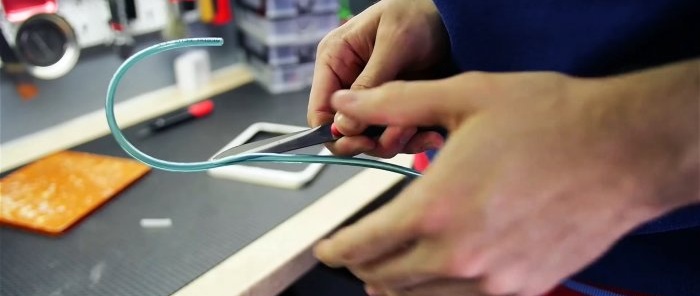
The selected electronic equipment for the heater is installed in a mounting box, which must be screwed to the back of the device body. To improve the appearance of the heater, a frame cut from the lid of a tin box is installed on it. Its sharp edges are covered with a tube cut lengthwise. The body itself can be painted or covered with camouflage tape. It is also advisable to place a grille in front of the lamps.
Materials:
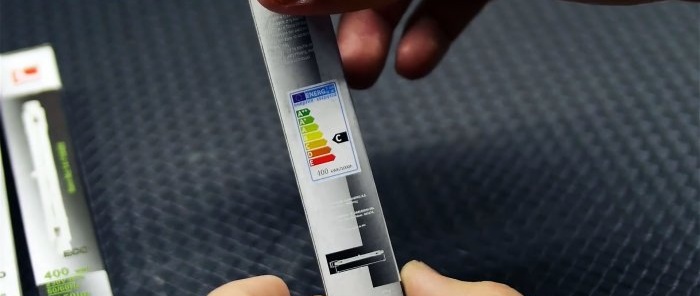
- linear incandescent lamps R7S 400 W each – 5 pcs.;
- sockets for R7S lamps with holders – 5 sets;
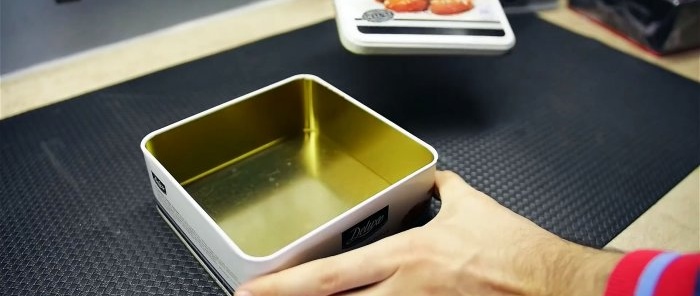
- candy tin box;
- wires;
- thermal relay;
- switch;
- power regulator or touch sensor with power switching;
- screws, nuts;
- mounting box;
- camouflage tape.
IR heater manufacturing process
Lamp sockets with holders must be screwed inside the tin box.
The cartridges need to be connected to each other in series, then each of the lamps will receive 44 V.
The result will be a faint glow, but powerful heat. The cartridges are screwed inside the box, their twist is insulated with heat shrink.
Power is supplied to the lamps through a thermal relay. It will interrupt the circuits when the reflector is critically heated, which will reduce the fire danger. It also wouldn’t hurt to embed a push-button switch on the body.To adjust the heating, you can use a regulator from a grinder or drill.
You can make the heater more high-tech by installing a touch sensor. Its contact is connected to the metal body. As a result, touching the box will turn on/off the lamps and switch the heating power mode.
The selected electronic equipment for the heater is installed in a mounting box, which must be screwed to the back of the device body. To improve the appearance of the heater, a frame cut from the lid of a tin box is installed on it. Its sharp edges are covered with a tube cut lengthwise. The body itself can be painted or covered with camouflage tape. It is also advisable to place a grille in front of the lamps.
Watch the video
Similar master classes
Particularly interesting
Comments (9)

