How to make a docking station for a laptop so as not to constantly connect a bunch of wires
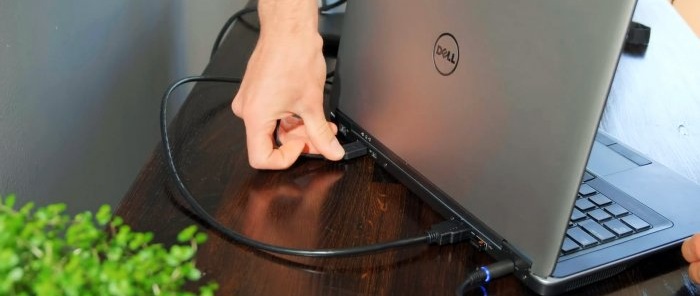
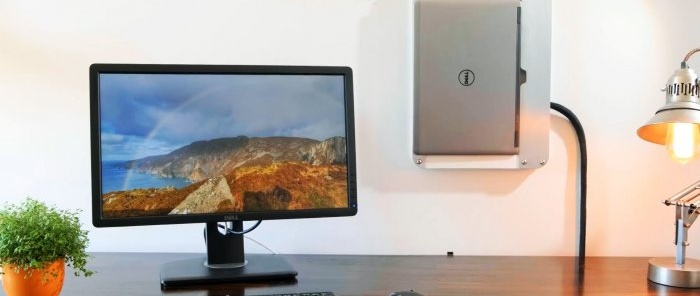
For convenience, many people practice connecting a laptop to a large monitor. Moreover, in this case, it itself takes up space on the desktop, which makes it difficult to place a full-size keyboard and mouse. By making such a wall stand, you will free the table from the laptop, and you will also be able to attach it to the monitor and other peripheral equipment in one movement.
Now you can easily take your laptop with you on a business trip, and upon arrival, quickly turn it into a desktop computer.
On AliExpress there are, of course, ready-made docking stations - but not as convenient as homemade ones.
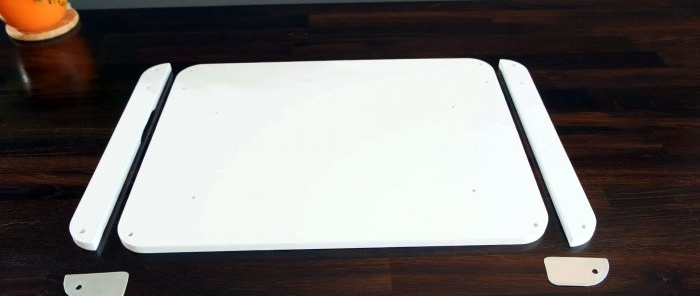
To make a stand, you need to decide on its configuration. It depends on which side the main connectors for connecting the monitor, network cable, as well as USB and charging are located. The base of the stand is cut out of sheet plastic. It should be longer and wider than the laptop. On the side of the connectors, the reserve is made the largest.The corners of the delivery are rounded and the ends are polished.
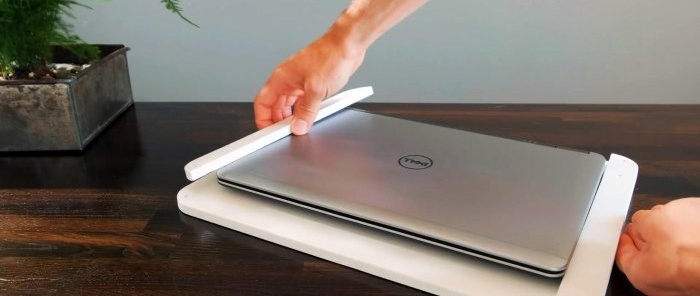
2 sides are cut out of the same plastic to support the laptop from the sides without connectors.
If one of the sides covers the ventilation window, then it should be trimmed in this place.
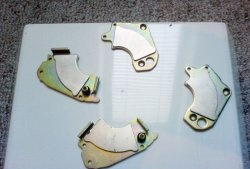
Also, 2 flags are cut from sheet aluminum to hold the laptop to the stand.
Mounting holes are drilled in the base, sides and flags.
The stand is assembled with bolts. When placing washers, you need to adjust the height of the sides so that when you turn the flags, you press the lower half of the laptop without the lid to the base. It is better to glue the bolts in place so as not to use protruding nuts.
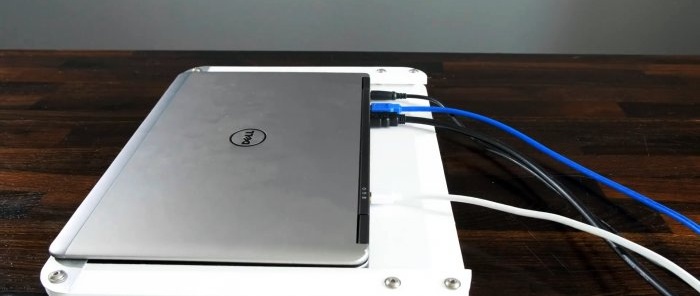
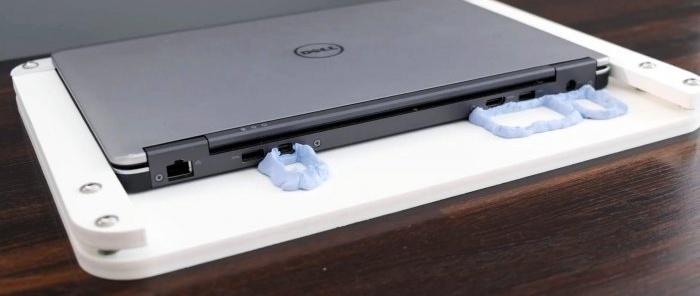
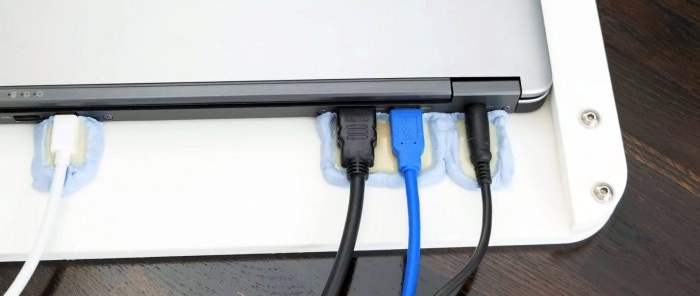
Next, you need to glue the wires to the base so that when you install the laptop, they immediately fit into the connectors. To do this, the device is inserted into the stand.
Opposite the connectors, sides are made of plasticine, epoxy glue is poured into them, and cables are inserted.
Once the epoxy has dried, you can remove the laptop and scrape off the plasticine.
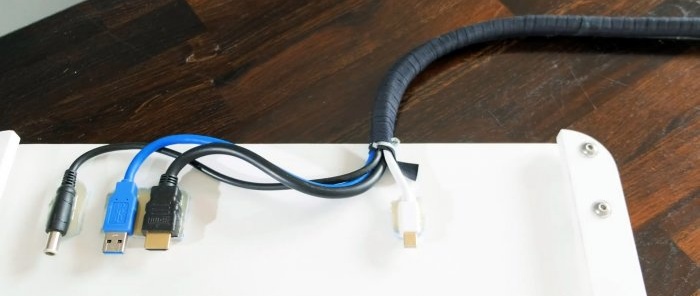
The cables are bundled and insulated.
Next, you need to cut out a plate from aluminum and cover the wire plugs on the stand. A groove is made on it under the finger, so that later you can pry the laptop off when removing it. The stand is then screwed to the wall.
Now, when you install the laptop in the stand, it will push its sockets onto the plugs and connect to them. At the same time, it will be possible to open the lid to start it. All you have to do is go into the laptop settings, go to the “power and sleep” tab, then in the additional parameters select “no action required when closing the lid.” Now the laptop will work with the monitor as a system unit, even if it is closed.
Also read how you can make a power bank for a laptop with your own hands - https://home.washerhouse.com/en/6151-prostoj-pover-bank-dlja-noutbuka.html
Now you can easily take your laptop with you on a business trip, and upon arrival, quickly turn it into a desktop computer.
On AliExpress there are, of course, ready-made docking stations - but not as convenient as homemade ones.
Materials:
- sheet plastic 8-10 mm;
- sheet aluminum;
- bolts, nuts, washers M6.
Stand manufacturing process
To make a stand, you need to decide on its configuration. It depends on which side the main connectors for connecting the monitor, network cable, as well as USB and charging are located. The base of the stand is cut out of sheet plastic. It should be longer and wider than the laptop. On the side of the connectors, the reserve is made the largest.The corners of the delivery are rounded and the ends are polished.
2 sides are cut out of the same plastic to support the laptop from the sides without connectors.
If one of the sides covers the ventilation window, then it should be trimmed in this place.
Also, 2 flags are cut from sheet aluminum to hold the laptop to the stand.
Mounting holes are drilled in the base, sides and flags.
The stand is assembled with bolts. When placing washers, you need to adjust the height of the sides so that when you turn the flags, you press the lower half of the laptop without the lid to the base. It is better to glue the bolts in place so as not to use protruding nuts.
Next, you need to glue the wires to the base so that when you install the laptop, they immediately fit into the connectors. To do this, the device is inserted into the stand.
Opposite the connectors, sides are made of plasticine, epoxy glue is poured into them, and cables are inserted.
Once the epoxy has dried, you can remove the laptop and scrape off the plasticine.
The cables are bundled and insulated.
Next, you need to cut out a plate from aluminum and cover the wire plugs on the stand. A groove is made on it under the finger, so that later you can pry the laptop off when removing it. The stand is then screwed to the wall.
Now, when you install the laptop in the stand, it will push its sockets onto the plugs and connect to them. At the same time, it will be possible to open the lid to start it. All you have to do is go into the laptop settings, go to the “power and sleep” tab, then in the additional parameters select “no action required when closing the lid.” Now the laptop will work with the monitor as a system unit, even if it is closed.
Watch the video
Also read how you can make a power bank for a laptop with your own hands - https://home.washerhouse.com/en/6151-prostoj-pover-bank-dlja-noutbuka.html
Similar master classes
Particularly interesting
Comments (0)

