How to make a non-contact high voltage tester
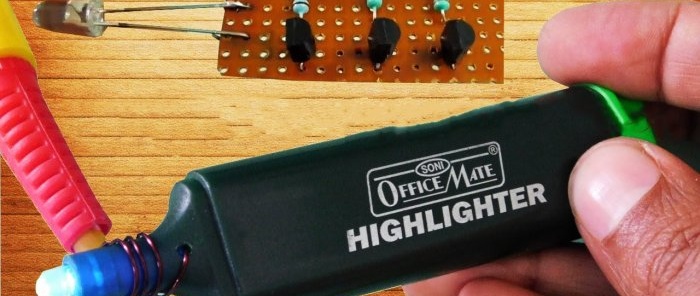
To determine the presence of high voltage 220 V in a conductor and more, you can assemble a simple tester in the marker body. Using this device, you can determine the conductor break and the presence of a phase. An excellent homemade product for beginner radio amateurs.
Details
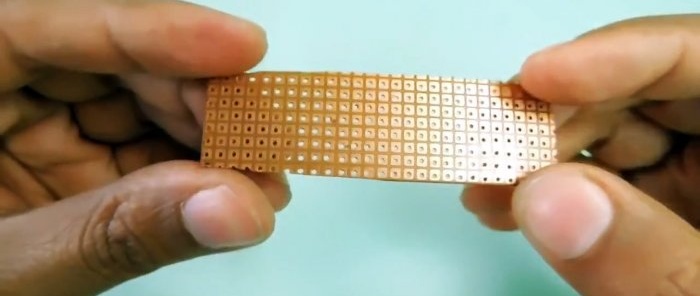
- Universal mounting plate - http://alii.pub/5nar6l
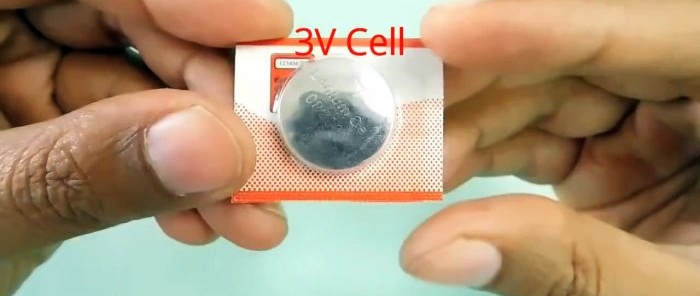
- Lithium battery 3V - http://alii.pub/5nar2b
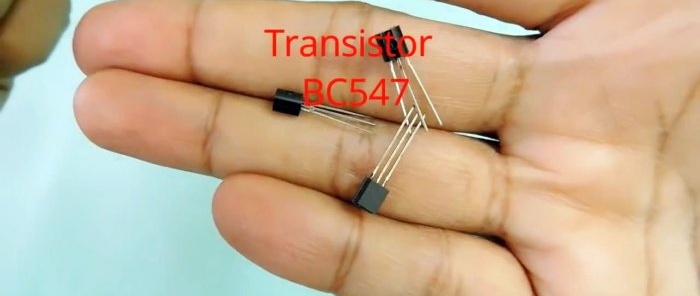
- Transistors BC547 - 3 pcs - http://alii.pub/5l6vyg
- Light-emitting diode - http://alii.pub/5lag4f
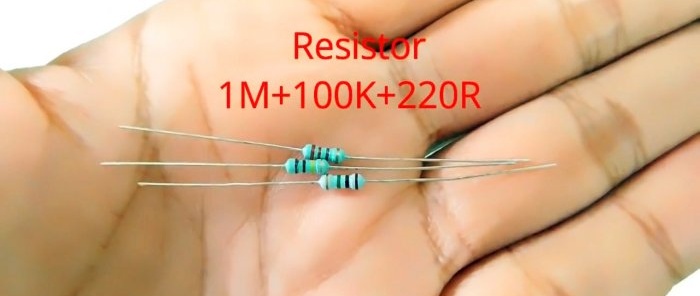
- Resistors: 1 Mohm, 100 kOhm, 200 Ohm - http://alii.pub/5h6ouv
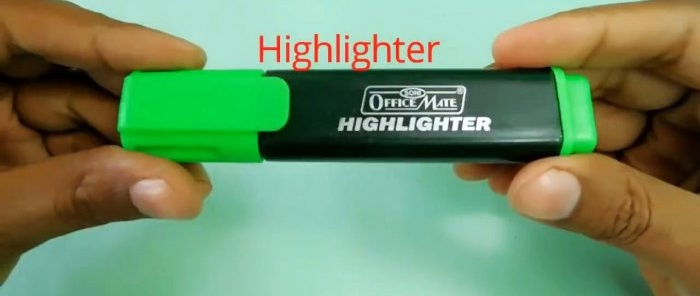
- Marker.
Making a tester
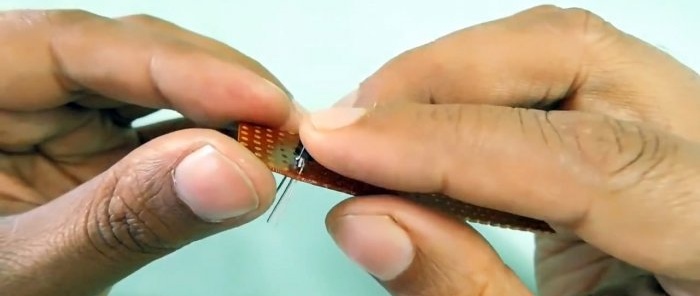
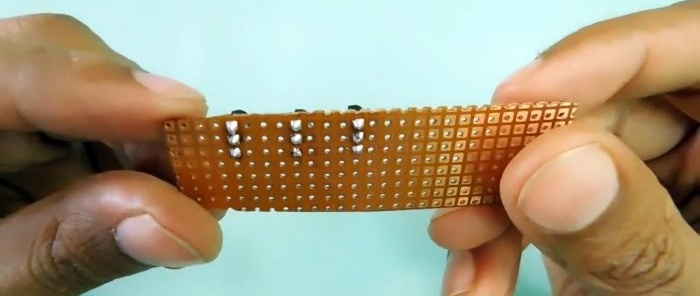
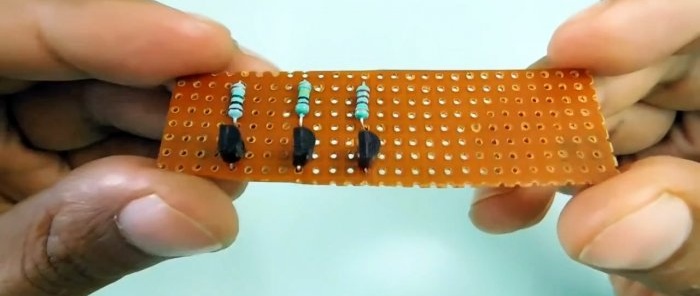
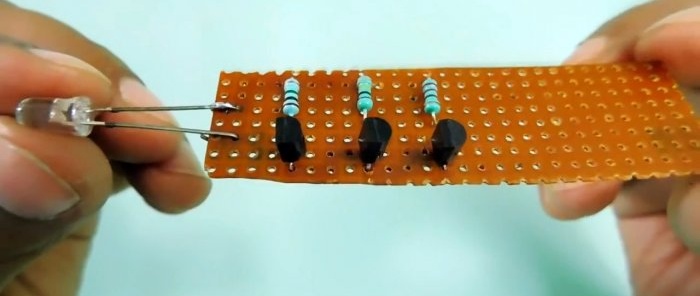
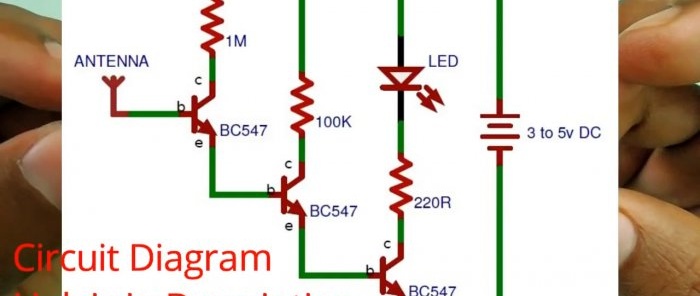
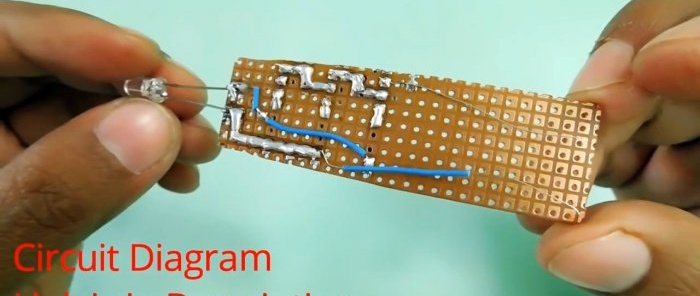
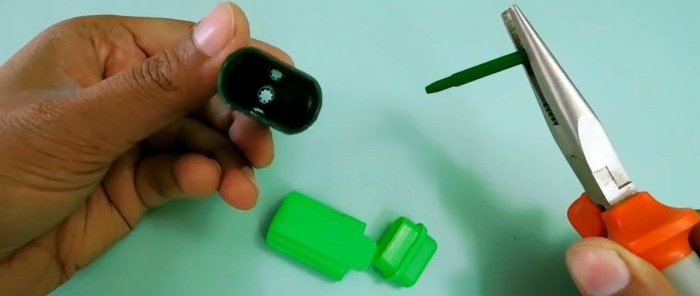
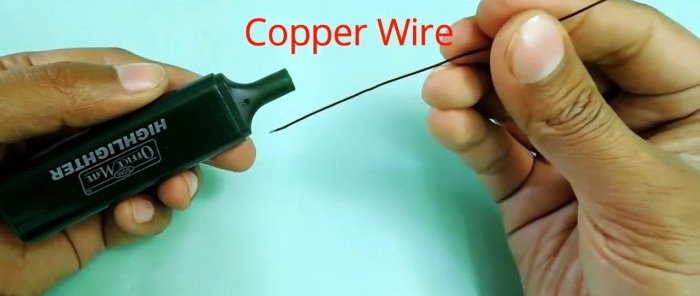
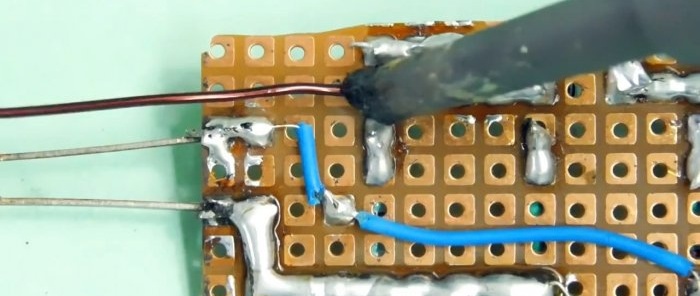
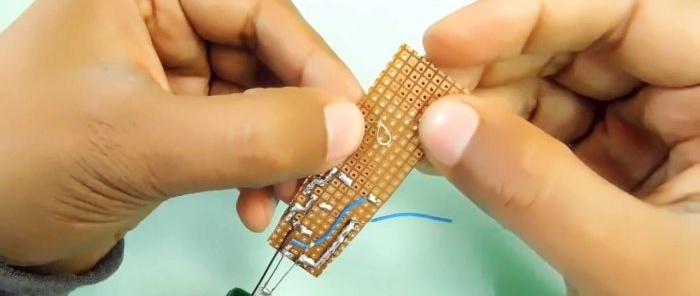
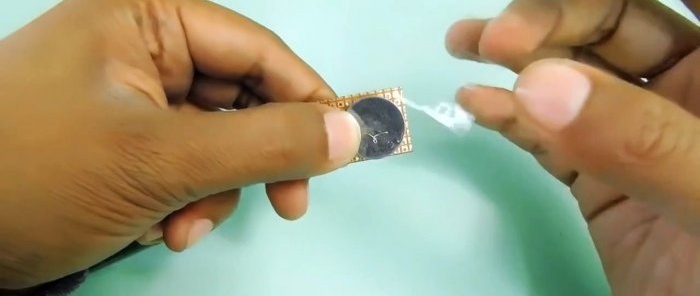
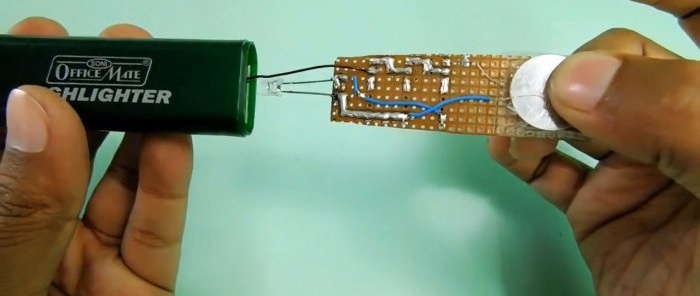
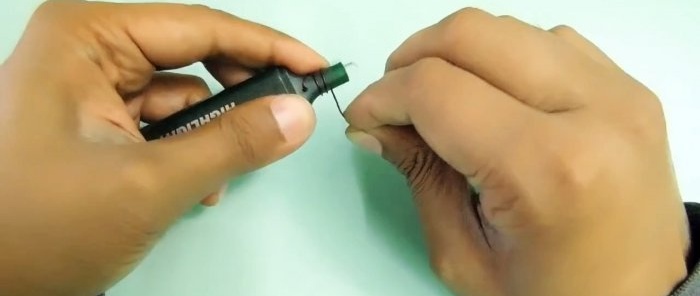
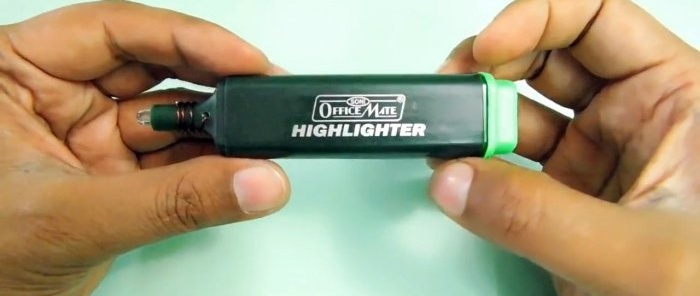
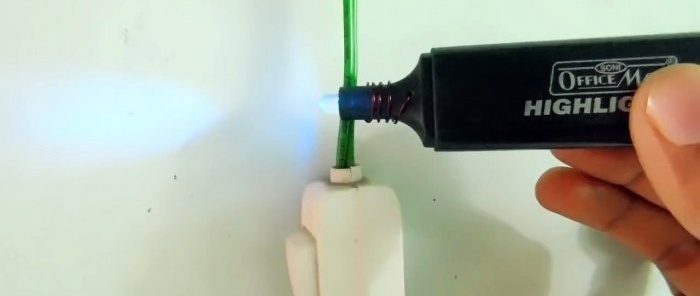
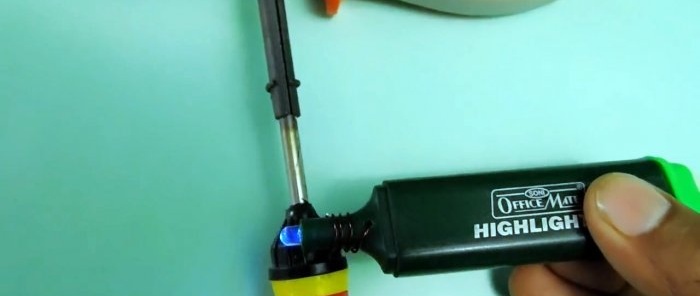
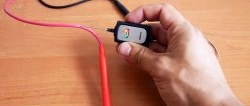
We install the transistors in a row on the board. The circuit board will be pre-cut to the dimensions of the marker. Solder and cut off the leads of the transistors. We install resistors and solder them. Install Light-emitting diode without cutting the lead, solder it. We solder according to the diagram: We disassemble the marker and remove all the insides. At the end of the narrowing we make a hole for the sensor, in the role of which a piece of copper wire will be used. Solder the sensor to the input of the circuit. Let's connect power from the element to the long terminals. We fix the battery with tape. We install the board into the housing using a marker. We wrap the wire around the narrowing of the marker. The tester is ready for testing. If you bring its sensor to a wire where there is high voltage - Light-emitting diode will light up. We bring it to the switched on soldering iron - Light-emitting diode shines. No power switch needed. Just put the cap on the sensor and Light-emitting diode will not light up again.Watch the video
How to make a polarity tester from a pen - https://home.washerhouse.com/en/7432-kak-sdelat-beskontaktnyj-tester-nalichija-vysokogo-naprjazhenija.html
Similar master classes
Particularly interesting
Comments (0)

