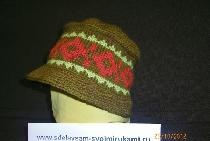
Summer Panama hat for girls
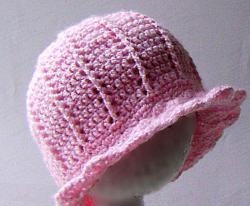
The hot season is just around the corner, and mothers are starting to worry about summer outfits for themselves and their daughters. Of course, you should also think about a headdress. On the one hand, a beautiful hat decorates a summer outfit, on the other hand, it protects your head from the hot sun. A Panama hat is suitable for any age, and you can make a variety of decorations for it.
Knitting technique.
Step 1. Panama hat base.
For knitting you need the size of the head circumference and the depth of the panama hat. We finish all rows with a connecting loop.
1 row. We connect 5 cr into a ring, raise 3 cr, we knit 15 cr1 into a ring.
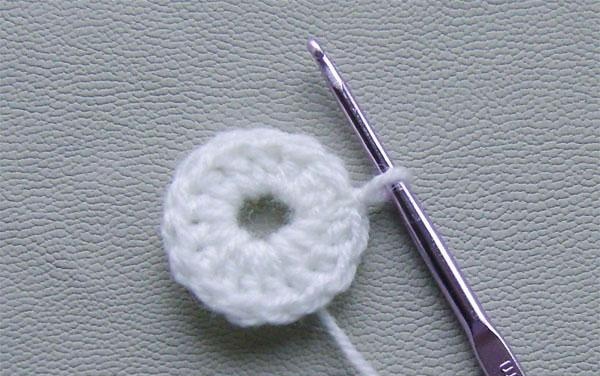
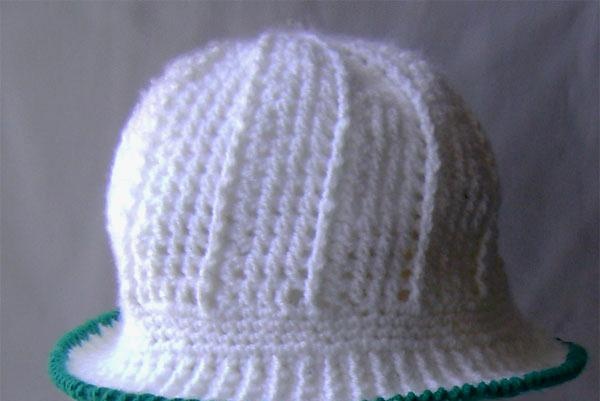
2nd row. 3 ch + 1 ch, knit with rapport * 1 ch, 1 rst*. To knit a relief double crochet, insert a hook under the double crochet, pull out the thread, and make a double crochet. There will be 16 columns in total in the row.
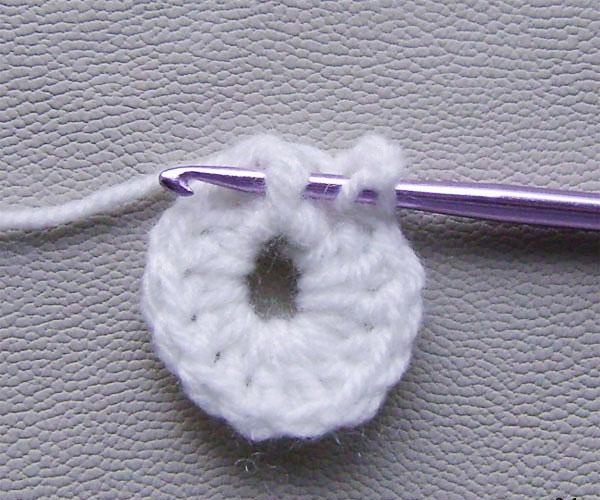
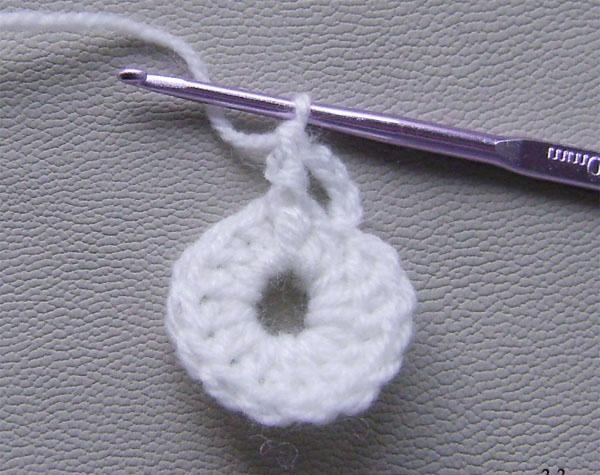
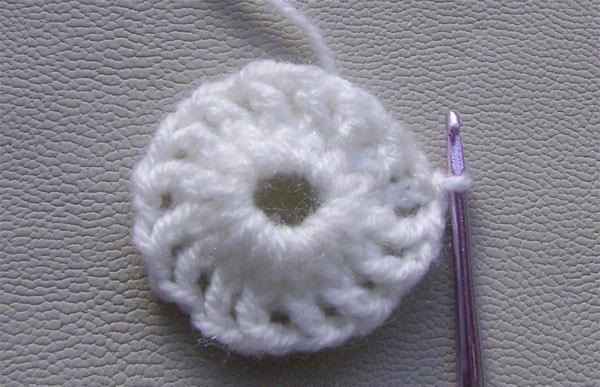
3rd row. 3 ch, then repeat *1 ch, 1 dc1, 1 rst in one loop*. We make a double crochet into an air loop, we knit the relief one over the relief one.
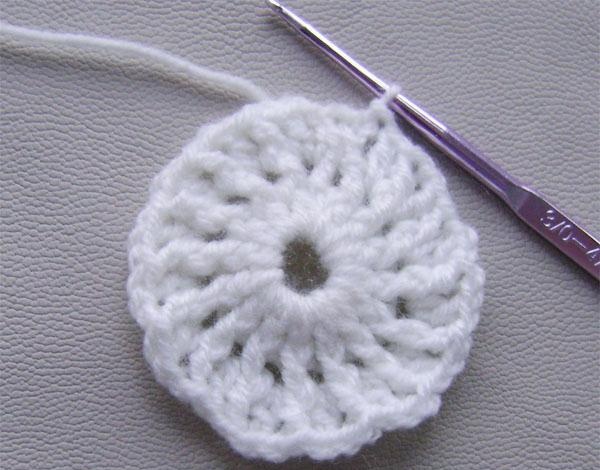
4 row. 3 ch + 1 ch, over the relief we knit relief, 1 ch, 1 dc1 over the double crochet, then rapport *1 ch, 1 rst, 1 ch, 1 dc1*.
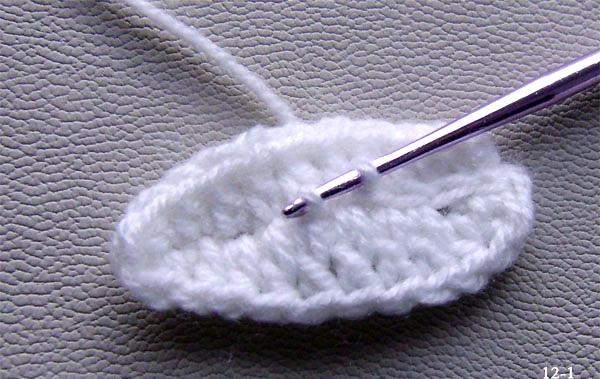
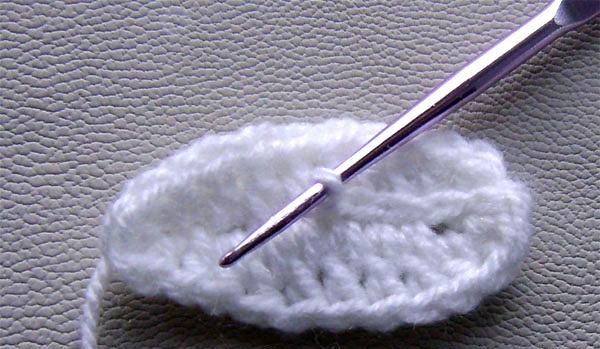
5 row. 3 ch, yo, 1 dc1 there, then go *1 ch, 1 rail, 1 ch, 2 dc1* (photo 5-1), one stitch is above the post, the second is between the loops.
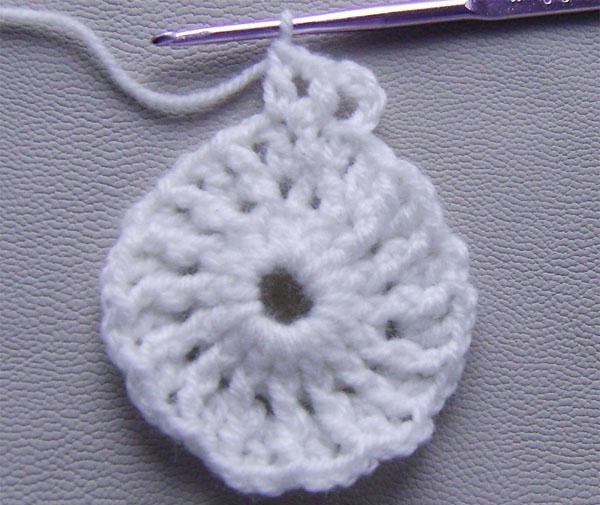
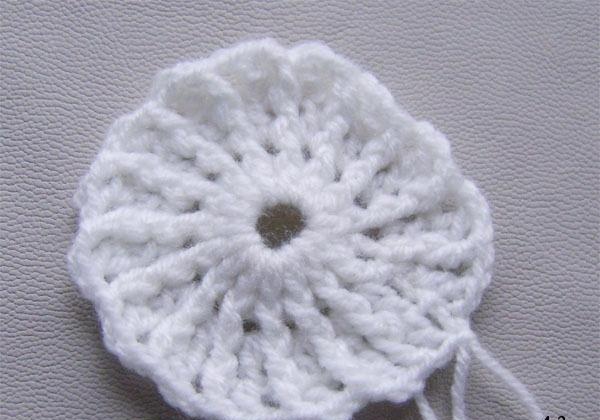
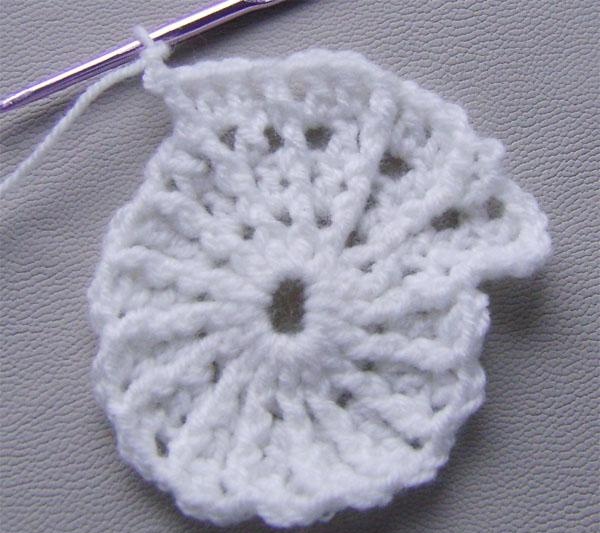
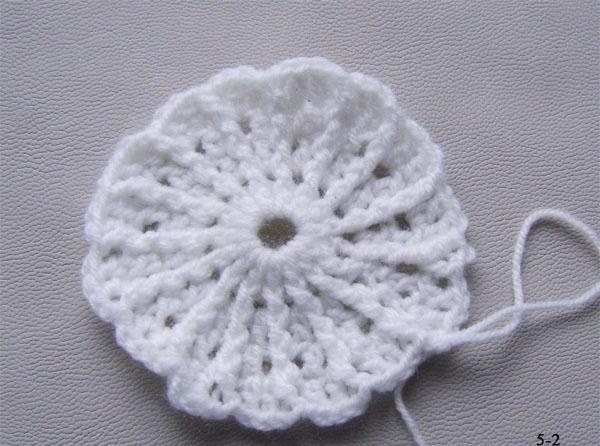
6th row. 3 ch, 1 dc1 there, in a double crochet we knit 1 dc1, 1 ch, 1 rst, to the end of the row * 1 dc, 3 dc1, 1 rst*.
7th row. 3 dc, and at the same point 3 dc1, it turns out 4 dc1. Next *1 ch, 1 rst, 1 ch, 4 dc1*.
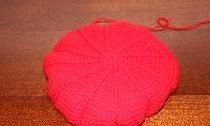
For the hat in the photo, the diameter of the circle was sufficient to continue knitting with a pipe without changing the number of stitches. To calculate this diameter, you need to divide the head circumference by 3.14.
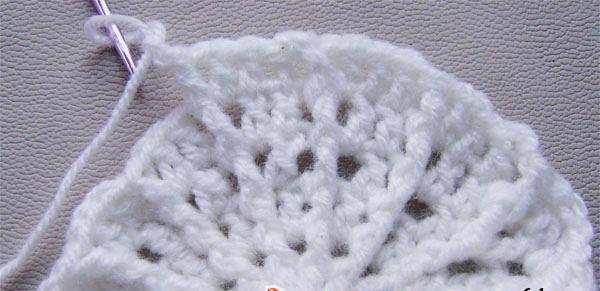
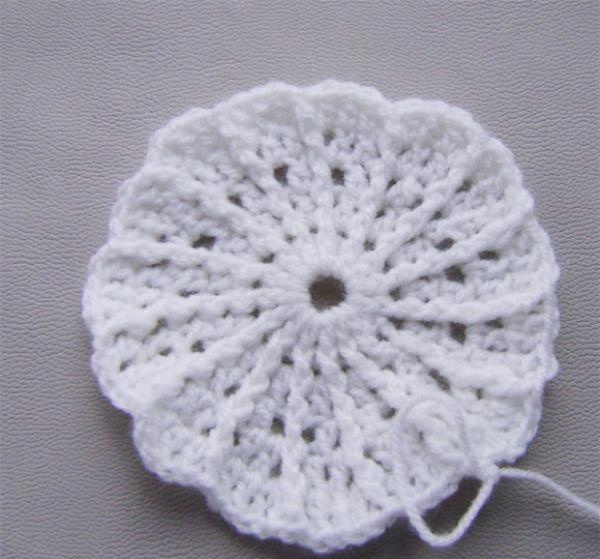
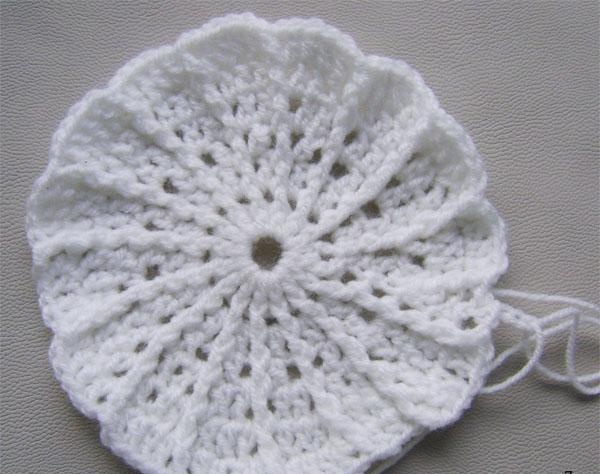
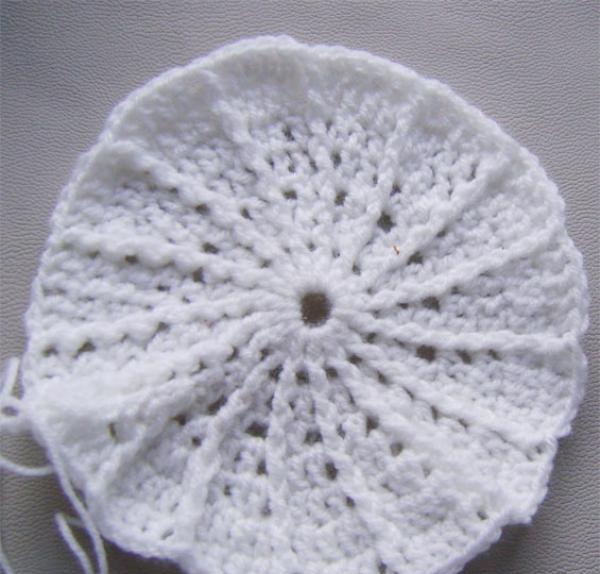
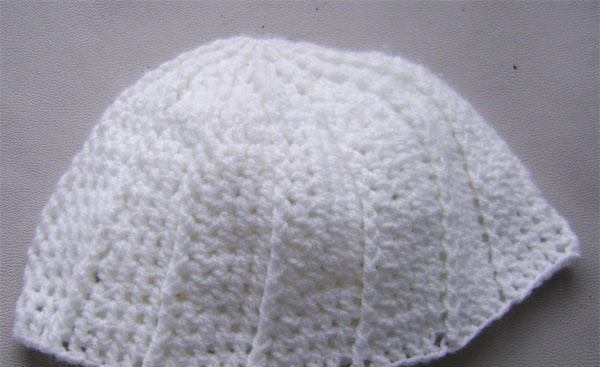
We knit the 8th row and subsequent rows without adding stitches. When knitting the top of the head, I knitted double crochets into the tops of the bottom stitch; when knitting the pipe, I knitted between the stitches for greater openness. We make the last three rows with single crochets to move on to knitting the fields.
Note: to further increase the diameter of the circle, you need to continue adding columns.
Step 2. Knitting fields.
To make the brim more rigid, use a smaller hook.
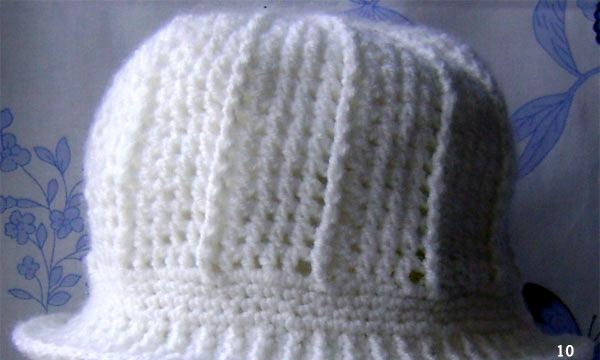
We knit row 1 with simple stitches, making 2 stitches in every third loop.
2 - 3 rows we knit 2 ch, 1 rst, then * 1 dc1, 1 rst *. We knit the columns one above the other, maintaining the ladder of relief columns.
4-5 rows are crocheted in a larger size using the same rapport.
Note: the number of rows for fields can be increased.
Step 3. Decorating the panama hat.
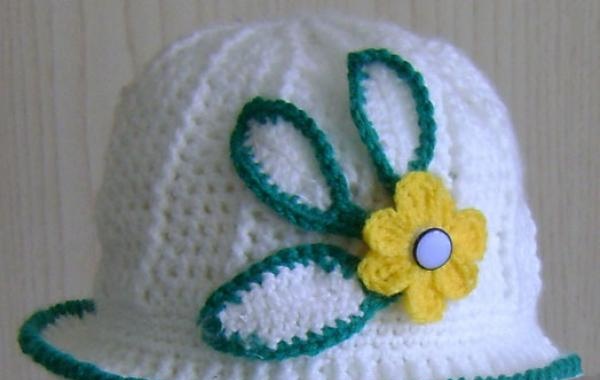
We do the tying of the fields in a crayfish step. We knit a decoration.
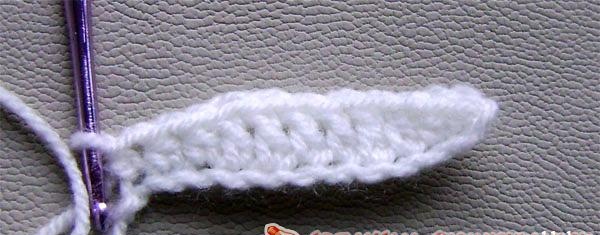
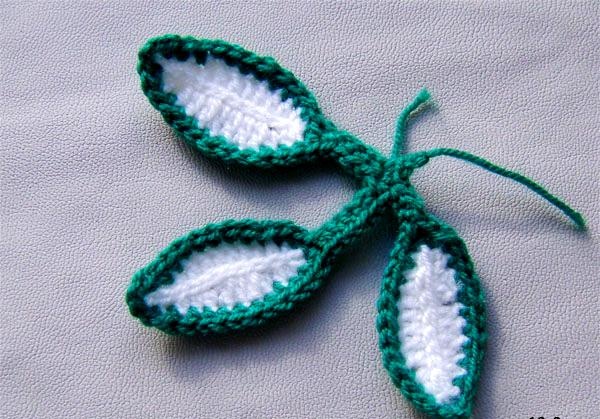
How to tie a twig with leaves.
Sequence of work:
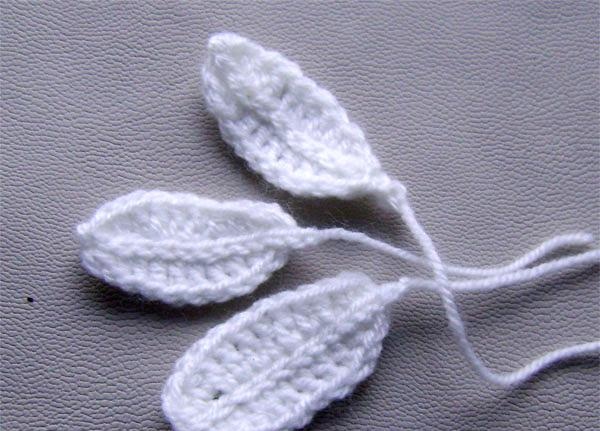
• dial 12 vpt. Starting from the second loop, knit 1 dc, 2 dc1, 5 dc1, 2 dc1, 1 dc. One side of the leaf is ready,
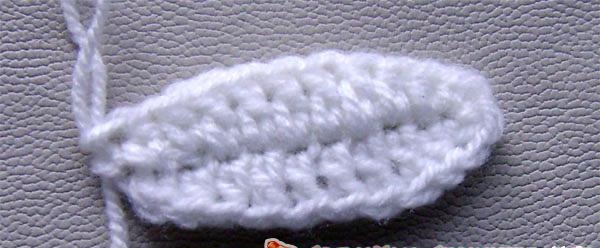
• cast on 2 stitches for rounding, and knit the same repeat on the other side of the chain,
• using connecting loops we make the middle of the leaf,
•knit 3 leaves for a branch,
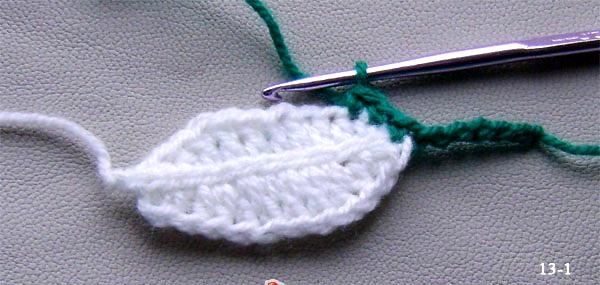
•for the stem we cast on several green chain stitches and begin tying the first leaf with single crochets,
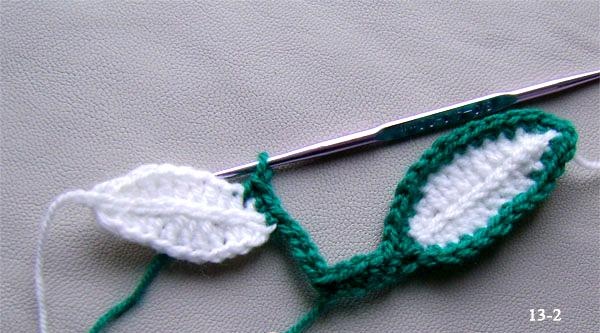
•after tying a leaf with single crochets, we knit a stem to move to the next leaf,
•We do the same with knitting the remaining leaves.
How to knit a flower
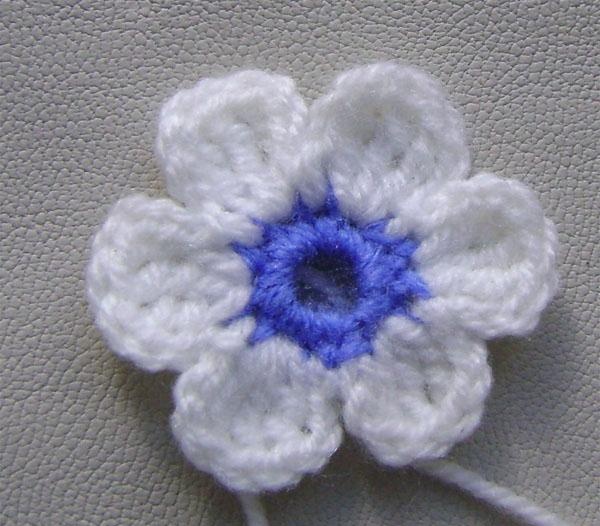
Summer hats don’t need a bulky floral design, so we knit a very simple flower:
•we make a ring and knit 13 sc into it,
•for the petal we make 3 ch, 3 dc2 in the next loop, 3 ch, then insert the hook into the next loop and knit it with a connecting stitch,
•we knit all the petals with this rapport.
Designations: vpt - single crochet, dc1 - single crochet, dc2 - double crochet, rst - relief stitch, pstn1 - half double crochet.
Knitting technique.
Step 1. Panama hat base.
For knitting you need the size of the head circumference and the depth of the panama hat. We finish all rows with a connecting loop.
1 row. We connect 5 cr into a ring, raise 3 cr, we knit 15 cr1 into a ring.

2nd row. 3 ch + 1 ch, knit with rapport * 1 ch, 1 rst*. To knit a relief double crochet, insert a hook under the double crochet, pull out the thread, and make a double crochet. There will be 16 columns in total in the row.


3rd row. 3 ch, then repeat *1 ch, 1 dc1, 1 rst in one loop*. We make a double crochet into an air loop, we knit the relief one over the relief one.

4 row. 3 ch + 1 ch, over the relief we knit relief, 1 ch, 1 dc1 over the double crochet, then rapport *1 ch, 1 rst, 1 ch, 1 dc1*.
5 row. 3 ch, yo, 1 dc1 there, then go *1 ch, 1 rail, 1 ch, 2 dc1* (photo 5-1), one stitch is above the post, the second is between the loops.


6th row. 3 ch, 1 dc1 there, in a double crochet we knit 1 dc1, 1 ch, 1 rst, to the end of the row * 1 dc, 3 dc1, 1 rst*.
7th row. 3 dc, and at the same point 3 dc1, it turns out 4 dc1. Next *1 ch, 1 rst, 1 ch, 4 dc1*.
For the hat in the photo, the diameter of the circle was sufficient to continue knitting with a pipe without changing the number of stitches. To calculate this diameter, you need to divide the head circumference by 3.14.


We knit the 8th row and subsequent rows without adding stitches. When knitting the top of the head, I knitted double crochets into the tops of the bottom stitch; when knitting the pipe, I knitted between the stitches for greater openness. We make the last three rows with single crochets to move on to knitting the fields.
Note: to further increase the diameter of the circle, you need to continue adding columns.
Step 2. Knitting fields.
To make the brim more rigid, use a smaller hook.
We knit row 1 with simple stitches, making 2 stitches in every third loop.
2 - 3 rows we knit 2 ch, 1 rst, then * 1 dc1, 1 rst *. We knit the columns one above the other, maintaining the ladder of relief columns.
4-5 rows are crocheted in a larger size using the same rapport.
Note: the number of rows for fields can be increased.
Step 3. Decorating the panama hat.
We do the tying of the fields in a crayfish step. We knit a decoration.


How to tie a twig with leaves.
Sequence of work:
• dial 12 vpt. Starting from the second loop, knit 1 dc, 2 dc1, 5 dc1, 2 dc1, 1 dc. One side of the leaf is ready,
• cast on 2 stitches for rounding, and knit the same repeat on the other side of the chain,
• using connecting loops we make the middle of the leaf,
•knit 3 leaves for a branch,
•for the stem we cast on several green chain stitches and begin tying the first leaf with single crochets,
•after tying a leaf with single crochets, we knit a stem to move to the next leaf,
•We do the same with knitting the remaining leaves.
How to knit a flower
Summer hats don’t need a bulky floral design, so we knit a very simple flower:
•we make a ring and knit 13 sc into it,
•for the petal we make 3 ch, 3 dc2 in the next loop, 3 ch, then insert the hook into the next loop and knit it with a connecting stitch,
•we knit all the petals with this rapport.
Designations: vpt - single crochet, dc1 - single crochet, dc2 - double crochet, rst - relief stitch, pstn1 - half double crochet.


Similar master classes
Particularly interesting
Comments (0)

