How to make a compact 1 kW electric stove
It’s not bad at all if you have a small electric stove in your workshop or garage. With its help, you can cook food, simply warm up food, or heat various resins and polymers to a comfortable operating temperature. Making small tiles with your own hands is not difficult and inexpensive.
Materials:
- Large tin can;
- electrical plug;
- flat socket for plug;
- gypsum;
- spiral for household electric stoves and heaters - http://alii.pub/63wbgv
- steel rod 3-4 mm.
The process of making an electric stove with your own hands
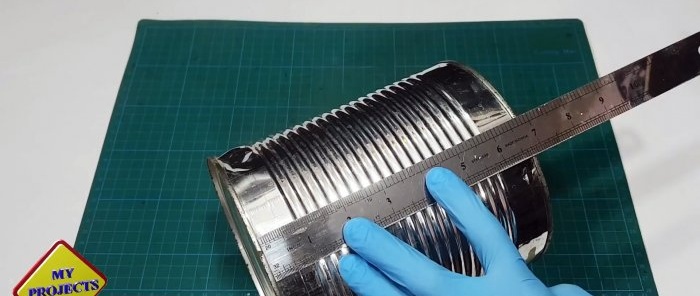
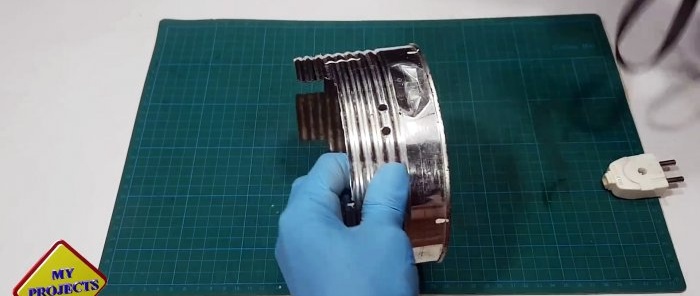
To make the stove body you will need a large tin can with a diameter of approximately 15 cm.
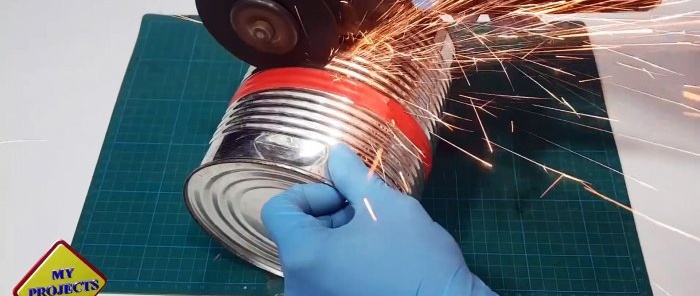
It will need a lower part 8 cm high. For ease of cutting, you need to glue electrical tape around the circumference and cut along it.
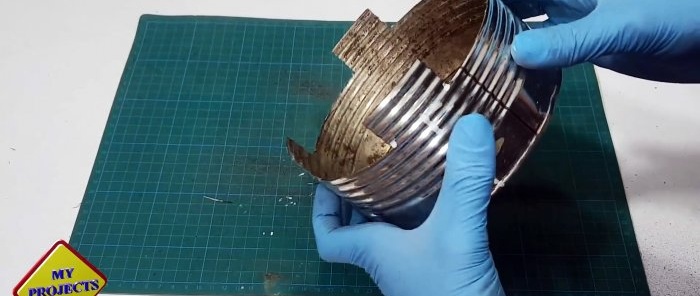
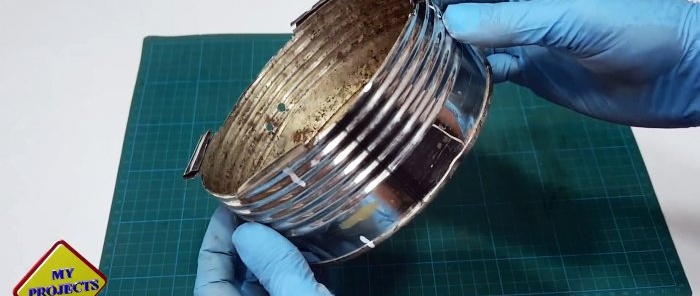
The shortened bank is divided into 4 identical sectors. Then it needs to be cut along the top edge to the width of the electrical tape, leaving notches on the marks. These protrusions will be needed to install the dishes.
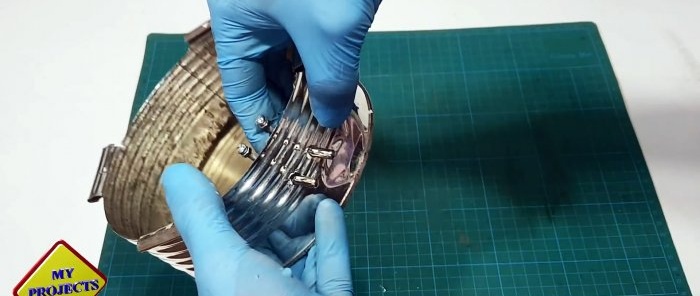
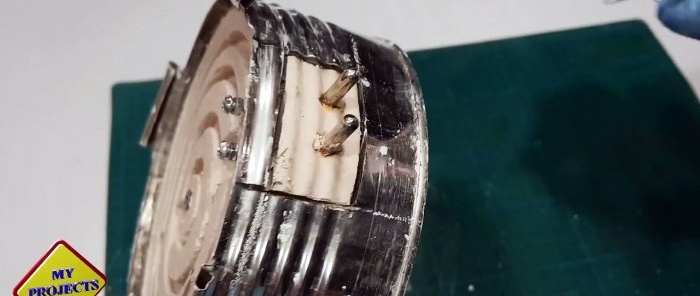
In the wall of the can at the top you need to drill 2 holes for the electrical plug.
After this, the 4 notches are folded inward. You can wrap them around a screwdriver.
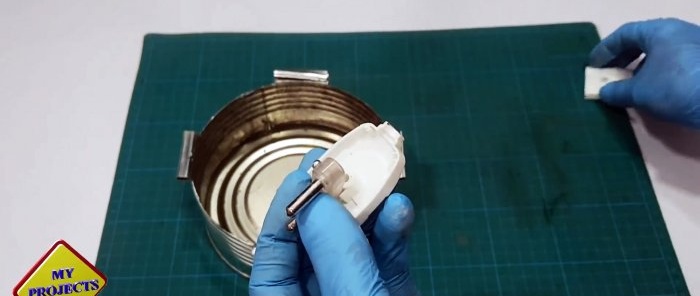
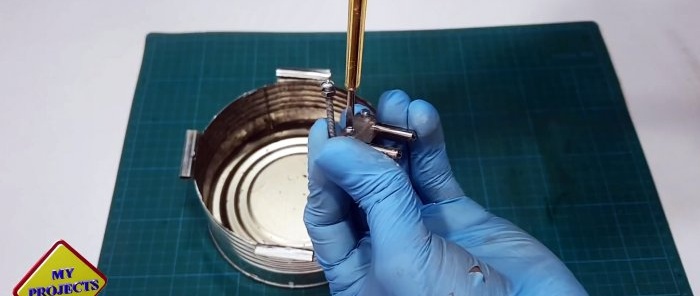
Then we disassemble the fork.
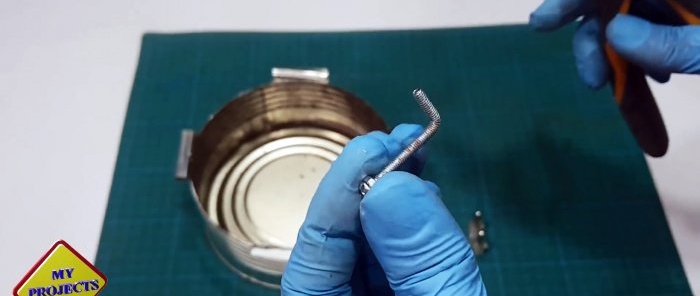
It is necessary to clamp long screws bent at right angles with nuts screwed to the head into its pins. The modified fork is inserted from the inside into the holes in the can. A flat socket is placed on it.
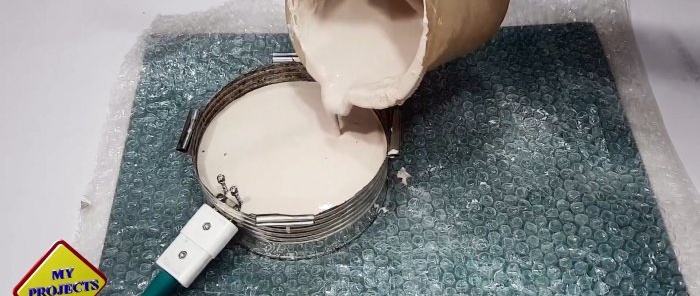
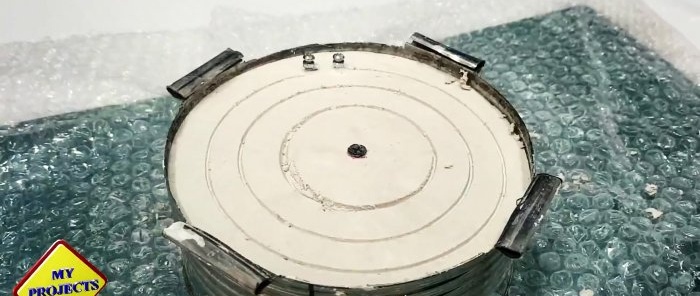
After this, you need to mix the plaster with water and fill the jar, but in such a way as to leave the heads of the bent screws in the socket open.
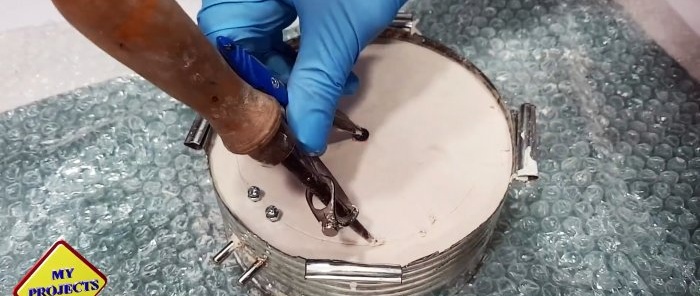
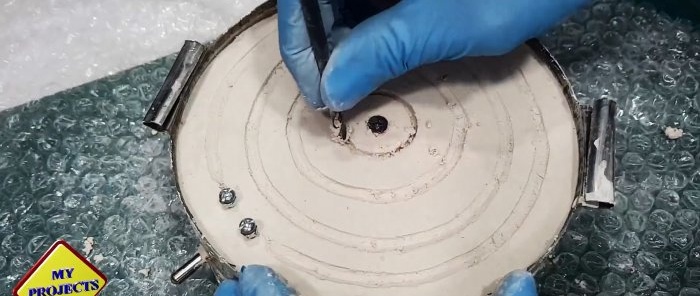
When the plaster hardens, you need to cut grooves for the spiral. To do this, a self-tapping screw was screwed into the center of the mold. Then, using a metal compass, grooves are cut in circles on the plaster.
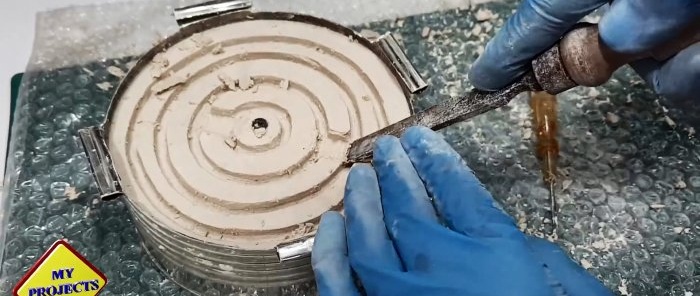
The grooves must be expanded to full grooves for the heating coil. This is convenient to do with a drill. It scrapes off the plaster easily.
The cut grooves need to be connected. It is convenient to do this with a narrow chisel. Transitions between circles must be done opposite each other, but from different sides.
In the jar, tin is cut around the plug so that the plastic socket does not come into contact with the hot metal.
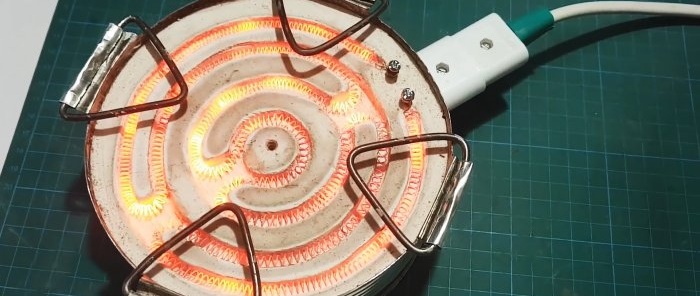
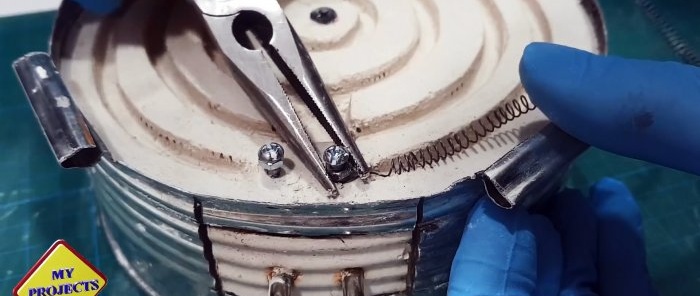
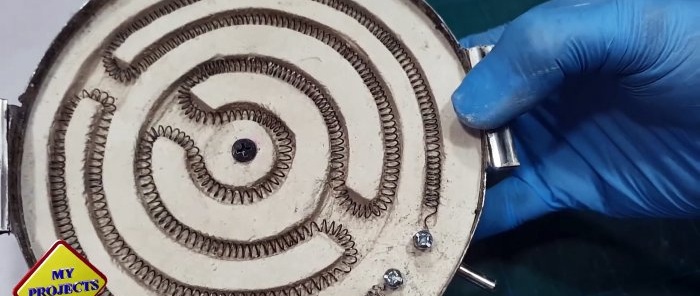
After this, a heating coil is placed in the grooves. Its ends are clamped on protruding screws.
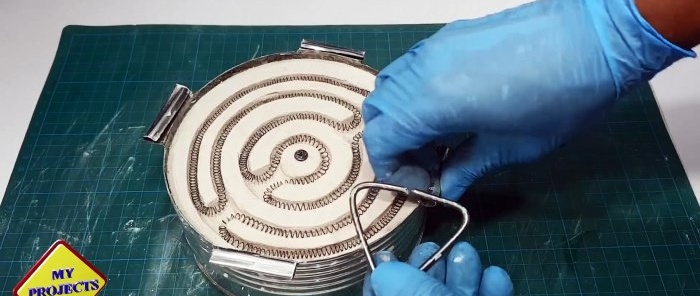
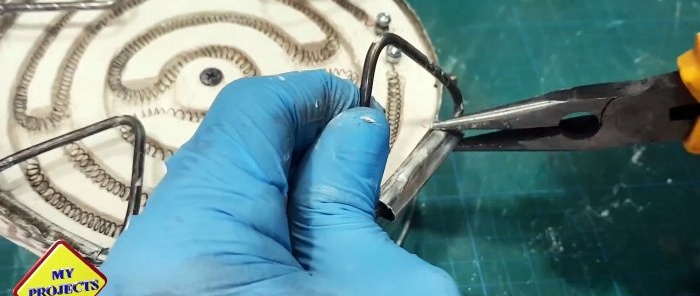
Next you need to work on the stand. Triangular frames are bent from a steel bar and inserted into twisted eyes in the slab.
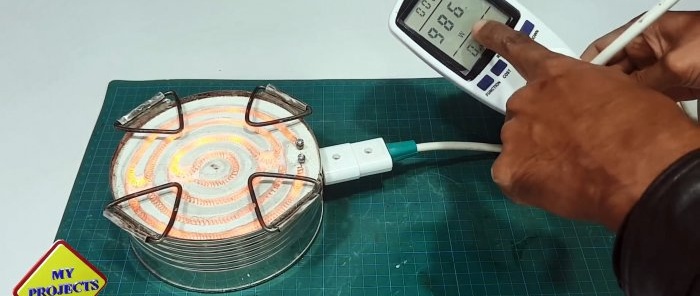
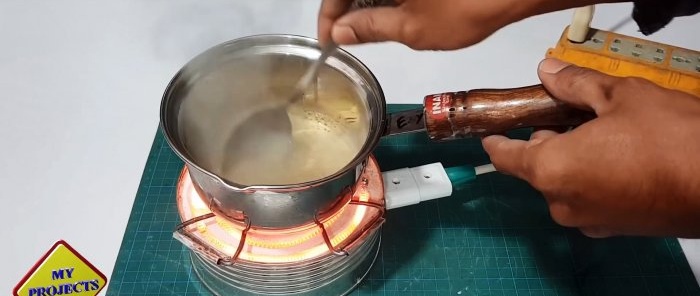
Now, when connected to the network using a flat socket, the spiral heats up. That's it, the plate is ready for use.
Power consumption does not exceed 1 kW.

