How to make a simple antenna and significantly increase WiFi range
The sensitivity of a regular Wi-Fi antenna on a PC or router in most cases does not exceed 3 dBi. And naturally, the range is not always enough, even sometimes to the next room. The problem of poor sensitivity can be solved by replacing the antenna. This example will show how to make a simple, homemade, directional antenna with a gain of 15 dBi. This way you can easily increase the communication range by several kilometers.
All materials can be easily purchased at a hardware store or found at home.
You will need:
- Galvanized steel 0.5 mm thick.
- Thermal insulation 5.5 mm thick.
- Copper wire 1.5 mm thick.
- Case from an old computer power supply.
- Tin and solder.
- Small screws and matching nuts.
WiFi antenna manufacturing process
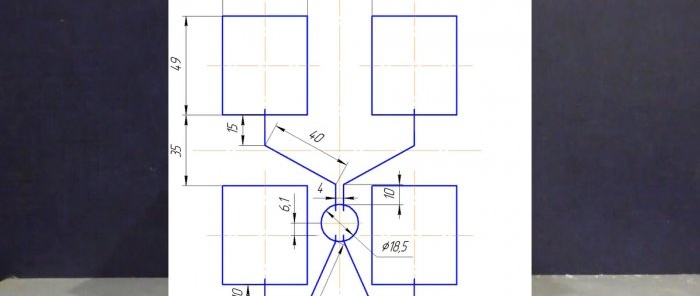
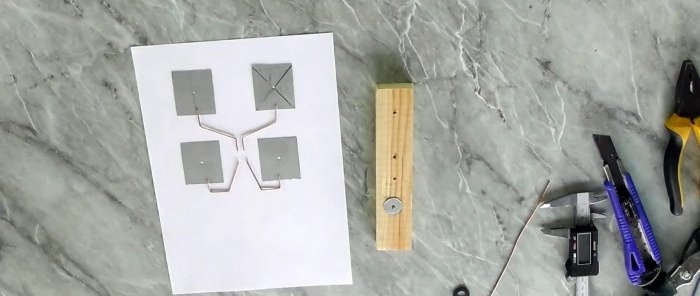
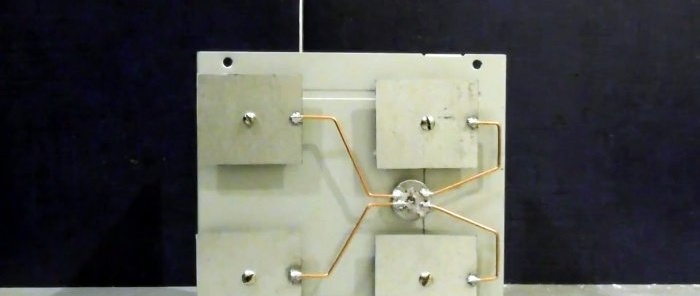
The antenna drawing looks like this:
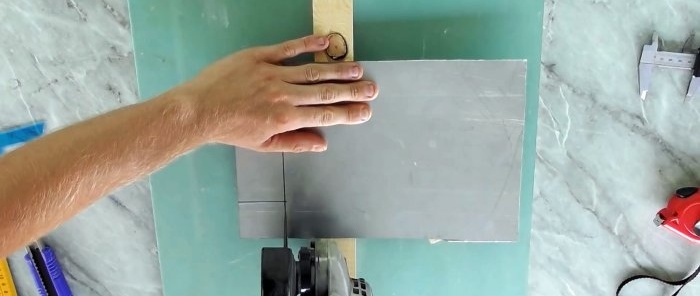
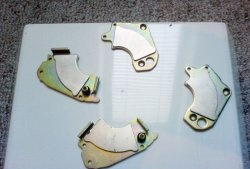
On a sheet of galvanized steel with a marker we mark 4 rectangles 49x42 mm and a circle with a diameter of 18.5 mm. Using a grinder or metal scissors, we cut out the blanks. We remove excess burrs with a construction knife.
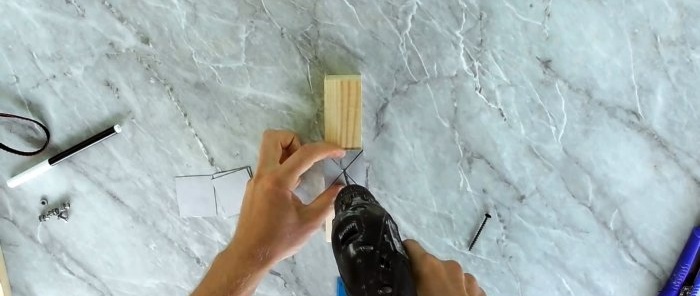
We mark the center of each rectangle, and, after using a nail, drill holes. Patches for the future antenna are ready.
We also drill a hole in the center of the circle.
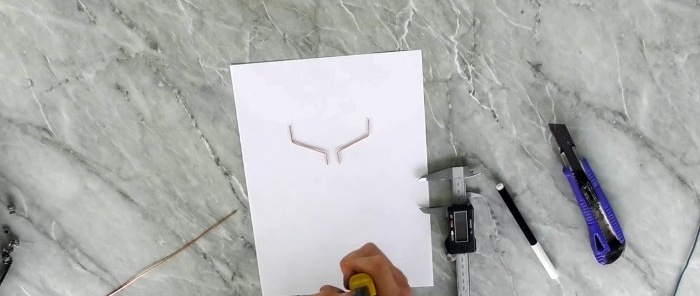
We clean the copper wire from insulation. Using wire cutters, cut 4 identical pieces, each 5.5 cm long. We bend them with pliers as shown in the photo below:
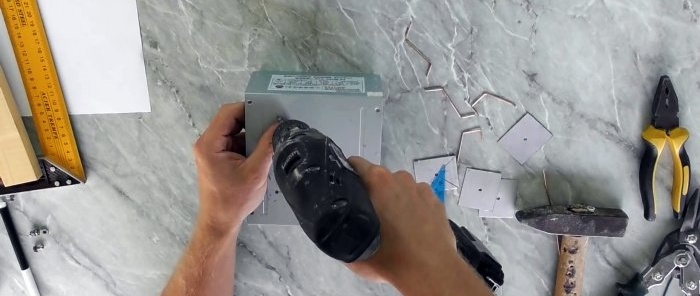
Let's try out the whole structure. It should look something like this:Let's disassemble the old power supply - we only need the back cover. We drill holes in it for attaching patches. Use sandpaper or a knife to remove burrs.
According to the diagram below, we screw the blanks to the unnecessary board using self-tapping screws.
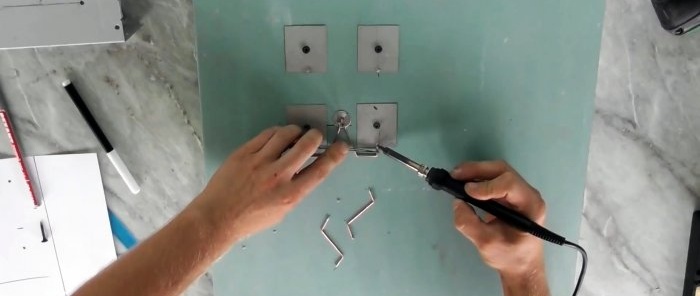
Using a soldering iron, apply a small amount of tin to the center of one side of each rectangle. Carefully tin the ends of the copper wire.
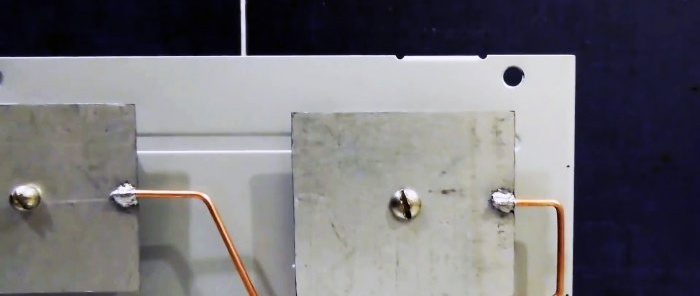
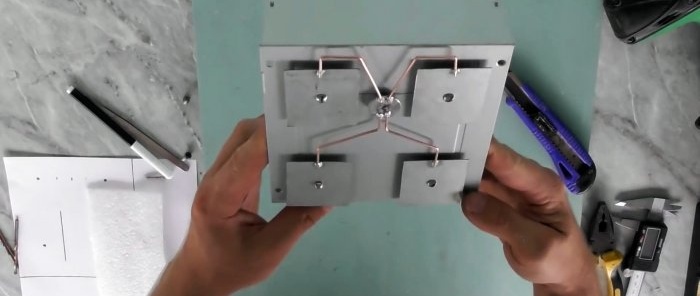
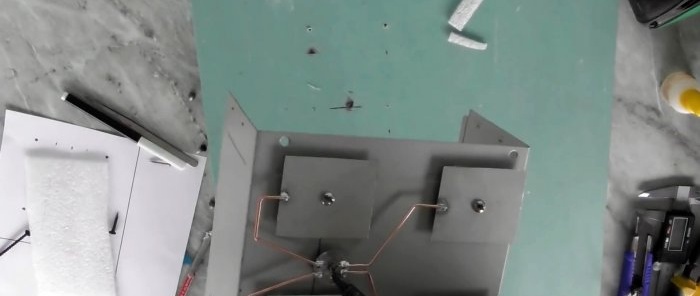
Now we solder the wires to the blanks. It should look like this:
The antenna frame is ready. Unscrew it and put it aside.
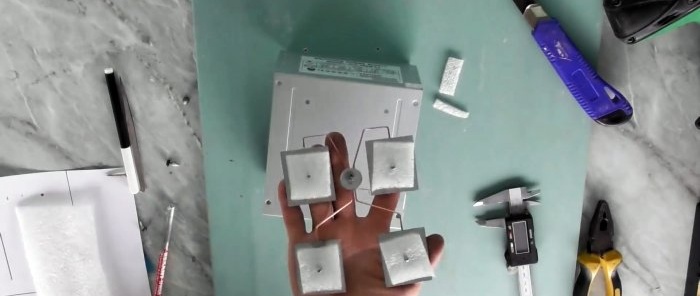
Using a utility knife, we cut out rectangles from a thin thermal insulator the size of the floor of the patch - this is the future gasket for the antenna panels. Use an awl to make holes in the center of each gasket for a screw.
We take 4 screws, insert them into the holes on the patches, and put a gasket on top.
We secure the panels to the body with nuts. We secure the circle with a screw. It is important that it sticks out a little from the body.
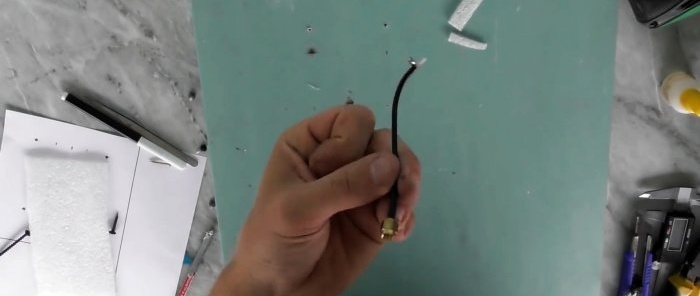
We solder the antenna connector to the protruding part of the screw on the back of the case.
Our homemade antenna is ready!
Watch the video
If you don’t want to waste time and effort on building a highly sensitive antenna, you can purchase it on AliExpress at a discount - http://alii.pub/5kx95r

