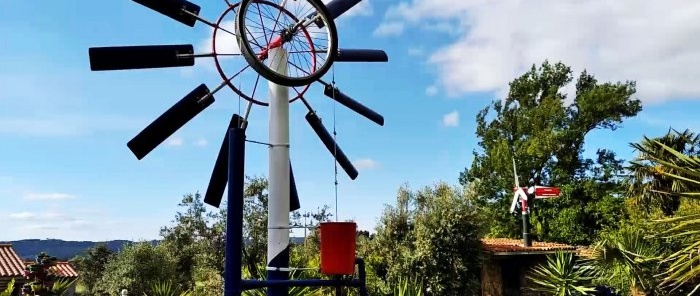
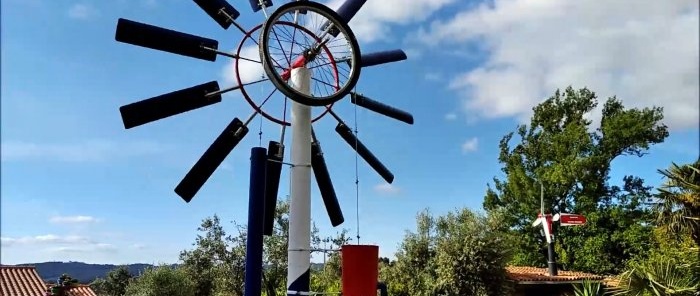
Low-speed impeller from a bicycle rim for a wind pump or wind generator
The design of the windmill impeller determines how effectively it will spin when exposed to wind. Its successful design allows you to turn around at the slightest breath, when the currents seem so weak that the light leaves on the trees barely move under them. Let's look at how you can make excellent blades for a wind generator or wind pump with your own hands.
Materials:
- Bicycle wheel;
- pipes 20 mm, 50 mm;
- threaded rod 8 mm;
- PVC sewer pipes 110 mm;
- clamps for pipe 20 mm – 24 pcs.;
- bolts, nuts M8.
Impeller manufacturing process
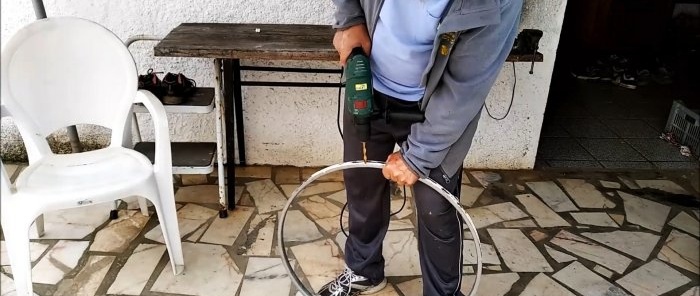
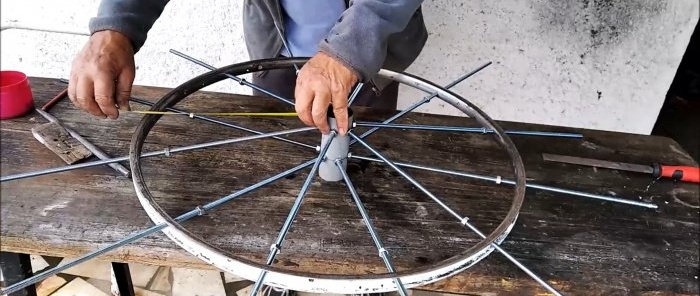
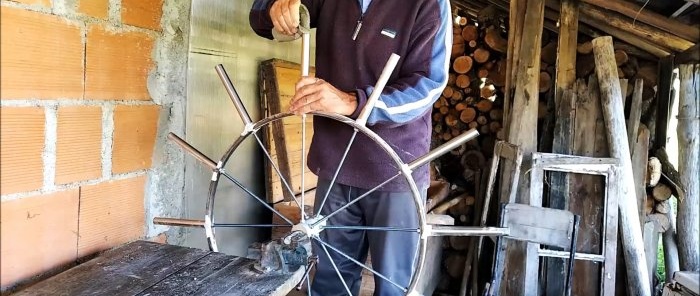
The base of the impeller will be the rim of a bicycle wheel. It needs to be freed from the standard spokes, and 12 reinforced holes with a diameter of 8 mm must be drilled.
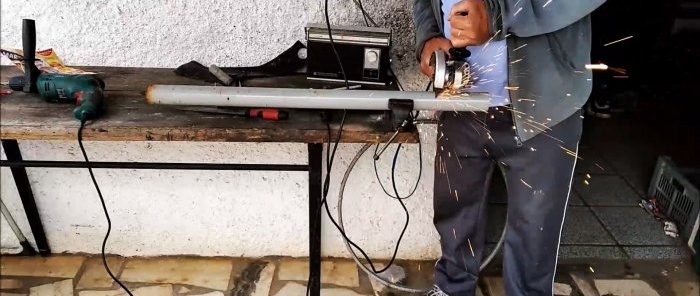
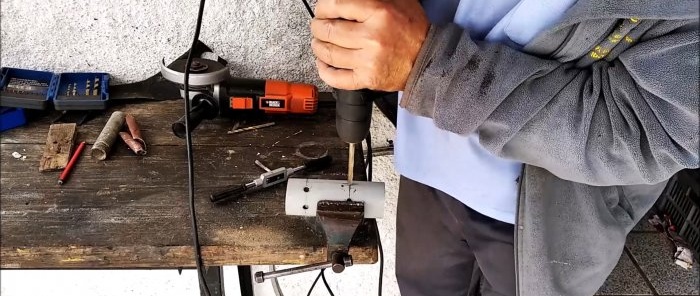
Next, a 10 cm long blank is cut from a pipe with a diameter of 50 mm to make the wheel hub body. It needs to be drilled for spokes from a hairpin, and M8 threads cut into the holes. Please note that the holes are made in a circle in 2 rows.
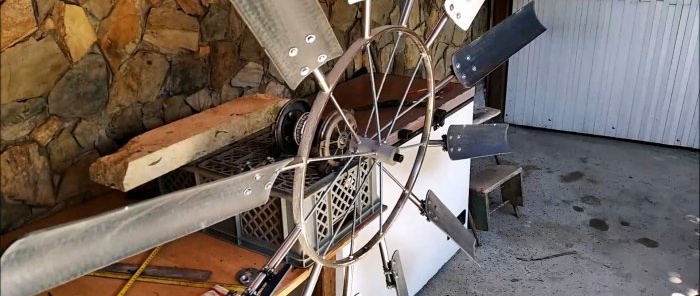
New spokes made from studs are inserted into the drilled rim.They are made 20 cm longer than the standard ones. Their protruding part will serve to attach the blades.
High-quality and durable drills on AliExpress at a discount - http://alii.pub/5zwmxz
You need to position the bushing in the center, aligning its position with the spokes. You can fix everything by tightening the nuts, as in the photo.
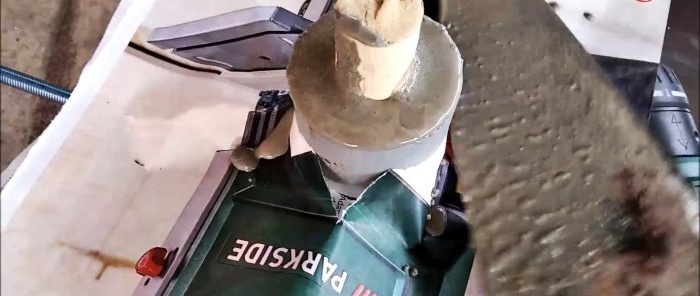
Next up is the bushing. You can press 2 bearings into it, selected so that the inner diameter matches the axis on which the impeller will rotate. But you can do it as in the example, placing a thin tube inside the bushing and filling the space between them with concrete.
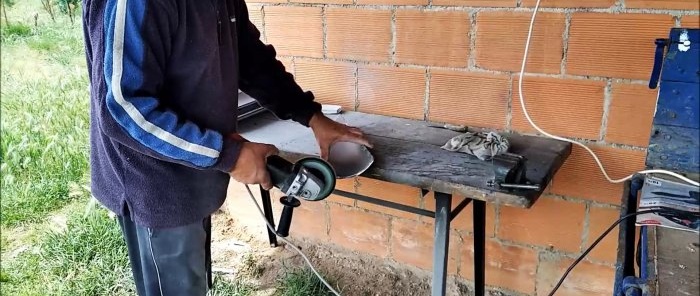
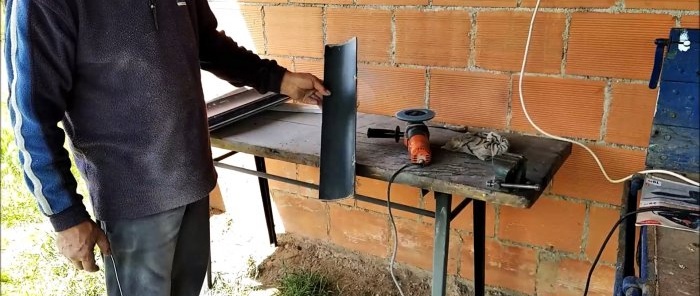
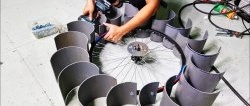
Next, blades are cut from PVC pipes.
Before installing them, you need to modify the base a little more, making it heavier. Due to this, it will continue to rotate by inertia at moments when the wind subsides briefly. For this, concrete is prepared. Sections of steel pipe are placed on the studs protruding beyond the rim. The space between them is filled with concrete. You also need to sort of plaster the rim.
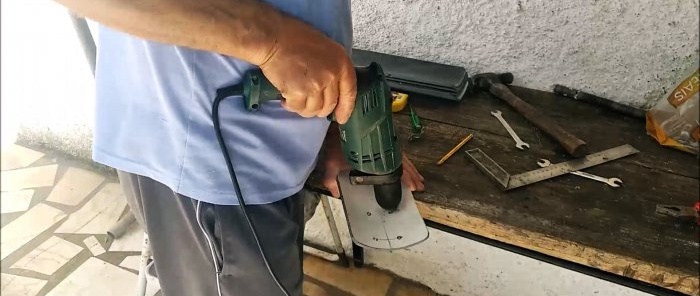
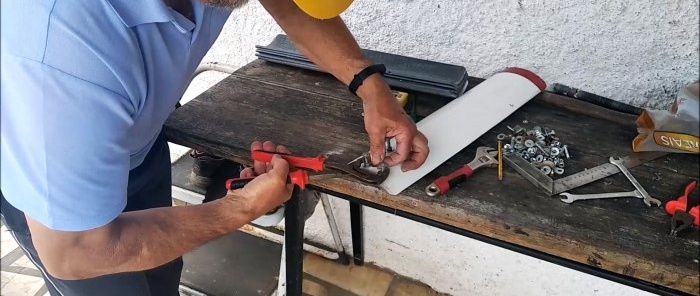
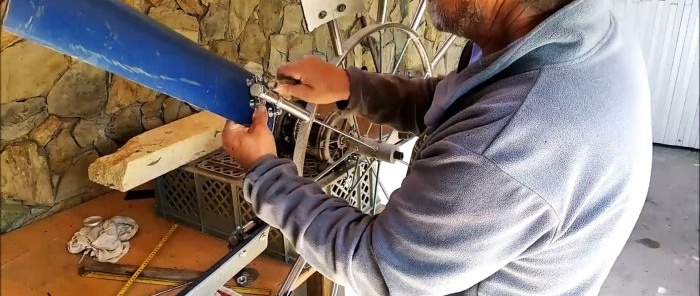
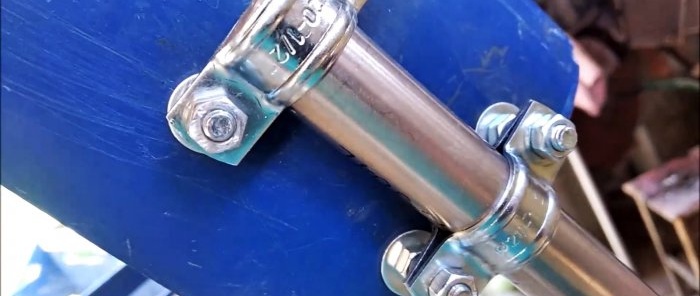
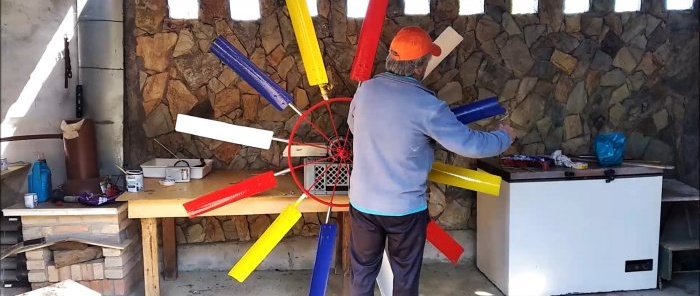
Next, while the concrete is setting, you should begin attaching the blades. To do this, they are drilled for clamps. Such a system will allow them to be adjusted after installation, selecting the most suitable angle of inclination for better response to the wind.
The clamps are screwed with two bolts.
To begin with, the blades need to be aligned at an angle of 25 degrees. In the future, the clamps allow you to reconfigure them to a larger or smaller angle of attack.
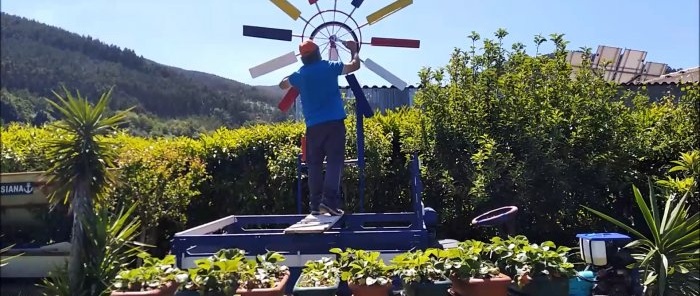
Due to its inertia, such an impeller will operate more stably compared to its lightweight counterparts. In addition, due to the large total area of the blades, it rotates even when the wind is very weak.

