How to make an original lamp from PET bottles and veneer strips
A lamp bought in a store is a mass-produced product. This is found in many homes. Yes, and the price is steep. With some DIY experience, as well as simple, costless materials, you can make an original lamp that no one else has.
Will need
Materials:
- 5 liter plastic bottles;
- multilayer plywood;
- thin veneer;
- universal glue;
- wood impregnation;
- metal bracket with claws;
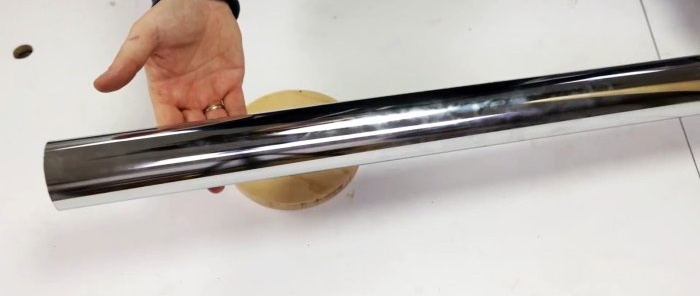
- nickel-plated pipe with base flange;
- LED strip - http://alii.pub/5pc52f
- power supply - http://alii.pub/6be0zx
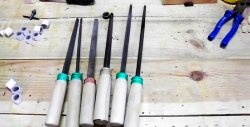
Tools: knife for cutting plastic, plastic pipes, measuring and marking tools, grinder, drill, hair dryer, rod with external thread and wing nuts, scissors, nail gun, etc.
The process of making an original lamp from plastic bottles and veneer
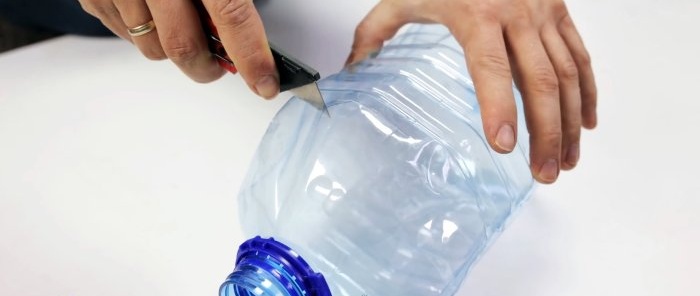
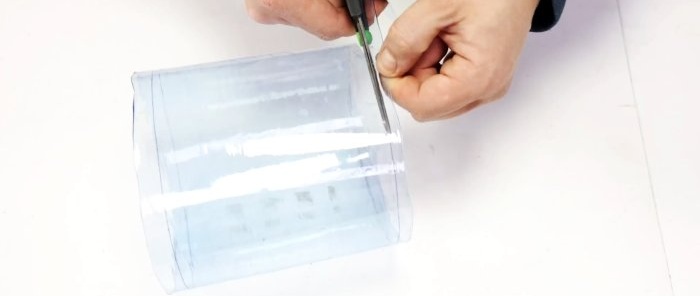
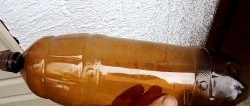
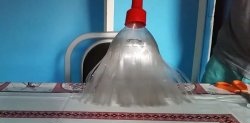
We cut off the neck and bottom parts of plastic bottles in a circle.
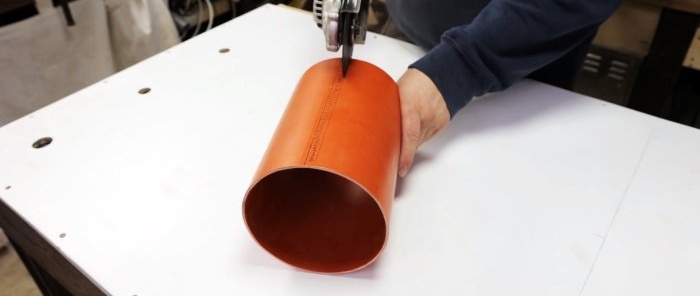
Through a plastic pipe we draw two generatrices 1 cm from each other.We cut the pipe along its generatrices, inserting a ring of the same diameter into it.
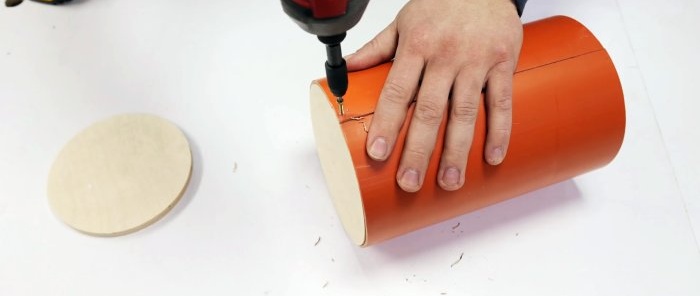
We place circles of multilayer plywood into the pipe in the center and edges, securing them with screws.
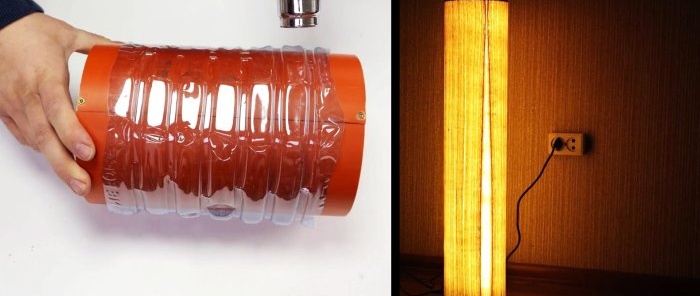
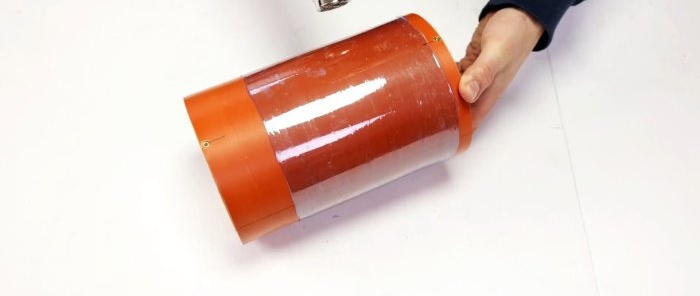
We put the central part of the bottles on the pipe with circles. We heat the plastic with a hairdryer until the annular stiffening ribs straighten and the pipe fits tightly during heat shrinking.
We unscrew the screws and remove the plywood circles from the pipe. We trim the ends of the central parts of the plastic bottles, moving them towards the ends of the pipe, and drawing cutting lines along which we cut off the uneven ends of the pipe obtained from the bottles.
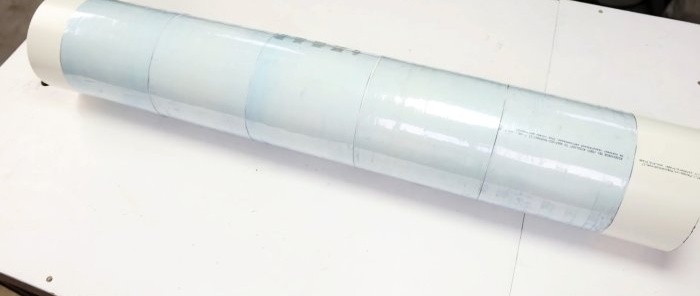
We put 5 central parts of plastic bottles on a long plastic pipe. We insert three circles of multilayer plywood into the pipe, secured to the rod with wing nuts, in three places.
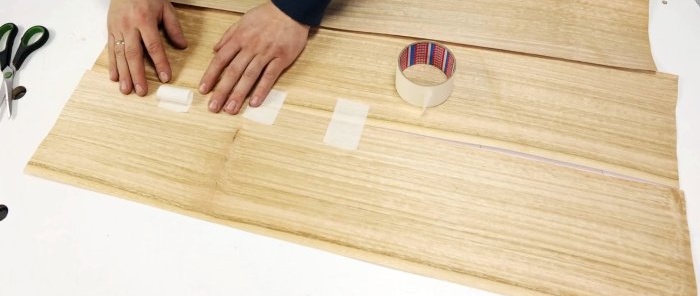
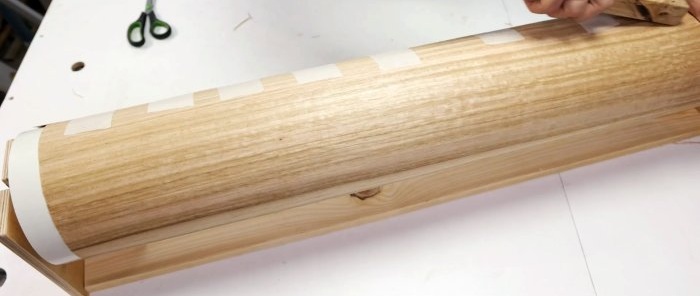
We place the resulting cylinder with the ends of the rod into the slots of the stands of the multi-layer plywood stand. We fasten three strips of veneer of the required length in the longitudinal direction with tape.
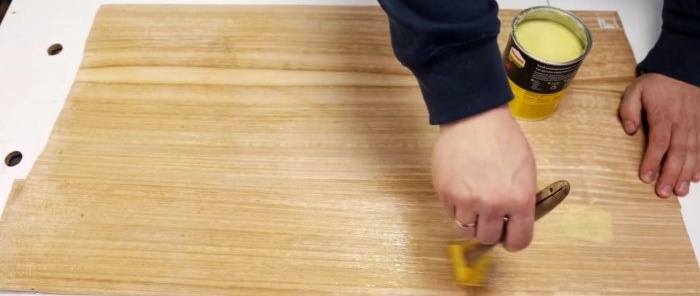
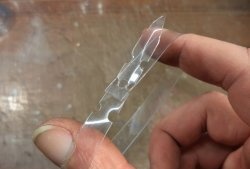
We cover the back side of the veneer and the cylindrical plastic surface with glue and glue them together, pressing them with a wooden block. Carefully remove the tape from the veneer.
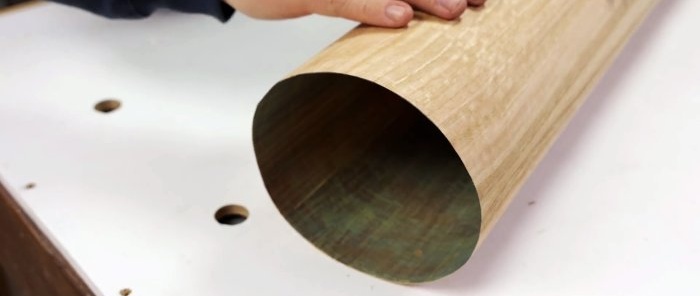
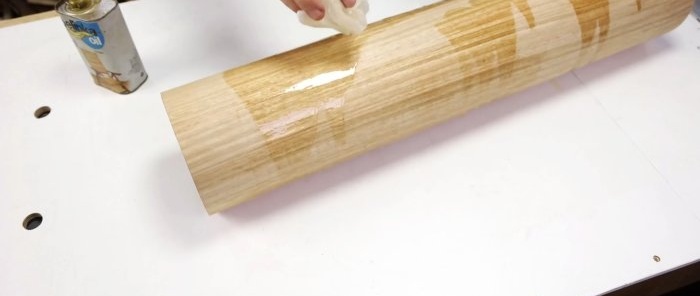
We remove the plastic pipe from the resulting pipe, and cover the surface of the veneer with wood impregnation, rubbing it with a paper napkin.
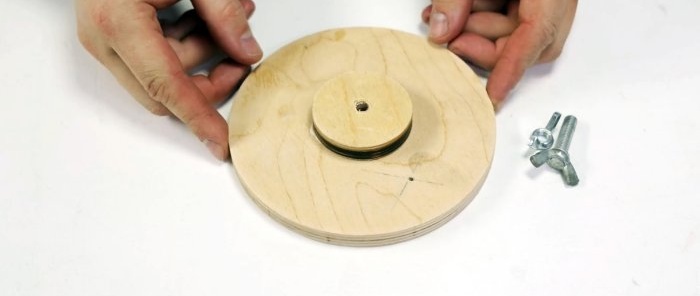
Concentrically glue a small circle of plywood with an o-ring to the large one. Temporarily compress the circles with a hairpin and two wing nuts through the holes in the center of the circles.
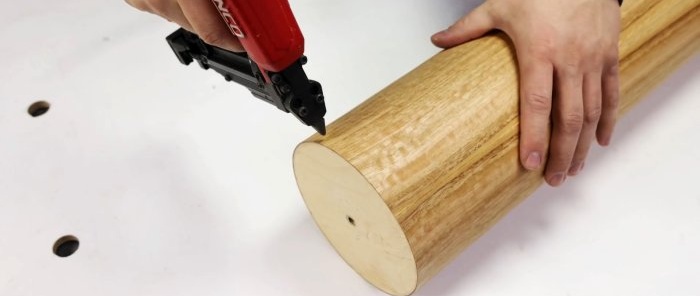
Using a nail gun, we strengthen the connection of the circles, then remove the hairpin and wing nuts. We insert the large circle into the end of the veneer and plastic pipe so that the small one is inside. We fasten them around the circumference with nails.
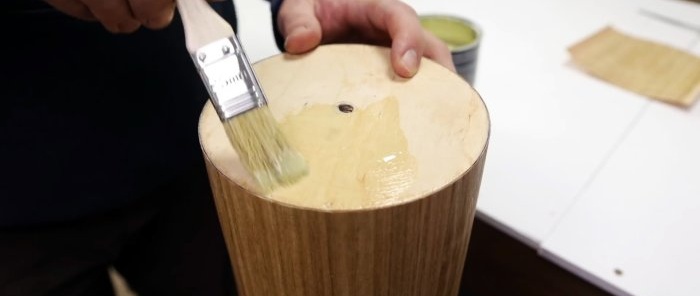
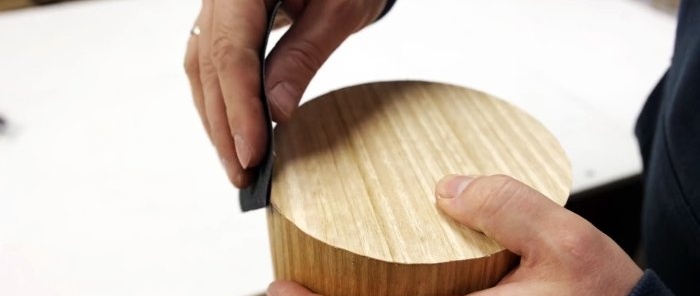
Lubricate the outer surface of the plywood circle with glue and press a piece of veneer onto it, covering the area of the circle.After some time, cut off the excess veneer around the circumference with a knife. We clean the joints with sandpaper, blow off the dust and cover the end of the pipe with impregnation.
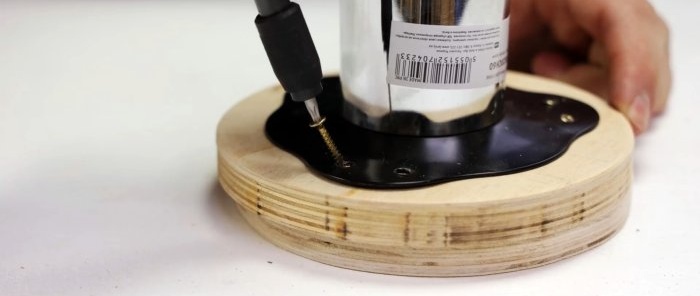
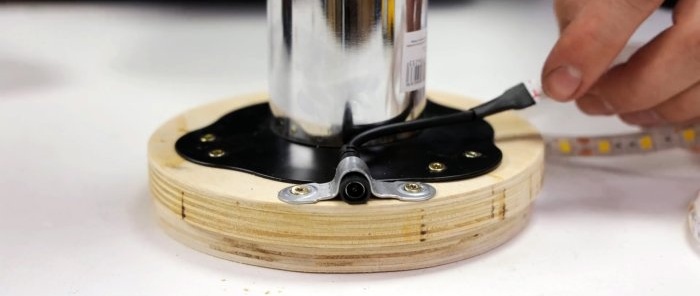
On the second circle of plywood we install a base flange with a nickel-plated pipe and fasten it with screws. We attach the radial contact of the LED strip to the circle using a bracket with tabs and screws.
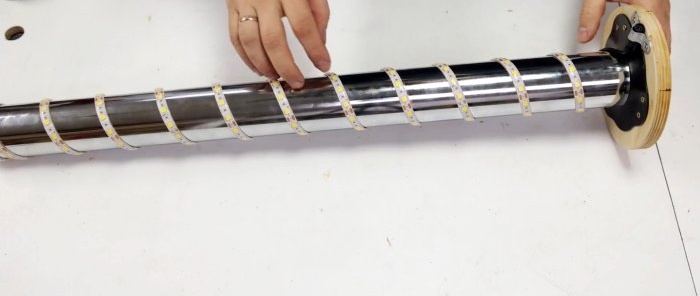
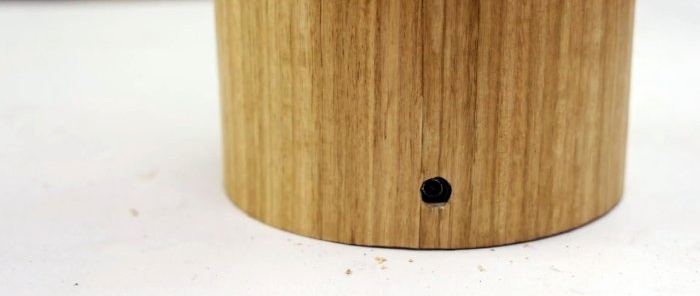
We wind the tape in a spiral evenly around the nickel-plated pipe to the end and place it in a pipe made of veneer and transparent plastic, including a plywood circle. Opposite the contact of the LED strip, we make a hole in the pipe.
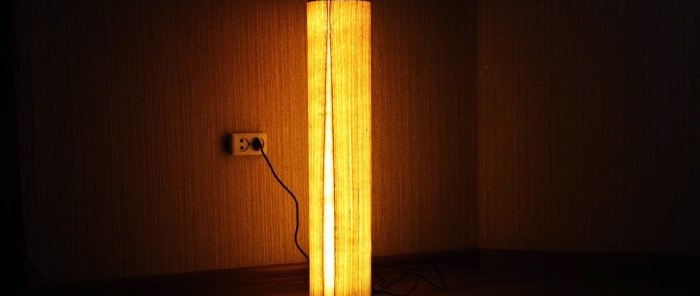
Through the power supply we supply voltage to the LED strip and get an original lamp that will decorate any room.
LED strip on Ali Express at a discount - http://alii.pub/5pc52f

