Felt horse
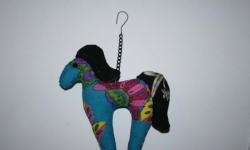
Mischievous, hand-made horses can be both an excellent souvenir for a friend in the Year of the Horse and an original interior decoration. You can hang such a horse on your bag, or find another interesting use for it. We make the horse from felt; as additional materials we need bright woolen threads, beads and accessories for the eyes (beads, buttons or special toy eyes). Other materials and equipment: cardboard, pencil, decorative cord, scissors, cotton wool (or other stuffing), thread, needle, glue gun and a well-lit work area.
First, draw the base of the horse on cardboard. Then we cut it out and use a pencil to transfer the pattern onto the felt. Felt can be of any color, the main thing is that the main parts are of different colors and do not merge - then the product will look brighter.
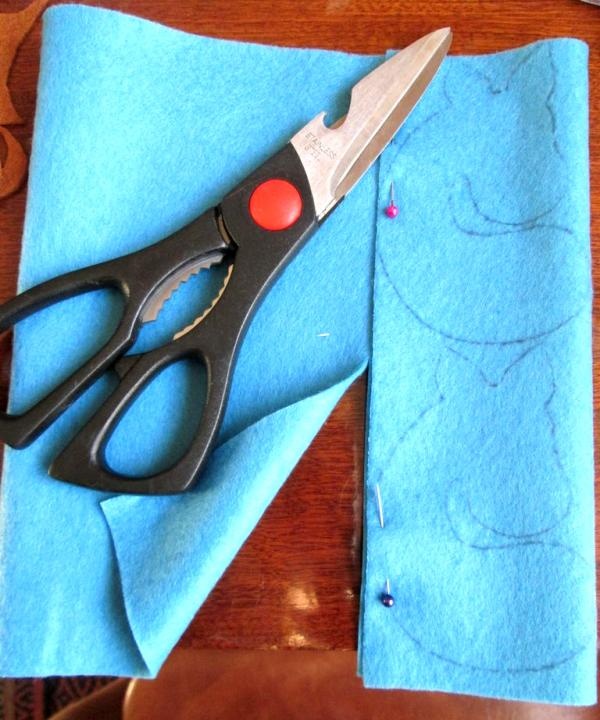
We fold the felt in half vertically, cut out the base - we get two identical halves, which then need to be sewn.
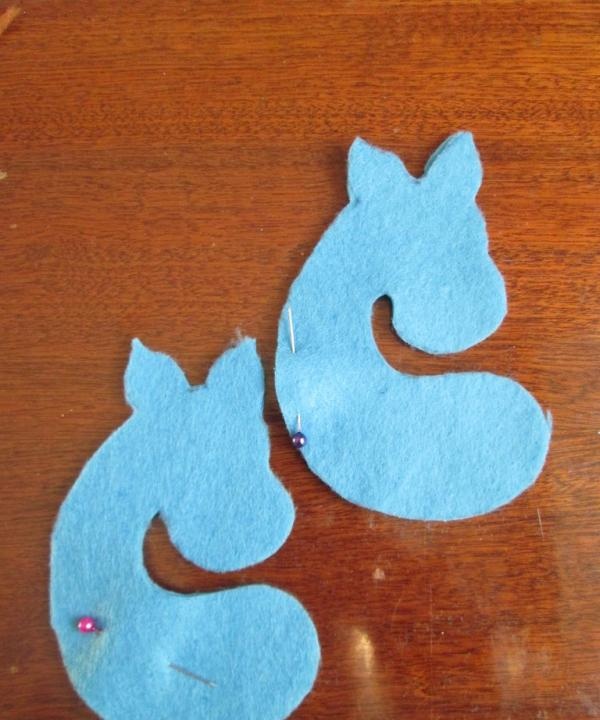
Before sewing the halves of the future horse, we make the tail and mane: we cut woolen threads of small length, collect them in a bun and tie them at one end, stepping back a little from the edge.For the mane, we step back further from the edge - this will be the bangs. You can braid your mane in pigtails. You should select the color of the wool threads for the mane and tail in advance so that they match the color of the horse itself.
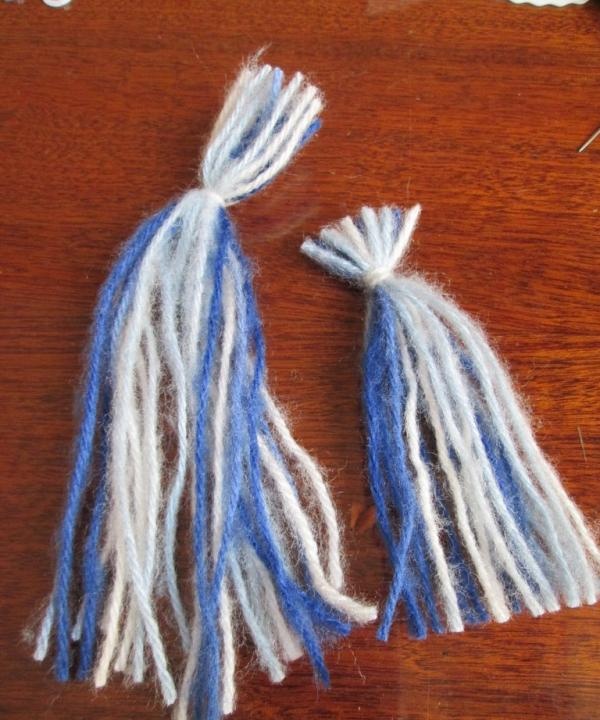
We sew the two halves of our horse over the edge, not forgetting to sew on the tail along the way, embroider the mouth and nostrils, and glue on the eyes.
The tail and mane are only half the battle; in order for the horse to become voluminous, we stuff it with cotton wool or other stuffing - padding polyester, for example.
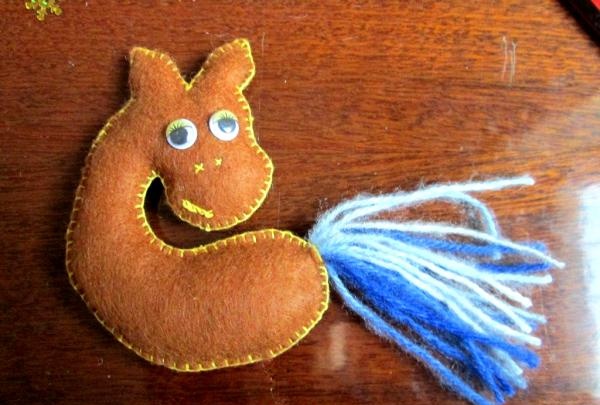
We cut out the saddle from felt of a different color; pieces of leather or other material are also suitable.
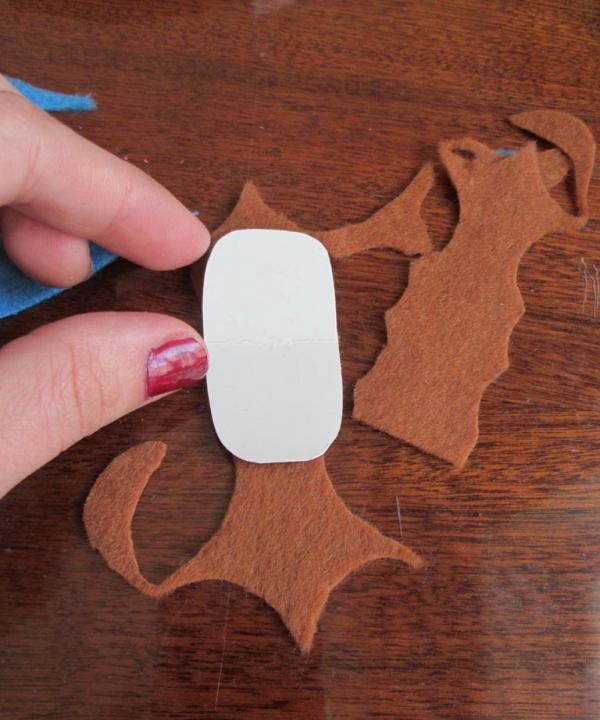
We also trim the saddle over the edge, glue it to the body and decorate it
rhinestones, beads or beads.
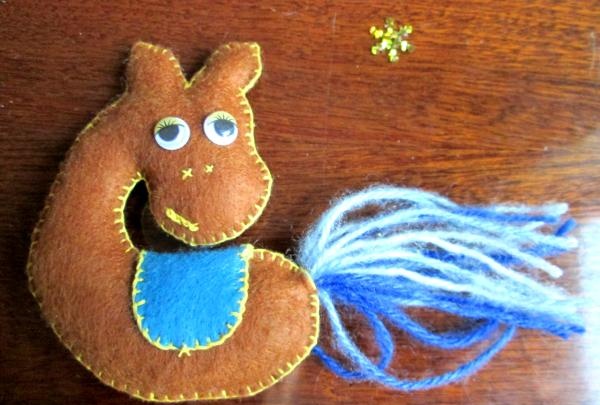
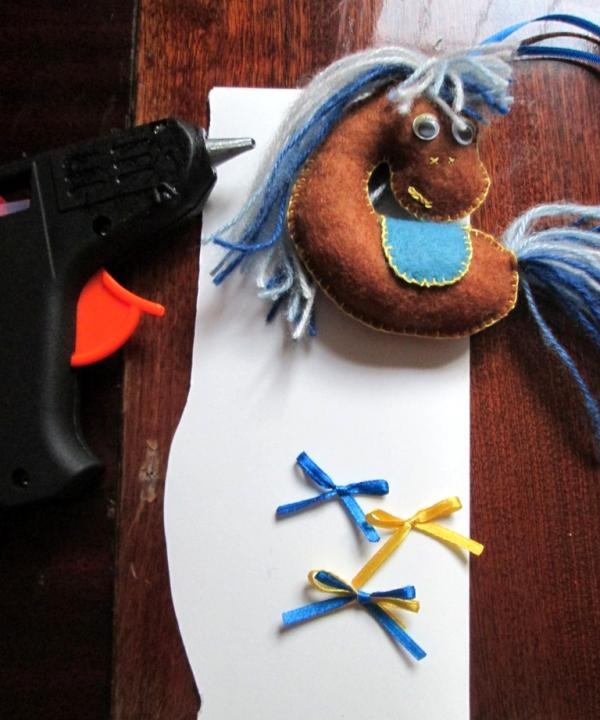
We decorate the tail and mane with ribbon bows or other decorative elements to make it look cheerful and beautiful. It is convenient to carry out all operations with gluing small elements using a glue gun - this way you can ensure the supply of the required amount of glue and the most durable connection of materials, without traces of glue around the joint.
We sew on a loop or a metal ring, depending on the purpose of the product.
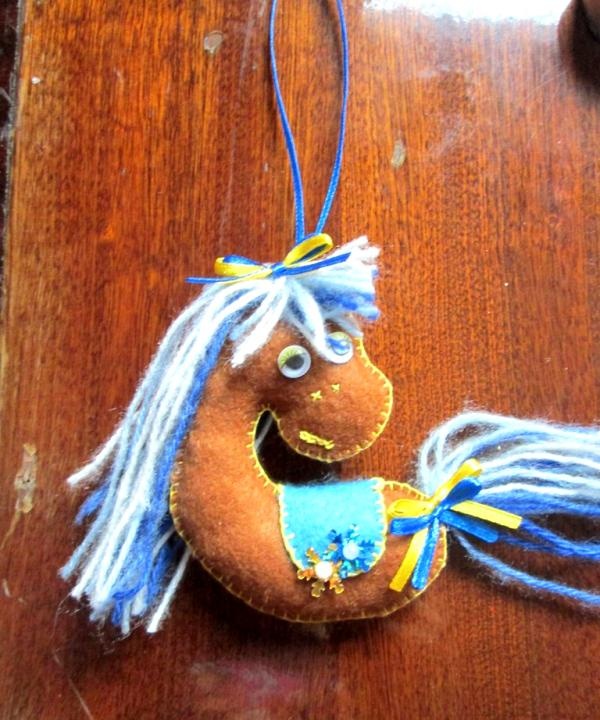
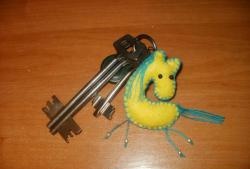
We make the horse's legs from a cord with hoof beads glued to the end. We sew the legs-laces to the body, intercepting each lace with threads in the middle. The horse is ready!
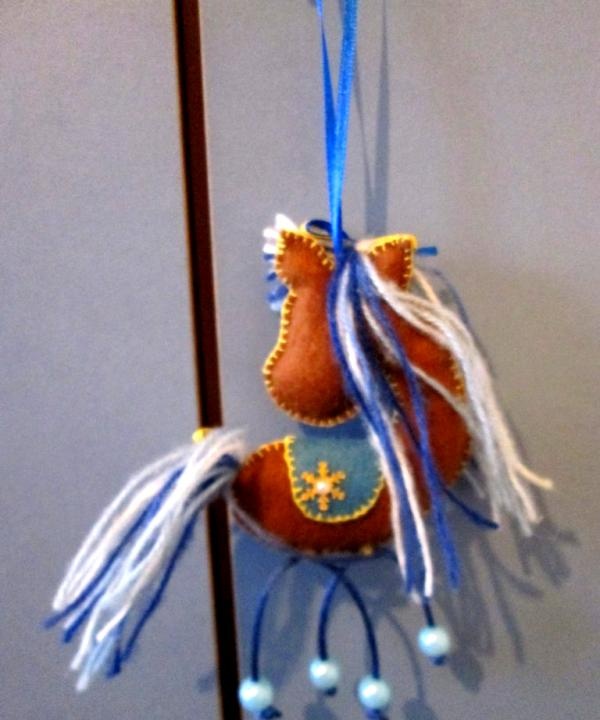
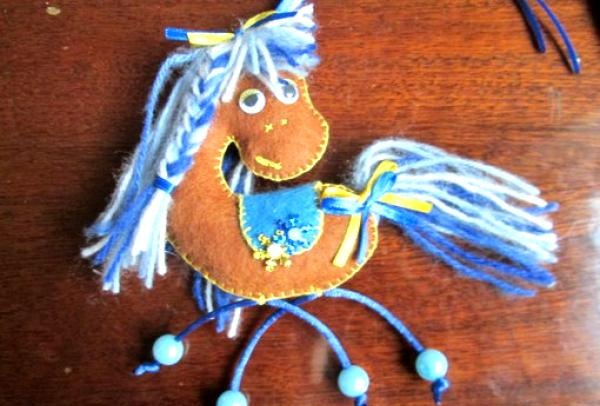
You can make several such horses, a whole herd, and each one will be different, because that’s the beauty of creating interesting things with your own hands - a new product is not like the previous one, and there are no limits to imagination, there are no limits to perfection!
First, draw the base of the horse on cardboard. Then we cut it out and use a pencil to transfer the pattern onto the felt. Felt can be of any color, the main thing is that the main parts are of different colors and do not merge - then the product will look brighter.

We fold the felt in half vertically, cut out the base - we get two identical halves, which then need to be sewn.

Before sewing the halves of the future horse, we make the tail and mane: we cut woolen threads of small length, collect them in a bun and tie them at one end, stepping back a little from the edge.For the mane, we step back further from the edge - this will be the bangs. You can braid your mane in pigtails. You should select the color of the wool threads for the mane and tail in advance so that they match the color of the horse itself.

We sew the two halves of our horse over the edge, not forgetting to sew on the tail along the way, embroider the mouth and nostrils, and glue on the eyes.
The tail and mane are only half the battle; in order for the horse to become voluminous, we stuff it with cotton wool or other stuffing - padding polyester, for example.

We cut out the saddle from felt of a different color; pieces of leather or other material are also suitable.

We also trim the saddle over the edge, glue it to the body and decorate it
rhinestones, beads or beads.

We decorate the tail and mane with ribbon bows or other decorative elements to make it look cheerful and beautiful. It is convenient to carry out all operations with gluing small elements using a glue gun - this way you can ensure the supply of the required amount of glue and the most durable connection of materials, without traces of glue around the joint.

We sew on a loop or a metal ring, depending on the purpose of the product.

We make the horse's legs from a cord with hoof beads glued to the end. We sew the legs-laces to the body, intercepting each lace with threads in the middle. The horse is ready!


You can make several such horses, a whole herd, and each one will be different, because that’s the beauty of creating interesting things with your own hands - a new product is not like the previous one, and there are no limits to imagination, there are no limits to perfection!
Similar master classes
Particularly interesting
Comments (1)

