Wedding card
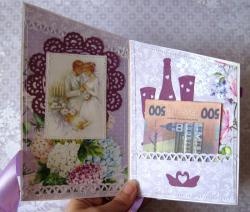
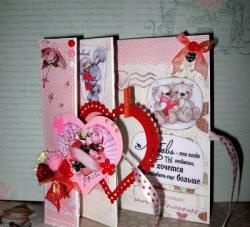
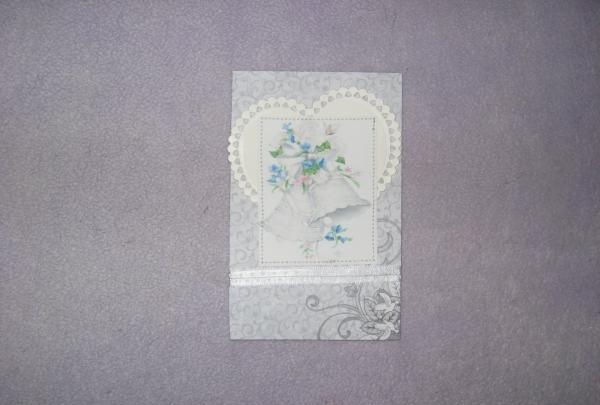
Of course, the most important congratulatory document for a wedding is a postcard. You walk around for a long time, choose something original and beautiful, and the solution is quite simple. You can make your own wedding greeting card. It will not only be very beautiful, but will also remain a long memory, because you will put your soul and tender feelings into it that you want to convey to the newlyweds.
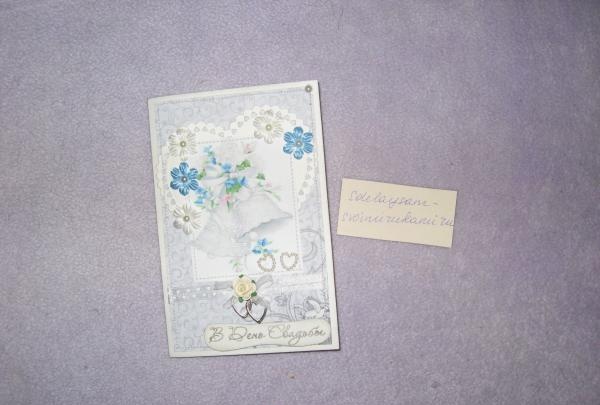
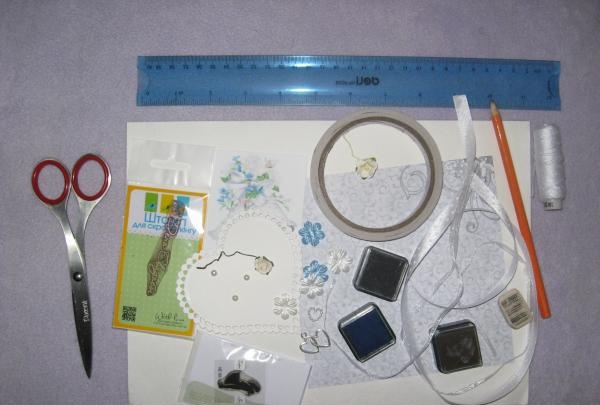
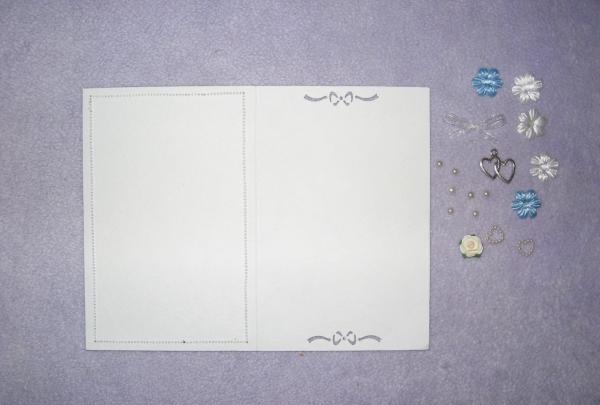
So, what do we take for the postcard:
• Sheet of A4 watercolor paper;
• Paper for scrapbooking, especially from the wedding set in delicate colors, size 15 by 15 cm;
• Cutting out a large white heart;
• White and blue flowers, 5 pieces in total, one white paper rose with a diameter of 1.5 cm;
• Metal pendant two hearts;
• White satin ribbon with white hearts 1 cm wide;
• Narrow white organza ribbon;
• White half beads;
• Two pearl hearts;
• A picture printed on a wedding theme;
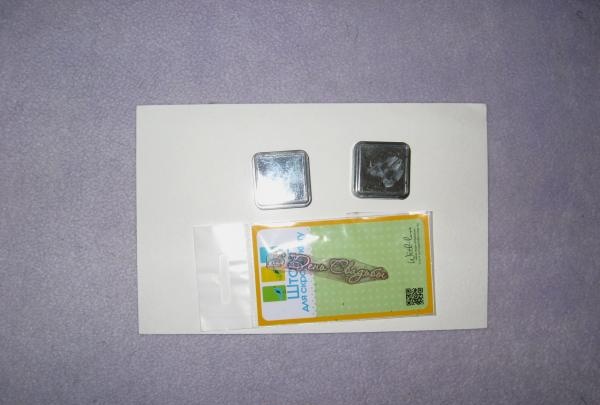
• Acrylic stamp “On the Wedding Day”;
• Gold and black ink;
• Double-sided tape, glue gun, pencil, ruler, figured hole punch, scissors, sewing machine.
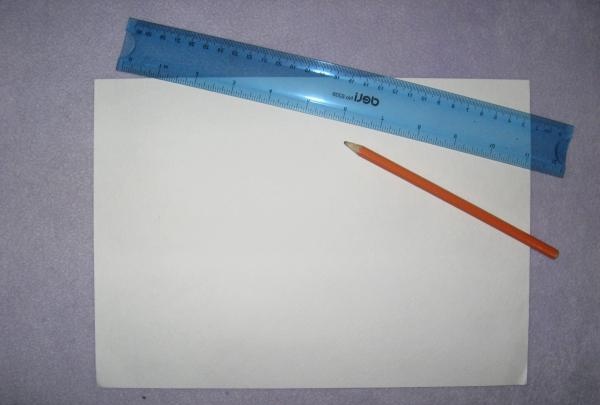
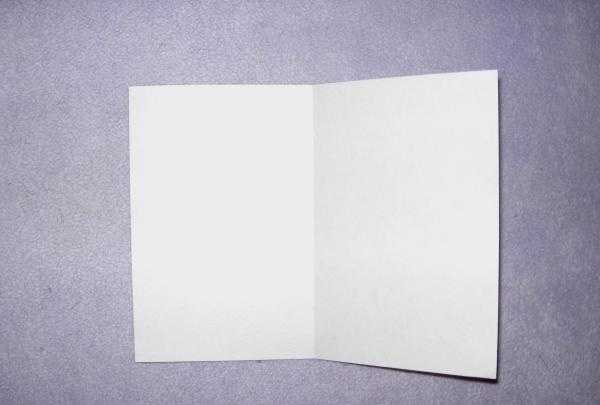
Cut out a 16*21 cm base for a postcard from watercolor paper and divide it in half.
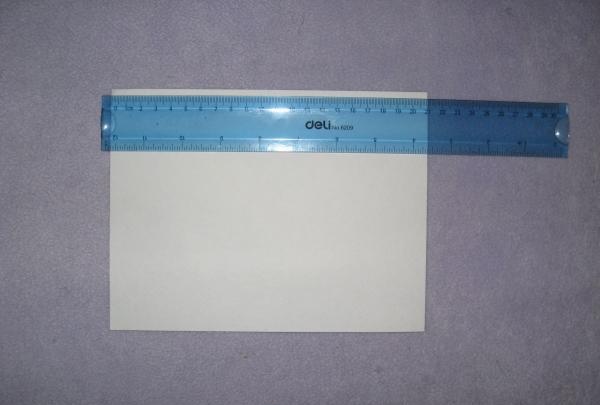
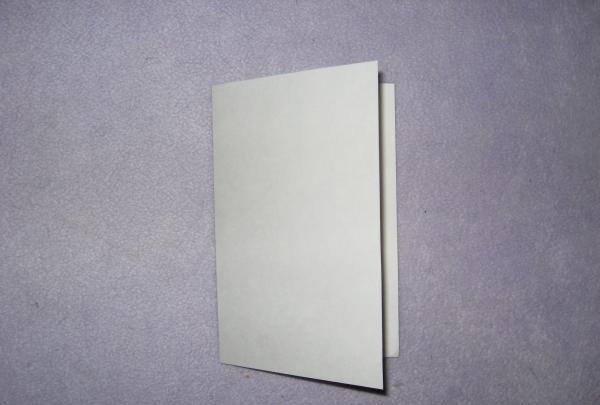
We draw a bend line and fold the blank, we get a base for a postcard measuring 10.5 * 16 cm.
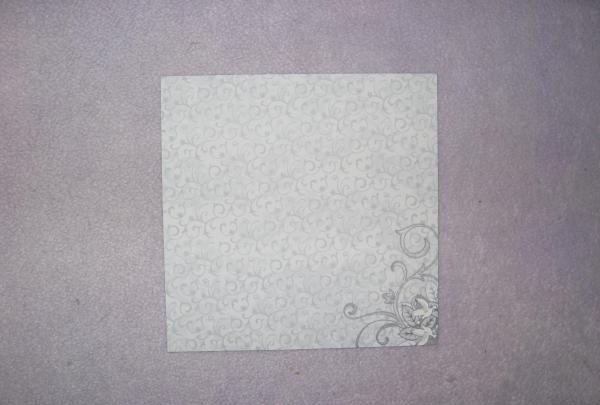
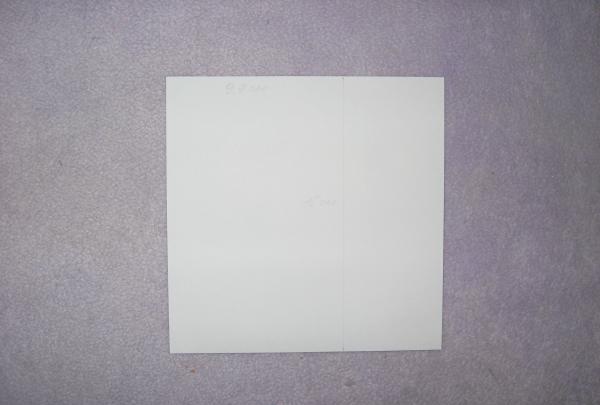
Take scrap paper, turn it over and measure out a rectangle 9.7*15 cm
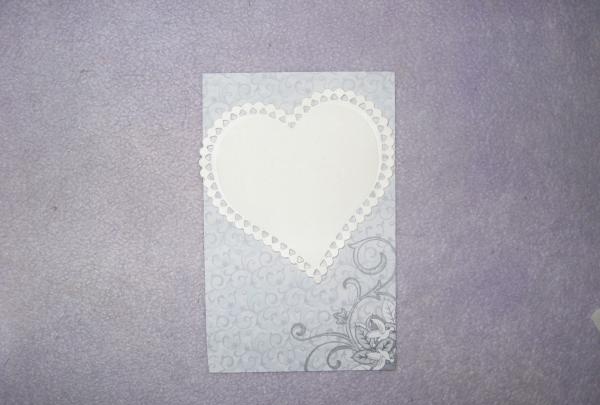
Cut it out and glue the heart cutout with a piece of tape.

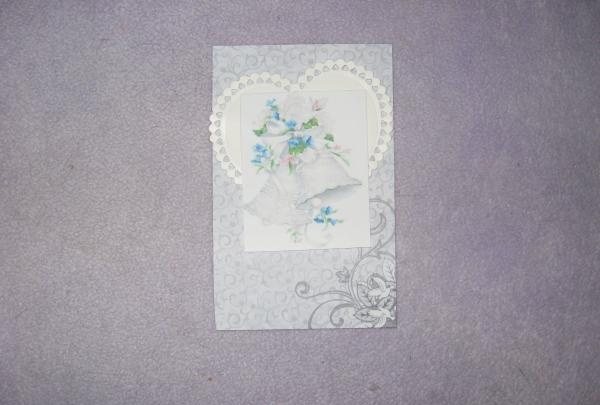
Glue a picture on top of the heart and apply a satin ribbon and cut it off with a small margin.
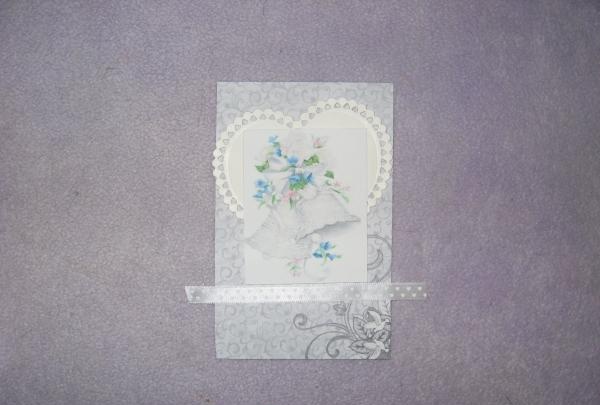
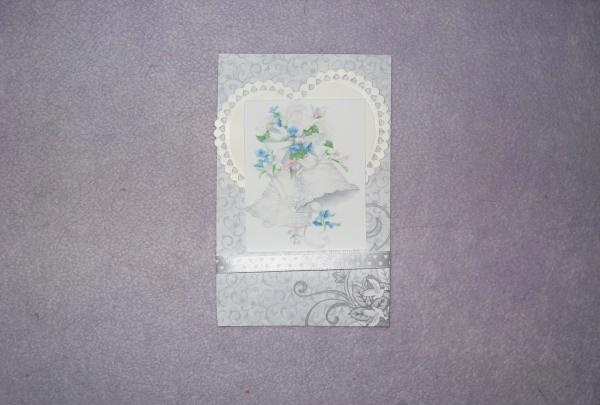
We wrap the tape and glue it. Now we sew on the machine the ribbon and the picture in a circle.
On the remaining sheet of watercolor paper we stamp the inscription in black ink.
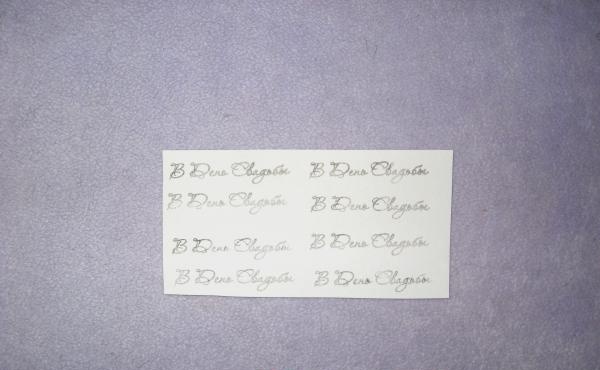
We cut out the inscription and tint its edges with gold. Glue the scrap paper onto the card.
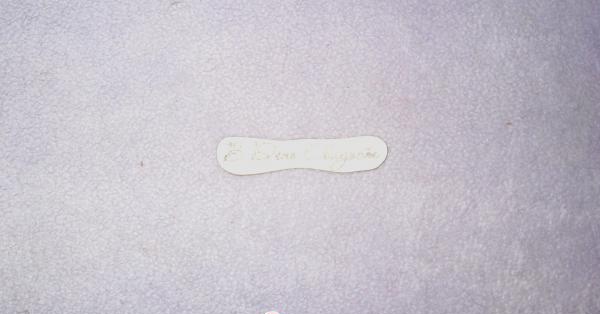
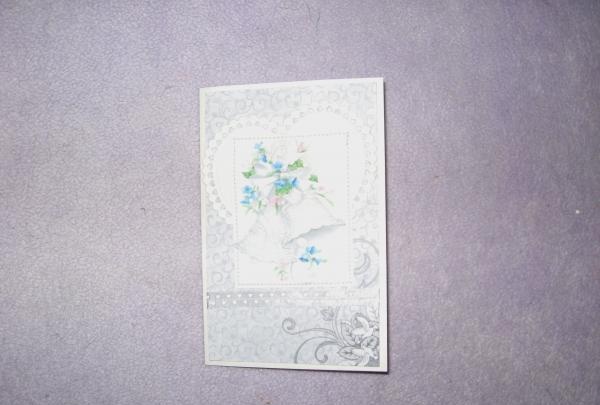
We sew scrap paper around the perimeter with a machine. We tape the inscription to the bottom of the postcard.
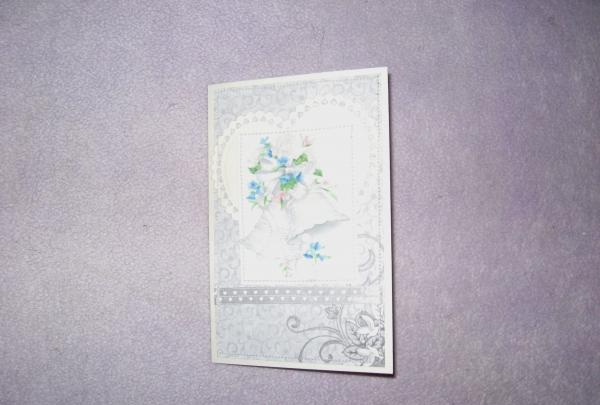
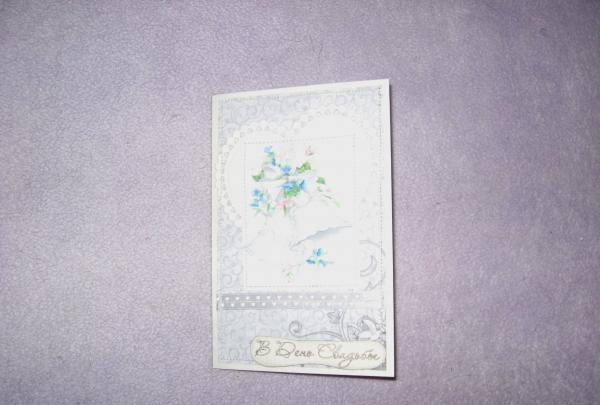
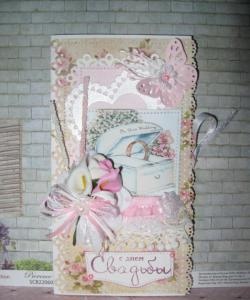
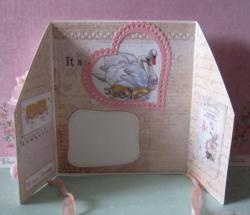
All that remains is to glue it decor. Using a glue gun we glue flowers, an organza bow, a metal pendant and half beads. We make bows inside the card using a figured hole punch.
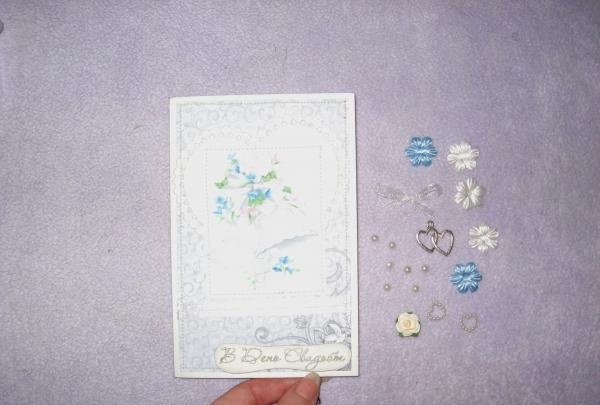
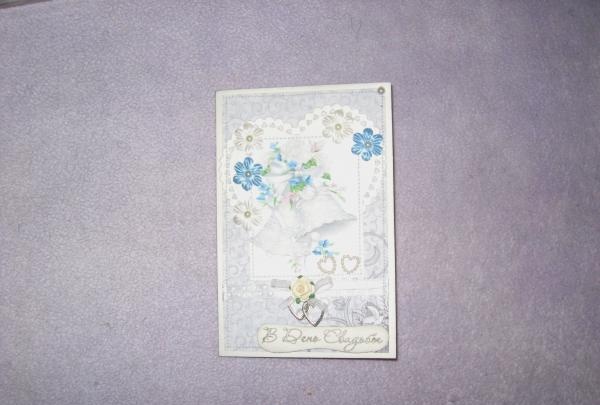
Your DIY postcard is ready!

So, what do we take for the postcard:
• Sheet of A4 watercolor paper;
• Paper for scrapbooking, especially from the wedding set in delicate colors, size 15 by 15 cm;
• Cutting out a large white heart;
• White and blue flowers, 5 pieces in total, one white paper rose with a diameter of 1.5 cm;
• Metal pendant two hearts;
• White satin ribbon with white hearts 1 cm wide;
• Narrow white organza ribbon;
• White half beads;
• Two pearl hearts;
• A picture printed on a wedding theme;
• Acrylic stamp “On the Wedding Day”;
• Gold and black ink;
• Double-sided tape, glue gun, pencil, ruler, figured hole punch, scissors, sewing machine.

Cut out a 16*21 cm base for a postcard from watercolor paper and divide it in half.


We draw a bend line and fold the blank, we get a base for a postcard measuring 10.5 * 16 cm.


Take scrap paper, turn it over and measure out a rectangle 9.7*15 cm


Cut it out and glue the heart cutout with a piece of tape.


Glue a picture on top of the heart and apply a satin ribbon and cut it off with a small margin.


We wrap the tape and glue it. Now we sew on the machine the ribbon and the picture in a circle.


On the remaining sheet of watercolor paper we stamp the inscription in black ink.


We cut out the inscription and tint its edges with gold. Glue the scrap paper onto the card.


We sew scrap paper around the perimeter with a machine. We tape the inscription to the bottom of the postcard.


All that remains is to glue it decor. Using a glue gun we glue flowers, an organza bow, a metal pendant and half beads. We make bows inside the card using a figured hole punch.


Your DIY postcard is ready!

Similar master classes
Particularly interesting
Comments (0)


