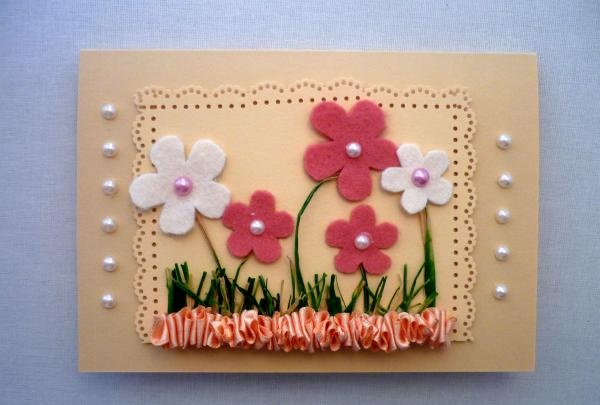
Greeting card "Flower meadow"
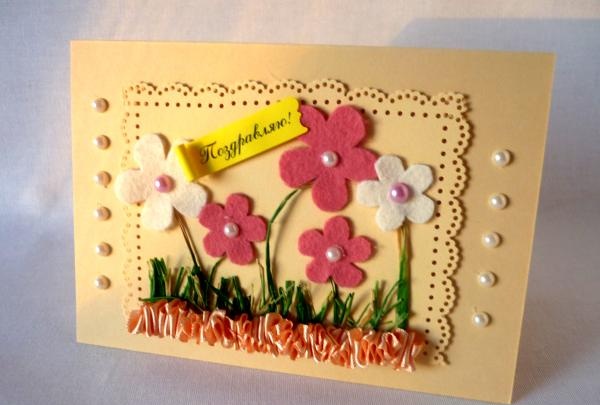
Handmade postcards are always a pleasant surprise. Especially if you know that the person who gave it made it, it’s always doubly pleasant. Today we will create such a greeting card that will definitely cheer up the birthday boy.
To create a postcard you will need:
• cardboard;
• felt in pink and white colors;
• half beads in pink and white colors;
• green sisal;
• glue gun;
• border hole punch;
• curly scissors;
• satin ribbon in peach or cream color;
• threads;
• needle;
• double sided tape;
• congratulatory inscription;
• flower patterns.
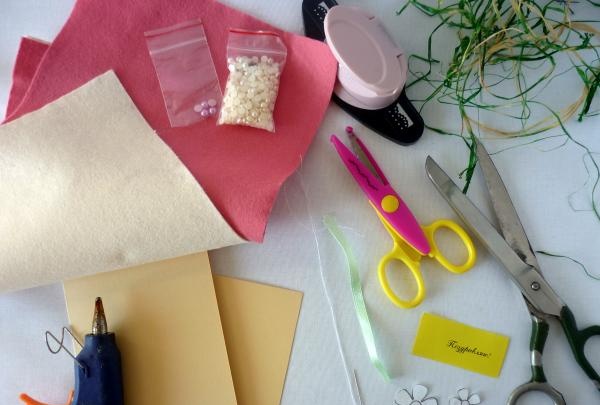
For such a postcard you can choose similar material. For example, you can replace sisal with wire, ribbons or something else. Instead of a hole punch, you can use curly scissors, and replace the felt with paper. But still, the idea of the postcard will be preserved if you use the materials from the master class.
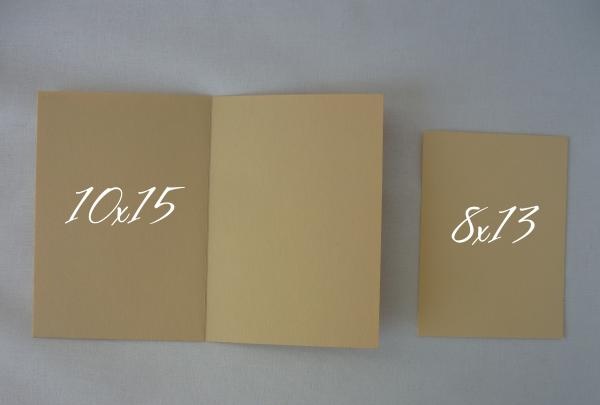
Cut the cardboard to a size of 15x20 cm and fold it in half. To prevent the cardboard from deforming when folded, first press with the back of the scissors along the fold line.When folded, the postcard measures 15x10 cm. We also cut out cardboard measuring 8x13 cm. This will be the basis for the entire composition of the postcard.
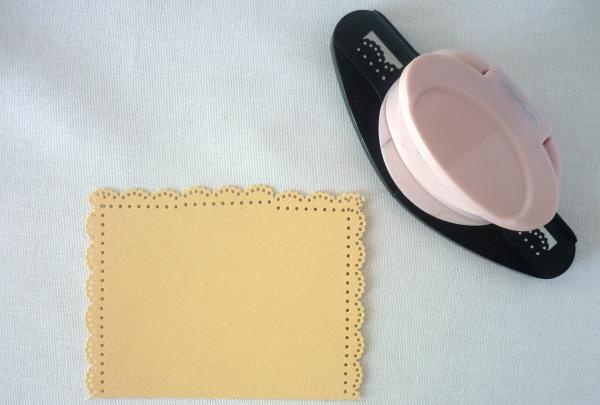
We punch only three sides of the cardboard with a shaped border hole punch, since the beginning of the composition in the form of grass will be placed on the bottom part and there is no need for an openwork edge.
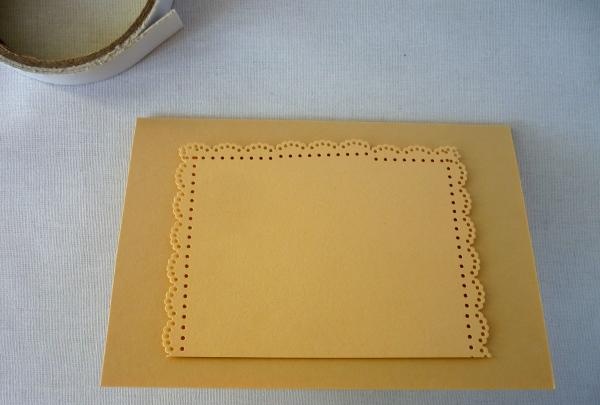
We glue the base for the composition in the center onto the postcard blank using double-sided tape.
Now we will fold the sisal several times and cut it into short pieces up to 1 cm long. We will also prepare 5 pieces of different lengths - these will be the stems for the flowers.
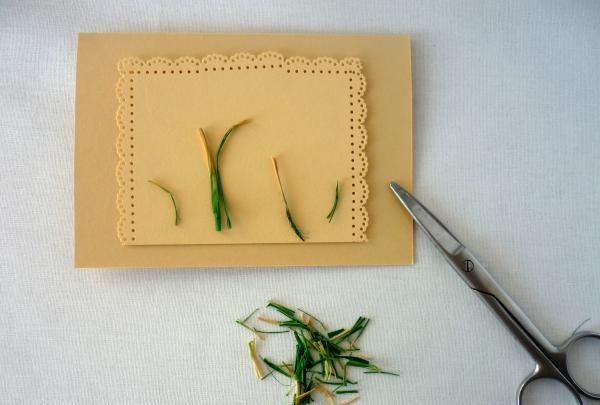
First, apply a thin layer of hot melt glue to the bottom of the base, and then quickly glue the grass in a chaotic manner. Large stems should be evenly distributed.
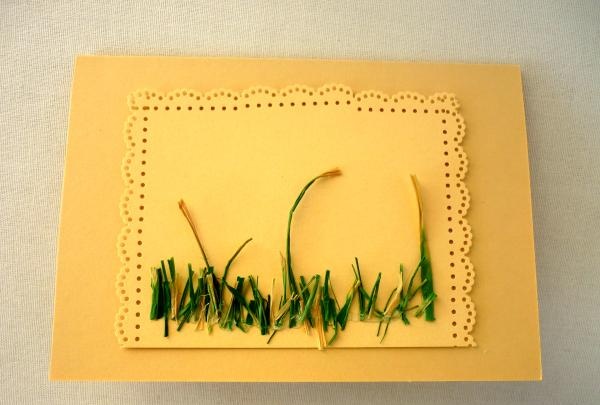
Now you need to hide the places where the glue is visible at the base of the grass. We string a satin ribbon onto a thread, securing a knot at the end. We pull it together to make an accordion of such length that it covers all the grass and secure it at the end.
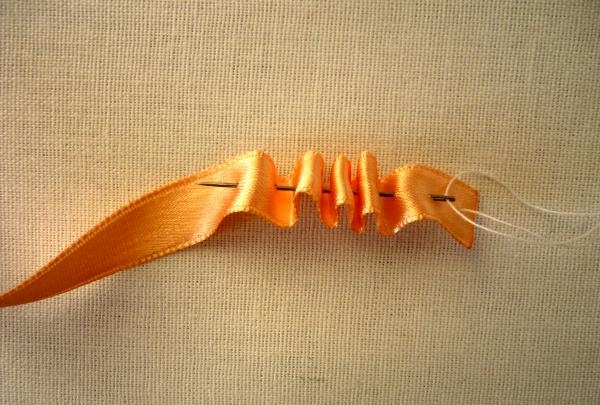
We glue it with hot glue and close the edge, imitating the ground.
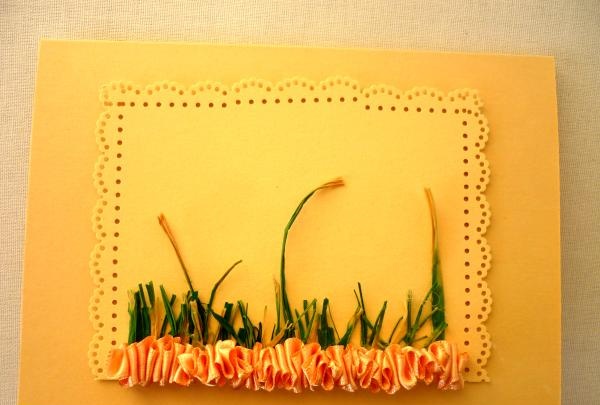
To create flowers, you can use any material, including paper. The flower template can be found on the Internet, or you can draw it yourself. But we will make flowers from felt. This way the postcard will look more voluminous and original.
We trace the templates with a pencil and cut out 2 small and 1 large pink flowers, 1 small and 1 large white flower.
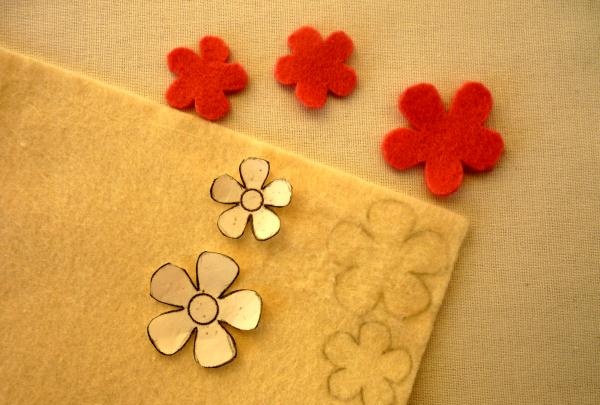
Apply glue to the place where the flower will be and firmly press the felt to the base before the glue has time to harden. We glue white beads in the center on pink flowers, and pink beads on white ones. We also decorate the sides of the card with beads.
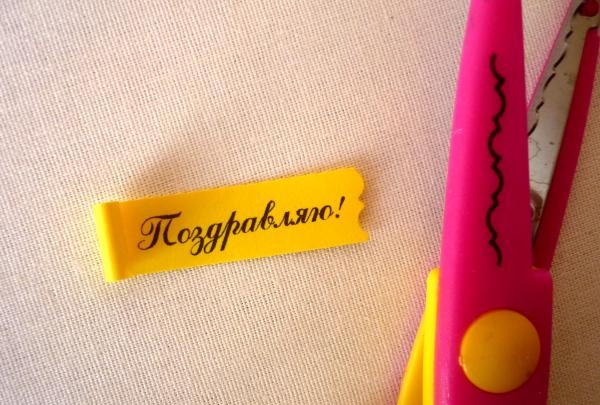
And the final touch is an inscription with words of congratulations.We cut one edge with curly scissors to the end of the inscription, and twist the second one like papyrus.
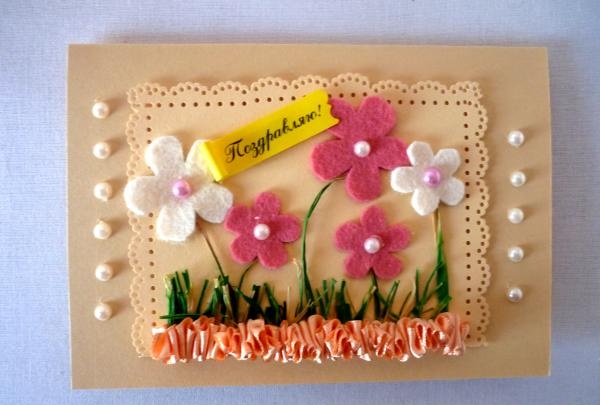
Glue the inscription on double-sided tape between the flowers.
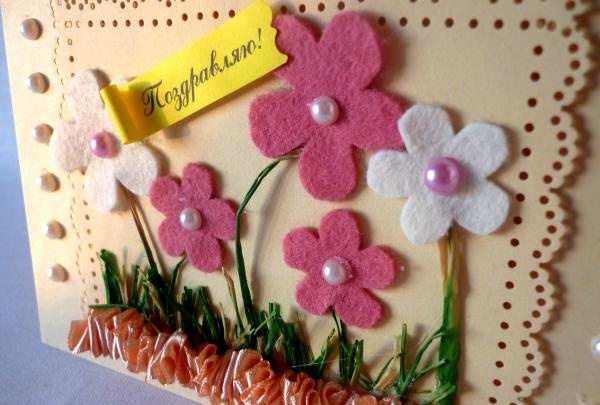
The postcard is ready!

To create a postcard you will need:
• cardboard;
• felt in pink and white colors;
• half beads in pink and white colors;
• green sisal;
• glue gun;
• border hole punch;
• curly scissors;
• satin ribbon in peach or cream color;
• threads;
• needle;
• double sided tape;
• congratulatory inscription;
• flower patterns.

For such a postcard you can choose similar material. For example, you can replace sisal with wire, ribbons or something else. Instead of a hole punch, you can use curly scissors, and replace the felt with paper. But still, the idea of the postcard will be preserved if you use the materials from the master class.
Cut the cardboard to a size of 15x20 cm and fold it in half. To prevent the cardboard from deforming when folded, first press with the back of the scissors along the fold line.When folded, the postcard measures 15x10 cm. We also cut out cardboard measuring 8x13 cm. This will be the basis for the entire composition of the postcard.

We punch only three sides of the cardboard with a shaped border hole punch, since the beginning of the composition in the form of grass will be placed on the bottom part and there is no need for an openwork edge.

We glue the base for the composition in the center onto the postcard blank using double-sided tape.

Now we will fold the sisal several times and cut it into short pieces up to 1 cm long. We will also prepare 5 pieces of different lengths - these will be the stems for the flowers.

First, apply a thin layer of hot melt glue to the bottom of the base, and then quickly glue the grass in a chaotic manner. Large stems should be evenly distributed.

Now you need to hide the places where the glue is visible at the base of the grass. We string a satin ribbon onto a thread, securing a knot at the end. We pull it together to make an accordion of such length that it covers all the grass and secure it at the end.

We glue it with hot glue and close the edge, imitating the ground.

To create flowers, you can use any material, including paper. The flower template can be found on the Internet, or you can draw it yourself. But we will make flowers from felt. This way the postcard will look more voluminous and original.
We trace the templates with a pencil and cut out 2 small and 1 large pink flowers, 1 small and 1 large white flower.

Apply glue to the place where the flower will be and firmly press the felt to the base before the glue has time to harden. We glue white beads in the center on pink flowers, and pink beads on white ones. We also decorate the sides of the card with beads.

And the final touch is an inscription with words of congratulations.We cut one edge with curly scissors to the end of the inscription, and twist the second one like papyrus.

Glue the inscription on double-sided tape between the flowers.
The postcard is ready!


Similar master classes
Particularly interesting
Comments (0)

