Bead cubes
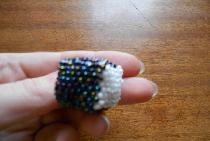
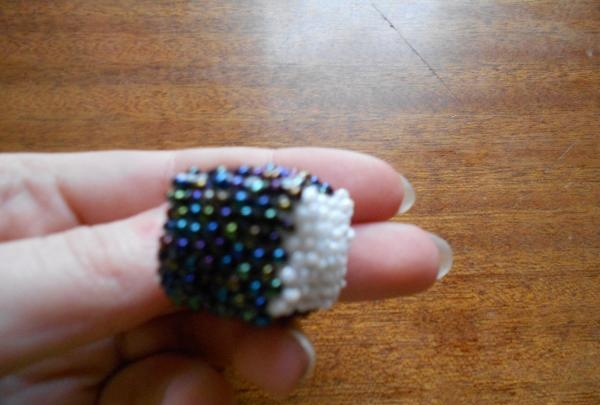
You can make a lot of trinkets from colorful beads! For example, beaded cubes can be made in any color and decorated with any patterns. I made a simple two-color cube so that the photographs could better show how to weave them. If you are new to beading, then you first need to learn the mosaic weaving technique. This is not difficult, but the products are dense. The diagram shows everything available.
So let's get back to the bead cubes. Prepare small beads of any colors, start with simple ones, then you can experiment with patterns and colors. Take a thread (preferably nylon). Don't like working with simple threads? Then use monofilament - that will work too. And, of course, a needle, but not an ordinary one, but a special one for beading.
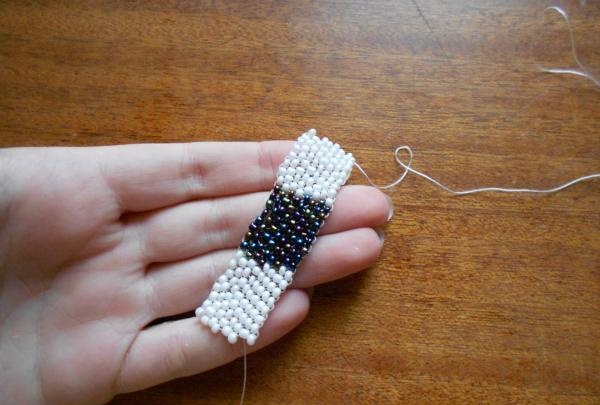
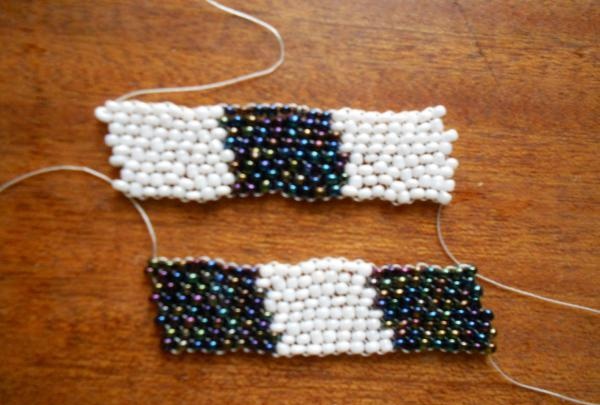
First you need to weave two rectangular pieces of beads. For example, my segments turned out to be two centimeters high and six centimeters long. As you already understood, they must be woven using the mosaic weaving technique. I got eight beads on each side of one square.Two segments can each be divided into three identical squares; if you did it somehow differently, then you won’t be able to sew the cube together.
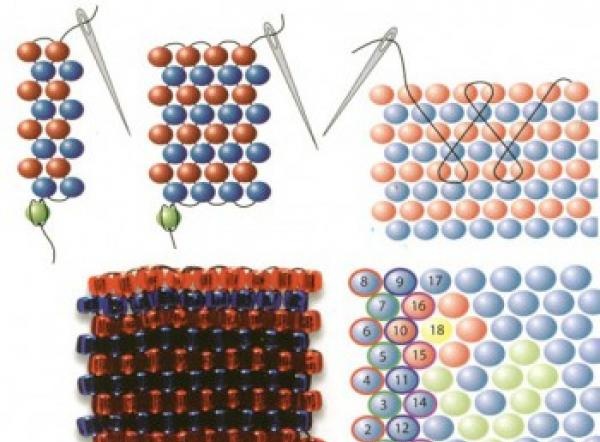
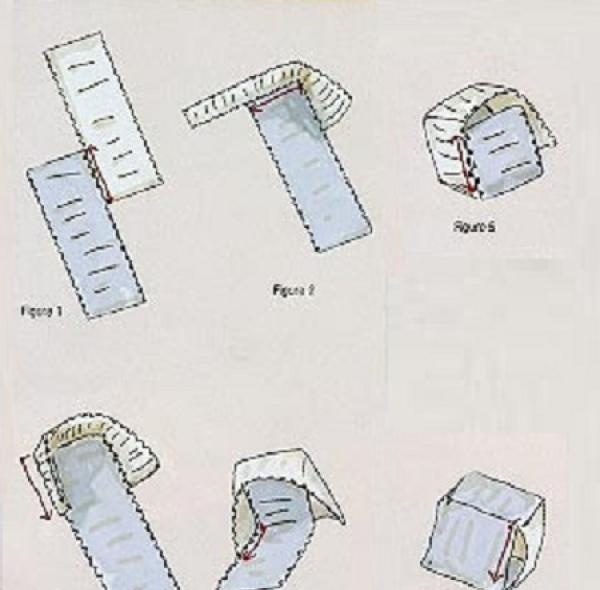
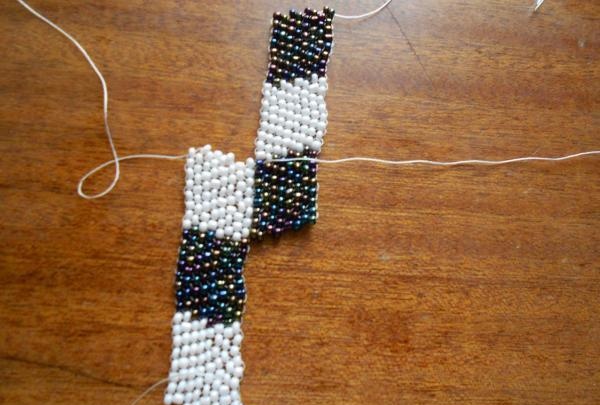
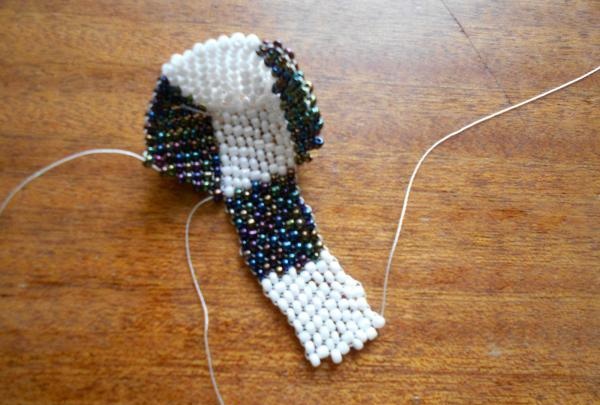
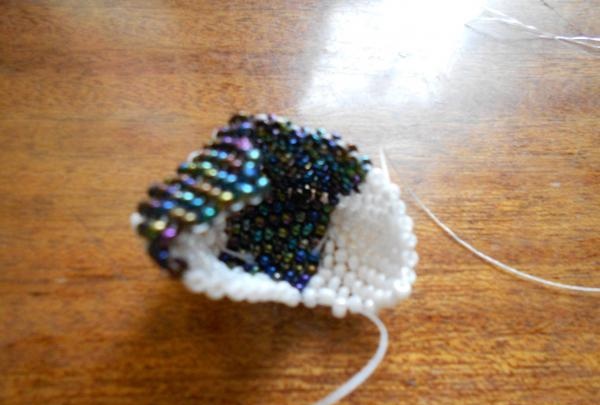
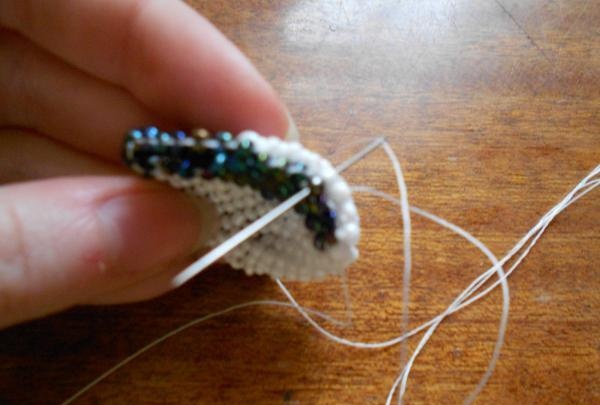
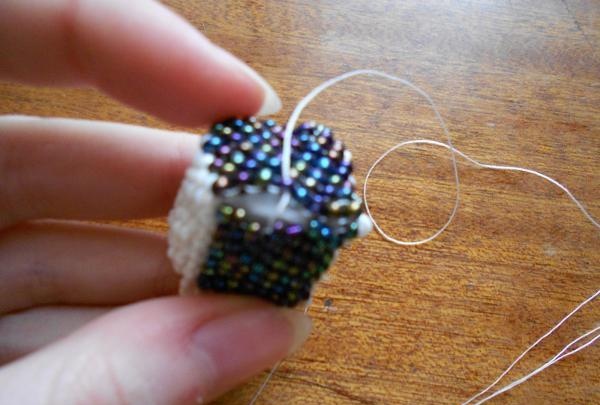
Are the two segments ready? Great, now all sides of the future cube need to be sewn in the correct order - to do this, just look more closely at the diagram and photographs, the sequence becomes clear from them.
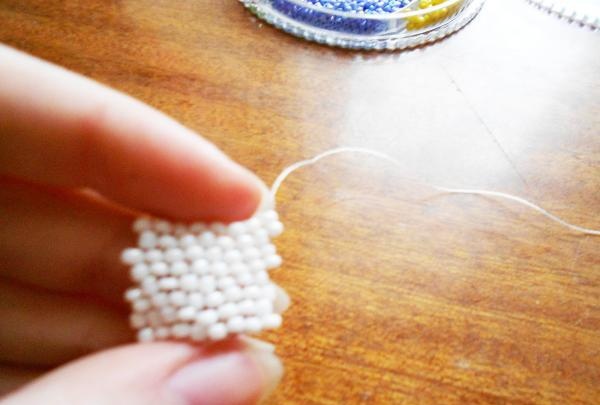
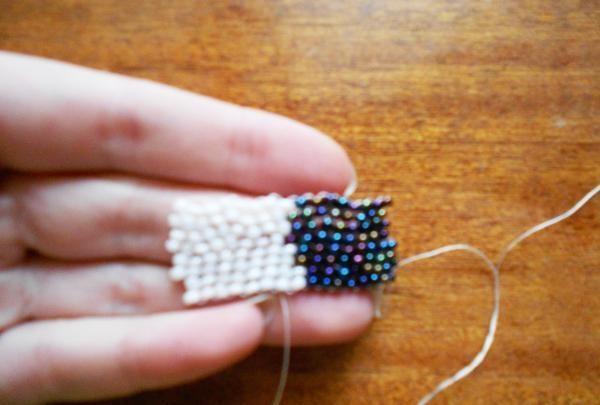
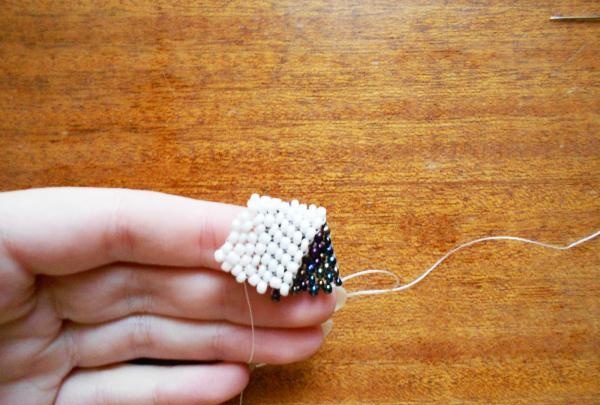
When sewing fabrics, I recommend filling the cube with cotton wool or any other material, it all depends on what kind of cube you want to get - hard or elastic and soft.
Such cubes can be used as keychains, pendants (to do this you just need to sew on the appropriate clasp), and earrings. In general, this is a universal trinket that can turn into anything if desired!
Good luck learning beading!
So let's get back to the bead cubes. Prepare small beads of any colors, start with simple ones, then you can experiment with patterns and colors. Take a thread (preferably nylon). Don't like working with simple threads? Then use monofilament - that will work too. And, of course, a needle, but not an ordinary one, but a special one for beading.
First you need to weave two rectangular pieces of beads. For example, my segments turned out to be two centimeters high and six centimeters long. As you already understood, they must be woven using the mosaic weaving technique. I got eight beads on each side of one square.Two segments can each be divided into three identical squares; if you did it somehow differently, then you won’t be able to sew the cube together.


Are the two segments ready? Great, now all sides of the future cube need to be sewn in the correct order - to do this, just look more closely at the diagram and photographs, the sequence becomes clear from them.


When sewing fabrics, I recommend filling the cube with cotton wool or any other material, it all depends on what kind of cube you want to get - hard or elastic and soft.


Such cubes can be used as keychains, pendants (to do this you just need to sew on the appropriate clasp), and earrings. In general, this is a universal trinket that can turn into anything if desired!


Good luck learning beading!
Similar master classes
Particularly interesting
Comments (1)

