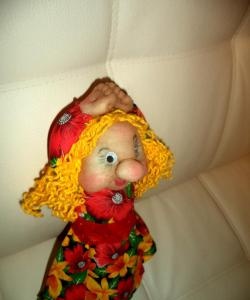
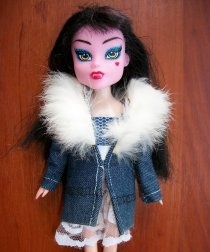
Dress for a doll
Probably every girl, while still just a child, played with dolls, in particular, with daughters and mothers. What is most interesting is that these dolls were not from ordinary families, but they were in the role of queens and princesses, they lived beautifully and beautifully, and most importantly, they wore luxurious, fluffy dresses. And many girls imagined that the princesses and princesses of the dolls were them. Years have passed, but the fashion for fluffy dresses has practically sunk into oblivion and now this kind of dress can actually be seen either on dolls, or at brides’ weddings or proms. Thanks to my goddaughter, I decided to remember myself at her age. Therefore, if you have a wonderful daughter, goddaughter, little sister, or you just want to make the girl something nice, go ahead and sew dresses for dolls.
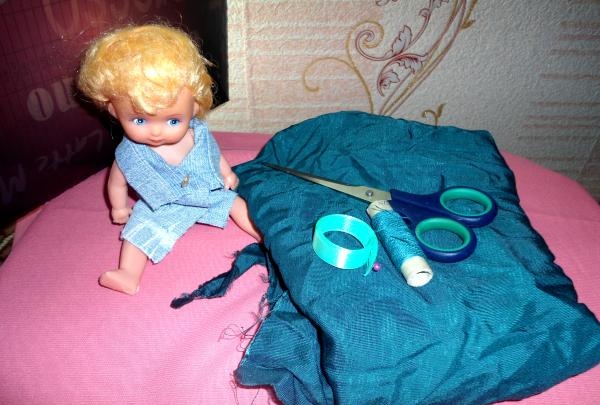
And so, in order to create a lush dress, which was in fashion during balls and duels, we will need the following tools and materials:
- a doll (on which this dress will be sewn);
- fabric (I chose the reaper, as it is now in trend), the sizes depend on the doll you choose;
- buttons 2 – 3;
- threads with a needle (to match the material for the dress);
- scissors;
-centimeter;
- satin ribbon.
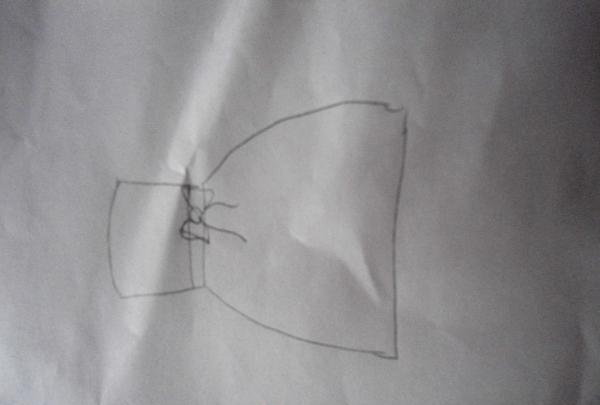
And so, if you have not yet decided what kind of details your dress will be, try to depict it on a piece of paper.
First we will sew the dress up, which means we need to measure the length of the back from the shoulder blade to the waist and the circumference of the chest. And cut off this top layer.
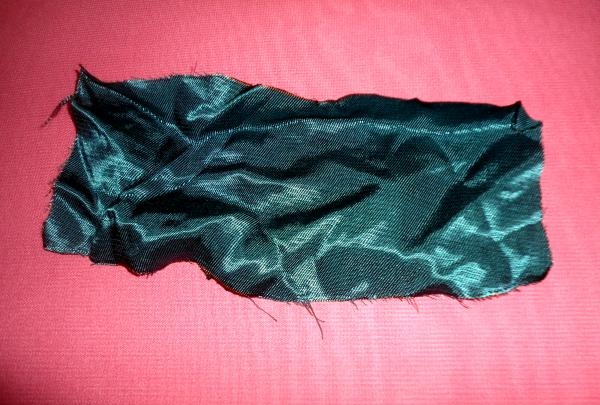
To prevent the fabric from fraying, treat it with a match or lighter and thread and a needle, namely, hem the edges with a regular stitch.
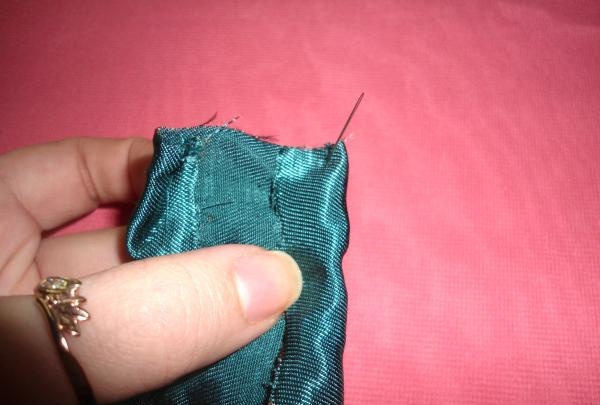
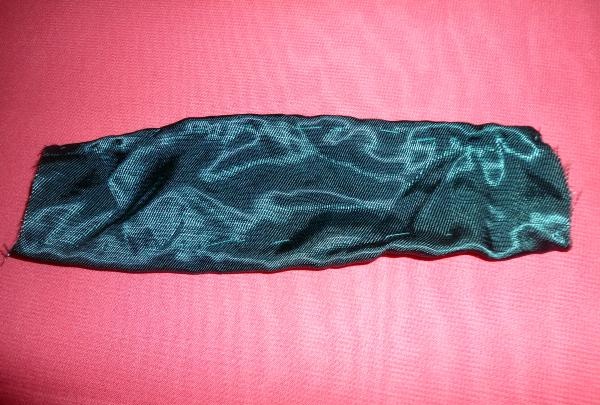
Next, we will make holes for the hands. And then again we process these holes for the hands using hand or machine stitching, if you have such an opportunity. Now we need to make a full skirt. I decided to make a medium full skirt and therefore (taking into account the size of my doll) I needed half a meter of material for our full skirt.
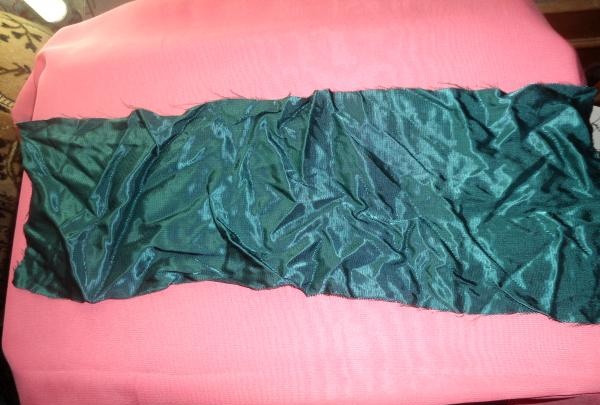
First work on the bottom of the skirt. We process stitches manually or using a sewing machine. As for the top of the skirt, we bend a centimeter (it would be nice to process this up using the overlock technique) and make stitches of this type so that we can gather the skirt, sometimes this seam is called the “gathered curtain effect”.
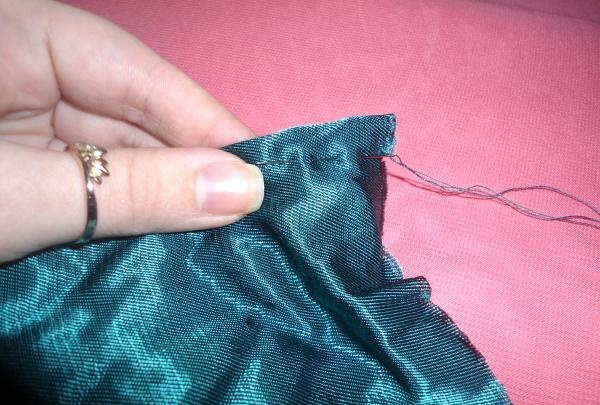
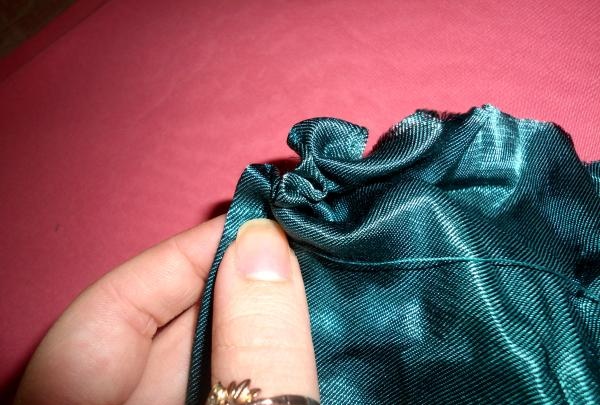
Having made half of this seam “the effect of gathered curtains”, measure this skirt to your doll, or rather to her waist, in order to know for sure how much or not you need to assemble this skirt.
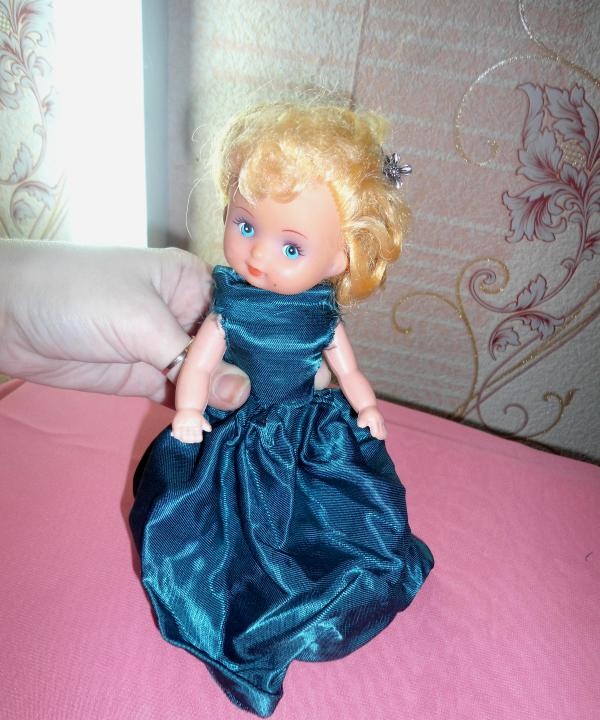
When you have made the skirt, or rather the main seam of this skirt, then sew the edges, but not all the way! Leave room for a button. After all, clothes need to be changed, and not sewn so that your doll wears only one clothes.
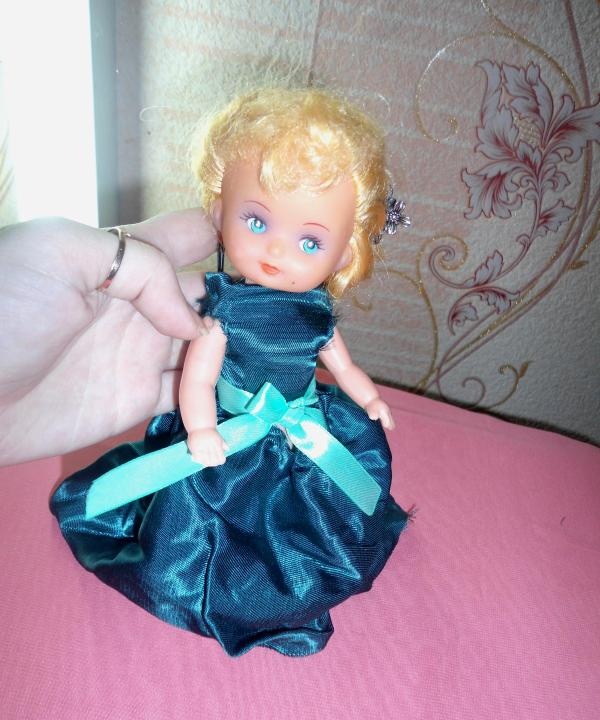
Now there's just a little bit left to do. Add a bow. For this we need a satin ribbon. Take your ribbon and tie a neat bow around the doll's waist. It can be in front, or it can be behind, it depends on your desire.
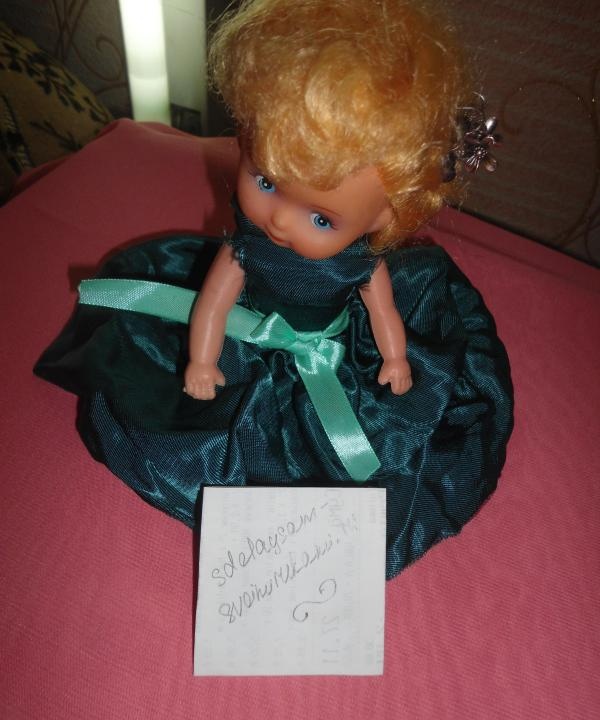
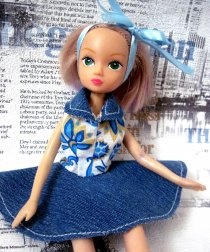
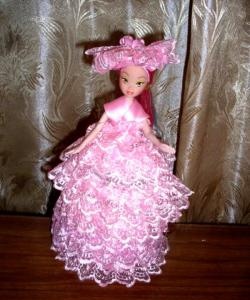
And so, your doll in a fluffy dress is ready! Congratulations! Now you can safely be given the title of doll dress cutter. Hurry up to please your little ones. Such present will be remembered for a long time!
And so, in order to create a lush dress, which was in fashion during balls and duels, we will need the following tools and materials:
- a doll (on which this dress will be sewn);
- fabric (I chose the reaper, as it is now in trend), the sizes depend on the doll you choose;
- buttons 2 – 3;
- threads with a needle (to match the material for the dress);
- scissors;
-centimeter;
- satin ribbon.

And so, if you have not yet decided what kind of details your dress will be, try to depict it on a piece of paper.

First we will sew the dress up, which means we need to measure the length of the back from the shoulder blade to the waist and the circumference of the chest. And cut off this top layer.

To prevent the fabric from fraying, treat it with a match or lighter and thread and a needle, namely, hem the edges with a regular stitch.


Next, we will make holes for the hands. And then again we process these holes for the hands using hand or machine stitching, if you have such an opportunity. Now we need to make a full skirt. I decided to make a medium full skirt and therefore (taking into account the size of my doll) I needed half a meter of material for our full skirt.

First work on the bottom of the skirt. We process stitches manually or using a sewing machine. As for the top of the skirt, we bend a centimeter (it would be nice to process this up using the overlock technique) and make stitches of this type so that we can gather the skirt, sometimes this seam is called the “gathered curtain effect”.


Having made half of this seam “the effect of gathered curtains”, measure this skirt to your doll, or rather to her waist, in order to know for sure how much or not you need to assemble this skirt.

When you have made the skirt, or rather the main seam of this skirt, then sew the edges, but not all the way! Leave room for a button. After all, clothes need to be changed, and not sewn so that your doll wears only one clothes.

Now there's just a little bit left to do. Add a bow. For this we need a satin ribbon. Take your ribbon and tie a neat bow around the doll's waist. It can be in front, or it can be behind, it depends on your desire.

And so, your doll in a fluffy dress is ready! Congratulations! Now you can safely be given the title of doll dress cutter. Hurry up to please your little ones. Such present will be remembered for a long time!
Similar master classes
Particularly interesting
Comments (0)

