Boiler cleaning
Of course, someone will say: “Why do it yourself, in any newspaper there are a dime a dozen free advertisements for such offers.” But the price for this is not always loyal, and there is no need to adapt to someone else’s work schedule. And then, the rule “if you want someone to do it well, do it yourself” has not yet been canceled. Therefore, today we will clean the electric water heater (or boiler, depending on which name you prefer) ourselves. Moreover, all this will take at most half an hour, and you need a minimum of tools.
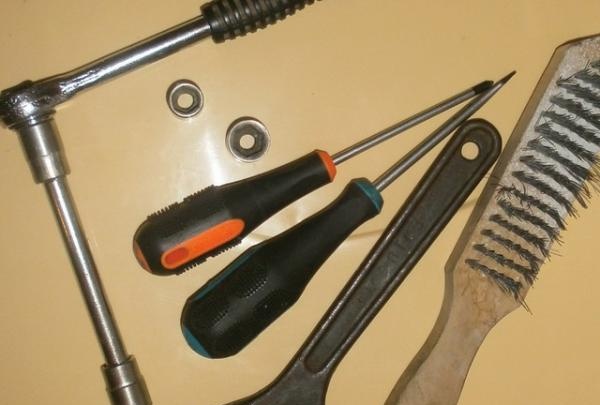
By the way, the instruments themselves. We will need:
• adjustable wrench. The nuts of flexible hoses often differ by one or two sizes, so this will be easier and more reliable.
• socket heads with ratchet or wrenches M12, M13 and M14. The dimensions of different boiler models may vary, so it is better to anticipate and prepare them “in reserve”.
• Phillips and flat head screwdriver.
• card brush.
That's it, let's start disassembling.
But even before you start disconnecting the hoses, turn off the electricity supply to the boiler and turn off the cold water tap going to it.
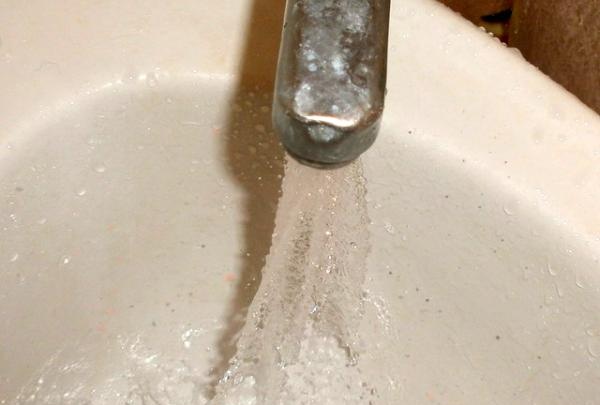
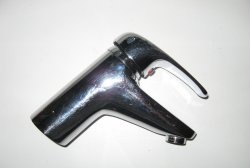
Open the hot water in the mixer. This will relieve excess pressure and you will have less chance of getting wet when draining the boiler. And this is the longest part of the process, but more on that below.
Now turn off the hot water tap leading from the boiler.
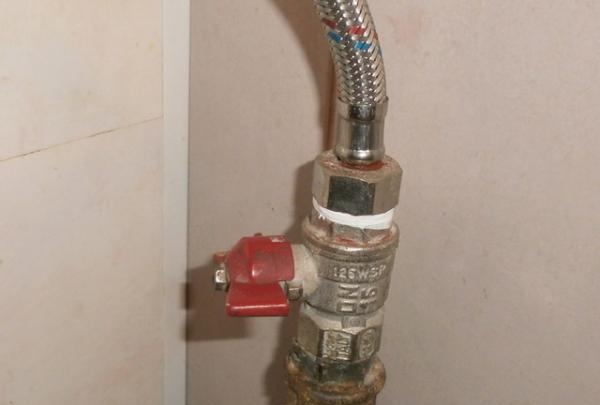
Remove the decorative cover. For this, you will most likely need a Phillips screwdriver. Disconnect the ground and simply remove the thermostat with the long, thin temperature sensor.
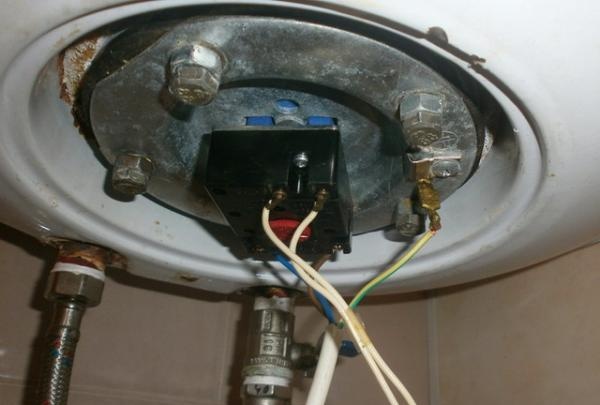
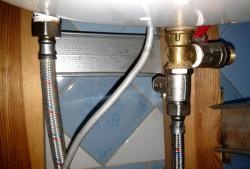
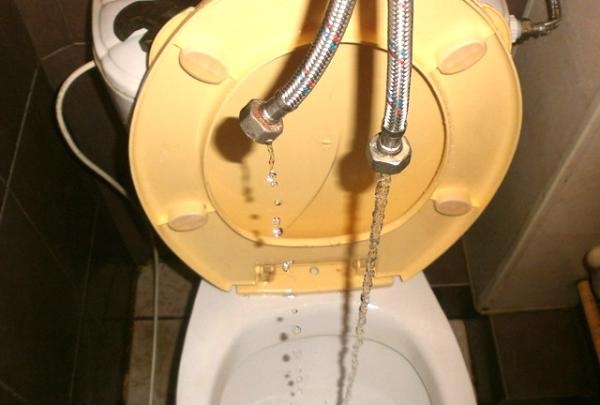
The boiler is now “naked”, but there is still water in it. That's what needs to be lowered. We unscrew the hoses so that you remove the bypass valve (or in some models there is a lever that you need to press and it stops performing its function of blocking the flow of water from the cold pipe of the boiler),
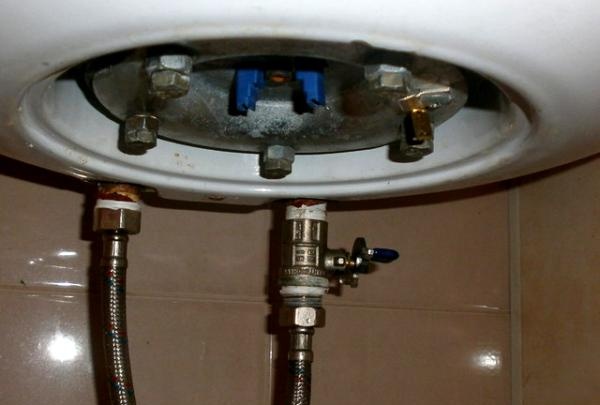
and drain the water. Be careful, it may be hot if you have not first turned off the boiler and drained the boiling water. The water comes out by gravity, so be prepared to just hold the hoses for 12...15 minutes (standard 80-liter boiler).
Now unscrew the bolts holding the bottom cover, and placing a spacious basin, pry it off with a flat screwdriver. What comes out of the boiler will greatly surprise you and not make you happy at all.
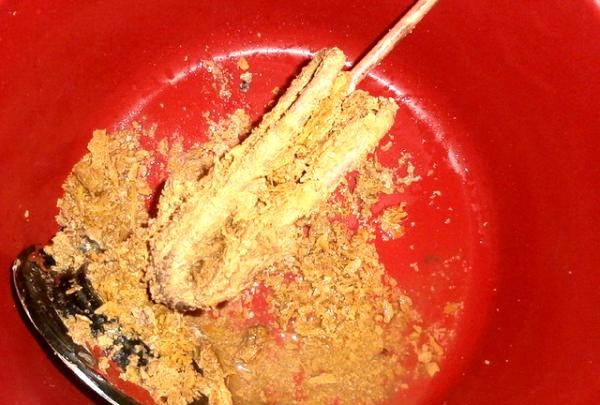
We clean the tenk well (this is where a card brush comes in handy),
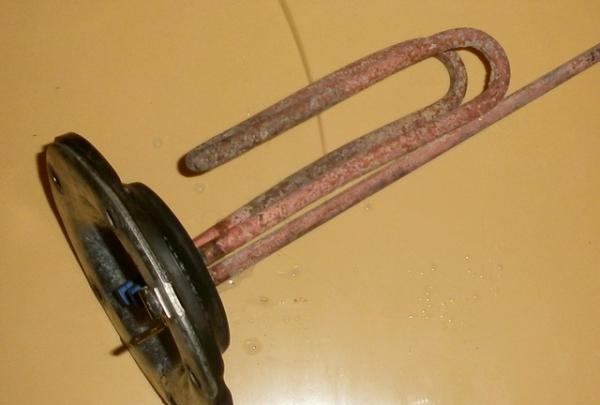
and throw all that scale (don’t forget to put your hand into the boiler itself, there’s a lot left there) into the garbage chute. But under no circumstances into the toilet, otherwise it will simply clog.
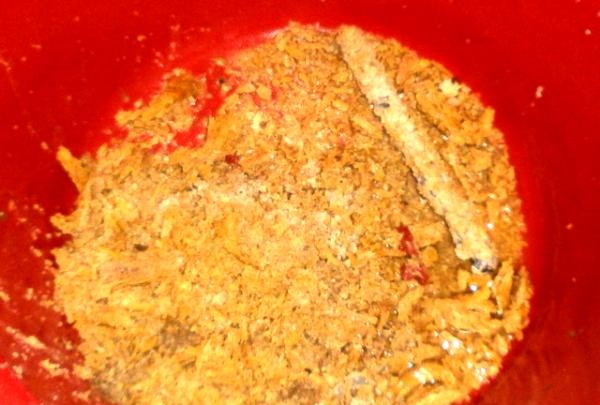
Magnesium anode. Any boiler is designed in such a way that it is a “sacrificial game” and during operation it becomes smaller and smaller and gradually burns out completely. Therefore, if so, it needs to be replaced (a new one costs $2 ... 3), although it is often worth just cleaning the old one. And although all threads are standard, it is better to take the rest of it when going to the store. So if you are cleaning the boiler for the first time, it is better to do it during the hours when the relevant stores or markets are open.
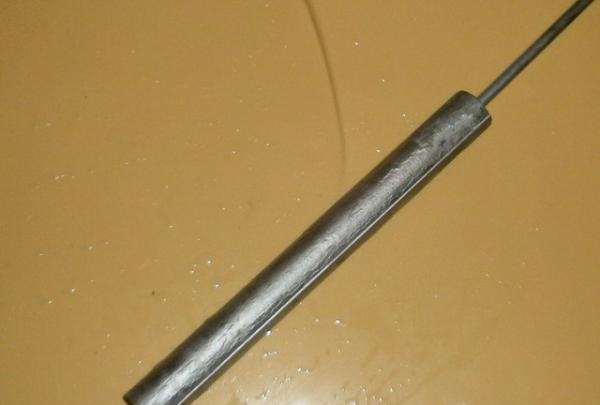
We screw it in to replace the old one,
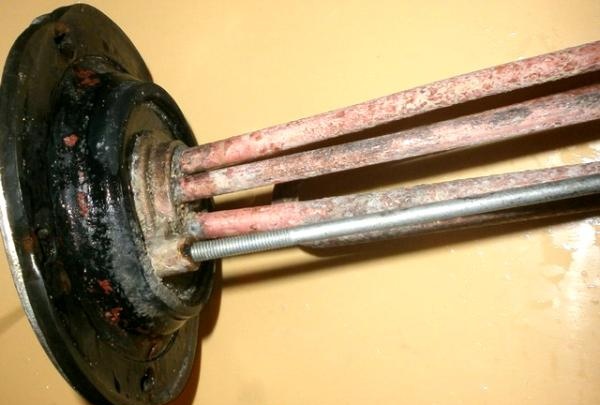
and put the cover back in place.
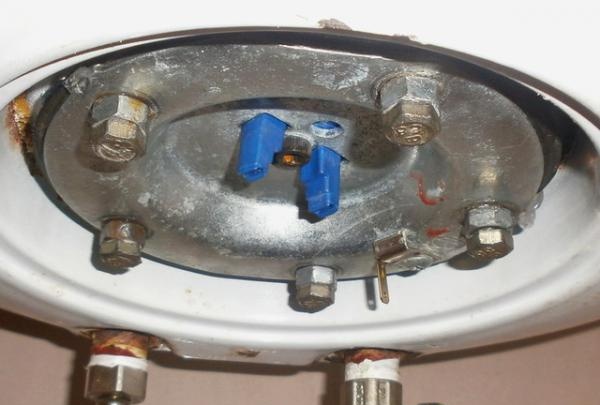
We assemble all the hoses in the reverse order, and for sealing it is better to use Teflon, or as it is also called fum tape.
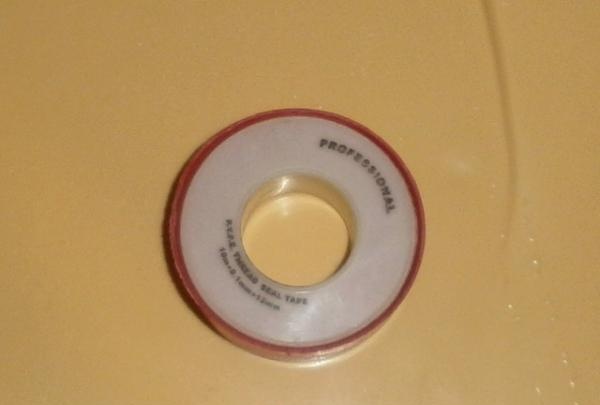
We put back the bypass valve, flexible hoses,
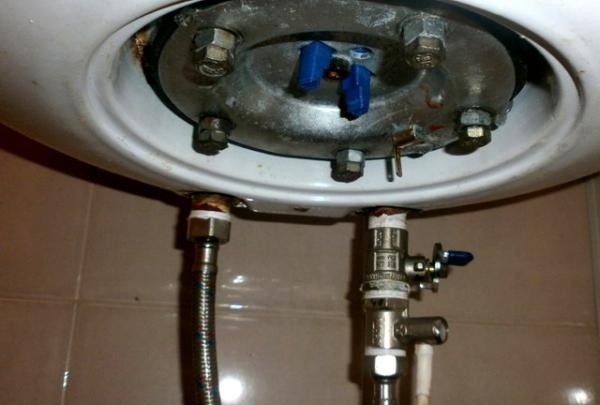
We insert a temperature sensor with a heating temperature regulator and close everything with a decorative lid. The boiler has been assembled, but is now empty.
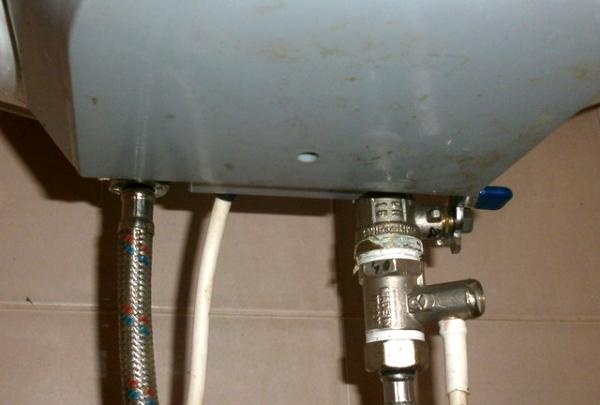
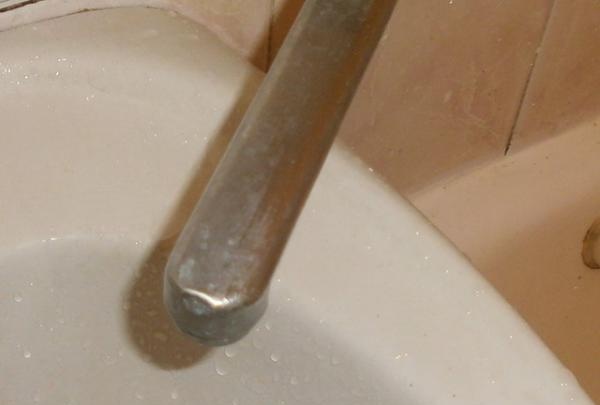
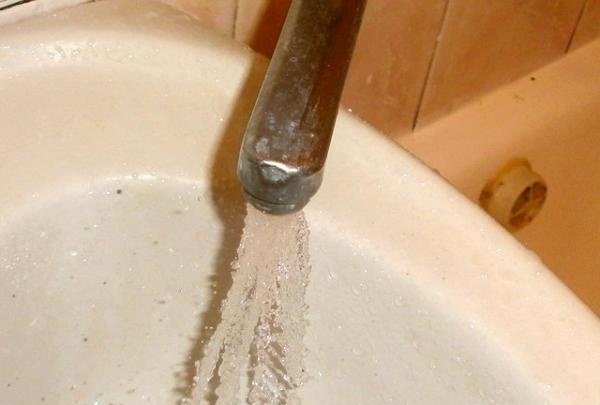
Open the hot water in the mixer again,
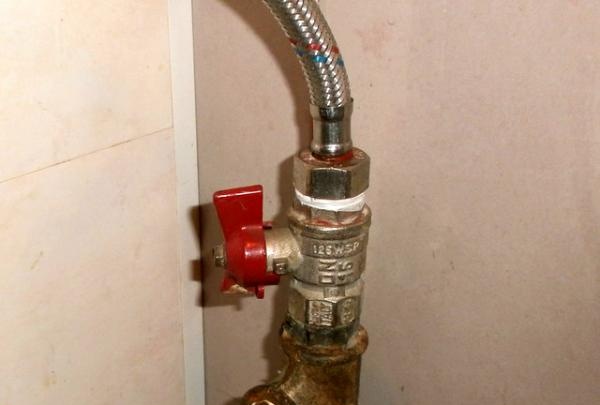
and open both taps to and from the boiler.
When the water flows from the mixer again, close it. The boiler is full.
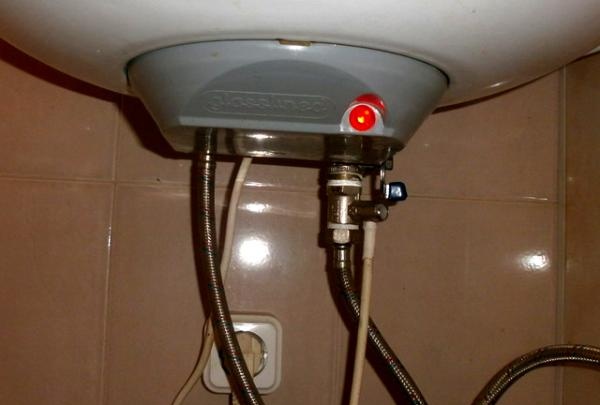
Now we plug it into the network so that the water in it heats up to the desired temperature. This takes a little longer than it usually takes for the boiler to heat up, since you have lowered it to “zero” and the cold water temperature is far from usual.
That's all the wisdom. And now you can evaluate for yourself how much faster the water heats up. And there is no need to talk about energy savings; you will immediately feel it from the “thinner” monthly receipts for electricity.
By the way, the instruments themselves. We will need:
• adjustable wrench. The nuts of flexible hoses often differ by one or two sizes, so this will be easier and more reliable.
• socket heads with ratchet or wrenches M12, M13 and M14. The dimensions of different boiler models may vary, so it is better to anticipate and prepare them “in reserve”.
• Phillips and flat head screwdriver.
• card brush.
That's it, let's start disassembling.

But even before you start disconnecting the hoses, turn off the electricity supply to the boiler and turn off the cold water tap going to it.

Open the hot water in the mixer. This will relieve excess pressure and you will have less chance of getting wet when draining the boiler. And this is the longest part of the process, but more on that below.
Now turn off the hot water tap leading from the boiler.

Remove the decorative cover. For this, you will most likely need a Phillips screwdriver. Disconnect the ground and simply remove the thermostat with the long, thin temperature sensor.

The boiler is now “naked”, but there is still water in it. That's what needs to be lowered. We unscrew the hoses so that you remove the bypass valve (or in some models there is a lever that you need to press and it stops performing its function of blocking the flow of water from the cold pipe of the boiler),

and drain the water. Be careful, it may be hot if you have not first turned off the boiler and drained the boiling water. The water comes out by gravity, so be prepared to just hold the hoses for 12...15 minutes (standard 80-liter boiler).

Now unscrew the bolts holding the bottom cover, and placing a spacious basin, pry it off with a flat screwdriver. What comes out of the boiler will greatly surprise you and not make you happy at all.

We clean the tenk well (this is where a card brush comes in handy),

and throw all that scale (don’t forget to put your hand into the boiler itself, there’s a lot left there) into the garbage chute. But under no circumstances into the toilet, otherwise it will simply clog.

Magnesium anode. Any boiler is designed in such a way that it is a “sacrificial game” and during operation it becomes smaller and smaller and gradually burns out completely. Therefore, if so, it needs to be replaced (a new one costs $2 ... 3), although it is often worth just cleaning the old one. And although all threads are standard, it is better to take the rest of it when going to the store. So if you are cleaning the boiler for the first time, it is better to do it during the hours when the relevant stores or markets are open.

We screw it in to replace the old one,

and put the cover back in place.

We assemble all the hoses in the reverse order, and for sealing it is better to use Teflon, or as it is also called fum tape.

We put back the bypass valve, flexible hoses,

We insert a temperature sensor with a heating temperature regulator and close everything with a decorative lid. The boiler has been assembled, but is now empty.

Open the hot water in the mixer again,

and open both taps to and from the boiler.

When the water flows from the mixer again, close it. The boiler is full.

Now we plug it into the network so that the water in it heats up to the desired temperature. This takes a little longer than it usually takes for the boiler to heat up, since you have lowered it to “zero” and the cold water temperature is far from usual.

That's all the wisdom. And now you can evaluate for yourself how much faster the water heats up. And there is no need to talk about energy savings; you will immediately feel it from the “thinner” monthly receipts for electricity.
Similar master classes
Particularly interesting
Comments (8)

