Plastic hot tray
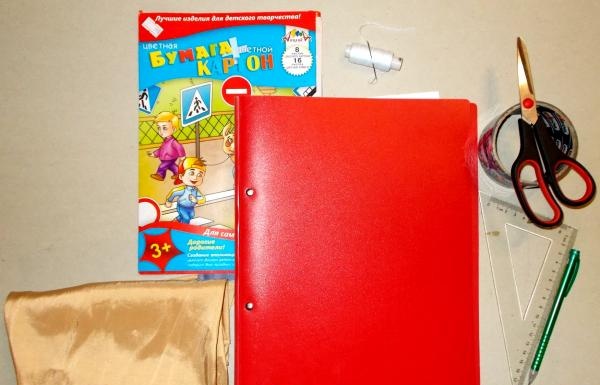
Hello, dear readers. You can make such a hot stand yourself within a week, if you know how to sew and have suitable materials on hand. Our stand turned out to be attractive and can be used for slicing bread, and in order to make it, we needed the following materials:
- Thick plastic sheets from an old paper folder;
- Scissors;
- Thread and needle;
- Glue;
- Transparent tape;
- Fabric of golden brown color;
- Light brown fabric (if there is a shortage, you can take fabric of a different color, for example, white or blue);
- Cardboard paper;
- Ruler and pencil.
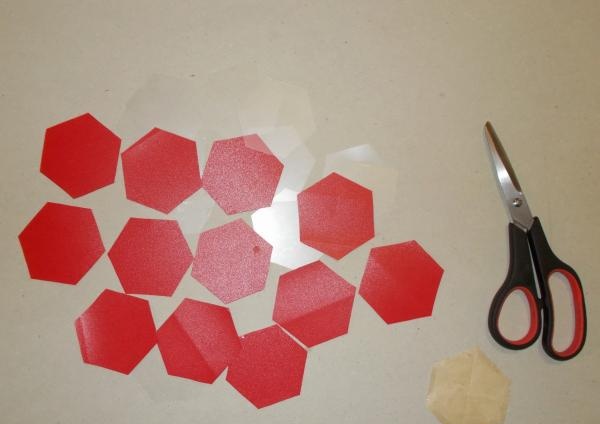
From an old paper folder, we first need to cut out many hexagonal shapes in the form of a honeycomb, making a sample for this in advance from a separate piece of paper. In addition to the folder, we decided to take other plastic sheets, in case of a shortage of figures (transparent ones will do):
Next, we wrap the resulting “honeycombs” in fabric, which we cut out according to the shape of the figures, with small indentations. To glue the fabric, we decided to use tape:
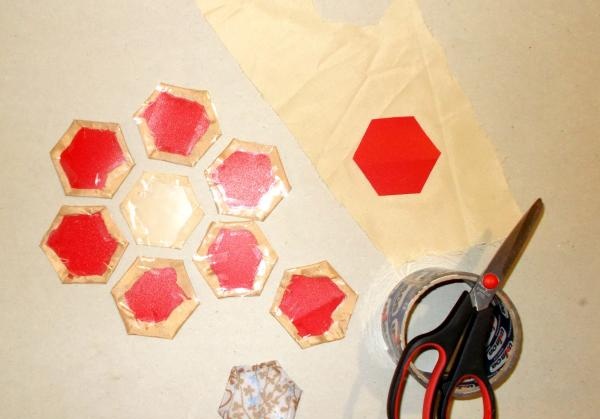
In total, we got 31 pieces glued together in this way. We need to collect them into one figure, adding honeycombs one to the other:
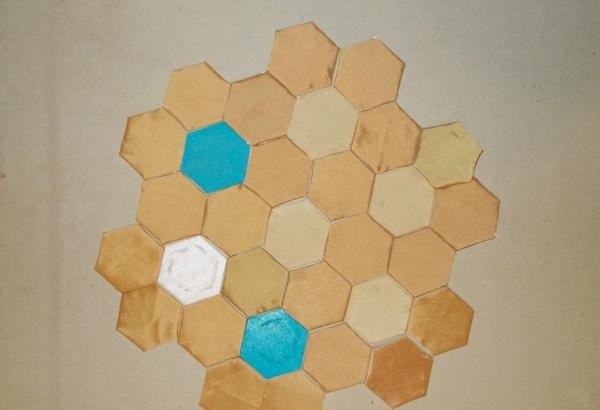
Having folded the figure, we discovered that many of the “honeycombs” were not even, which is why we will have to redo them in the course of further work:
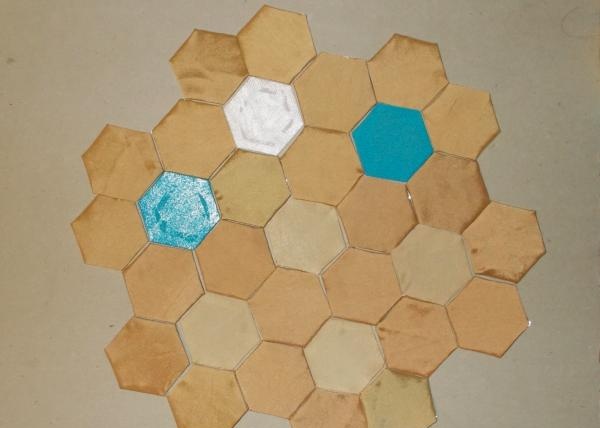
Next, for work we will need cardboard paper and glue. The cardboard will have to hide the areas of glued fabric on the back side. You can use plain office paper if you don't have enough, but it's better to use it.
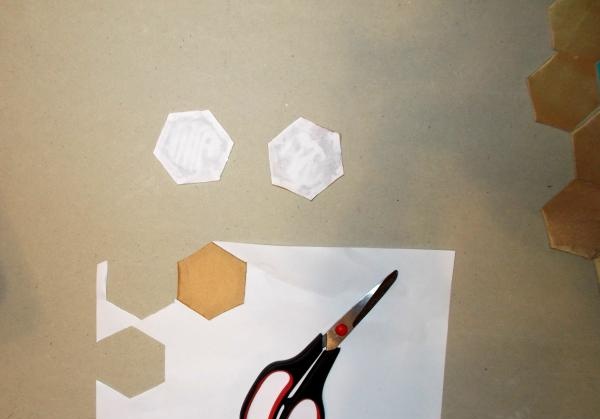
When the glue dries, the honeycombs will need to be sewn together at the side edges:
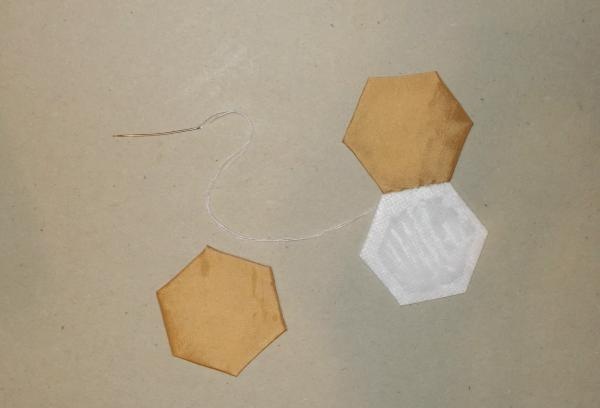
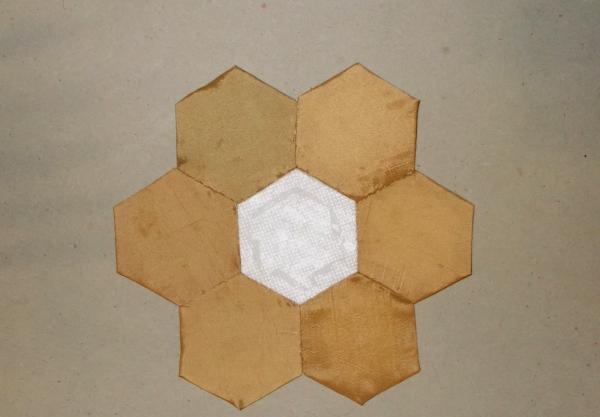
Of the seven honeycomb shapes, we sew one in the shape of a flower. In the middle of this “flower” we decided to sew a white figure:
Next, we sew all the remaining shapes together, connecting them to the resulting “flower” and pasting them on the back with cardboard. The result is a rug like this:
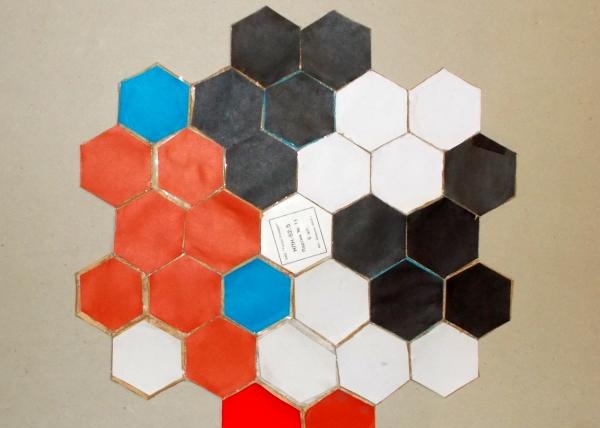
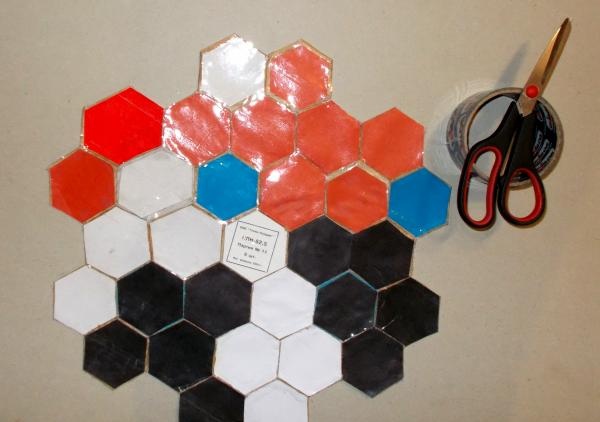
Now we need to cover this side with transparent tape so that the cardboard figures do not come off and are not damaged by water or when slicing bread:
This is what the rug looks like from the front:
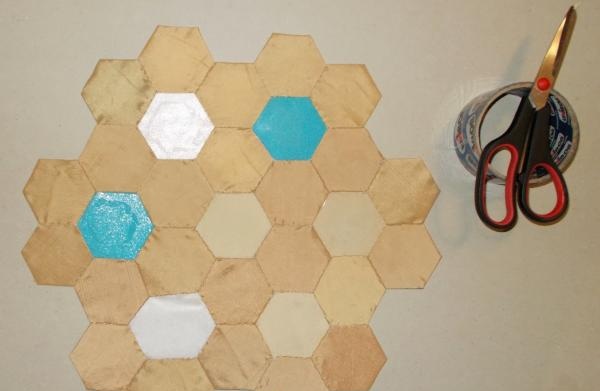
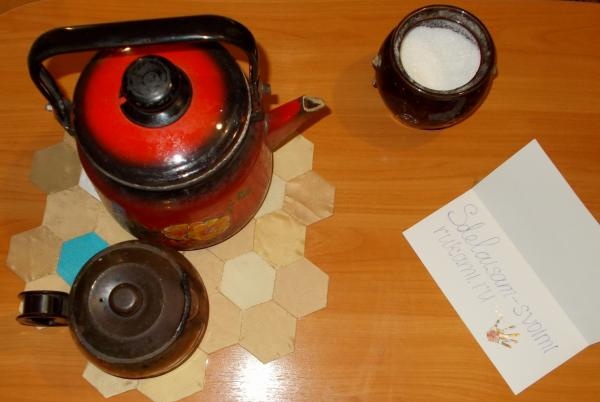
Now it is ready and can be used:
- Thick plastic sheets from an old paper folder;
- Scissors;
- Thread and needle;
- Glue;
- Transparent tape;
- Fabric of golden brown color;
- Light brown fabric (if there is a shortage, you can take fabric of a different color, for example, white or blue);
- Cardboard paper;
- Ruler and pencil.

From an old paper folder, we first need to cut out many hexagonal shapes in the form of a honeycomb, making a sample for this in advance from a separate piece of paper. In addition to the folder, we decided to take other plastic sheets, in case of a shortage of figures (transparent ones will do):

Next, we wrap the resulting “honeycombs” in fabric, which we cut out according to the shape of the figures, with small indentations. To glue the fabric, we decided to use tape:

In total, we got 31 pieces glued together in this way. We need to collect them into one figure, adding honeycombs one to the other:

Having folded the figure, we discovered that many of the “honeycombs” were not even, which is why we will have to redo them in the course of further work:

Next, for work we will need cardboard paper and glue. The cardboard will have to hide the areas of glued fabric on the back side. You can use plain office paper if you don't have enough, but it's better to use it.

When the glue dries, the honeycombs will need to be sewn together at the side edges:

Of the seven honeycomb shapes, we sew one in the shape of a flower. In the middle of this “flower” we decided to sew a white figure:

Next, we sew all the remaining shapes together, connecting them to the resulting “flower” and pasting them on the back with cardboard. The result is a rug like this:

Now we need to cover this side with transparent tape so that the cardboard figures do not come off and are not damaged by water or when slicing bread:

This is what the rug looks like from the front:

Now it is ready and can be used:

Sincerely, Vorobyova Dinara.
Similar master classes
Particularly interesting
Comments (0)

