Christmas wreath
The New Year is coming very soon, and we can’t wait to create an extraordinary atmosphere in our home. I just love various holiday little things that create the feeling of a fairy tale. Today I will show you how to make an integral attribute of the New Year and Christmas.
So, I prepared the following basic materials: newspapers, glue, scissors, stapler, napkins, pine cones, large and small beads, beads, wire, paper towels (soft toilet paper will do), strong thread, PVA glue, tape, sugar and salt , for additional decor I took a red satin ribbon, a bell, decorative snowflakes, and in general, such a wreath can be decorated with any materials to your taste. The first thing I do is create the base for the wreath using newspapers. I twist several sheets together, then connect them together with tape. This way I form a ring. I wrap the workpiece tightly with toilet paper and secure it with thread.
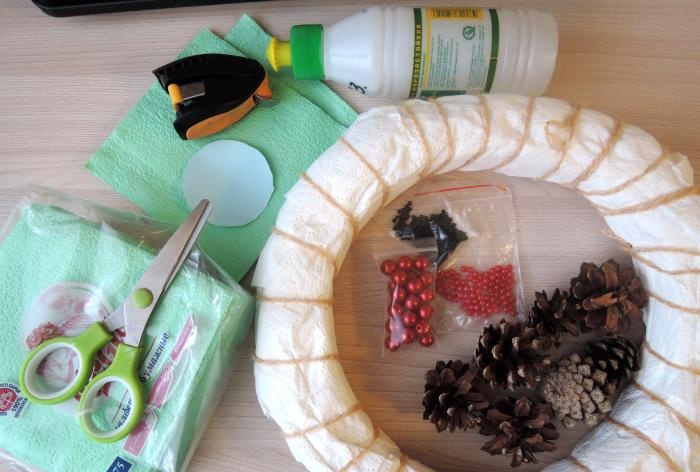
To imitate Christmas tree branches, I use pom-poms made from napkins. I fold the napkin in half, then fold it again.
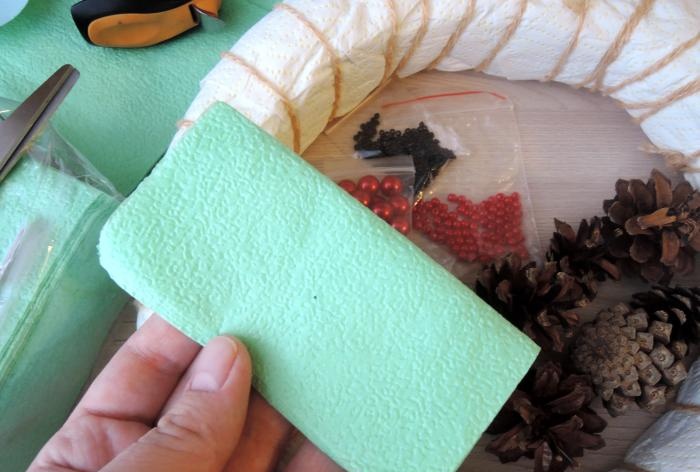
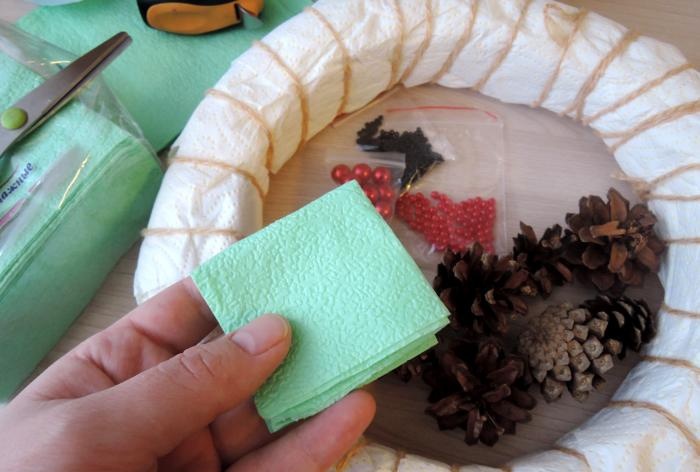
Using a pre-prepared template, I cut out a circle.
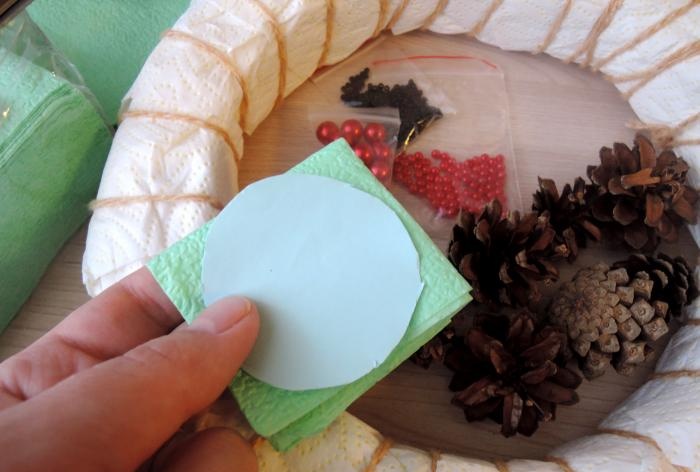
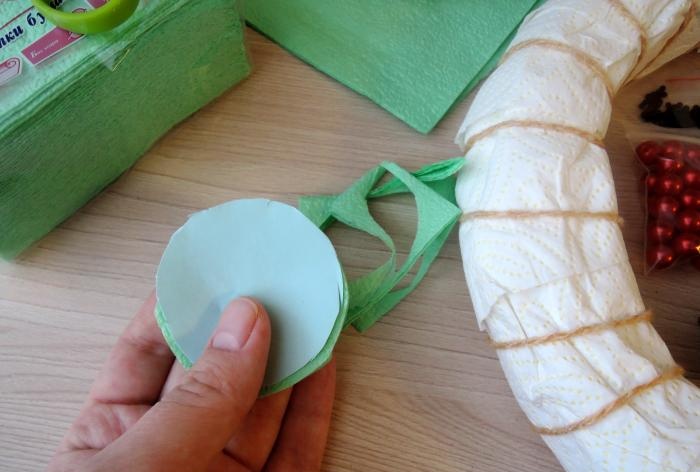
I fasten the resulting workpiece with a stapler.
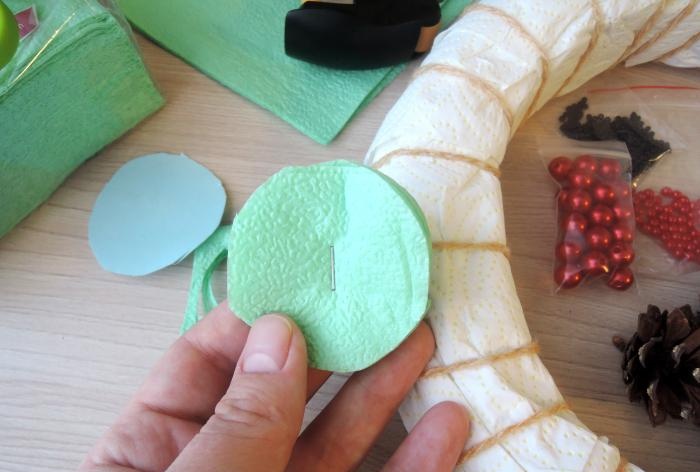
I make cuts towards the center.
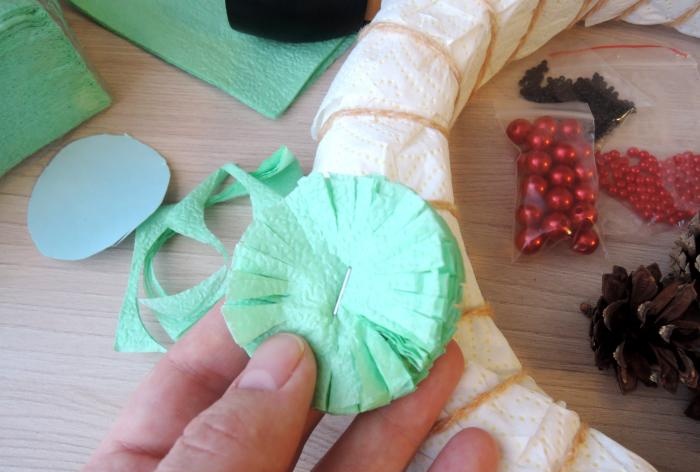
Forming a pompom.
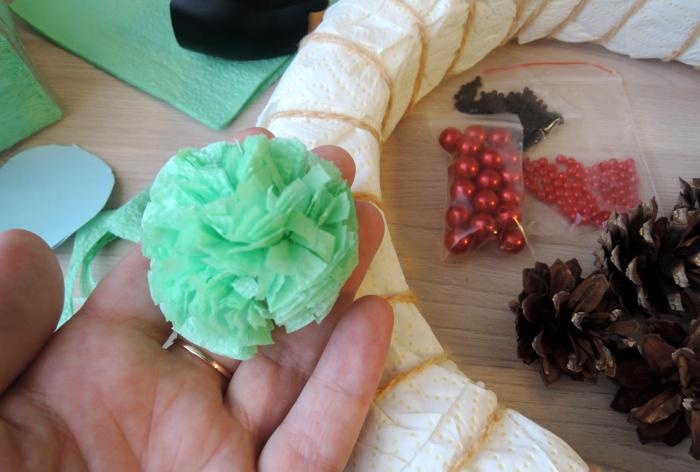
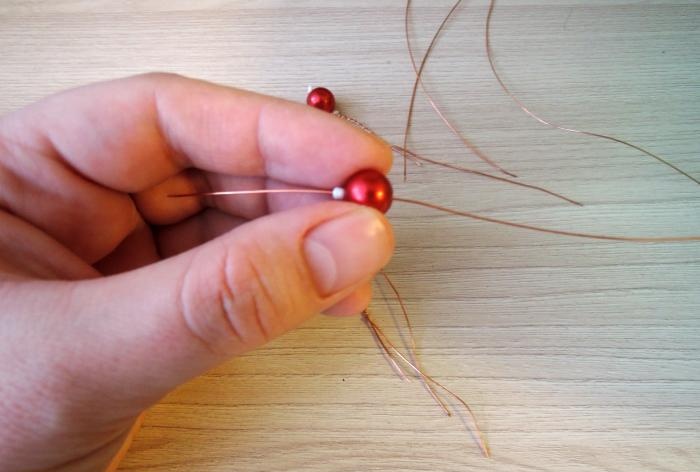
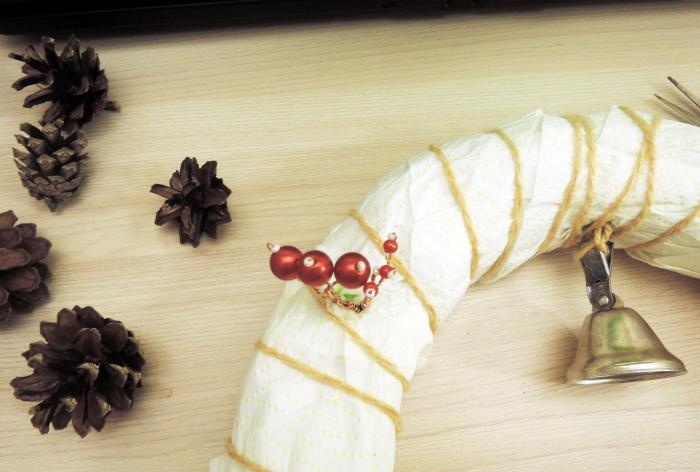
Next, I create berries from large and small beads. To do this, I take a wire (about 10 cm), put beads on it, then a bead, fix the end of the wire, threading it through the bead. I put on the white bead again, twisting the ends of the wire together, as shown in the photo.
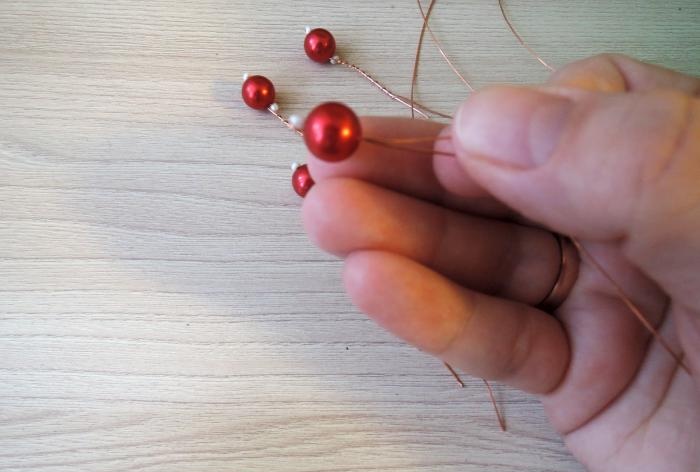
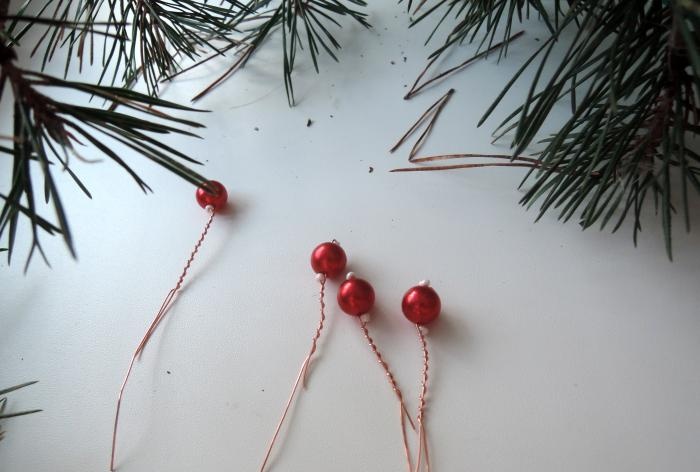
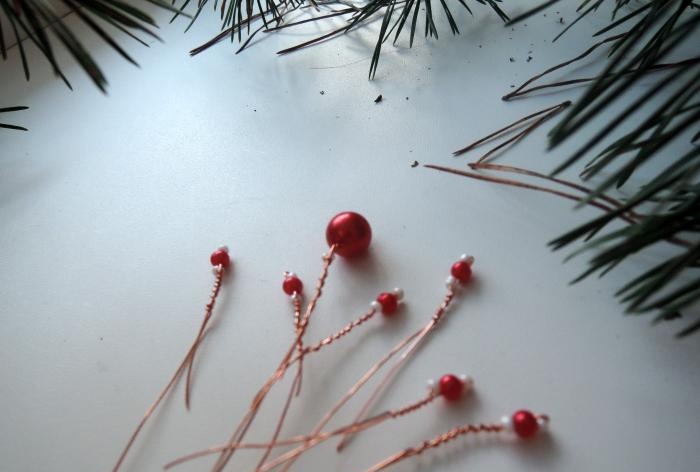
I prepare about 15-20 pieces.
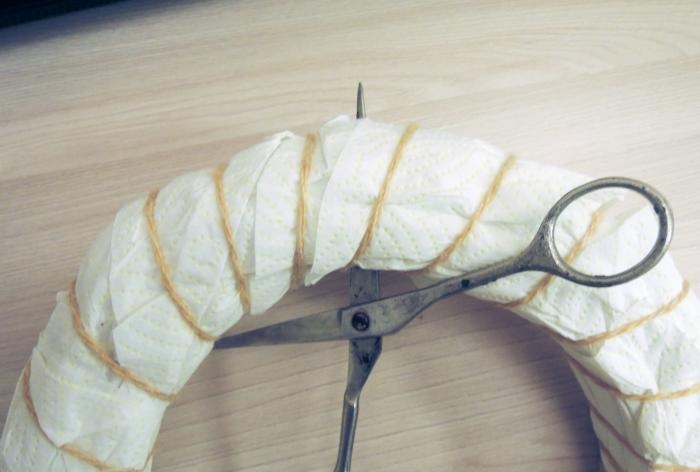
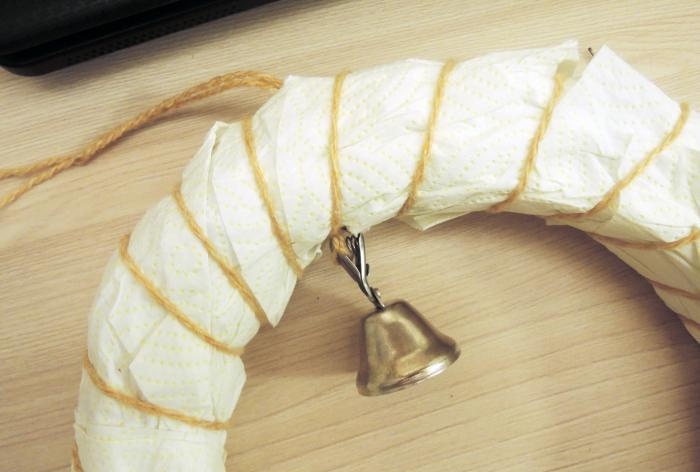
Next, I divide the workpiece into 6 parts and make a hole with a sharp object.
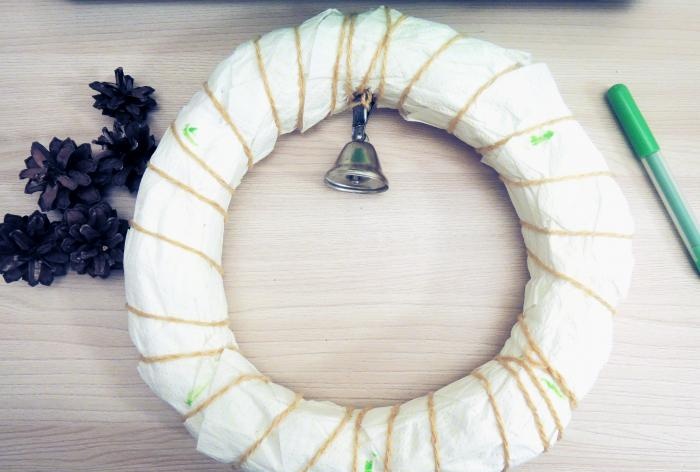
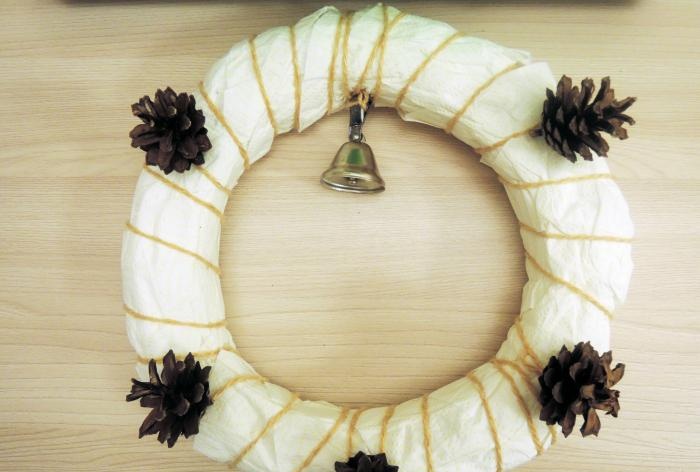
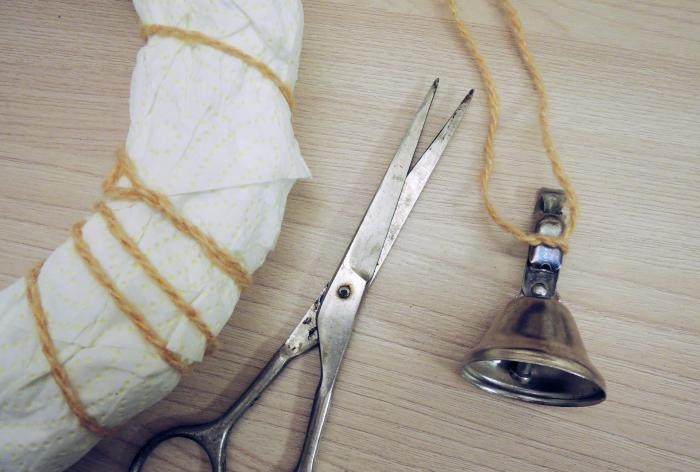
I tie the bell to a thread, thread it with a hook, and fix it.
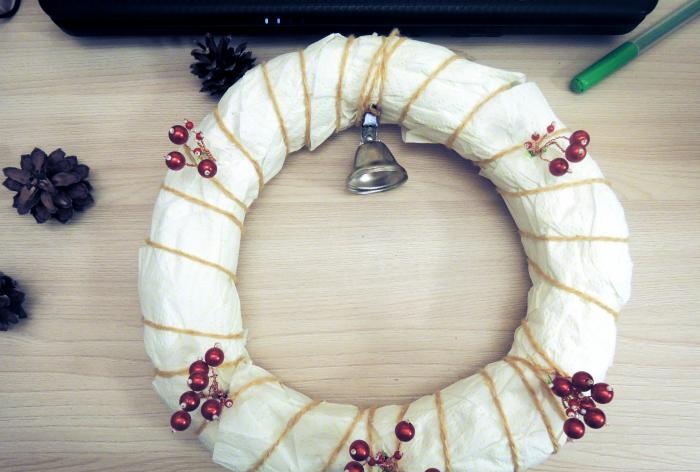
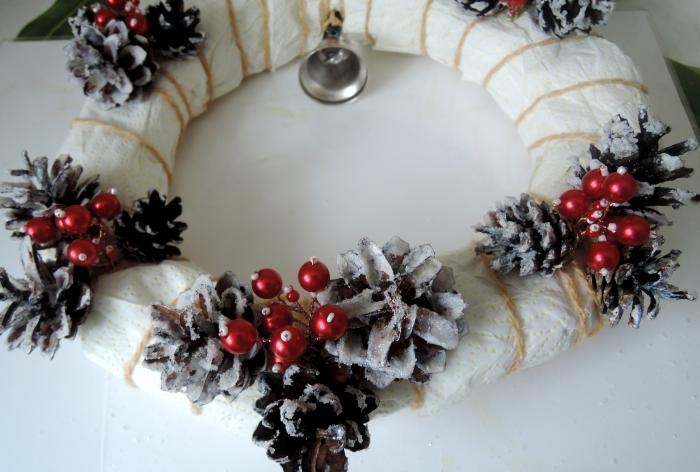
According to my idea, the berries should peek out from the cones, approximately as in the photo. I connect the bead blanks together (3 berries each).
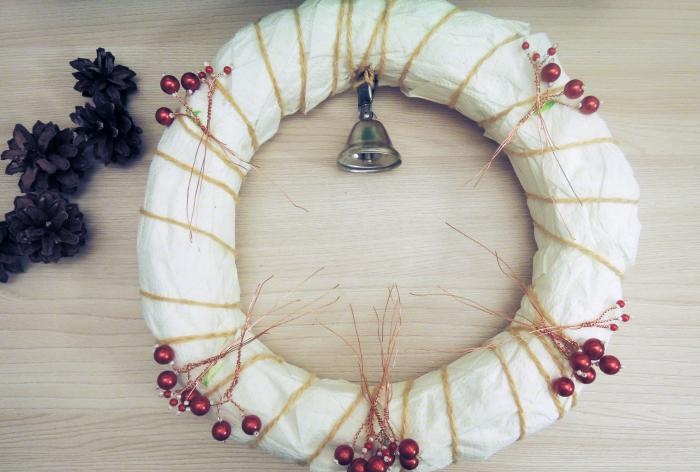
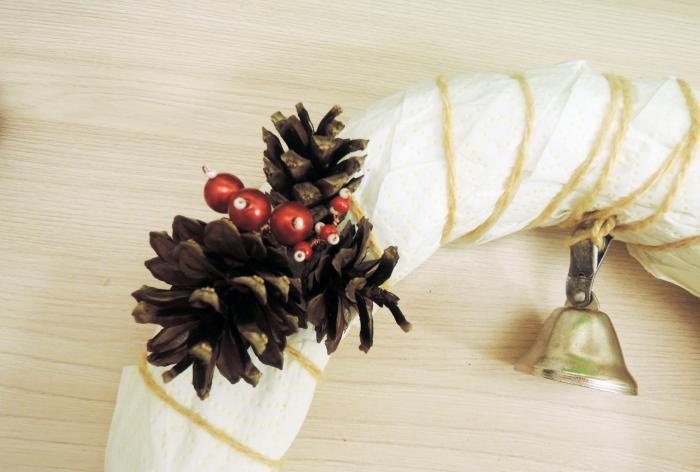
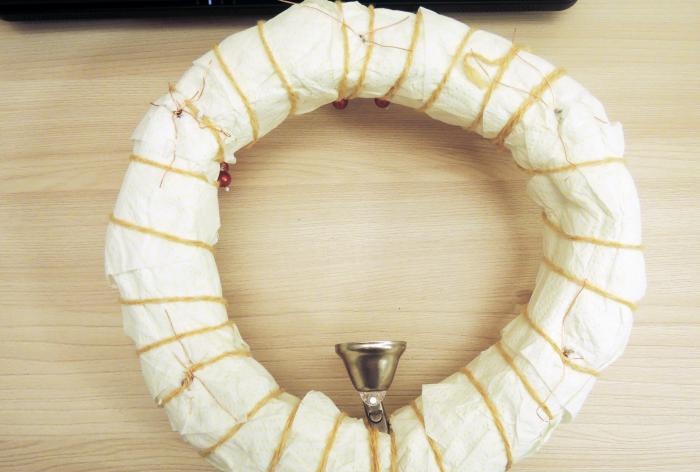
Using the same sharp object, I create holes, thread the berries through, and fix them on the wrong side.
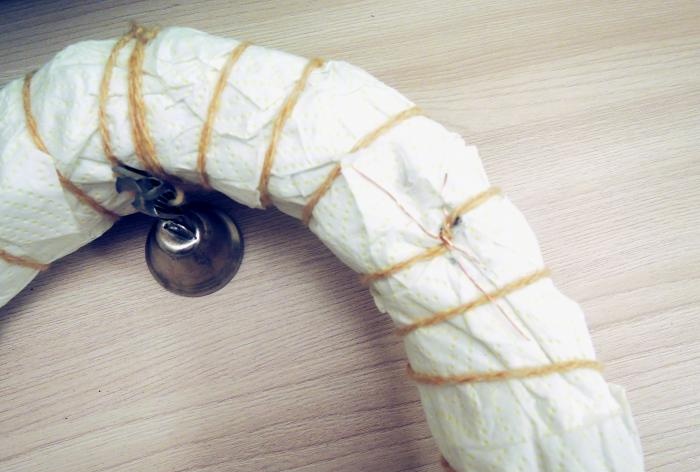
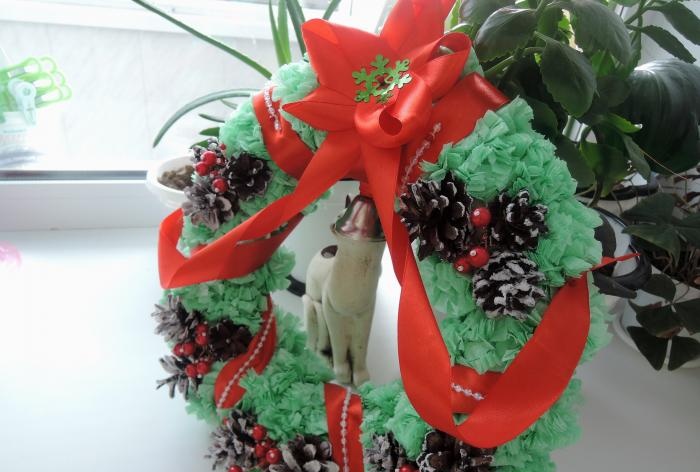
Here's what I got!
And of course, on the reverse side.
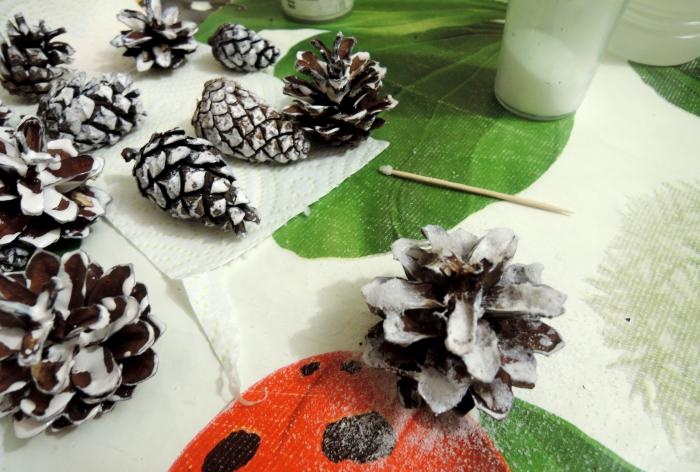
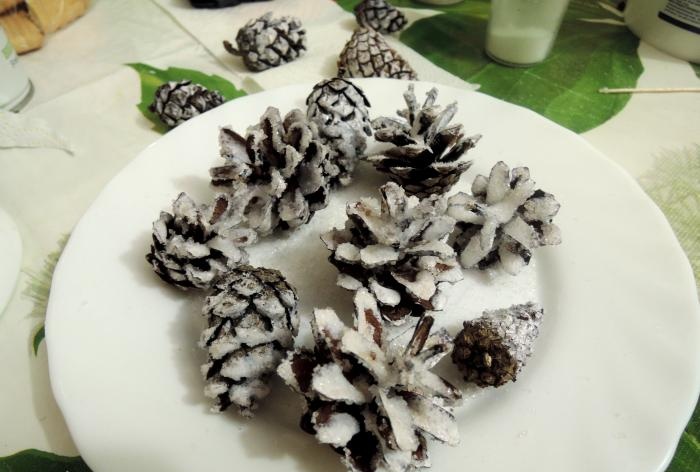
I decorate the cones as follows: coat them with PVA glue, sprinkle with sugar and salt, and let them dry thoroughly.
It's time for magic! Decorating our wreath. I glue cones around the berries.
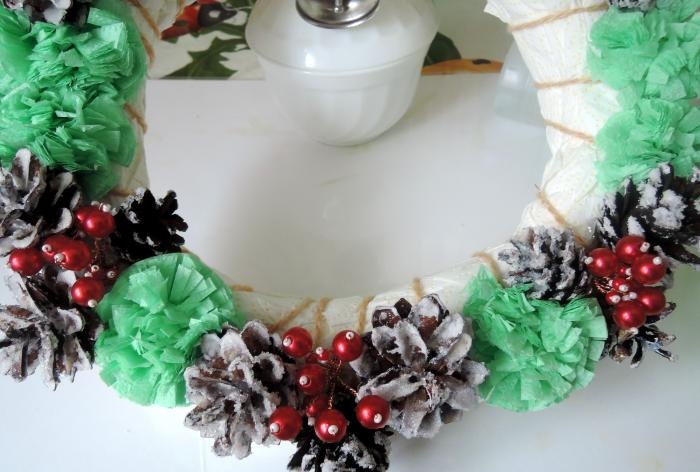
Next, I begin to fill the remaining white spaces with pompoms.
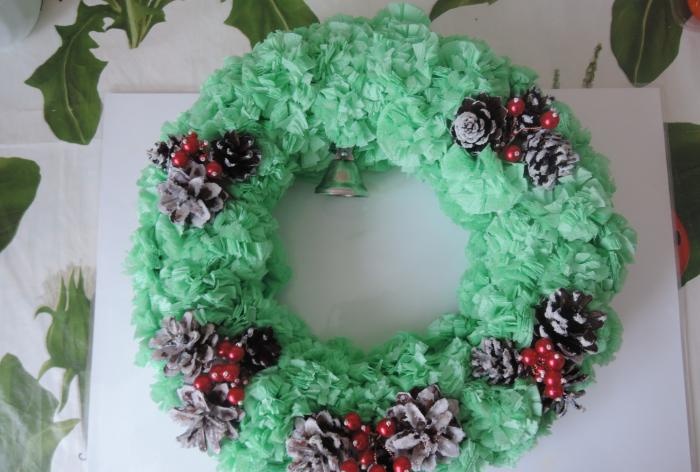
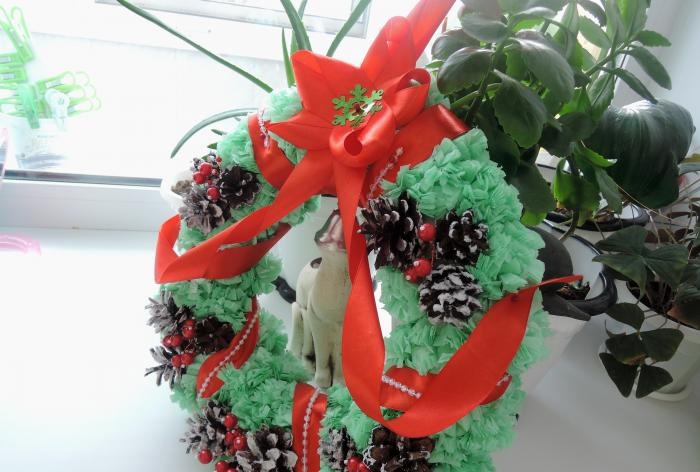
This is how beautiful it turned out!
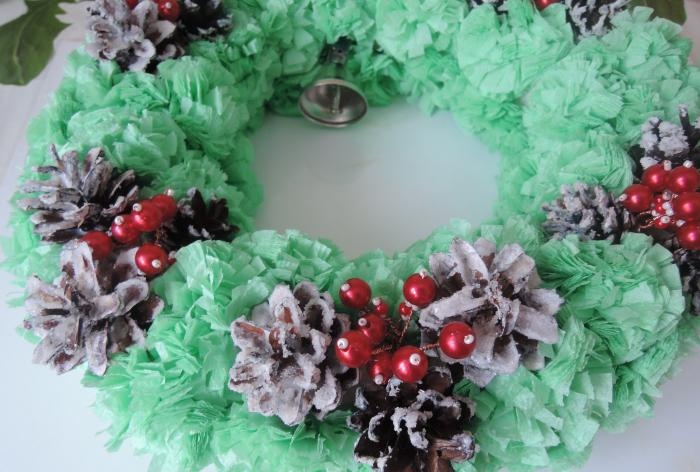
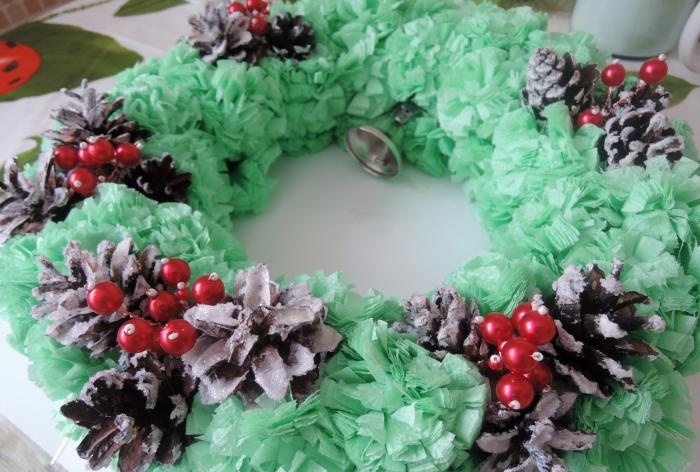
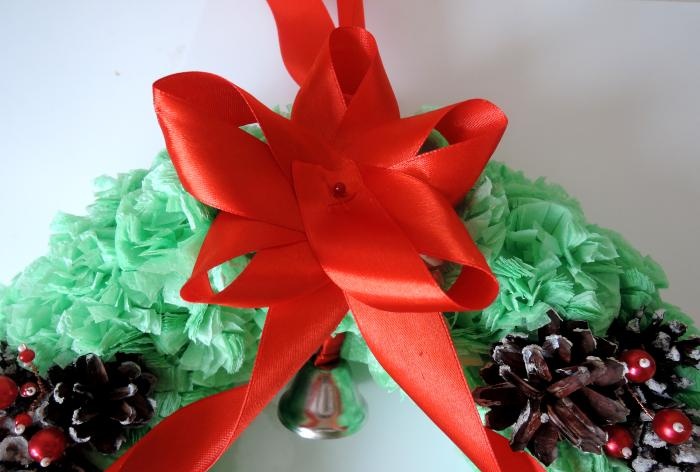
Now it's a matter of small things. I decorate the wreath with a large red bow; you can buy it in the store or make it yourself. I make a large satin ribbon loop to hang the ornament.
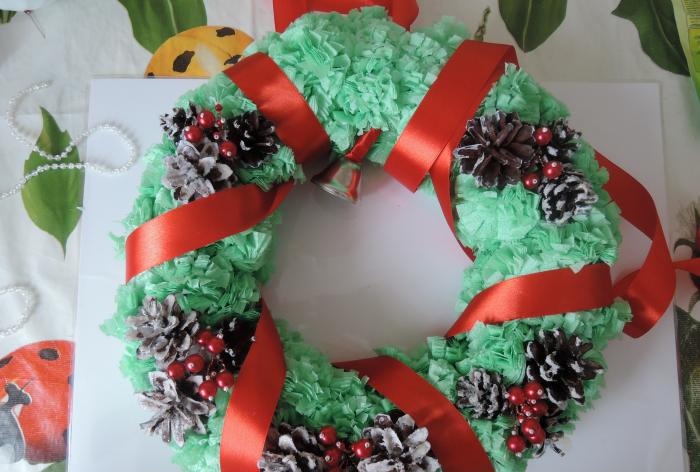
I decorate the wreath with ribbon and beads around the perimeter.
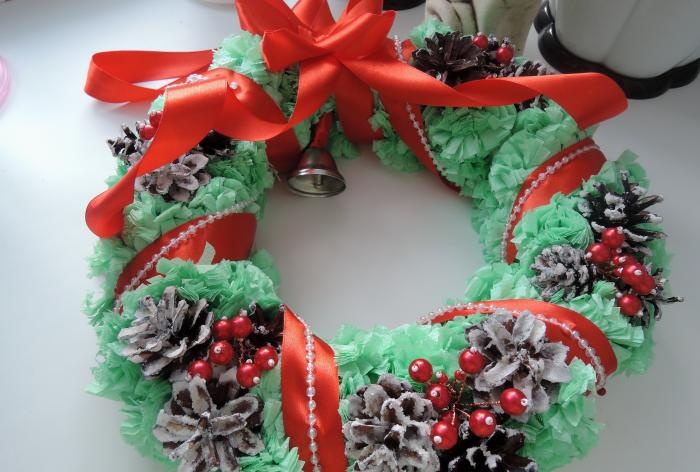
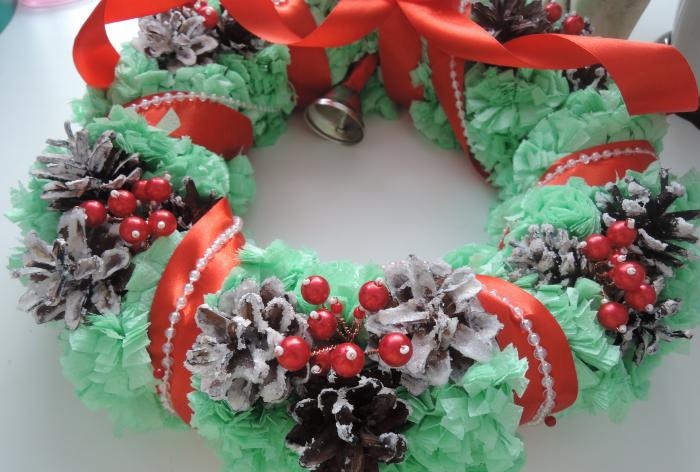
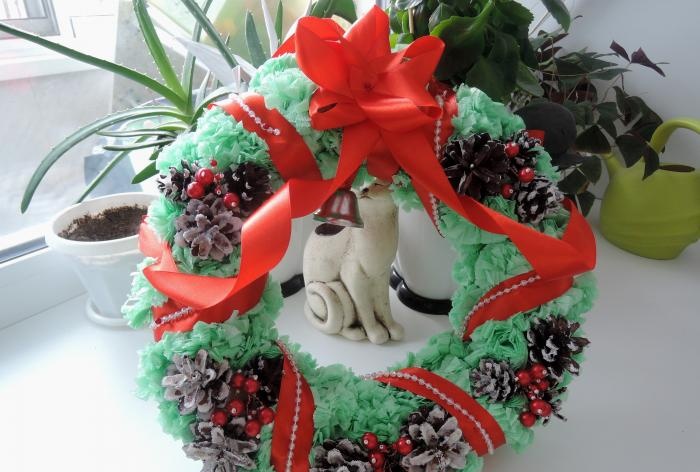
Finally, I decorate with a decorative snowflake.
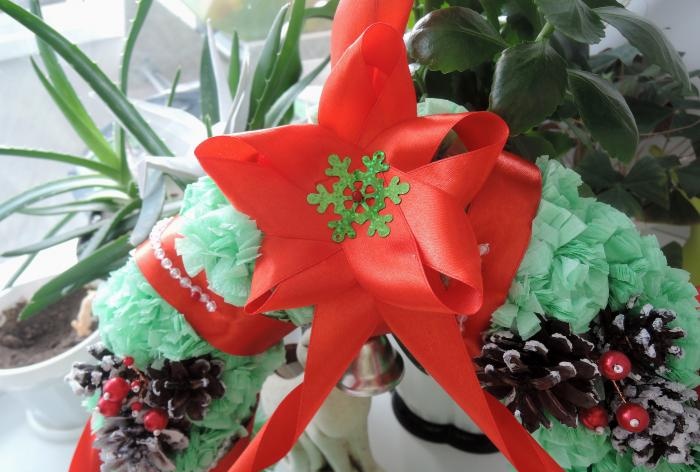
This is such a magical decoration I got! To be honest, I can’t take my eyes off it! A Christmas wreath can be made from anything, for example, from pine cones, old magazines, fir branches and even pasta.
So, I prepared the following basic materials: newspapers, glue, scissors, stapler, napkins, pine cones, large and small beads, beads, wire, paper towels (soft toilet paper will do), strong thread, PVA glue, tape, sugar and salt , for additional decor I took a red satin ribbon, a bell, decorative snowflakes, and in general, such a wreath can be decorated with any materials to your taste. The first thing I do is create the base for the wreath using newspapers. I twist several sheets together, then connect them together with tape. This way I form a ring. I wrap the workpiece tightly with toilet paper and secure it with thread.

To imitate Christmas tree branches, I use pom-poms made from napkins. I fold the napkin in half, then fold it again.


Using a pre-prepared template, I cut out a circle.


I fasten the resulting workpiece with a stapler.

I make cuts towards the center.

Forming a pompom.

Next, I create berries from large and small beads. To do this, I take a wire (about 10 cm), put beads on it, then a bead, fix the end of the wire, threading it through the bead. I put on the white bead again, twisting the ends of the wire together, as shown in the photo.


I prepare about 15-20 pieces.


Next, I divide the workpiece into 6 parts and make a hole with a sharp object.


I tie the bell to a thread, thread it with a hook, and fix it.


According to my idea, the berries should peek out from the cones, approximately as in the photo. I connect the bead blanks together (3 berries each).


Using the same sharp object, I create holes, thread the berries through, and fix them on the wrong side.


Here's what I got!

And of course, on the reverse side.

I decorate the cones as follows: coat them with PVA glue, sprinkle with sugar and salt, and let them dry thoroughly.


It's time for magic! Decorating our wreath. I glue cones around the berries.

Next, I begin to fill the remaining white spaces with pompoms.

This is how beautiful it turned out!


Now it's a matter of small things. I decorate the wreath with a large red bow; you can buy it in the store or make it yourself. I make a large satin ribbon loop to hang the ornament.

I decorate the wreath with ribbon and beads around the perimeter.


Finally, I decorate with a decorative snowflake.

This is such a magical decoration I got! To be honest, I can’t take my eyes off it! A Christmas wreath can be made from anything, for example, from pine cones, old magazines, fir branches and even pasta.


Similar master classes
Particularly interesting
Comments (0)

