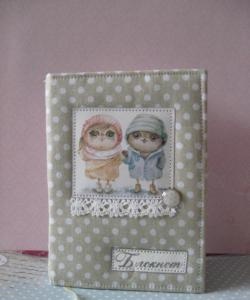
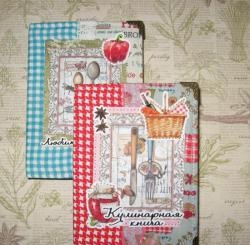
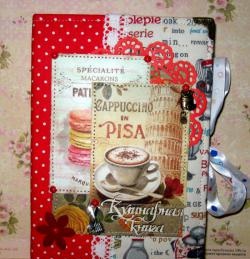
Beautiful handmade notebook
A variety of formats, materials and designs - notebooks on store shelves can satisfy the needs of even the most selective customers. But not for handmade connoisseurs. Unique appearance, individual selection of materials, lively energy and... unsurpassed effect. All this reflects the essence of handmade goods. We invite you to plunge into the world of creativity and handicrafts in order to create a cute notebook for yourself or your loved ones.
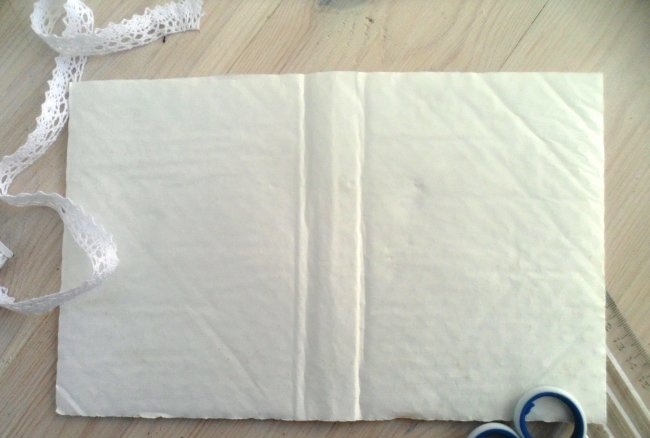
1. First, cut out the base of the cover from a sheet of cardboard. The dimensions should be slightly larger than the block. By the way, you can make the pages for the “filling” yourself from paper or use a factory-made analogue. Binding options can be easily found on the Internet if desired. As a result, the double page plus binding must be taken into account.
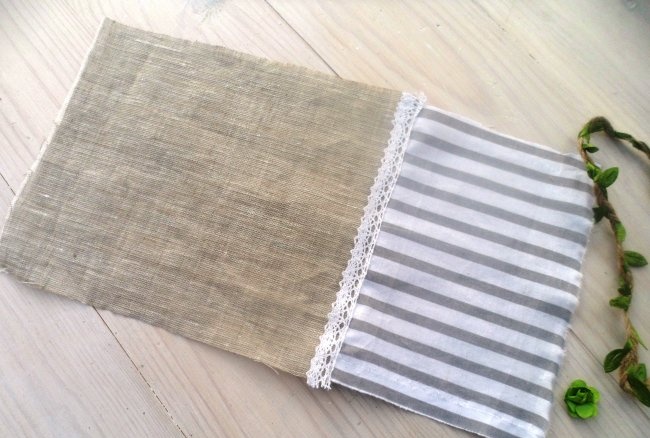
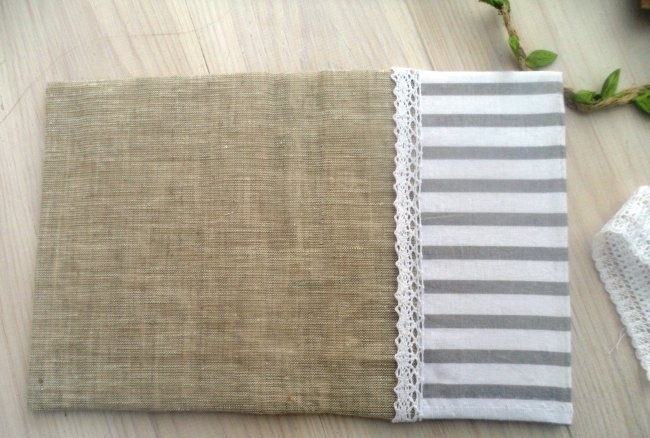
2. Put the workpiece aside and start working on the fabric.It is necessary to cut out two fragments: one is 3 times smaller than the other with an increase of 2-3 cm. We sew them on the wrong side, and decorate the connection line with braid.
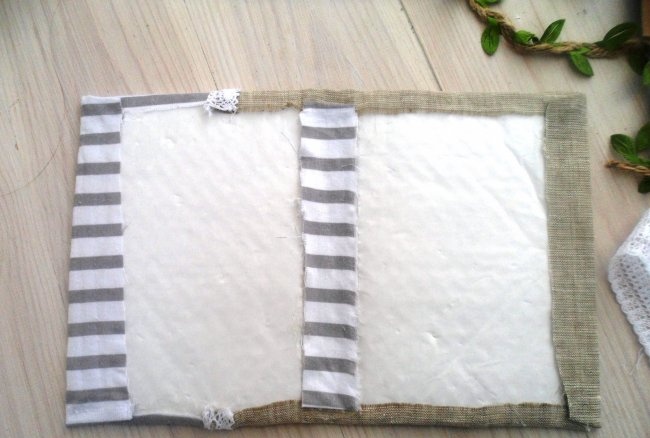
3. Now glue the prepared fabric to the cardboard base. We recommend adhering to the following order: line connecting 2 fabrics, binding, vertical borders of the notebook, all horizontals.
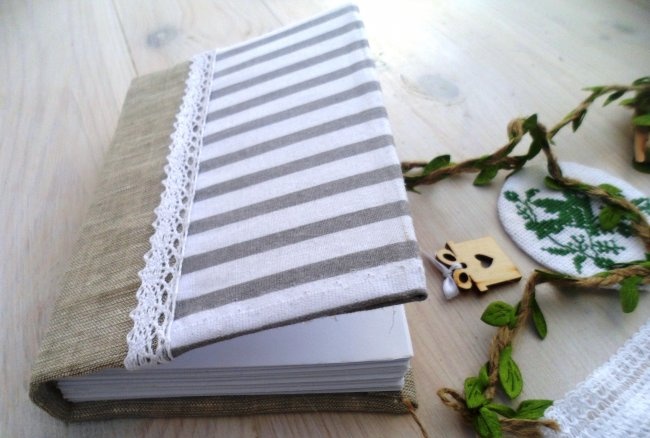
4. Connect the block to the cover. The first and last pages will serve as endpapers. You just need to attach them to the inside of our base using the same hot glue.
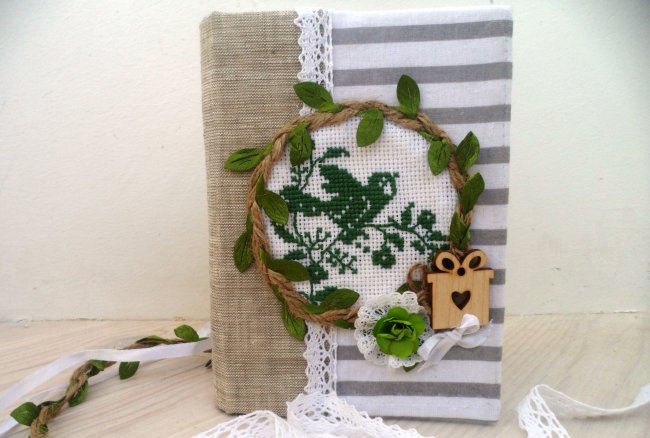
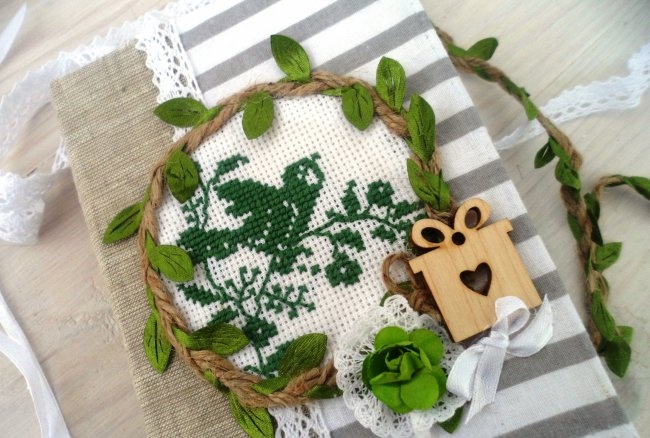
5. Turn on your imagination and decorate the still faceless notebook. The embroidery can be framed with rope and complemented with small decor. However, this stage involves an unlimited number of design options.
Create and enjoy the result!
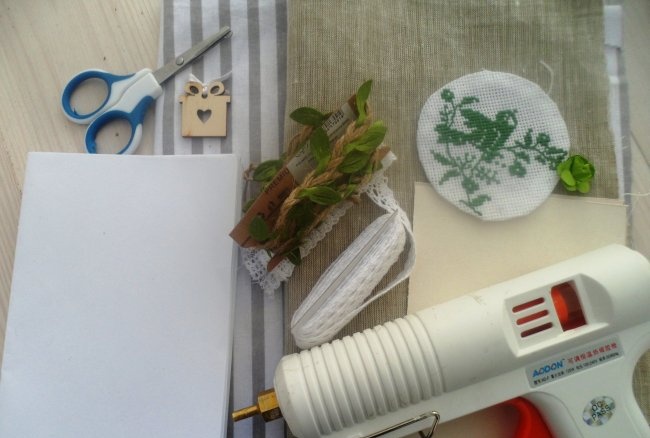
Materials and tools:
- –2 types of fabric,
- – braid, decorative rope,
- – embroidery,
- – cardboard, sheet block,
- – miniature decorations (flowers, wooden die-cuts, chipboards),
- – glue gun or instant crystal,
- – scissors, needle and thread,
- - Ruler and pencil.
Stages of work:
1. First, cut out the base of the cover from a sheet of cardboard. The dimensions should be slightly larger than the block. By the way, you can make the pages for the “filling” yourself from paper or use a factory-made analogue. Binding options can be easily found on the Internet if desired. As a result, the double page plus binding must be taken into account.
2. Put the workpiece aside and start working on the fabric.It is necessary to cut out two fragments: one is 3 times smaller than the other with an increase of 2-3 cm. We sew them on the wrong side, and decorate the connection line with braid.
3. Now glue the prepared fabric to the cardboard base. We recommend adhering to the following order: line connecting 2 fabrics, binding, vertical borders of the notebook, all horizontals.
4. Connect the block to the cover. The first and last pages will serve as endpapers. You just need to attach them to the inside of our base using the same hot glue.
5. Turn on your imagination and decorate the still faceless notebook. The embroidery can be framed with rope and complemented with small decor. However, this stage involves an unlimited number of design options.
Create and enjoy the result!
Similar master classes
Particularly interesting
Comments (0)

