DIY file cutter
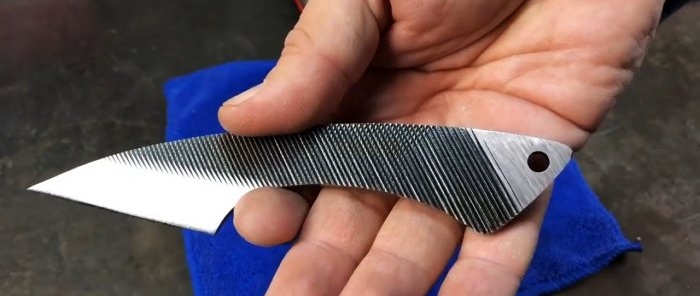
A file, especially an old Soviet one, is made of hard steel, so if you turn it into an excellent cutter, the blade will hold an edge well. The whole problem is that, due to its hardness, the file is difficult to process, so if you do not know some technical aspects, then such a project will take a lot of time and abrasive materials. Let's look at how to make a file cutter correctly and quickly.
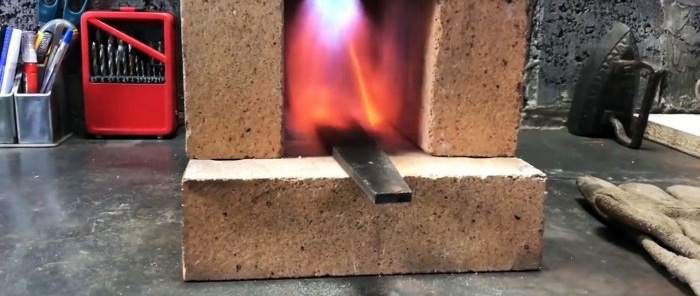
The widest part of the file is at the shank, so it is best to use this. At the same time, the shank is cut off, and the file is placed in the forge, where it is heated red-hot and left to cool in it.
This will allow the metal to be released, changing its internal structure, making it softer for processing.
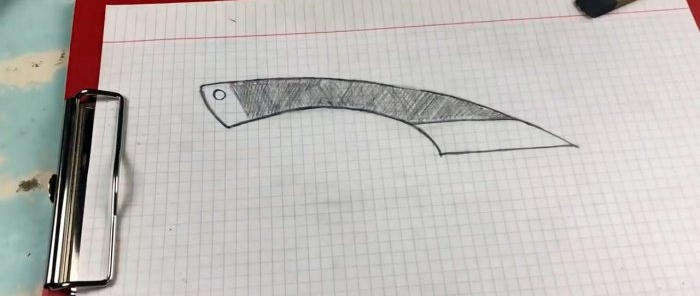
A full-scale sketch of the blade is drawn on a piece of paper and cut out.
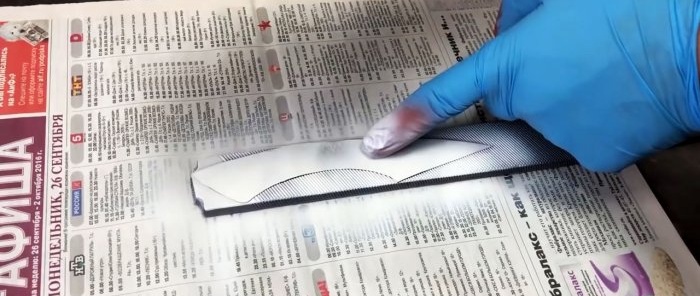
The resulting template is applied to a cooled file and filled with aerosol paint along the contour.This allows you to achieve precise transfer of contours to the workpiece, since a regular marker spreads when traced along the notches.
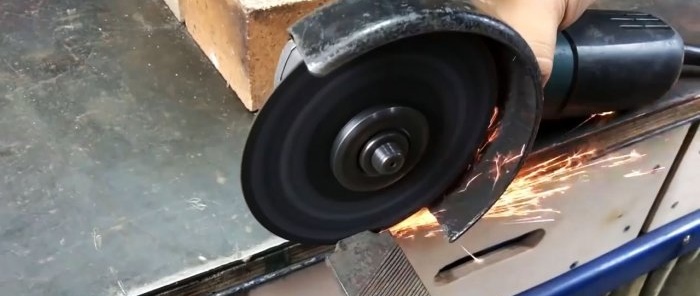
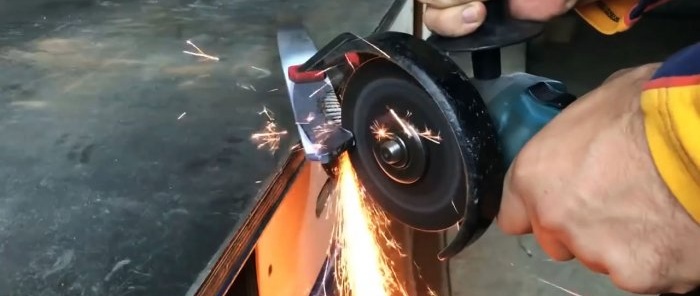
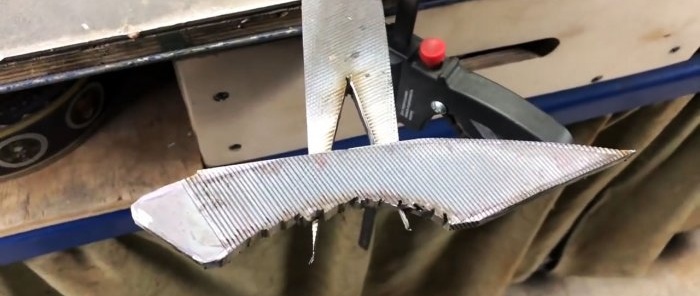
Next, the outlined blade is cut from a file using a grinder.
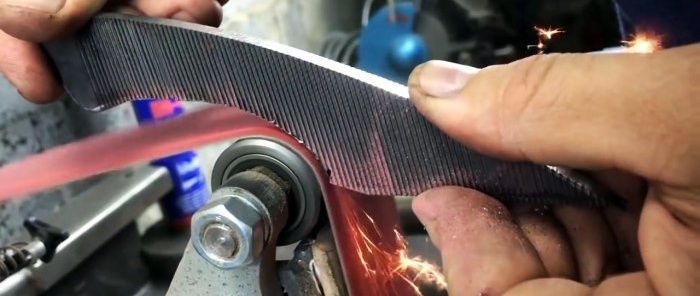
The rough workpiece is then processed on a belt sander.
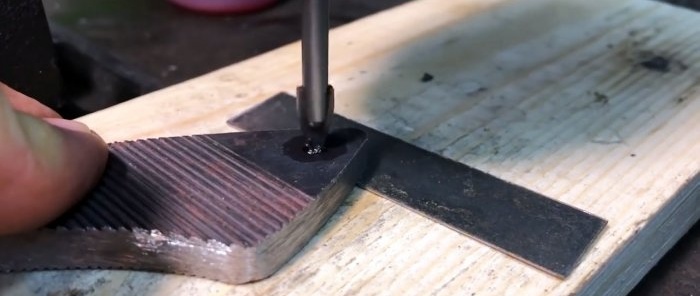
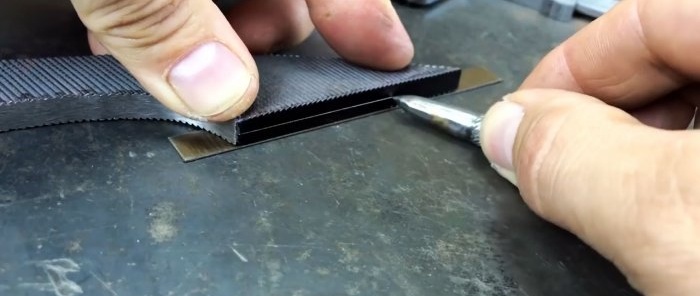
If holes are planned on the cutter, then they need to be drilled while it is not yet sharp and hardened. Next, the edge of the blade, where the blade should be, is completely sketched out with a marker. On the resulting background, you need to scratch a central line along which the descents will be drawn.
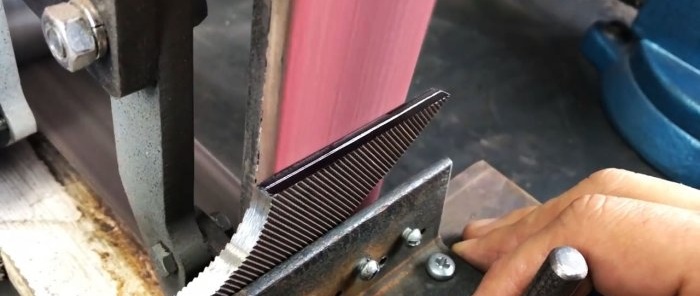
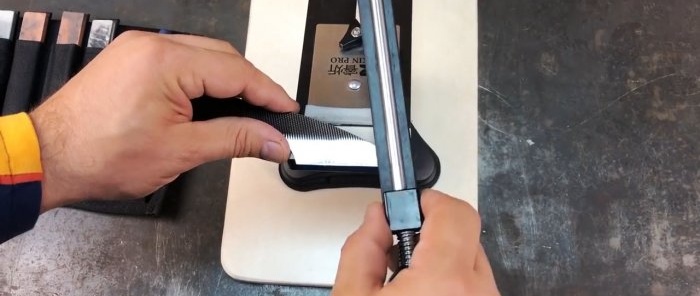
The slopes of the blade are ground on a belt grinder by eye or using a specialized device, which will allow you to accurately maintain the required angle.
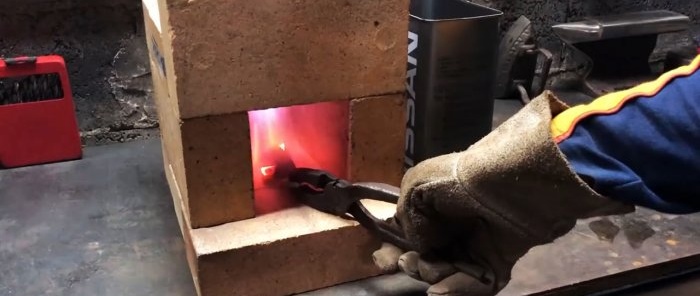
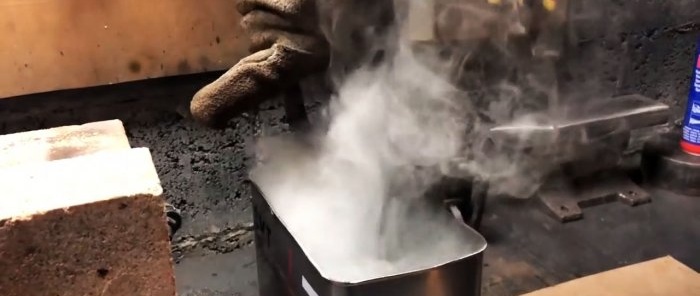
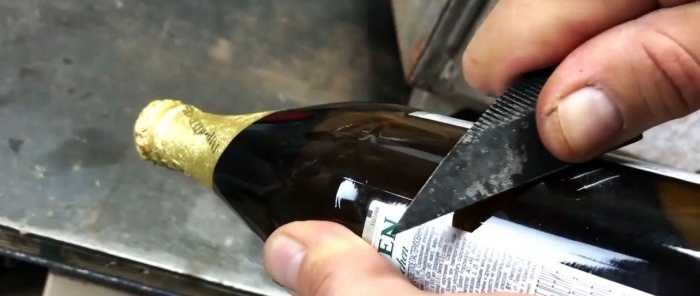
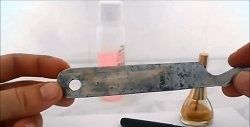
After the descents, you need to do hardening to restore the hardness of the metal. To do this, the cutter is heated in a forge until it glows light yellow and the cutting part is dipped into oil. To check the tempering, you can scratch the glass on the bottle.
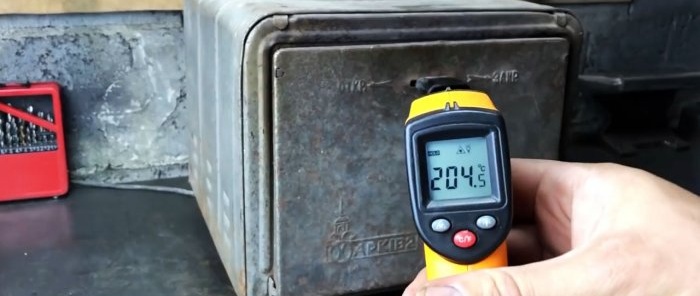
At this stage the blade is hard but brittle. To stabilize the steel, you need to release it slightly. To do this, the blade is placed in an electric oven preheated to 200 degrees Celsius for 1.5 hours. If the cutter shaft is thinner, you can heat it for 40-60 minutes.
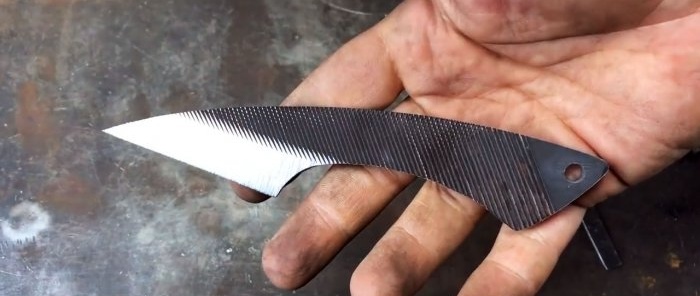
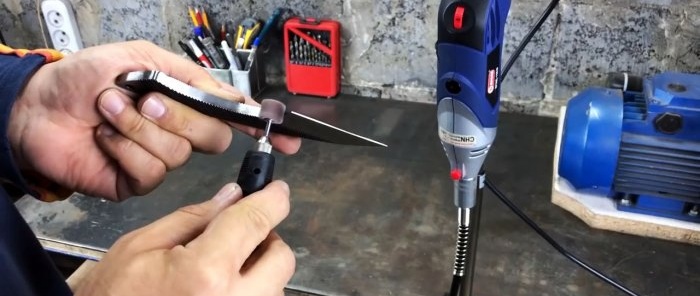
After tempering, the cutter is ground and sharpened, first with a coarse abrasive, and then with a fine one, until it cuts the paper like a blade. This technology makes it easier to process and achieve the required level of blade hardness.
If you just grind off the file right away, the cutting edge will be soft. The fact is that files are surface hardened, and the metal inside them is less hard. It is this that forms the blade after grinding down the slopes. If you first let everything go and then harden it, focusing the cooling in the oil on the blade, this problem is completely solved.
What you will need:
- bugle;
- hardening oil;
- electric oven;
- Bulgarian;
- belt sander;
- drill or drilling machine;
- sketch of a knife on paper;
- marker;
- spray paint or primer.
Blade making
The widest part of the file is at the shank, so it is best to use this. At the same time, the shank is cut off, and the file is placed in the forge, where it is heated red-hot and left to cool in it.
This will allow the metal to be released, changing its internal structure, making it softer for processing.
A full-scale sketch of the blade is drawn on a piece of paper and cut out.
The resulting template is applied to a cooled file and filled with aerosol paint along the contour.This allows you to achieve precise transfer of contours to the workpiece, since a regular marker spreads when traced along the notches.
Next, the outlined blade is cut from a file using a grinder.
The rough workpiece is then processed on a belt sander.
If holes are planned on the cutter, then they need to be drilled while it is not yet sharp and hardened. Next, the edge of the blade, where the blade should be, is completely sketched out with a marker. On the resulting background, you need to scratch a central line along which the descents will be drawn.
The slopes of the blade are ground on a belt grinder by eye or using a specialized device, which will allow you to accurately maintain the required angle.
After the descents, you need to do hardening to restore the hardness of the metal. To do this, the cutter is heated in a forge until it glows light yellow and the cutting part is dipped into oil. To check the tempering, you can scratch the glass on the bottle.
At this stage the blade is hard but brittle. To stabilize the steel, you need to release it slightly. To do this, the blade is placed in an electric oven preheated to 200 degrees Celsius for 1.5 hours. If the cutter shaft is thinner, you can heat it for 40-60 minutes.
After tempering, the cutter is ground and sharpened, first with a coarse abrasive, and then with a fine one, until it cuts the paper like a blade. This technology makes it easier to process and achieve the required level of blade hardness.
If you just grind off the file right away, the cutting edge will be soft. The fact is that files are surface hardened, and the metal inside them is less hard. It is this that forms the blade after grinding down the slopes. If you first let everything go and then harden it, focusing the cooling in the oil on the blade, this problem is completely solved.
Watch the video
Similar master classes
Particularly interesting
Comments (1)

