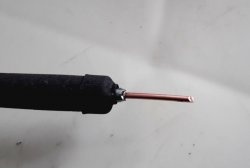
How to tin a soldering iron
Almost everyone has the most common soldering iron with a copper tip. This simple and useful tool is needed not only by specialists involved in radio electronics. It is also often needed on the farm, for example, to solder two wires or to repair some simple household appliance with your own hands.
However, not all novice users succeed in even the simplest operation - tinning a soldering iron.
Why tin the soldering iron?
The answer to this question is that during the soldering process it becomes necessary to pick up solder (an alloy of lead and tin) with a heated tip, which is then transferred to the joint. But if it is not tinned, then this procedure becomes impossible. The solder does not stick to the soldering iron, so it is impossible to take the required amount of alloy and transfer it to the soldering site.
Why is this happening? When a heated tip comes into contact with solder, the latter melts and sticks to the surface. But only when there is a layer of tin on it, which is what is called a “tinned soldering iron.”Accordingly, if it is stained with rosin, flux or plastic, the specified interaction does not occur. The solder simply melts, drops of metal are formed, but the whole thing does not stick to the tip.
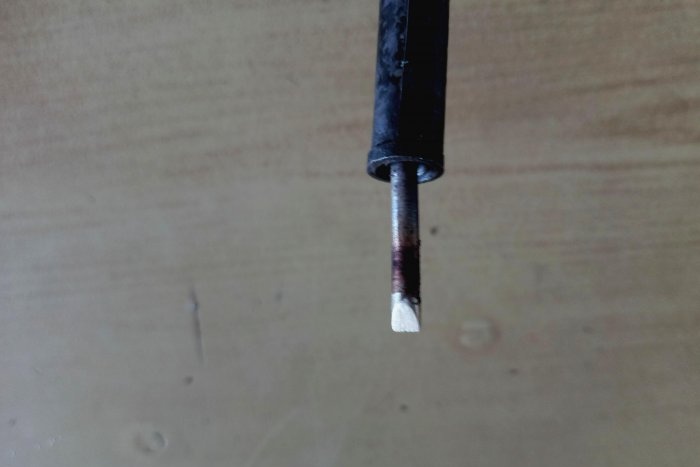
A properly tinned soldering iron is a tool whose working part is covered with a thin layer of solder. Tin readily sticks to such a surface, and it can be easily transferred to a conductor, board, radio component, and so on.
Soldering iron tinning materials
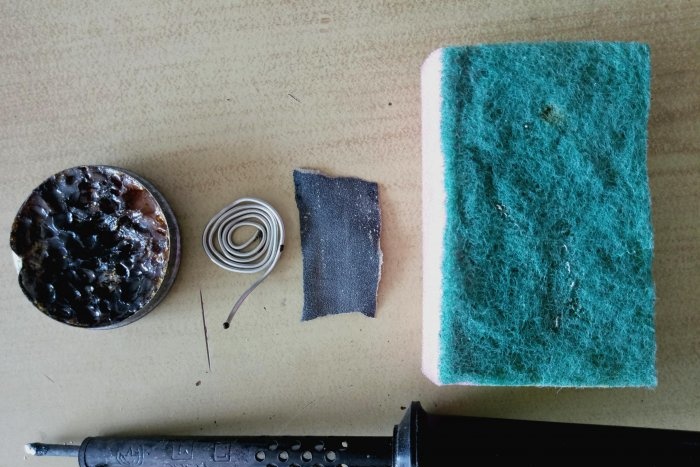
To properly tin a soldering iron with a copper tip, you will need a minimum set of materials:
- pine rosin;
- solder;
- sandpaper;
- sponge for washing dishes.
The result will be much better if you listen to the recommendations outlined below.
Do not use rosin that has expired. It is also better not to take anything that has become darkened or contaminated with foreign substances. As a rule, standard rosin is suitable for use within two years from the date of manufacture.
It is recommended to buy solder that has the lightest possible shade. This means that the alloy contains more tin and, accordingly, less lead. This solder melts better and is easier for a novice user to handle.
The sandpaper should be such that after its use there are no deep grooves left on the copper tip. For the same reason, you should never use sharpening stones for cleaning. Excellent results are achieved using P150 grit sandpaper.
A sponge for washing dishes must have a hard pad, since this is the side that is used for work. It can be replaced with almost any felt materials. There are also special sponges for cleaning the soldering iron.
The process of tinning a soldering iron with a copper tip
It is immediately worth noting that using the method described below you can only tin soldering irons with a copper tip. If you treat a ceramic tip with sandpaper, it will irrevocably lose its properties, and all you have to do is throw away the expensive attachment.
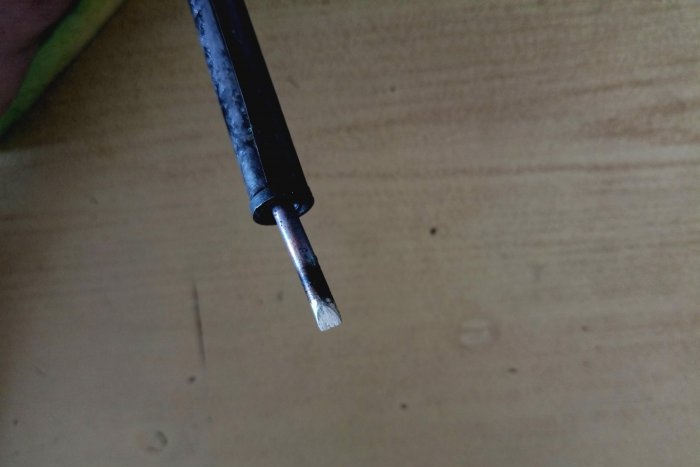
If frozen tin remains on the working surface of the tip, it can be removed as follows. The soldering iron must first be warmed up. Then the tip is dipped in rosin and cleaned on stranded copper wire dipped in flux.
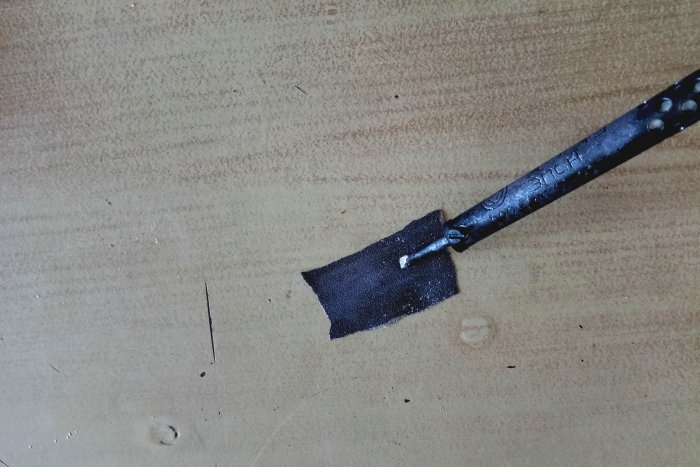
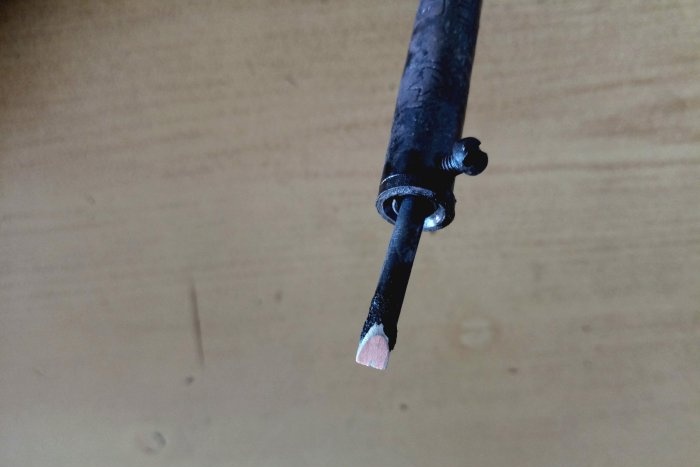
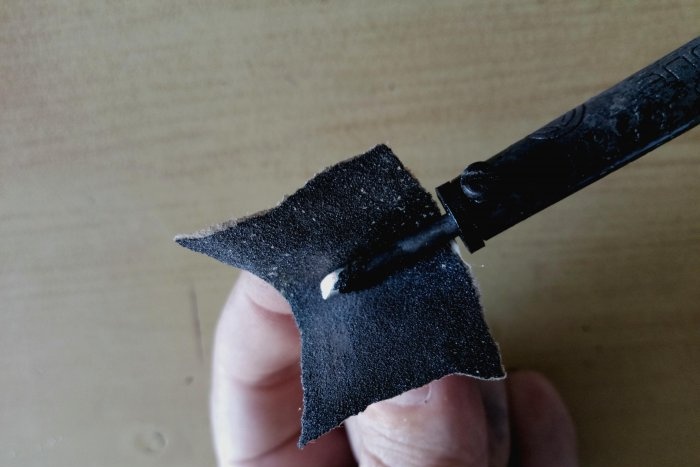
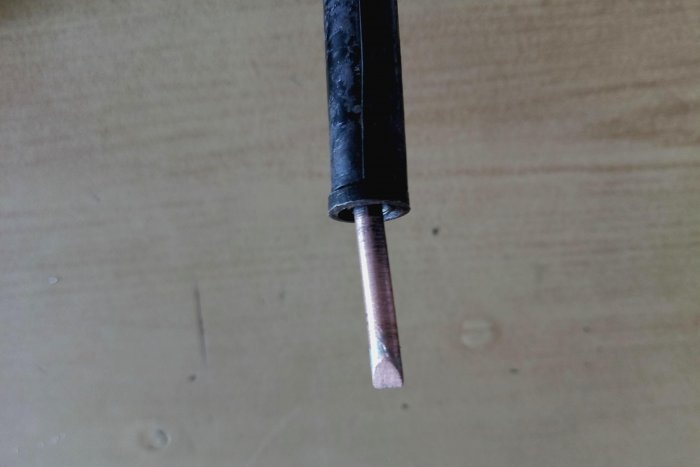
Next, the working part of the tool must be cleaned of carbon deposits. This is done using sandpaper. There is no need to be particularly zealous, since copper is a fairly soft metal.
Particular attention is paid to the part of the tip that is used for soldering.
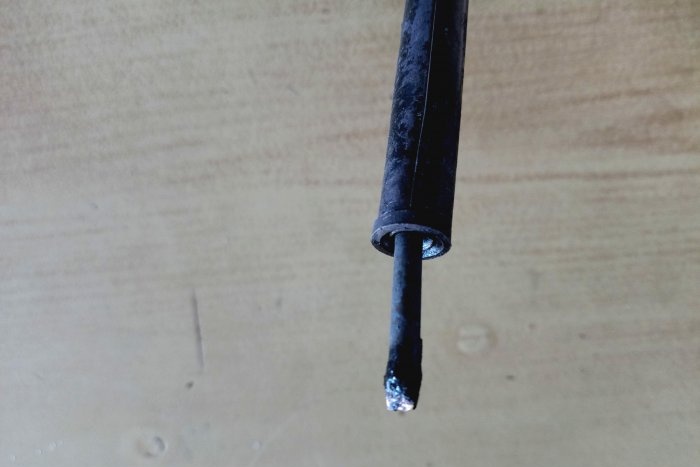
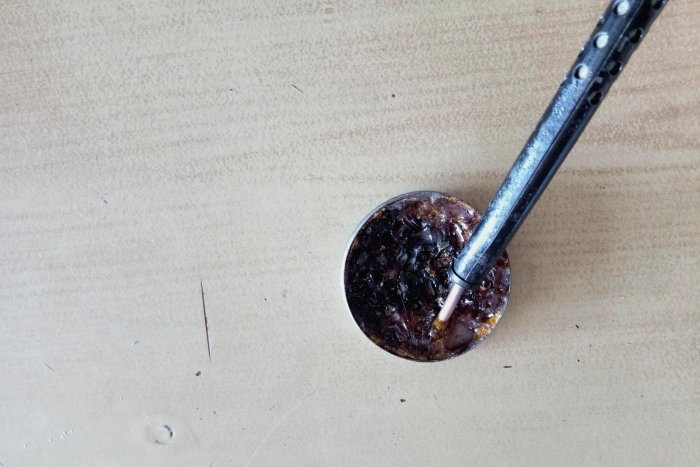
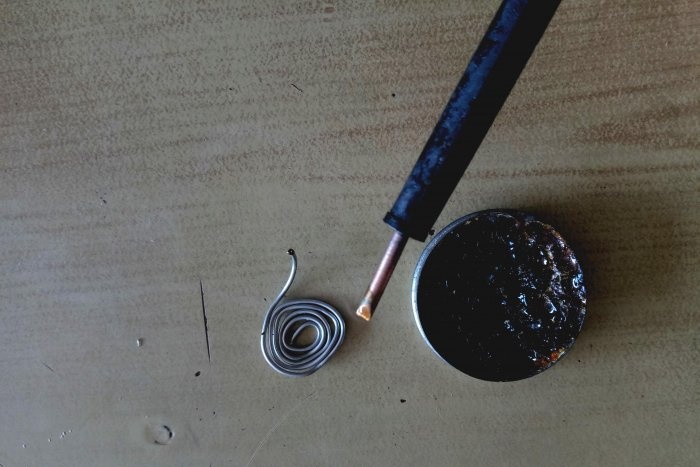
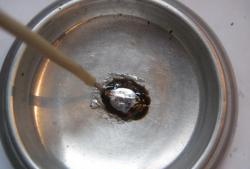
Immediately after cleaning, the soldering iron is turned on and warmed up to operating temperature. Since copper oxidizes very quickly, it is recommended to dip the tip into rosin during the heating process. This limits the access of oxygen, and the surface will not become covered with oxide in a matter of seconds. At high temperatures this process accelerates significantly.
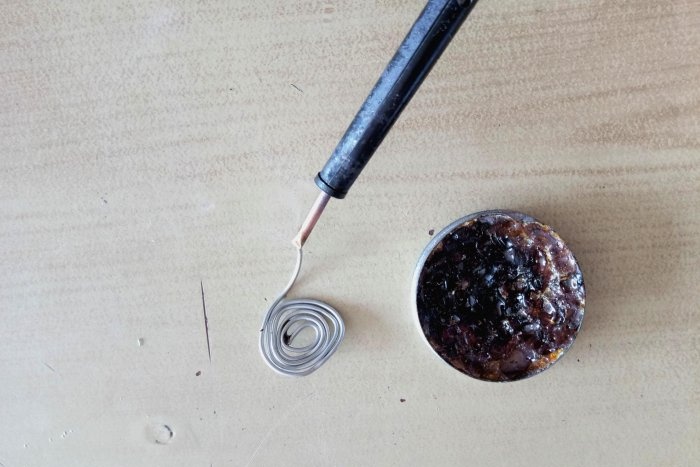
When the soldering iron is properly heated, it is removed from the rosin and brought to the solder. Having collected a sufficient amount of alloy (tin should stick perfectly to the cleaned surface), the tip must be immersed in rosin again several times. Due to the high surface tension, the tin will spread evenly over the working surface of the soldering iron.
You can improve the result by using cardboard pre-coated with rosin. If you move a tip with solder over such a surface, the tin will be better distributed and will form a thinner layer.
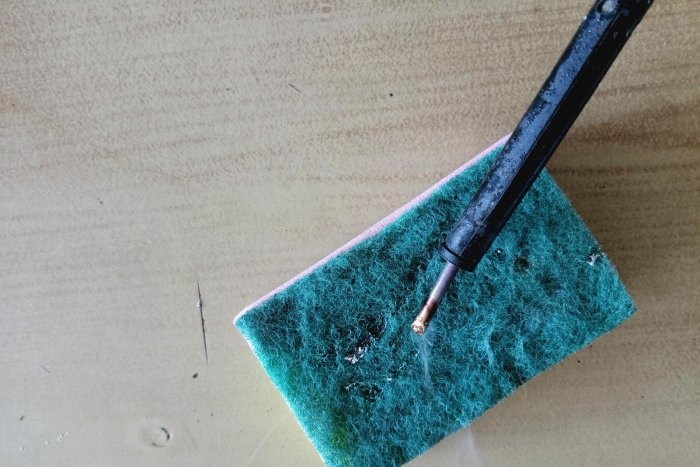
Next, you need to clean the soldering iron from excess molten metal.To do this, you need to run the tinned tip over the damp sponge several times. At this stage, you should be careful not to re-stain the instrument. Immediately after cleaning, the tip is dipped into rosin to protect the applied coating.
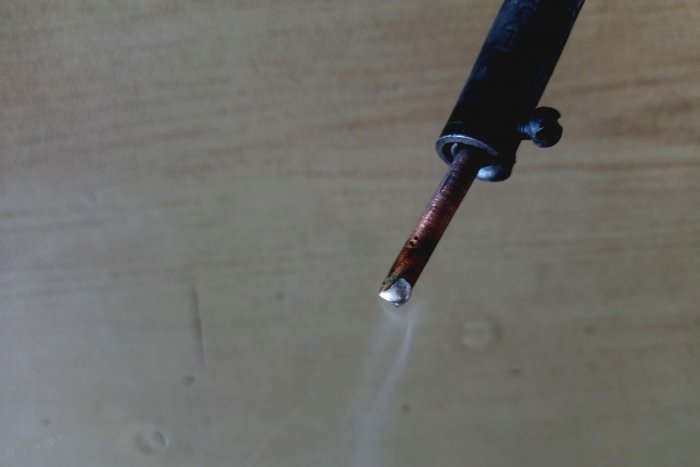
The result of the above procedure should be a perfectly tinned soldering iron with the thinnest layer of tin on the working surface. If everything is done correctly, the subsequent soldering process will be simple even for a novice user.
Similar master classes
Particularly interesting


