Removing the ball from the foam gun
Hi all! Today we’ll talk about a way to eliminate a problem that often arises when using polyurethane foam guns. First, briefly about the purpose and design of the pistol.
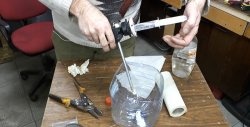
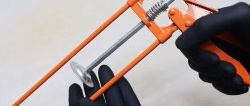
The gun is designed to deliver a special composition (foam) to hard-to-reach places - assembly joints, cracks and openings that need to be sealed. To do this, the gun has a thin, elongated barrel, the end of which is equipped with a nozzle and a shut-off valve. The valve is controlled by a spring-loaded rod, which moves when the trigger is pulled.
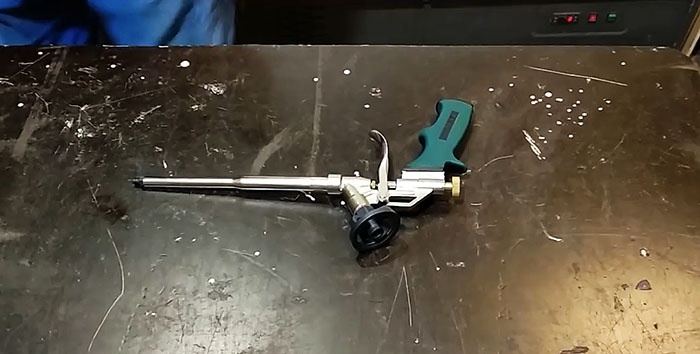
At the top of the gun there is a special adapter (threaded fitting) for connecting a cylinder with a foam composition under excess pressure. Once the cylinder is attached to the adapter, the pressure is applied to the entire inside of the gun barrel. When you press the trigger, the nozzle valve opens and the foam under its own pressure is delivered to the desired location.
Inside the adapter there is a ball spring valve, which is the subject of today's discussion. It opens under the influence of foam pressure and operates in one direction.When removing the cylinder from the gun, the ball is pressed against the valve hole by a spring and prevents the back ejection of residual foam through the adapter, remaining in the barrel under pressure. The feature is definitely useful.
The problem is that, despite following the operating instructions and regularly cleaning the gun after finishing work, the remaining foam in the ball valve dries out, preventing the further flow of foam from the next cylinder.
The solution suggests itself - simply dismantle this auxiliary valve.
So let's get started.
To complete the work we may need:
Unscrew the removable part of the adapter to which the cylinder is attached. If this cannot be done by hand, use a wrench.
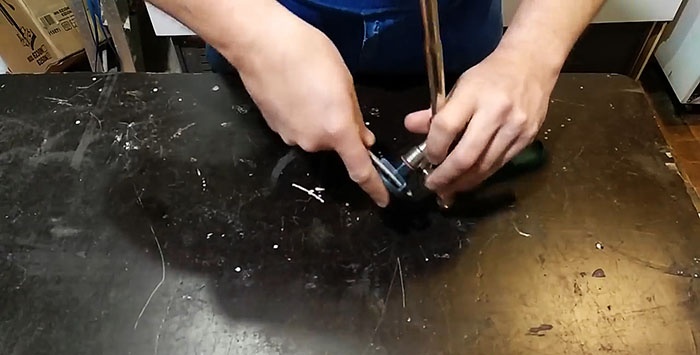
The required valve is located inside the unscrewed adapter. The valve itself is a plastic sleeve with a hole. Inside the bushing there is a ball pressed to the hole by a spring.
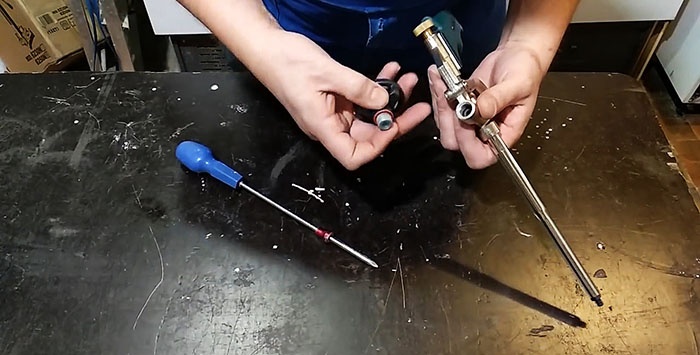
In my experience, it is usually not possible to remove the valve bushing by simply picking it up with something. Therefore, we will drill out the valve. We select a drill of a suitable diameter. The drill bit should be thinner than the hole in the adapter's metal body to avoid damaging it, but still thick enough to drill out the plastic valve.
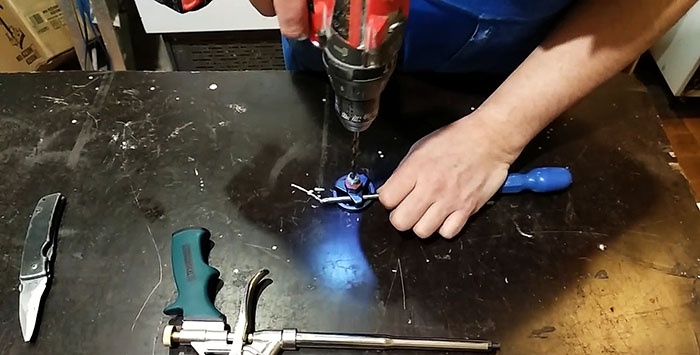
We carefully drill to a shallow depth, after which the remains of the plastic sleeve with a spring and ball are easily removed. This completes the main part of the work.
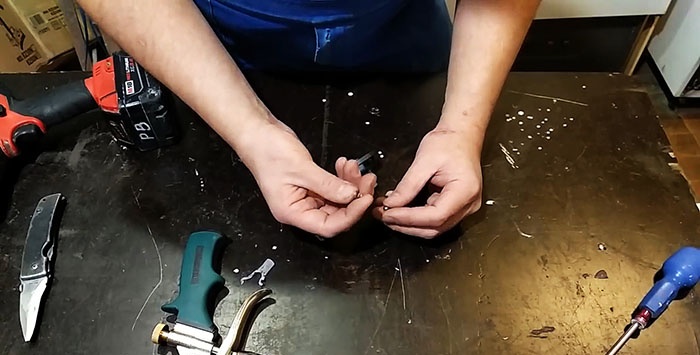
If necessary, clean the internal hole of the adapter from any remaining dried foam and screw it into place.
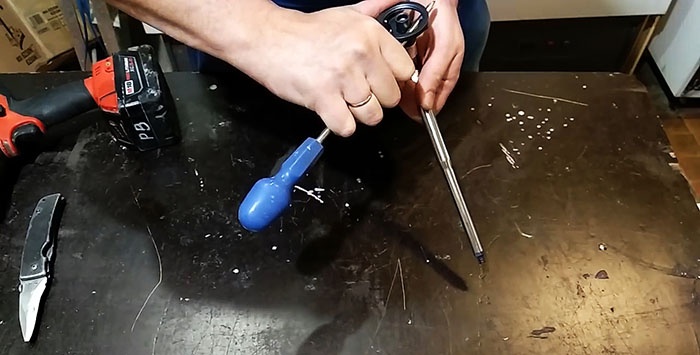
The gun is ready for use again.
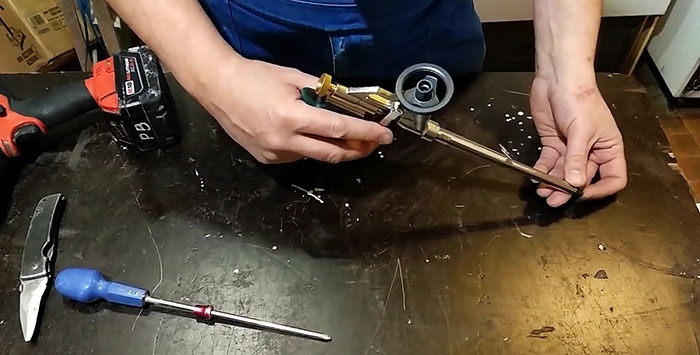
When operating the gun in this form, changing the cylinder may be accompanied by splashing of foam residue. To avoid this, when removing a cylinder (especially an underused one), you should pull the trigger at the right moment to relieve pressure in the barrel, while oriented the barrel and gun adapter in a safe direction.
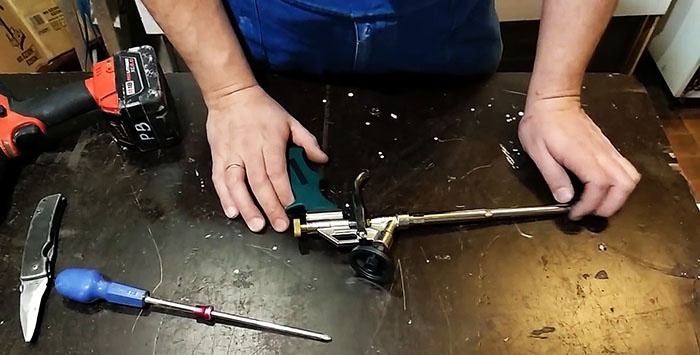
The gun is designed to deliver a special composition (foam) to hard-to-reach places - assembly joints, cracks and openings that need to be sealed. To do this, the gun has a thin, elongated barrel, the end of which is equipped with a nozzle and a shut-off valve. The valve is controlled by a spring-loaded rod, which moves when the trigger is pulled.

At the top of the gun there is a special adapter (threaded fitting) for connecting a cylinder with a foam composition under excess pressure. Once the cylinder is attached to the adapter, the pressure is applied to the entire inside of the gun barrel. When you press the trigger, the nozzle valve opens and the foam under its own pressure is delivered to the desired location.
Inside the adapter there is a ball spring valve, which is the subject of today's discussion. It opens under the influence of foam pressure and operates in one direction.When removing the cylinder from the gun, the ball is pressed against the valve hole by a spring and prevents the back ejection of residual foam through the adapter, remaining in the barrel under pressure. The feature is definitely useful.
The problem is that, despite following the operating instructions and regularly cleaning the gun after finishing work, the remaining foam in the ball valve dries out, preventing the further flow of foam from the next cylinder.
The solution suggests itself - simply dismantle this auxiliary valve.
So let's get started.
Necessary tool
To complete the work we may need:
- electric drill;
- a set of drills of different diameters;
- a screwdriver or a thin steel rod for use as a wrench.
The content of the work
Unscrew the removable part of the adapter to which the cylinder is attached. If this cannot be done by hand, use a wrench.

The required valve is located inside the unscrewed adapter. The valve itself is a plastic sleeve with a hole. Inside the bushing there is a ball pressed to the hole by a spring.

In my experience, it is usually not possible to remove the valve bushing by simply picking it up with something. Therefore, we will drill out the valve. We select a drill of a suitable diameter. The drill bit should be thinner than the hole in the adapter's metal body to avoid damaging it, but still thick enough to drill out the plastic valve.

We carefully drill to a shallow depth, after which the remains of the plastic sleeve with a spring and ball are easily removed. This completes the main part of the work.

If necessary, clean the internal hole of the adapter from any remaining dried foam and screw it into place.

The gun is ready for use again.

Warning
When operating the gun in this form, changing the cylinder may be accompanied by splashing of foam residue. To avoid this, when removing a cylinder (especially an underused one), you should pull the trigger at the right moment to relieve pressure in the barrel, while oriented the barrel and gun adapter in a safe direction.

Watch the video
Similar master classes
Particularly interesting

How to install a socket if there are short wires left

How to eliminate gaps between the chimney and slate

How to mix an ultra-reliable solution for the oven that does not give

There will be no more cracks: What to add to concrete to make it

Never buy ball valves without checking with me

New technology for floor insulation with penoplex
Comments (10)


