Half-tree cross connection
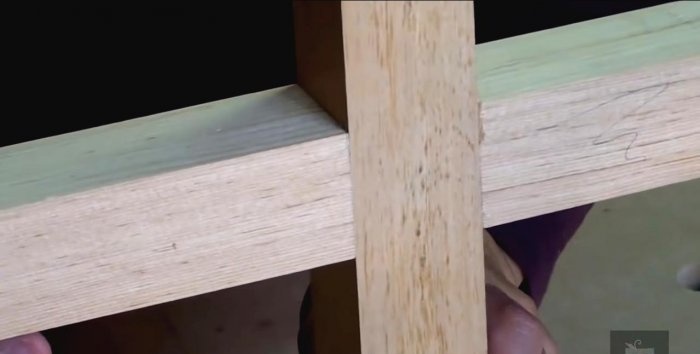
The connection of timber or boards cross-on-cross - half-wood is one of the most effective and common in the carpentry environment. Wherever it is not used: on roofing work, in production furniture and decorative objects made of solid wood, etc. Let's consider today how to make it reliable and durable.
The basic principle of this connection is the rigidity of the elements in such a way as to prevent them from being pulled out and broken out. Thanks to this, for example, the permissible loads on a prefabricated roof element are calculated. The precision of the connection ensures its integrity and durability, even in the absence of additional fastening elements - glues, dowels, nails or screws. The Japanese even have such an art - “Kigoroshi”, the meaning of which is to make the connection (not only the cross connection) as precise and accurate as possible.
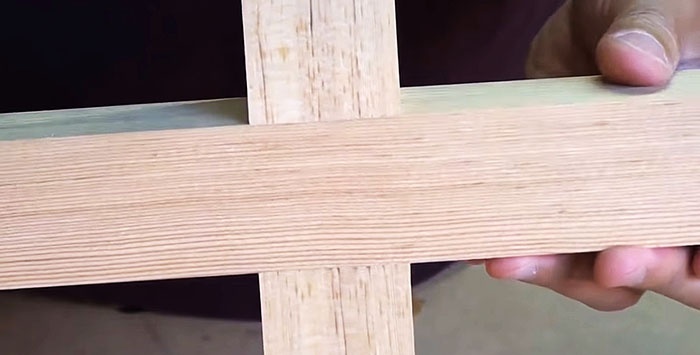
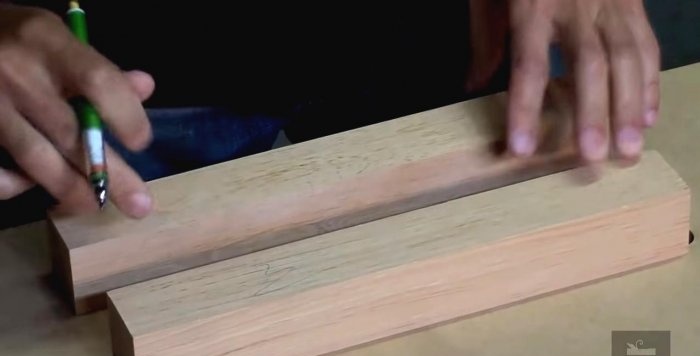
Let's say we need to make a cross for a Christmas tree, a mannequin, or some interior item. For this, we take two wooden blocks with a cross-section of 4-5 cm. We cut them to a length of about 30-50 cm. For such products, soft wood species are suitable, for example, pine, poplar or alder, which are the easiest to process.
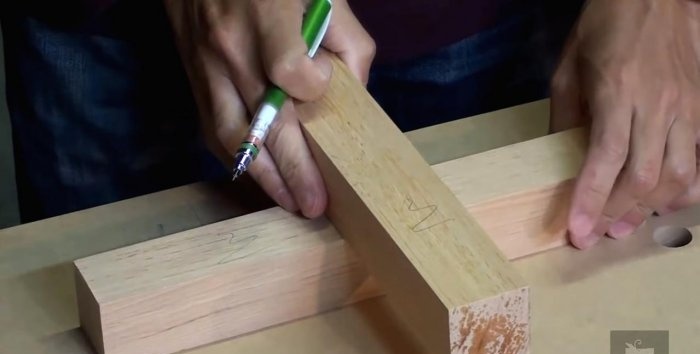
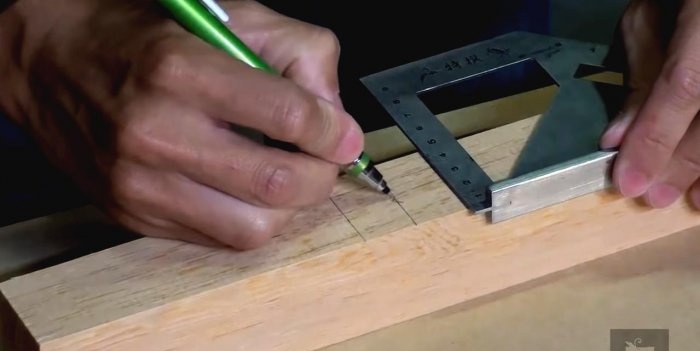
We find the middle of the first bar, and mark the dimensions of the width of the second from it. To mark the transverse lines, we use a carpenter's square with a limiting edge.
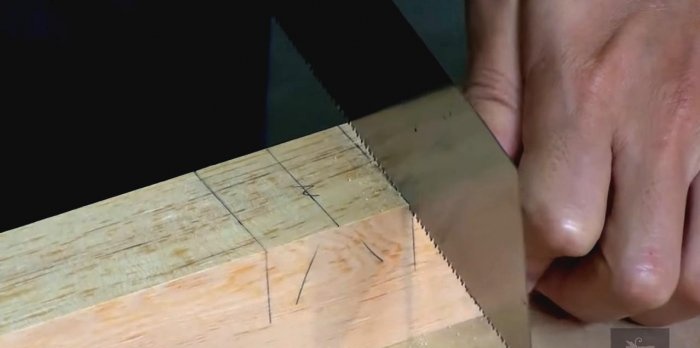
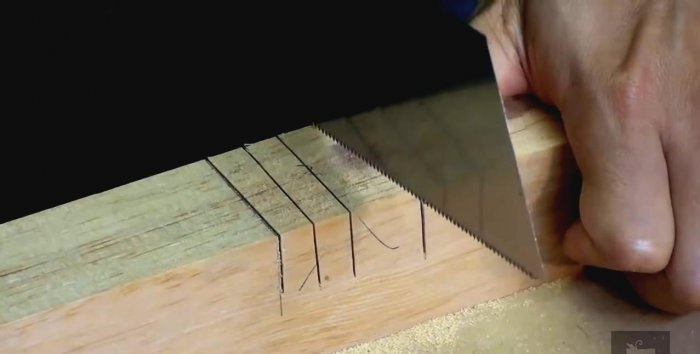
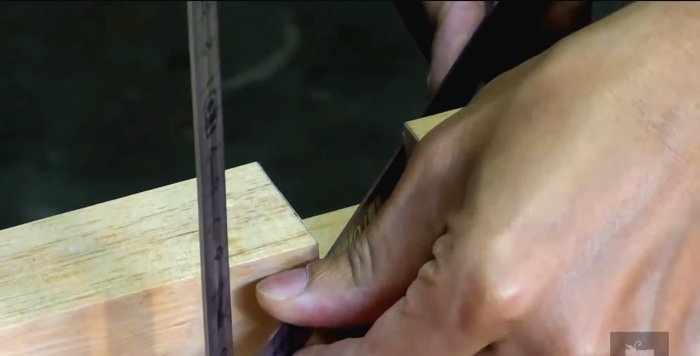
Using a hacksaw, we make cuts along the edges of the markings to the middle of the thickness of the block. We add a few more cuts to make the array easier to operate. The same must be done on the second block, only in a mirror image.
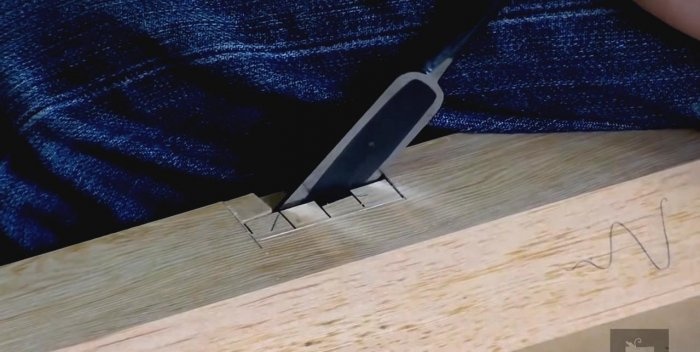
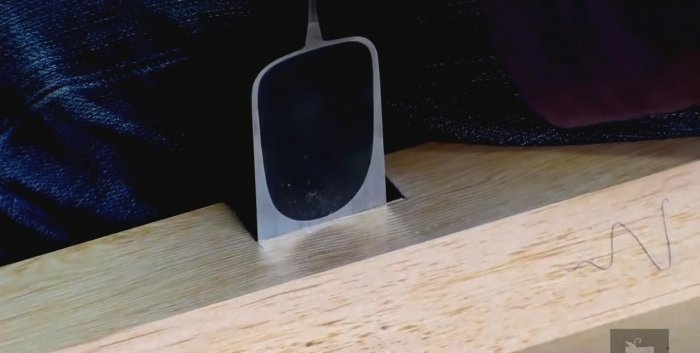
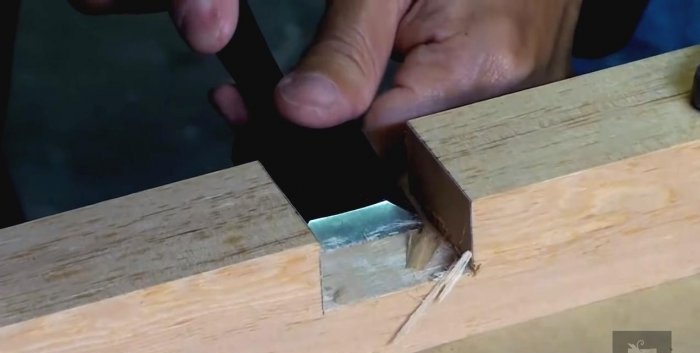
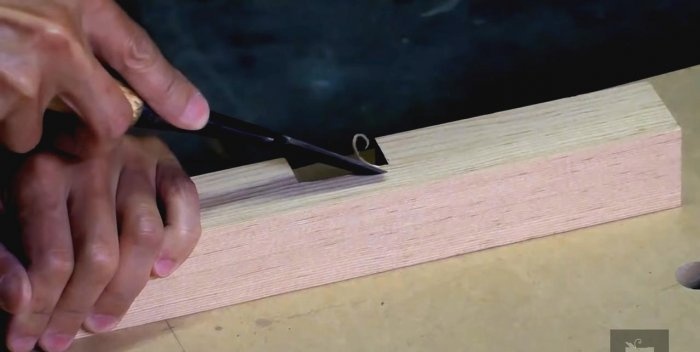
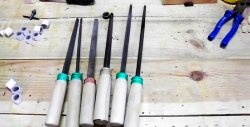
Chisels of varying widths are used here as cutting tools. With narrower ones, you can cut off the main part by roughly cleaning the surface. But use a wider chisel to clean the cut plane. For chopping, it is convenient to use a mallet with a rubber or wooden striker.
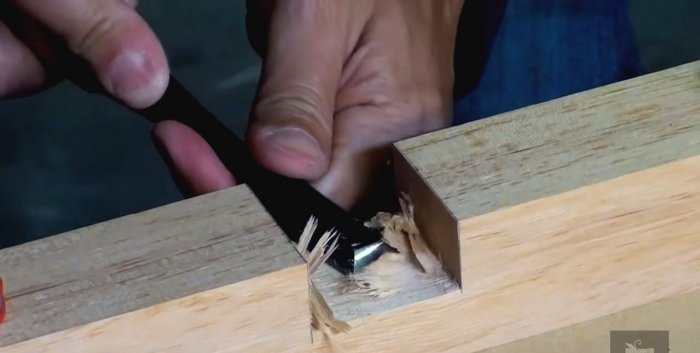
You should not fire the entire thickness of the array at once. Start making cuts first on one side and then on the opposite side. This way you will avoid unexpected chipping and cracking that will ruin the appearance and integrity of the connection.
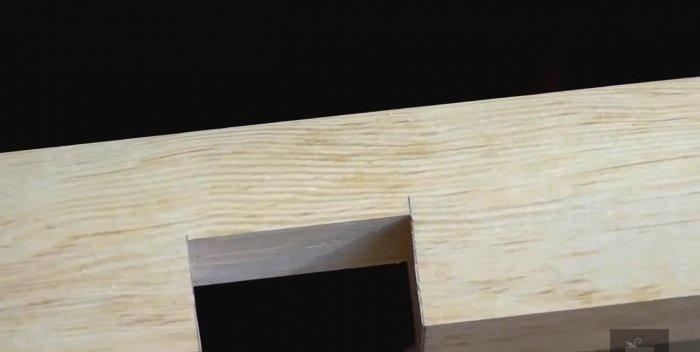
Upon completion of the work, use chisels, a square or a ruler to check the evenness of the planes and side edges of the joint on both bars, and, if necessary, pick up burrs from the edges of the workpieces.
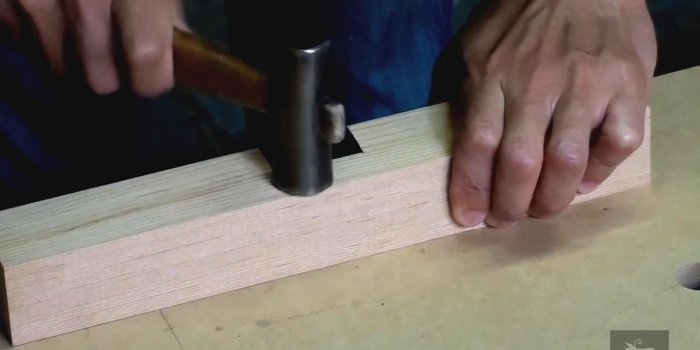
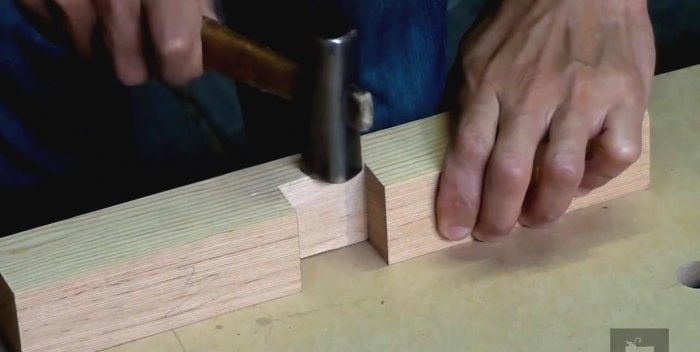
And now it’s time for the most important nuance of the Kigoroshi technique. The remaining uncut parts of the bars at the junction of the cross must be lightly crushed with a hammer with a metal striker. The essence of the method is to slightly crush the wood, but not allow it to crack.This must be done on both sides of our bars.
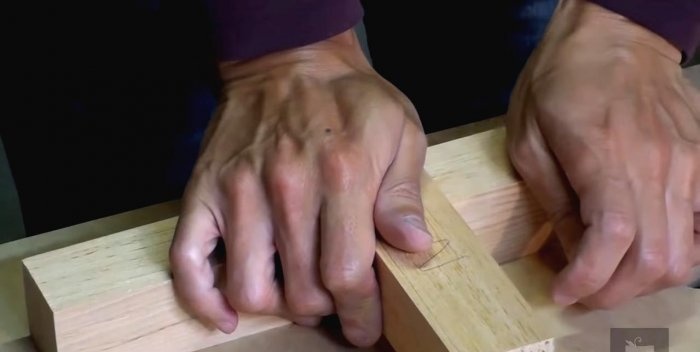
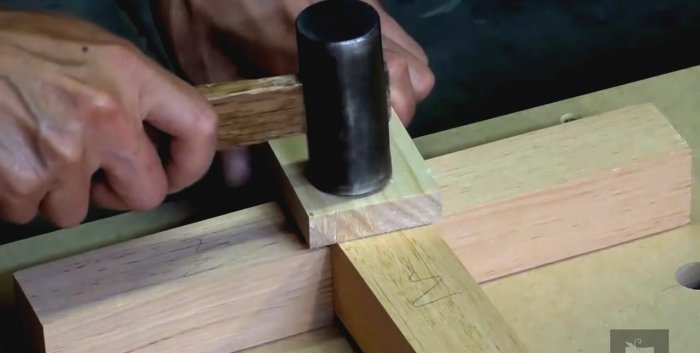
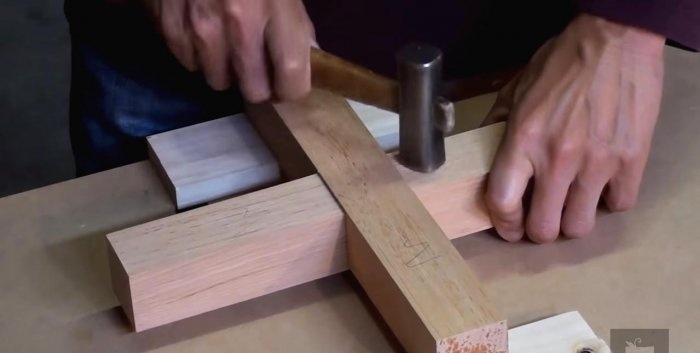
We place the bars at their junction, pressing tightly with our hands. If the eye is not loosened, it will be quite difficult to do this by hand. Using the same hammer, carefully nail the connection point on top through a wooden spacer-plate.
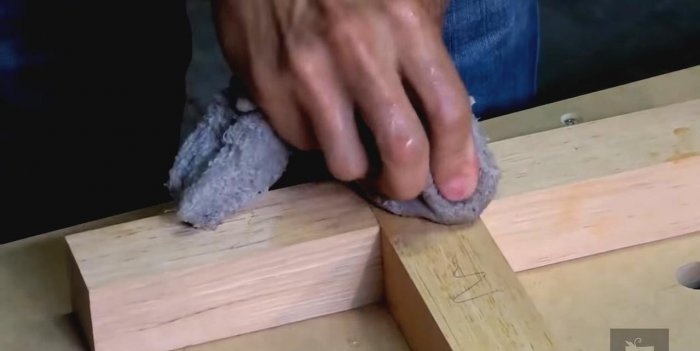
The tightly placed cross-on-cross bars hold quite firmly and reliably without glue or dowels. And such a connection looks very aesthetically pleasing and neat. By the way, the Japanese advise, before directly fastening the cross, to moisten the edges of the block pressed with a hammer with water. Moisture will cause the wood fibers to swell and return to their original position, which means making the connection even tighter and stronger. And after drying, the crosspiece can be disassembled and reused if necessary.
Working with chisels in the manufacture of such tenon joints requires their exceptional sharpening. Otherwise, chips and cracks cannot be avoided. You can sharpen them on a felt wheel or on a leather belt, lubricated with Goya paste, bringing their blades to a razor edge.

The basic principle of this connection is the rigidity of the elements in such a way as to prevent them from being pulled out and broken out. Thanks to this, for example, the permissible loads on a prefabricated roof element are calculated. The precision of the connection ensures its integrity and durability, even in the absence of additional fastening elements - glues, dowels, nails or screws. The Japanese even have such an art - “Kigoroshi”, the meaning of which is to make the connection (not only the cross connection) as precise and accurate as possible.

Tools
- Passing hacksaw;
- Carpenter's square;
- Several chisels of different widths;
- Hammer with a metal striker.
How to make a half-timber cross joint
Let's say we need to make a cross for a Christmas tree, a mannequin, or some interior item. For this, we take two wooden blocks with a cross-section of 4-5 cm. We cut them to a length of about 30-50 cm. For such products, soft wood species are suitable, for example, pine, poplar or alder, which are the easiest to process.
We find the middle of the first bar, and mark the dimensions of the width of the second from it. To mark the transverse lines, we use a carpenter's square with a limiting edge.
Using a hacksaw, we make cuts along the edges of the markings to the middle of the thickness of the block. We add a few more cuts to make the array easier to operate. The same must be done on the second block, only in a mirror image.
Chisels of varying widths are used here as cutting tools. With narrower ones, you can cut off the main part by roughly cleaning the surface. But use a wider chisel to clean the cut plane. For chopping, it is convenient to use a mallet with a rubber or wooden striker.
You should not fire the entire thickness of the array at once. Start making cuts first on one side and then on the opposite side. This way you will avoid unexpected chipping and cracking that will ruin the appearance and integrity of the connection.
Upon completion of the work, use chisels, a square or a ruler to check the evenness of the planes and side edges of the joint on both bars, and, if necessary, pick up burrs from the edges of the workpieces.
And now it’s time for the most important nuance of the Kigoroshi technique. The remaining uncut parts of the bars at the junction of the cross must be lightly crushed with a hammer with a metal striker. The essence of the method is to slightly crush the wood, but not allow it to crack.This must be done on both sides of our bars.
We place the bars at their junction, pressing tightly with our hands. If the eye is not loosened, it will be quite difficult to do this by hand. Using the same hammer, carefully nail the connection point on top through a wooden spacer-plate.
The tightly placed cross-on-cross bars hold quite firmly and reliably without glue or dowels. And such a connection looks very aesthetically pleasing and neat. By the way, the Japanese advise, before directly fastening the cross, to moisten the edges of the block pressed with a hammer with water. Moisture will cause the wood fibers to swell and return to their original position, which means making the connection even tighter and stronger. And after drying, the crosspiece can be disassembled and reused if necessary.
Practical advice
Working with chisels in the manufacture of such tenon joints requires their exceptional sharpening. Otherwise, chips and cracks cannot be avoided. You can sharpen them on a felt wheel or on a leather belt, lubricated with Goya paste, bringing their blades to a razor edge.

Watch the video
Similar master classes

Unusual corner connection of a profile pipe
How to Make a Three-Piece Corner Joint
How to make a socket connection with a hair dryer
The strongest connection of large cross-section wires without thickening
How to make a corner connection between three square profiles

How to properly and reliably wind flax on plumbing fixtures
Particularly interesting
Comments (5)

