How to make an alcohol burner with remote fuel supply
The need for a source of thermal energy may arise in the home workshop, at work or on a hike. Is it possible to make it from scrap materials quickly and still ensure fire safety? Let's try.
We will try to make do with simple materials that cost almost nothing:
The diameters of tubes, bolts and holes must be coordinated with each other.
In order to make a burner, we will need the following tools and accessories:
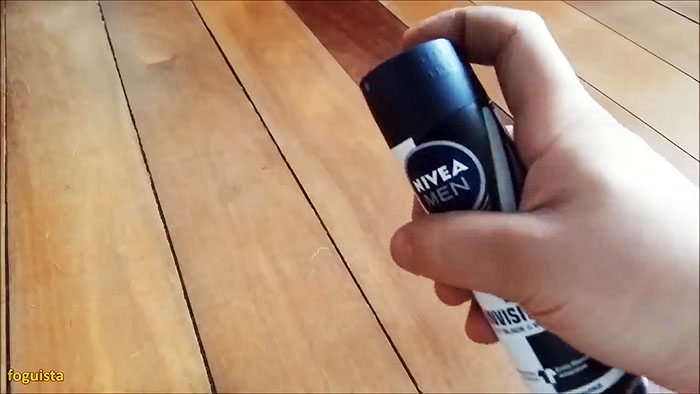
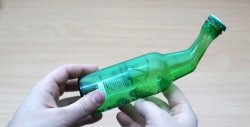
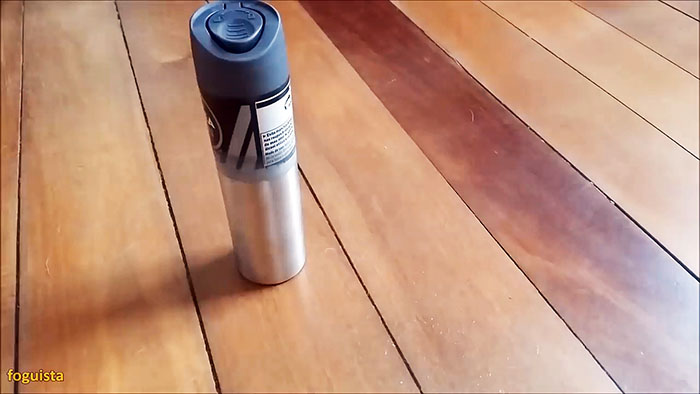
We take an empty aerosol can and use a metal dishwashing sponge to remove the color from its bottom.
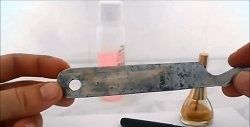
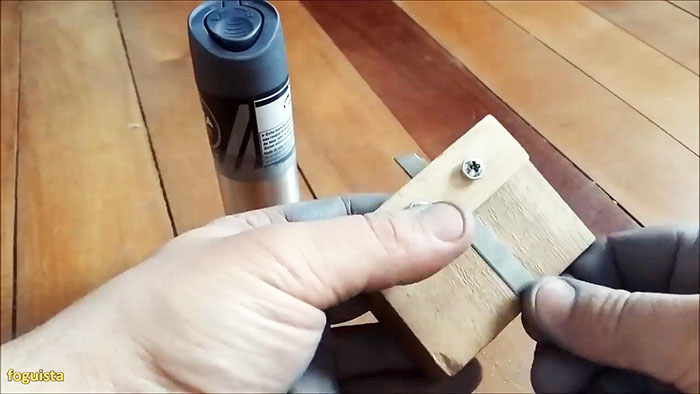
We clamp the replacement blade of a construction knife between a wooden block and a plank with two screws passing through the plank and screwed into the block. In this case, only the tip of the blade should peek out.
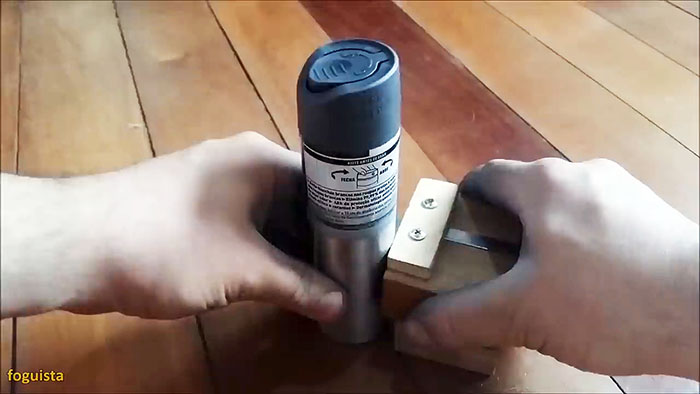
We place another block of the required height under our cutting device in order to cut a cup of the required size from the aerosol can. We place the cutting tool on a hard, flat surface, place the can next to it and begin to rotate it, resting it on the tip of the blade. As a result, we get a circular cut along which we separate the lower part from the upper.
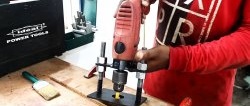
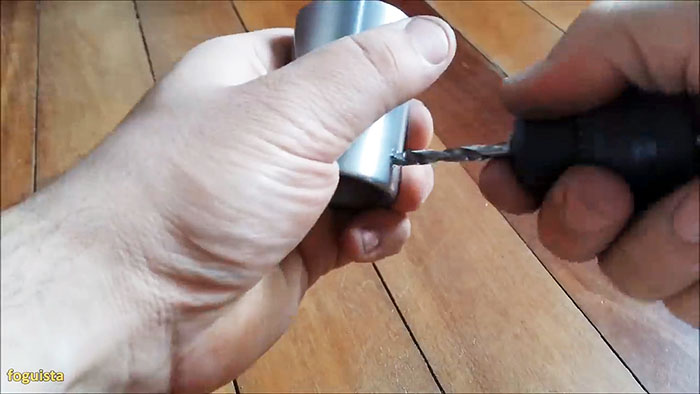
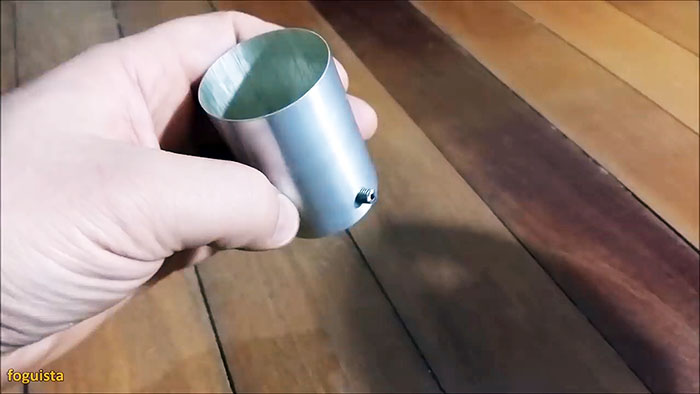
In the cup closer to its bottom, we drill a hole manually with a drill, which is not at all difficult, since the thickness of the metal is tenths of a millimeter.
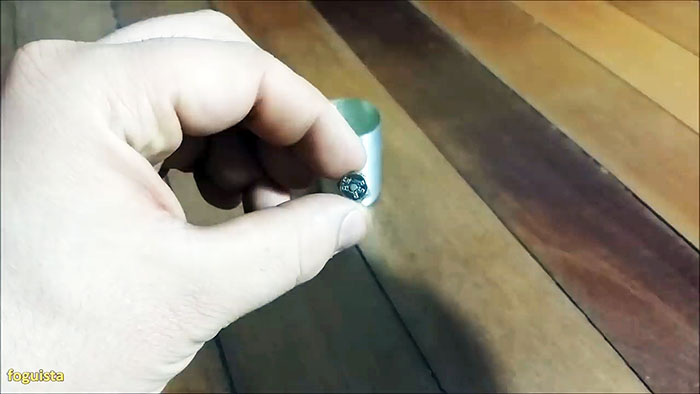
From the inside, insert a bolt with a central hole into the hole - a jet.
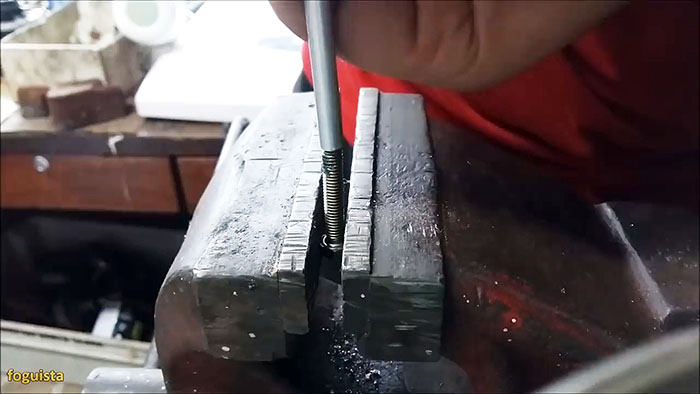
We clamp the long bolt in a vice so that the rod points vertically upward. Apply thick lubricant to the threads. We use a bolt to cut several turns of thread in a soft aluminum tube on both sides.
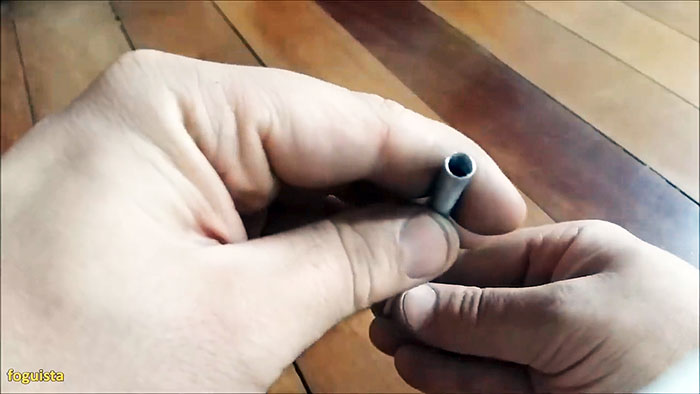
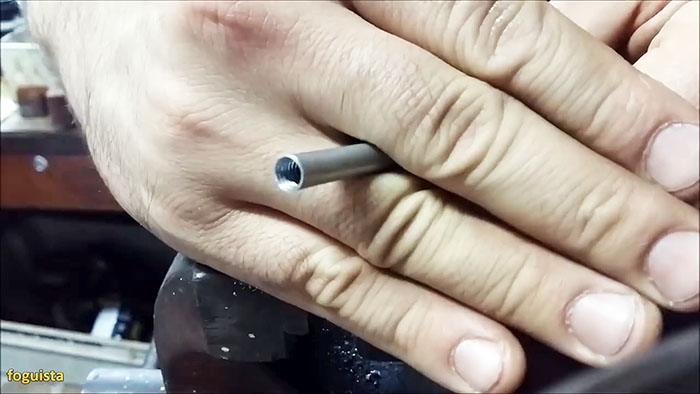
On the side of the tube, near the end, we drill a hole with a diameter equal to the nozzle hole.
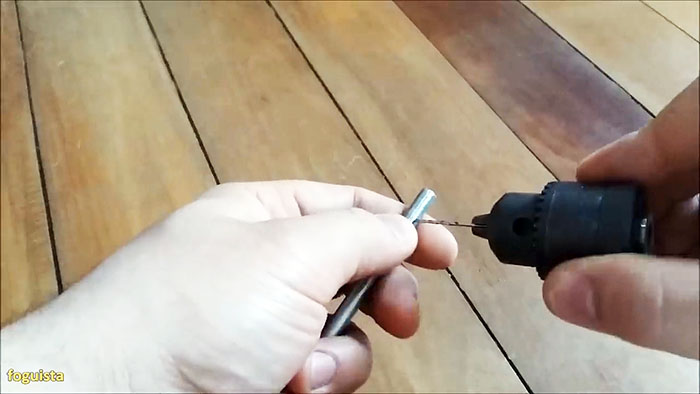
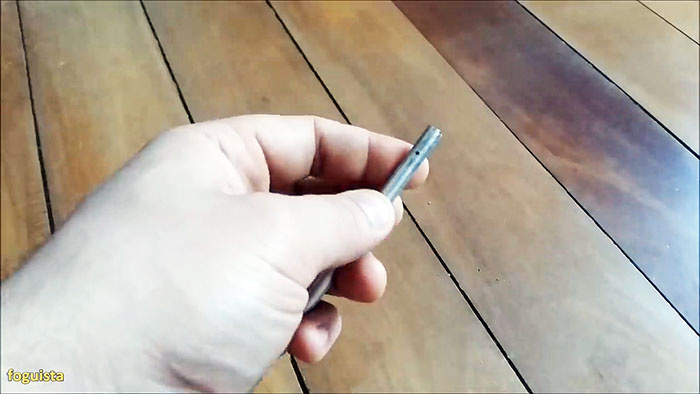
We put it into the tube and pass along the entire length a strip of cotton fabric rolled into a rope.
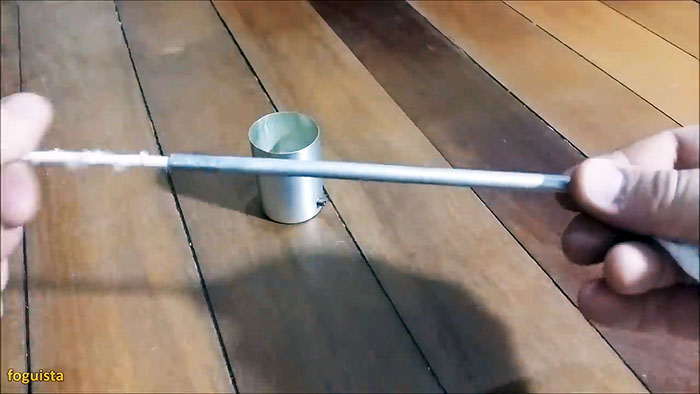
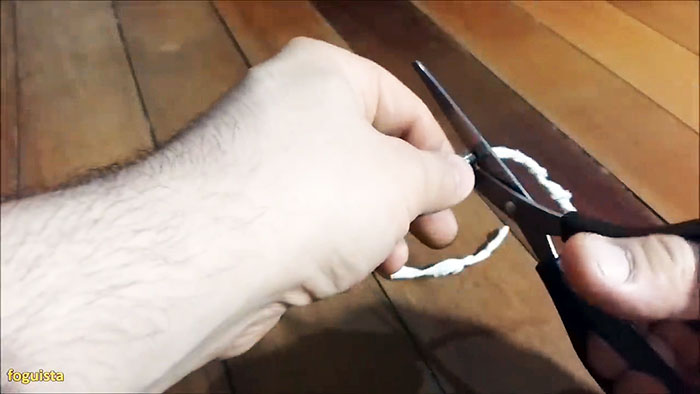
We stretch the cotton in a tube and cut off both ends at the ends with scissors.
We screw the tube with the fabric onto the rod of the jet bolt.
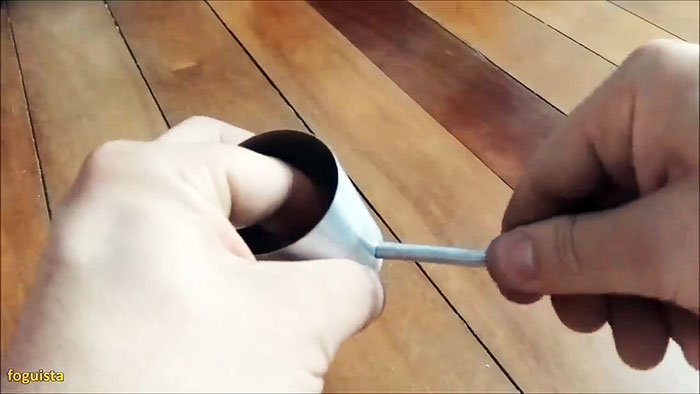
In a short aluminum tube of larger diameter, closer to one end, we drill through holes spaced apart in height and with the longitudinal axes at 90 degrees.
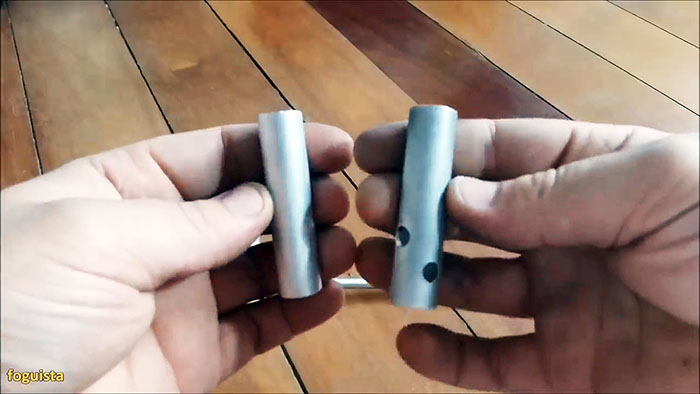
We insert a tube with side drilling into the lower holes of a short thick tube so that the small hole is directed upward. We screw a short plug bolt into the end of the thin tube.
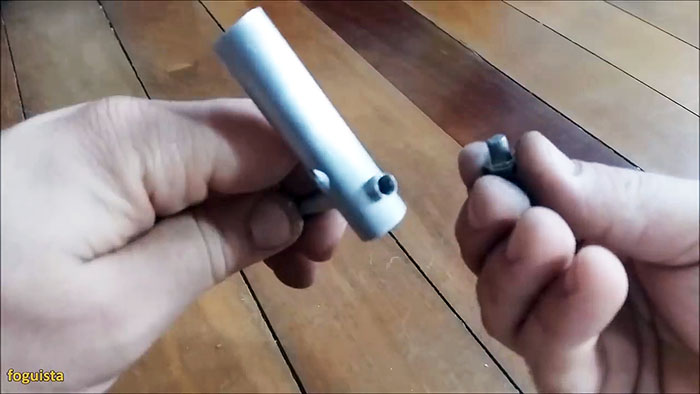
Our alcohol burner is basically ready for use.
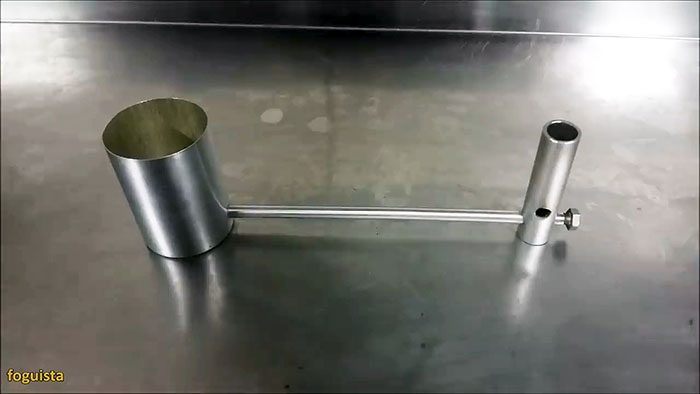
To prepare the burner for stable operation, heat the short tube. To do this, fill the cap of a glass bottle with alcohol and place a tube in it. We also pour some fuel into the glass and light the alcohol in the lid.
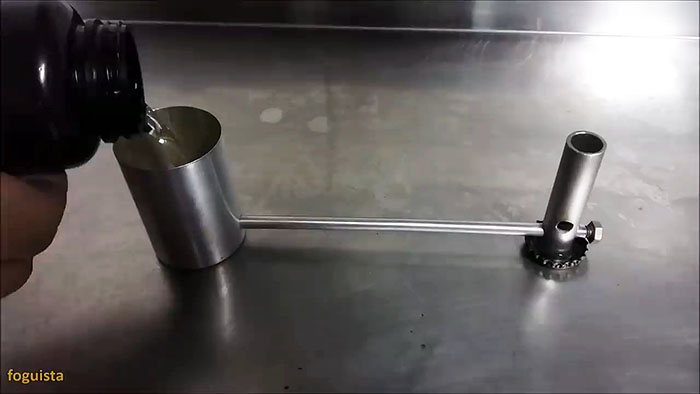
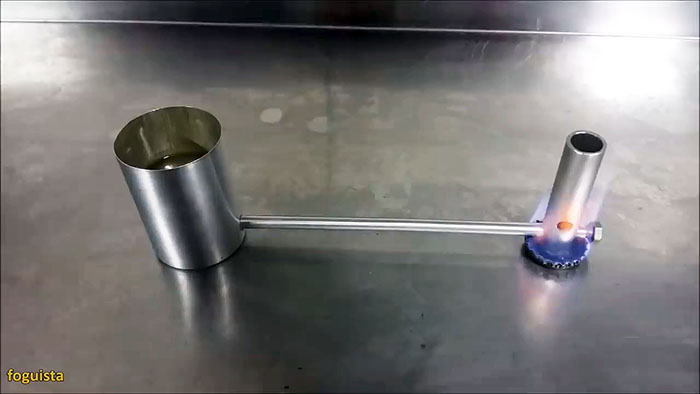
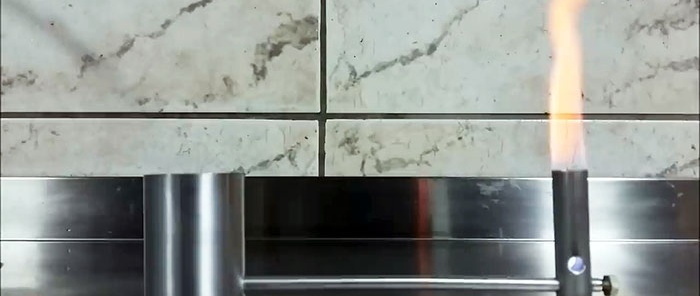
As the burner heats up, fuel begins to flow through the nozzle from the cup, then it saturates the cotton rope and reaches the hole at the end of the thin tube.
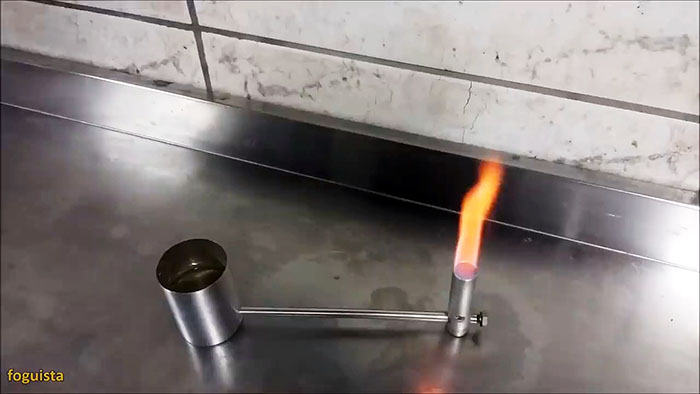
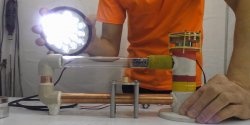
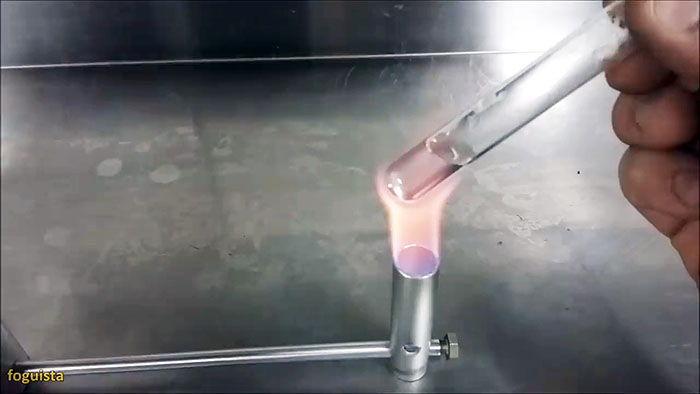
Gradually, the combustion stabilizes, and a stable flame appears above the upper end of the tube. If you place a test tube of water in it, it will boil after a short time.

When the burner is no longer needed, blow out the flame and pour the remaining alcohol from the glass into a storage container.

Will need
We will try to make do with simple materials that cost almost nothing:
- an empty aerosol can;
- two aluminum tubes of different diameters and lengths;
- a jet bolt and two ordinary bolts;
- wick made of cotton fabric;
- metal cap from a glass bottle.
The diameters of tubes, bolts and holes must be coordinated with each other.
In order to make a burner, we will need the following tools and accessories:
- metal sponge for washing dishes;
- homemade cutting device;
- screwdriver;
- drill chuck and 2 drills of different diameters;
- vice;
- grease;
- scissors.
The procedure for making an alcohol burner

We take an empty aerosol can and use a metal dishwashing sponge to remove the color from its bottom.

We clamp the replacement blade of a construction knife between a wooden block and a plank with two screws passing through the plank and screwed into the block. In this case, only the tip of the blade should peek out.

We place another block of the required height under our cutting device in order to cut a cup of the required size from the aerosol can. We place the cutting tool on a hard, flat surface, place the can next to it and begin to rotate it, resting it on the tip of the blade. As a result, we get a circular cut along which we separate the lower part from the upper.

In the cup closer to its bottom, we drill a hole manually with a drill, which is not at all difficult, since the thickness of the metal is tenths of a millimeter.

From the inside, insert a bolt with a central hole into the hole - a jet.


We clamp the long bolt in a vice so that the rod points vertically upward. Apply thick lubricant to the threads. We use a bolt to cut several turns of thread in a soft aluminum tube on both sides.


On the side of the tube, near the end, we drill a hole with a diameter equal to the nozzle hole.


We put it into the tube and pass along the entire length a strip of cotton fabric rolled into a rope.

We stretch the cotton in a tube and cut off both ends at the ends with scissors.

We screw the tube with the fabric onto the rod of the jet bolt.

In a short aluminum tube of larger diameter, closer to one end, we drill through holes spaced apart in height and with the longitudinal axes at 90 degrees.

We insert a tube with side drilling into the lower holes of a short thick tube so that the small hole is directed upward. We screw a short plug bolt into the end of the thin tube.

Our alcohol burner is basically ready for use.

Checking the burner in action
To prepare the burner for stable operation, heat the short tube. To do this, fill the cap of a glass bottle with alcohol and place a tube in it. We also pour some fuel into the glass and light the alcohol in the lid.


As the burner heats up, fuel begins to flow through the nozzle from the cup, then it saturates the cotton rope and reaches the hole at the end of the thin tube.

Gradually, the combustion stabilizes, and a stable flame appears above the upper end of the tube. If you place a test tube of water in it, it will boil after a short time.


When the burner is no longer needed, blow out the flame and pour the remaining alcohol from the glass into a storage container.
Watch the video
Similar master classes
Particularly interesting
Comments (0)


