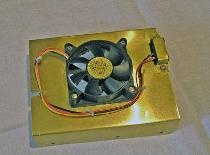
Water cooling system.
Preface
Agree, the temperature is 66°C for Athlone 1000 MHz (don’t laugh, my principle is that the main thing is not the hardware, but what surrounds it) at rest, and at 100% load 75°C is too much... Therefore, this unit was born.
This SVO was originally conceived as external - I put it in a corner and let it stand there, and only two hoses are suitable for the computer, in my opinion, and with ideas for the future, the system unit can be stuffed with something else, for example - neon lighting, UV lighting, beautiful round trains that glow in UV, etc. Unfortunately, the drawings of some elements have not been preserved, and they are not needed - everyone does everything for themselves, starting from the materials at their disposal. The main principle.
Components for SVO
Pump - Atman-103, sold at any pet store. Installed inside the expansion tank on the wall using suction cups.
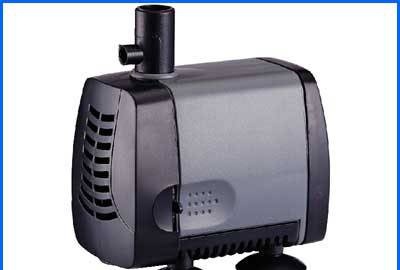
The standard outlet fitting of the pump was thrown into the trash due to the fact that its diameter did not suit my needs (the diameter of the hoses). Instead, a homemade one was installed with an inlet diameter of 16 mm, an outlet of 10 mm (external diameters) and a transition cone.
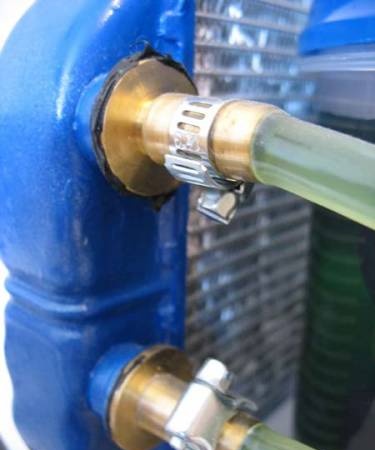
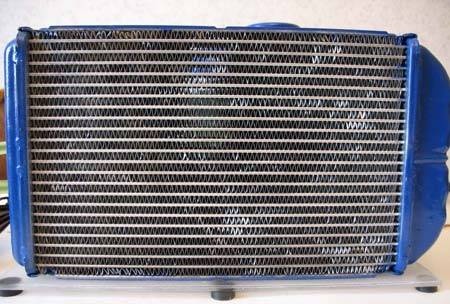
The radiator is from a Toyota car heater, given by a friend for two kopecks of beer that they drank together.Cleaned of dirt with acetone, washed from the inside with the same, and painted on the outside with spray paint. The inlet and outlet fittings were replaced, again, with homemade ones. Installed flush with sealant. It turned out great - it doesn't leak anywhere.
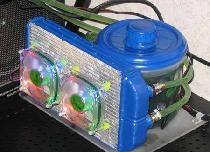
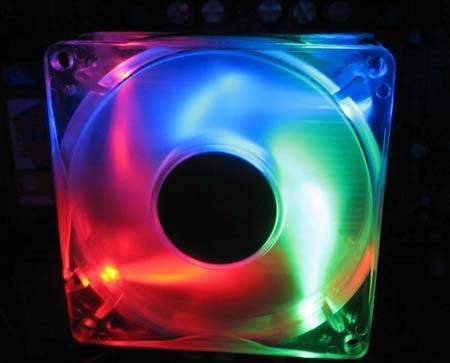
Two fans purchased from an online store are installed on the radiator - they cool and look great!
I thought for a long time about how to attach the fans to the radiator. It turned out everything was simple - away with self-tapping screws and complex fasteners!!! Everything ingenious (well, I’m modest) is simple...
To attach the fans, I needed several rubber bands (erasers) from the nearest office supply store and cable ties.
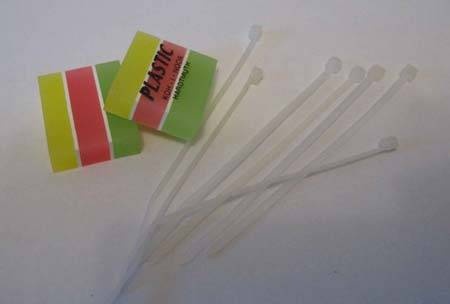
The rubber bands are cut into cubes, ties are inserted into the mounting holes of the fans and secured with those same cubes.
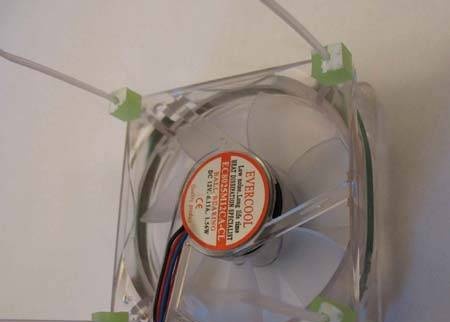
Then the ties are inserted into the slots of the radiator.
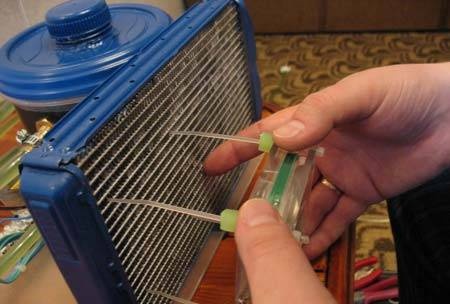
We secure it on the reverse side with cut locks from the same ties. And this is what we get
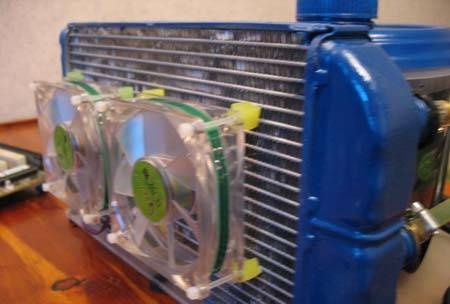
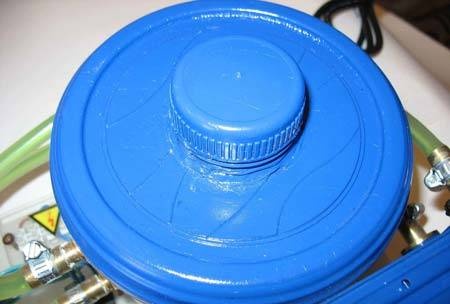
I think it’s great... and simple!!! The expansion tank is a plastic food container, in my case round, but there are other shapes that can be found in a department store. To add liquid, the neck of a 5-liter water bottle is cut into the tank lid.
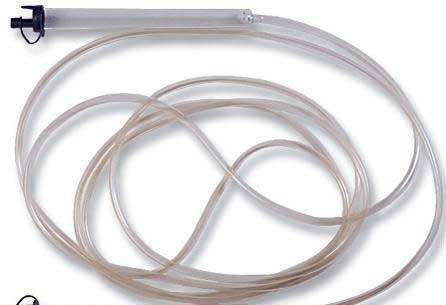
Hoses - silicone tube, internal diameter 8 mm, bought a liquid level at a hardware store.
Installed on fittings with pre-heated hoses for a more airtight fit. The landing spots are crimped with clamps from the nearest auto store.
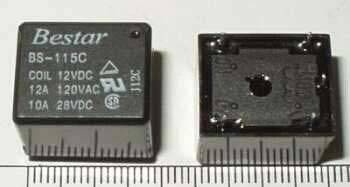
Relay - BS 115C, purchased at a radio store. It is necessary to automatically turn on the CVO simultaneously with turning on the computer power.
The system is mounted on a platform made of plexiglass, I found it in the garage; since it was badly scratched, it had to be made matte.The tank is mounted on rubber gaskets to reduce vibration during pump operation.
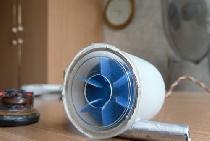
To insert hoses into the computer case, an adapter panel is made from a standard plug. There are two fittings on it, the coolant inlet and outlet, and a connector for connecting power - 12V.
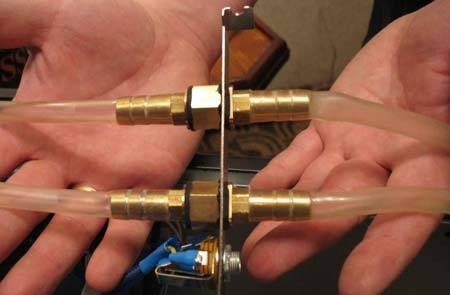
The SVO panel is connected using this tail:
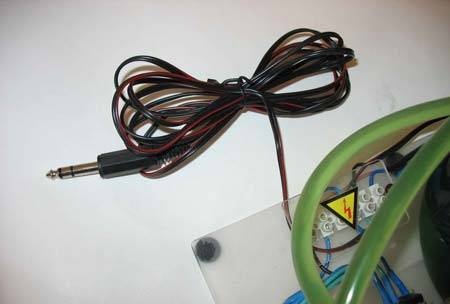
I pay special attention to safety precautions when handling electricity!
All current-carrying elements must be protected from accidental penetration of fingers!
In general the unit looks like this
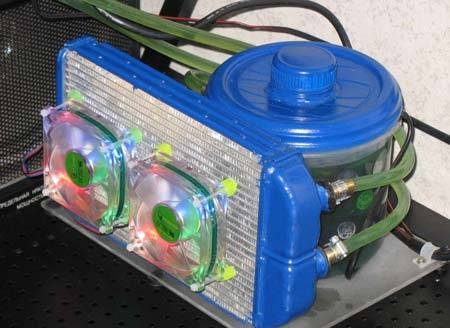
The general dimensions of the system are: D270, Sh200, H160.
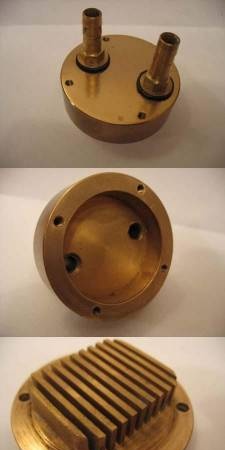
The water block is made of M1 grade copper. This copper blank was purchased at a non-ferrous metal collection point for 200 rubles. Its diameter is 65mm, height 25mm. It is assembled from two parts, a base and a lid, made in the form of a glass with holes for fittings. The thickness of the base is 5 mm, on it there are heat-removing fins 2 mm wide and 7 mm high with a pitch of 2 mm, for a total of 11 ribs. This product is made using lathe and milling machines. The design is absolutely sealed and tested under a pressure of 4 atmospheres.
The side of the bottom adjacent to the processor is polished. In order to prevent the water block from oxidizing and darkening over time (copper, after all), I had to cover it with a thin layer of automotive varnish from a can.
The water block fastening is individual for everyone, it all depends on the type of mother and the processor used. I took the simplest route. I installed metal stands in the holes near the processor on the motherboard (the main thing is not to forget about the dielectric spacers).
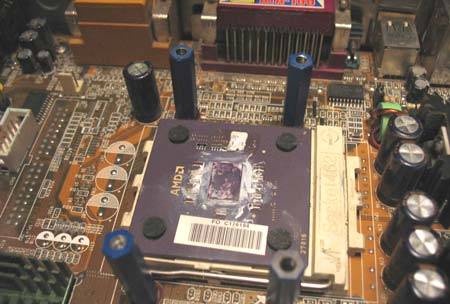
Small “ears” are made of fluoroplastic, with the help of which the water block is attached to the motherboard with screws.The beauty of this material is its strength and ease of processing; all you need is a knife. And it is also a little springy and, therefore, when installed on the processor, it will not allow you to tighten the screws until unwanted cracks form on it.
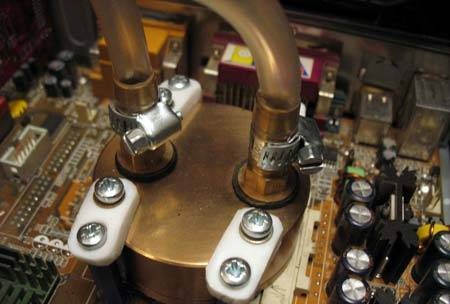
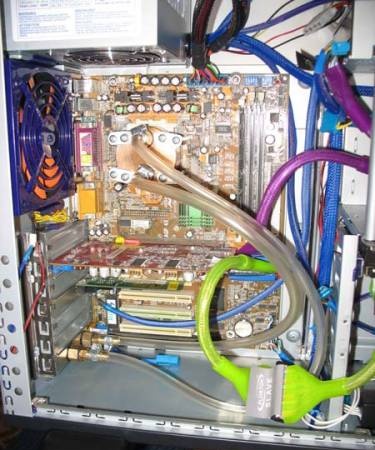
After final installation in the case, everything looks like this:
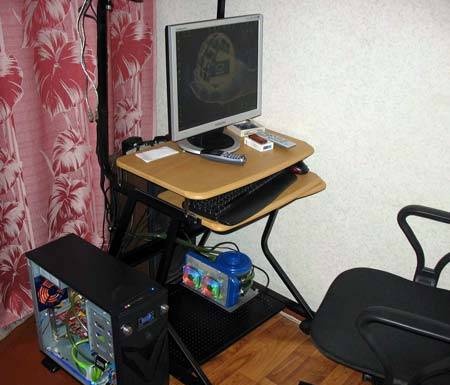
Antifreeze is used as a coolant. Its advantages are good heat transfer, does not bloom like water, and additional lubrication of the pump.
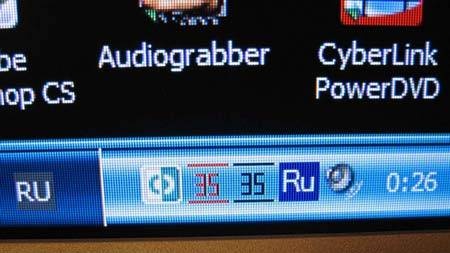
Now let's look at the temperature:
Similar master classes
Particularly interesting
Comments (12)

