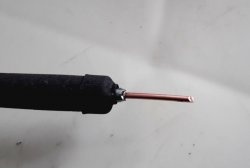
Instant soldering iron using a glue gun and an energy-saving lamp
An instant heating soldering iron is suitable for working with small parts and alloys. When using this device, time and energy costs for soldering are saved. The soldering iron is ready for use immediately after switching on. The flexible tip can be bent in the most convenient way. The device does not require constant temperature maintenance; it is turned on only for the duration of the operation. In addition, assembling a soldering iron with instant heating does not take much time. The working circuit is mounted on the basis of an energy-saving lamp, the entire structure is placed inside a glue gun.
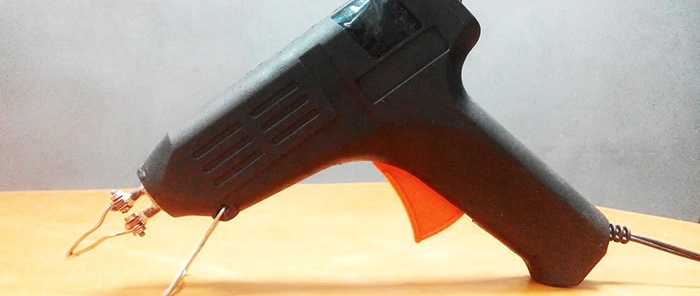
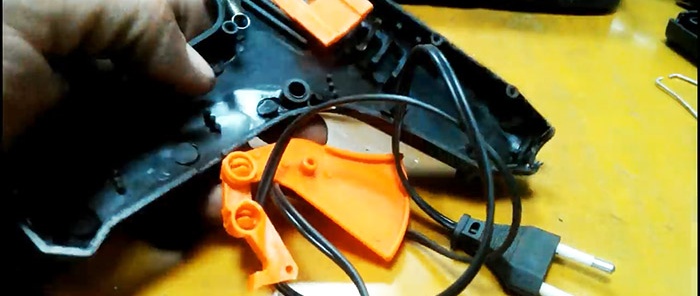
Remove all contents from the glue gun. We only need the body.
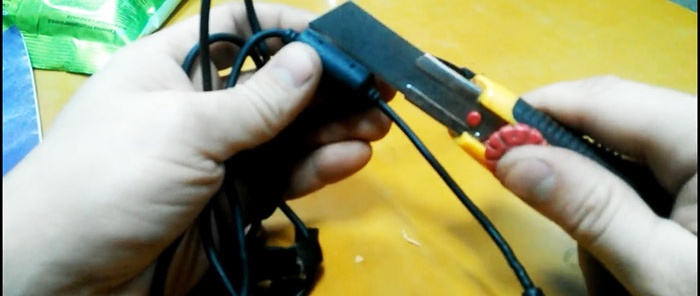
We take the charging cable and remove the ferrite washer. To do this, we cut the cable in the thickening area.
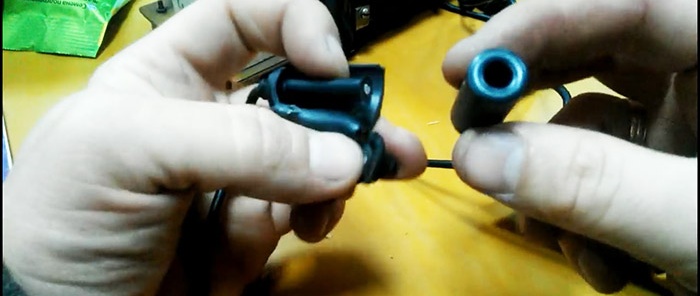
Remove the winding and pull out the torus.
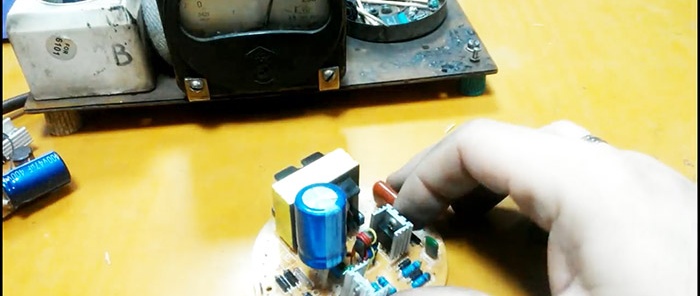
We unwind the energy lamp. We get the payment.
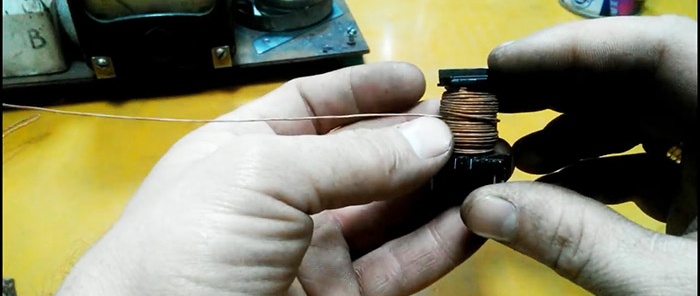
We remove the inductor from the board.
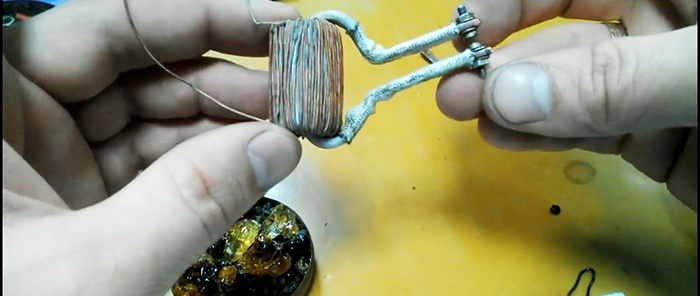
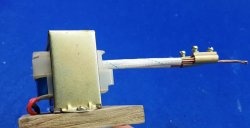
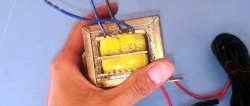
Assembling a pulse transformer. To do this, we wind the inductor winding on a ferrite washer, it turns out a little more than 100 turns. We make a secondary turn using a copper busbar. We fasten bolts at the ends.
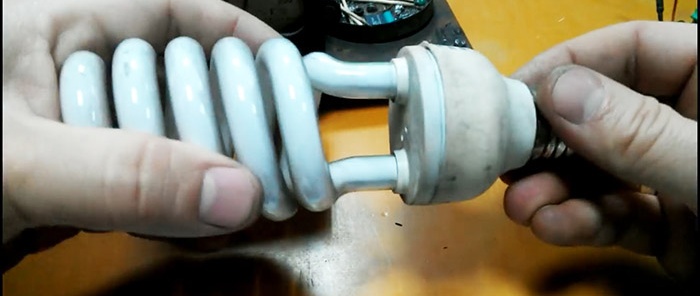
Let's disassemble the second energy-saving lamp.
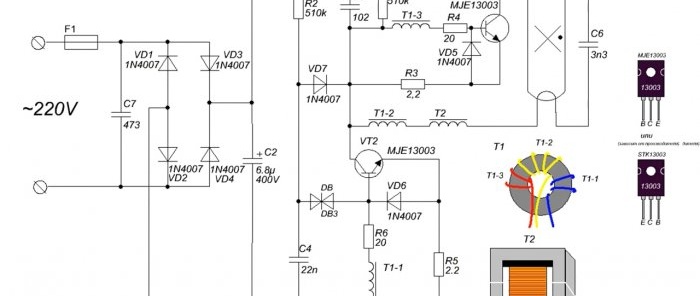
The standard diagram of an energy-saving llama looks like this.
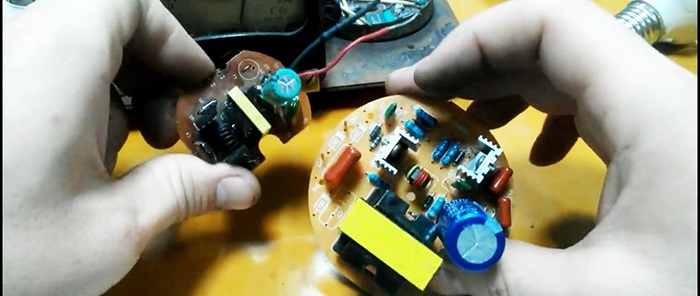
To assemble a soldering iron, you will only need individual elements of the microcircuit.
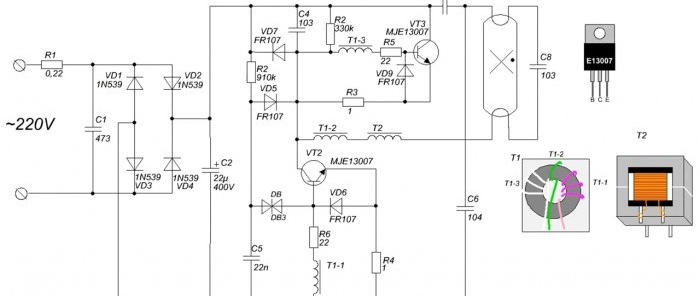
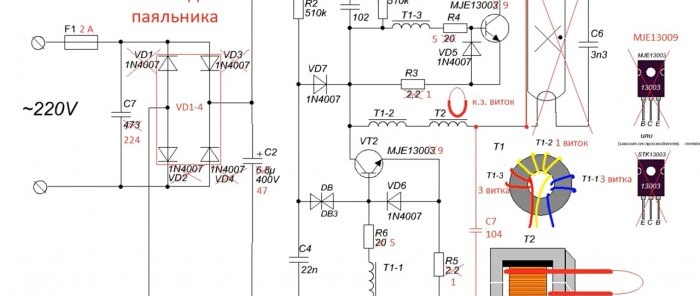
We remove high-voltage power transistors from the board of a 30 W energy lamp, and instead install transistors from a 100 W lamp, as well as an MJE 13009 transistor.
We also change the diodes to a more powerful diode bridge. See all changes in the diagram, they are marked in red. The final circuit for the soldering iron.
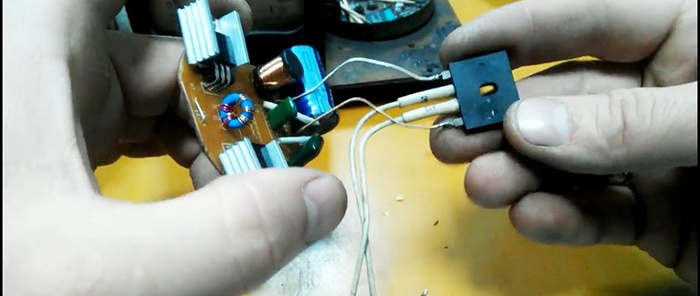
The board will look like this.
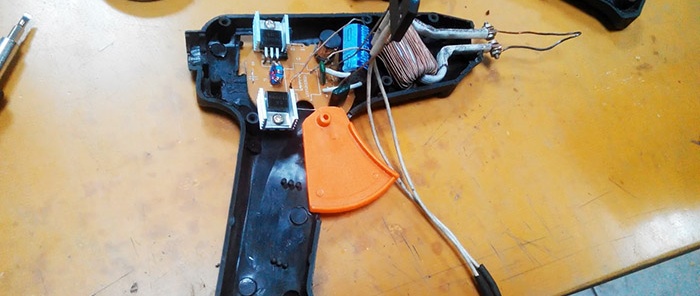
Let's assemble the entire circuit. We place all the parts into the lamp body. Checking the operation of the soldering iron.
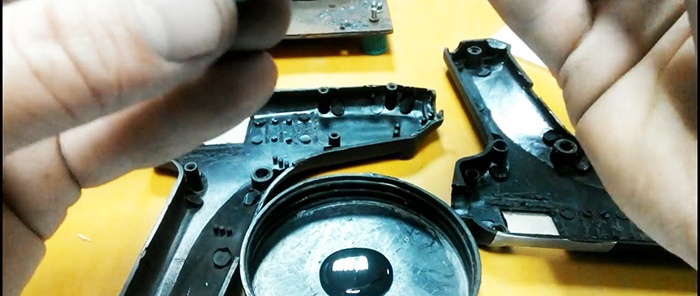
We remove all the equipment from the housing and make adjustments to the design. To do this, fill unnecessary holes in the gun body with epoxy resin.
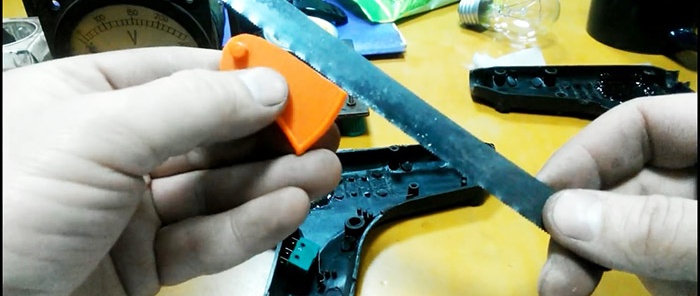
Install the switch. We saw off the back of the trigger for correct operation of the damper. Glue the back of the firing pin back.
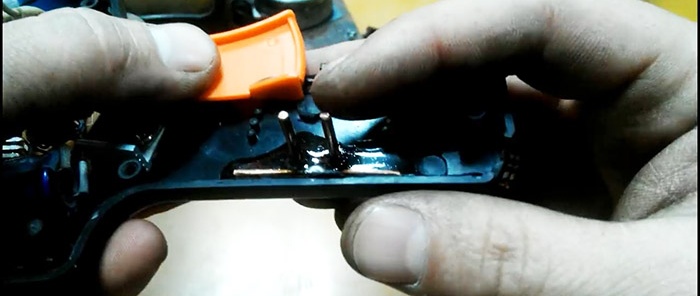
Install the trigger mechanism. First, we attach the trigger holder to the body with epoxy resin.
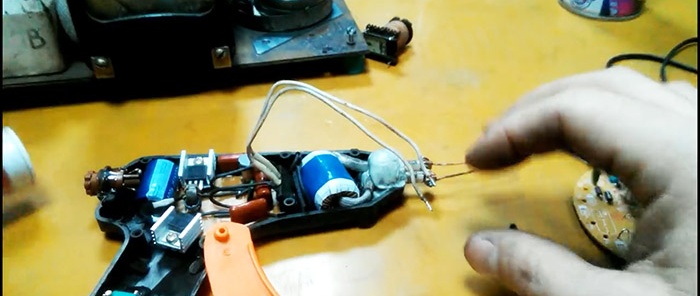
We isolate the pulse transformer using thermal paste.
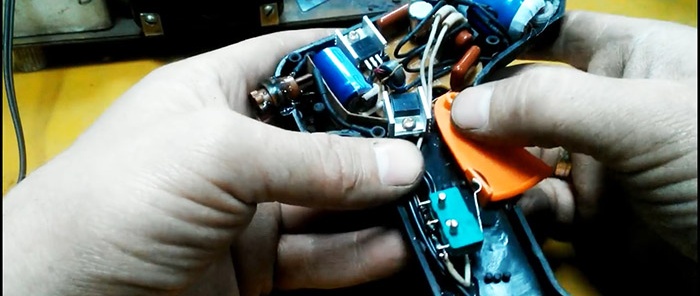
We connect and lay all the wires tightly into the gun body.
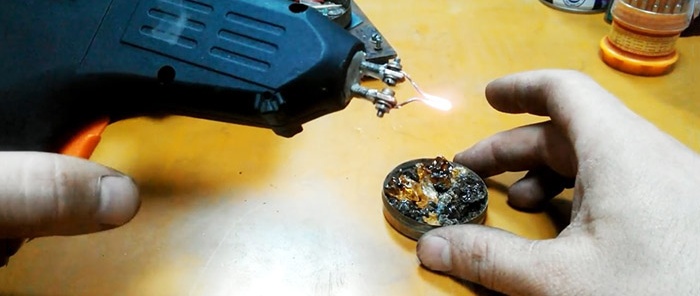
We assemble the entire structure. Checking the operation of the soldering iron.

To work you will need:
- glue gun;
- energy-saving lamps, one for 105 W and the second for 30 W;
- charging cable with ferrite bead;
- copper busbar;
- copper wire.
Making a soldering iron with instant heating

Remove all contents from the glue gun. We only need the body.

We take the charging cable and remove the ferrite washer. To do this, we cut the cable in the thickening area.

Remove the winding and pull out the torus.

We unwind the energy lamp. We get the payment.

We remove the inductor from the board.

Assembling a pulse transformer. To do this, we wind the inductor winding on a ferrite washer, it turns out a little more than 100 turns. We make a secondary turn using a copper busbar. We fasten bolts at the ends.

Let's disassemble the second energy-saving lamp.
The standard diagram of an energy-saving llama looks like this.

To assemble a soldering iron, you will only need individual elements of the microcircuit.
We remove high-voltage power transistors from the board of a 30 W energy lamp, and instead install transistors from a 100 W lamp, as well as an MJE 13009 transistor.
We also change the diodes to a more powerful diode bridge. See all changes in the diagram, they are marked in red. The final circuit for the soldering iron.

The board will look like this.

Let's assemble the entire circuit. We place all the parts into the lamp body. Checking the operation of the soldering iron.

We remove all the equipment from the housing and make adjustments to the design. To do this, fill unnecessary holes in the gun body with epoxy resin.

Install the switch. We saw off the back of the trigger for correct operation of the damper. Glue the back of the firing pin back.

Install the trigger mechanism. First, we attach the trigger holder to the body with epoxy resin.

We isolate the pulse transformer using thermal paste.

We connect and lay all the wires tightly into the gun body.

We assemble the entire structure. Checking the operation of the soldering iron.
Watch the video
Similar master classes
Particularly interesting
Comments (10)

