How to make decorative slate for decoration without a mold
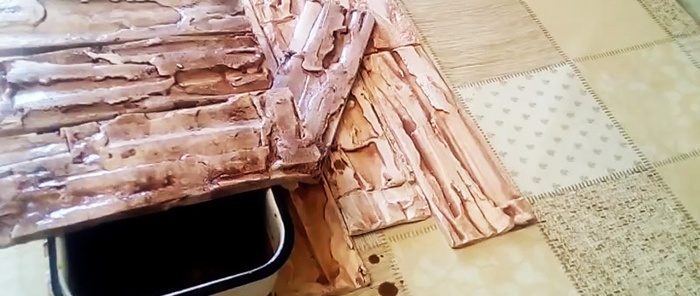
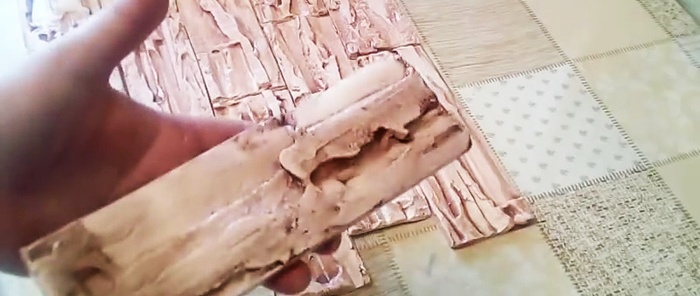
Gypsum tiles imitating decorative stone can be used to decorate the portal of an electric fireplace, walls in the hallway, corridor, and kitchen area. This is a very easy-to-work material that is sold in every hardware store at a fairly inflated cost. If you want to save money, you can make tiles from gypsum to look like decorative stone with your own hands.
To make tiles without using a mold, you will need to make a stencil from thick polyethylene film, such as is used for greenhouses and greenhouses. You need to draw a grid on it, the cell size of which will be equal to the desired tile format. Marking is done with a felt-tip pen.
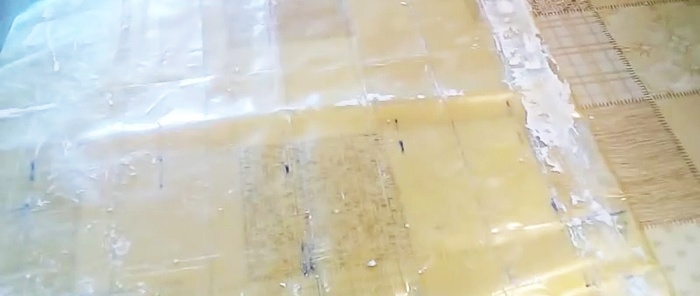
Then the stencil is laid on a flat base with the lined side down. A mixture is prepared from gypsum and water, reminiscent of the consistency of liquid sour cream. The approximate proportion of gypsum per 1 liter of water will be 18 heaped tablespoons.
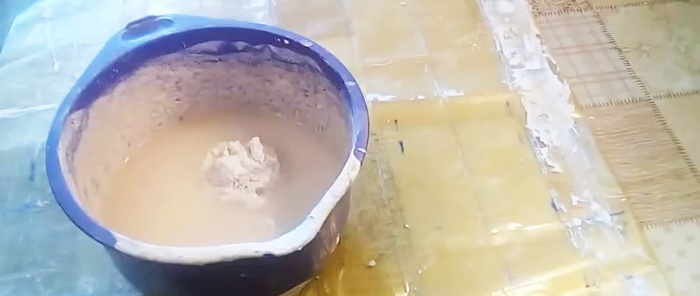
The mixture is poured onto the stencil.
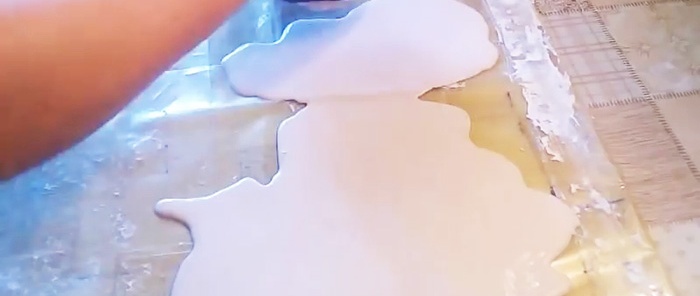
It is not too fluid, which allows it to be leveled with a spatula.
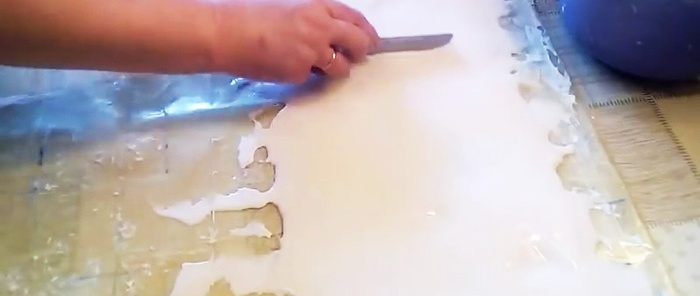
After a few minutes, the plaster will begin to set. At this time, the poured puddle is finally trimmed according to the stencil according to the markings. The thickness of the gypsum layer should be literally 5 mm. The thicker it is, the stronger the tile, which will make it easier to remove later. After gluing, the durability of thick and thin finishes is the same, so you can save on material by making the tiles very thin.
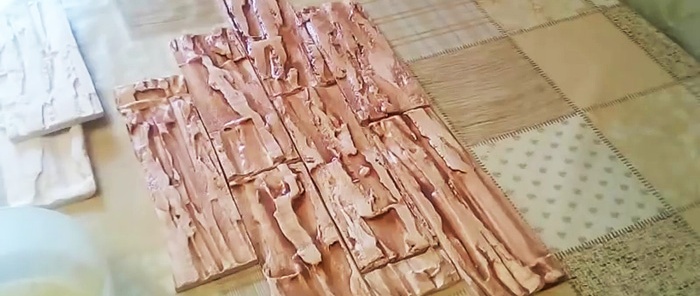
Having formed a rectangle according to the markings visible through the transparent film, you need to create a relief. To do this, go over the entire surface in several rows with a spatula, tapping it on top. This will create waves simulating layers of slate.
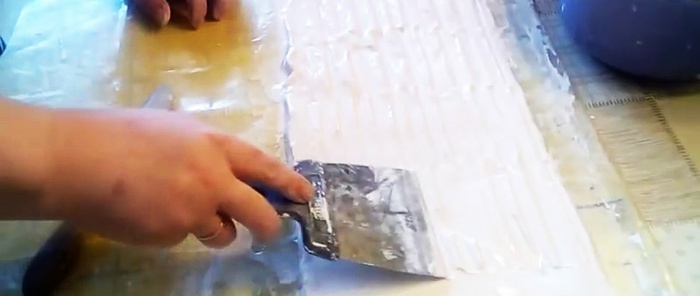
The second pass with a spatula is done in a checkerboard pattern. You need to move the material with a pull of a couple of centimeters, forming planes. After this, high swells may result. They need to be lightly smoothed with a spatula, moving perpendicular to the previous movements.
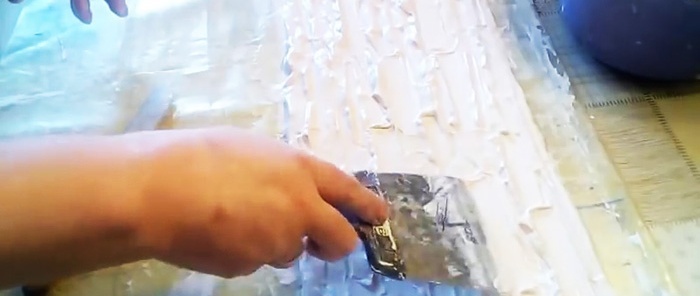
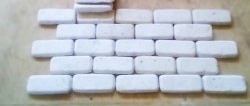
Having achieved the desired decorative effect, you can cut the workpiece into tiles. This is done with the corner of a spatula. Cutting is performed according to the stencil marks. Transverse cutting can be done by eye; for longitudinal cutting, it is better to apply a metal ruler, leaving an impression, and then cut along it.
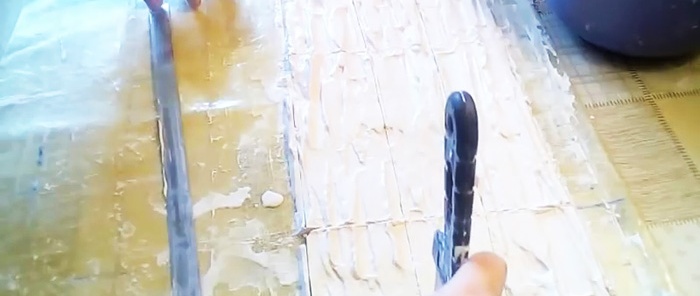
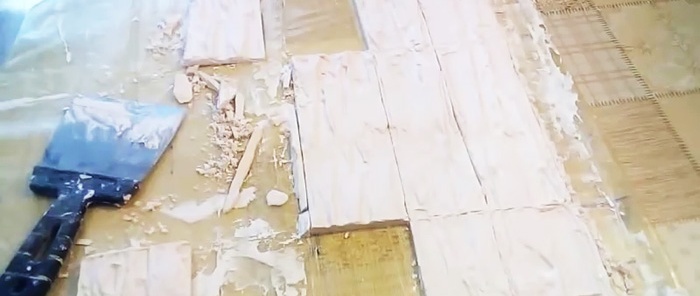
After 10 minutes the stone will have hardened enough to be removed from the stencil. To do this, put a spatula under the tile and it comes off. If individual tiles break, this is not a problem, since trim will still be needed later during finishing. The released stencil is used to make the next batch of tiles.
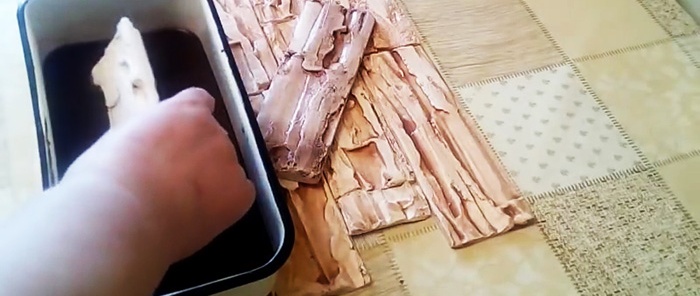
After drying, the tiles can be dipped in water with the desired color. It is held for a few seconds and removed. Next, the tinted dry tiles are glued to the walls and varnished on them.

Materials:
- water;
- gypsum;
- transparent polyethylene film;
- color for paint.
Making slate tiles
To make tiles without using a mold, you will need to make a stencil from thick polyethylene film, such as is used for greenhouses and greenhouses. You need to draw a grid on it, the cell size of which will be equal to the desired tile format. Marking is done with a felt-tip pen.

Then the stencil is laid on a flat base with the lined side down. A mixture is prepared from gypsum and water, reminiscent of the consistency of liquid sour cream. The approximate proportion of gypsum per 1 liter of water will be 18 heaped tablespoons.

The mixture is poured onto the stencil.

It is not too fluid, which allows it to be leveled with a spatula.

After a few minutes, the plaster will begin to set. At this time, the poured puddle is finally trimmed according to the stencil according to the markings. The thickness of the gypsum layer should be literally 5 mm. The thicker it is, the stronger the tile, which will make it easier to remove later. After gluing, the durability of thick and thin finishes is the same, so you can save on material by making the tiles very thin.
Having formed a rectangle according to the markings visible through the transparent film, you need to create a relief. To do this, go over the entire surface in several rows with a spatula, tapping it on top. This will create waves simulating layers of slate.

The second pass with a spatula is done in a checkerboard pattern. You need to move the material with a pull of a couple of centimeters, forming planes. After this, high swells may result. They need to be lightly smoothed with a spatula, moving perpendicular to the previous movements.

Having achieved the desired decorative effect, you can cut the workpiece into tiles. This is done with the corner of a spatula. Cutting is performed according to the stencil marks. Transverse cutting can be done by eye; for longitudinal cutting, it is better to apply a metal ruler, leaving an impression, and then cut along it.

After 10 minutes the stone will have hardened enough to be removed from the stencil. To do this, put a spatula under the tile and it comes off. If individual tiles break, this is not a problem, since trim will still be needed later during finishing. The released stencil is used to make the next batch of tiles.

After drying, the tiles can be dipped in water with the desired color. It is held for a few seconds and removed. Next, the tinted dry tiles are glued to the walls and varnished on them.


Watch the video
Similar master classes
Particularly interesting

How to install a socket if there are short wires left

How to eliminate gaps between the chimney and slate

How to mix an ultra-reliable solution for the oven that does not give

There will be no more cracks: What to add to concrete to make it

Never buy ball valves without checking with me

New technology for floor insulation with penoplex
Comments (1)

