How to make a powerful cordless vacuum cleaner
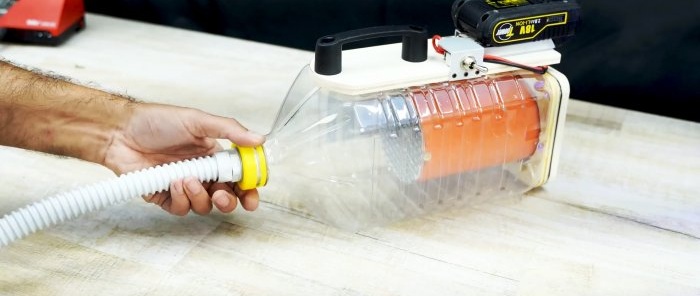
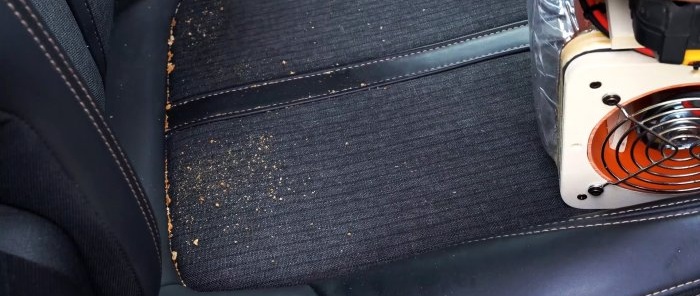
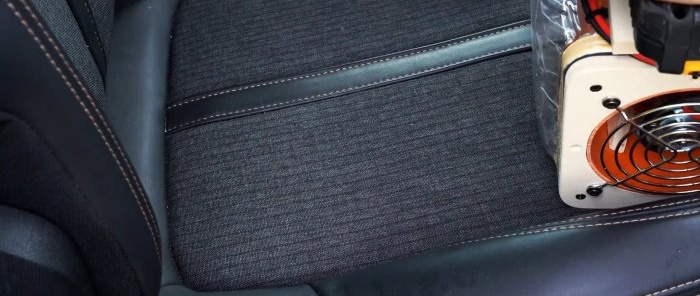
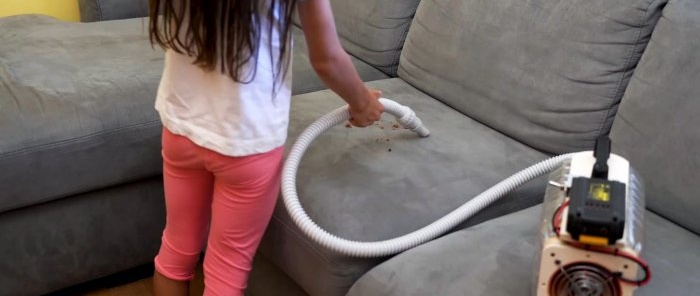
To clean the car interior and collect scattered screws and nuts, it is convenient to use a cordless vacuum cleaner. You can buy it, or assemble it yourself, since many of the necessary parts can often be found in a garage or workshop. If you still have an electric motor from a cordless screwdriver, then everything will cost virtually nothing.
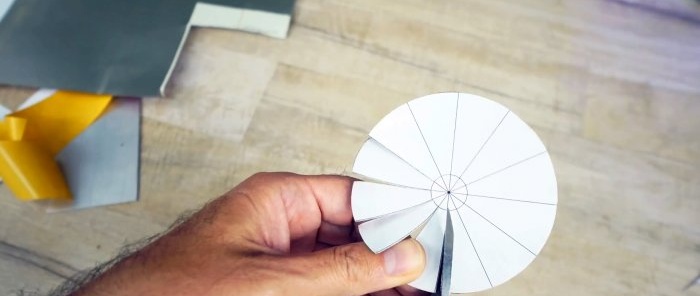
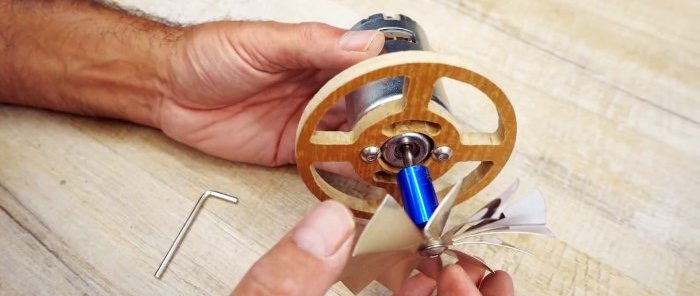
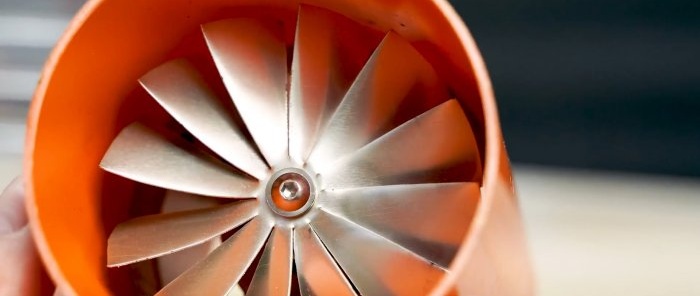
An impeller with a diameter of 90 mm is cut out and bent from thin sheet metal.
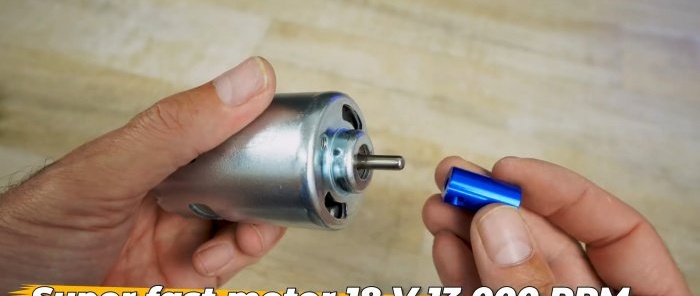
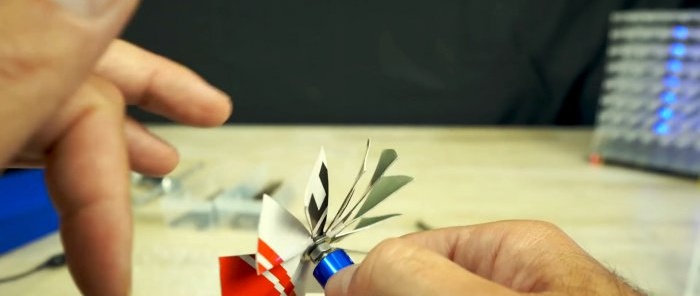
A hole is drilled in its center. Through it, it must be screwed to the flange for installation on the motor shaft.
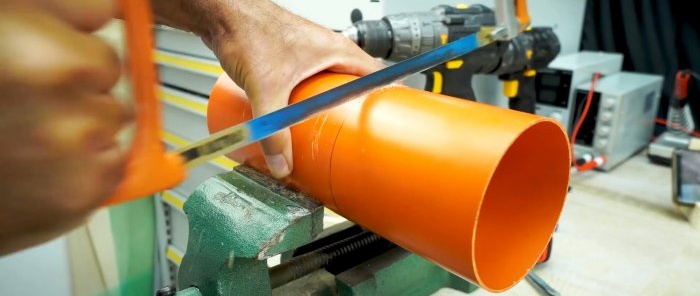
A diffuser is made from a piece of 95 mm pipe.
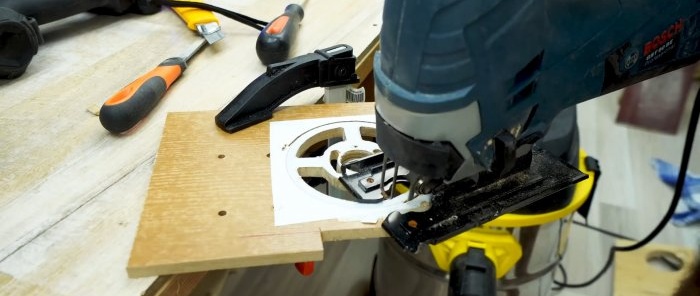
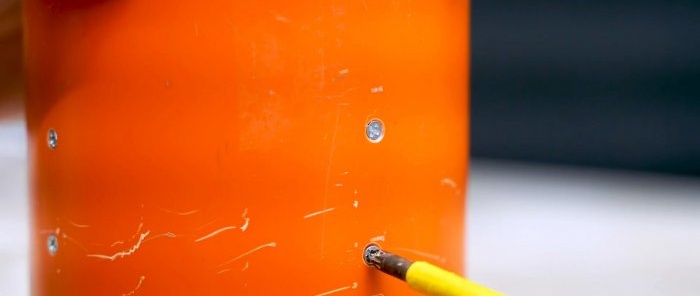
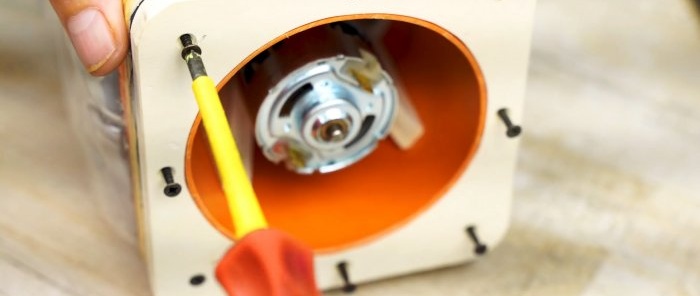
To attach a fan to it, you need to cut a disk out of plywood and cut windows in it to allow air to pass through. The engine is screwed to the resulting part.
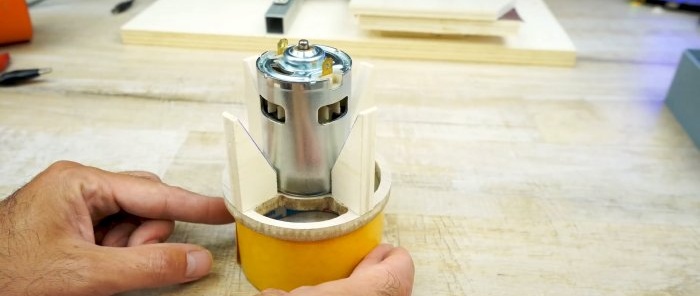
The mount itself will be mounted into the pipe.To prevent the motor from moving in the diffuser, you need to support it with plywood gussets. They will allow you to position the engine exactly in the center of the pipe.
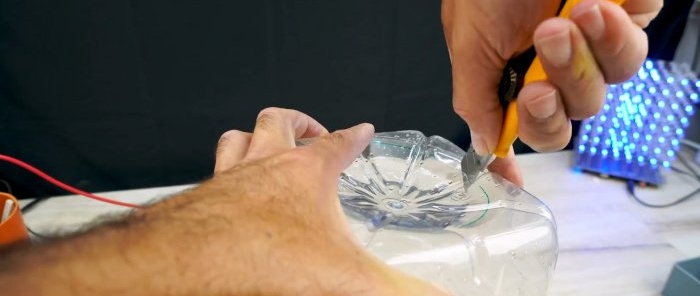
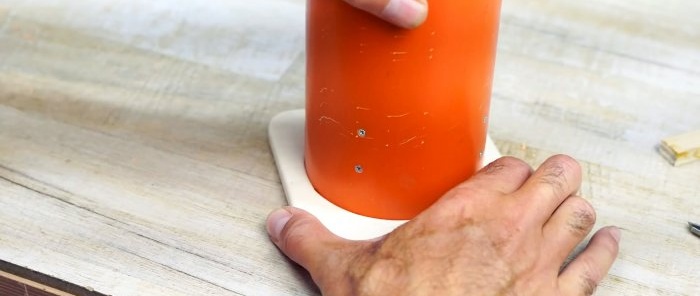
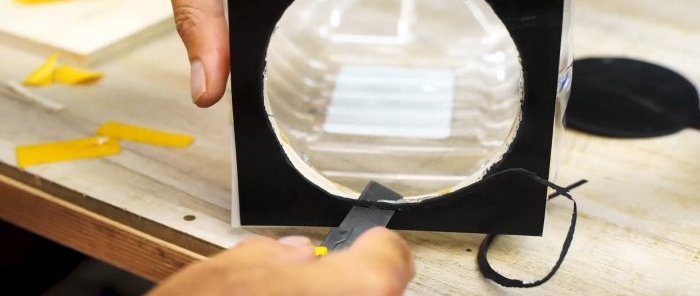
The diffuser is applied to the bottom of a plastic bottle. You need to cut a hole along it so that the pipe fits freely inside.
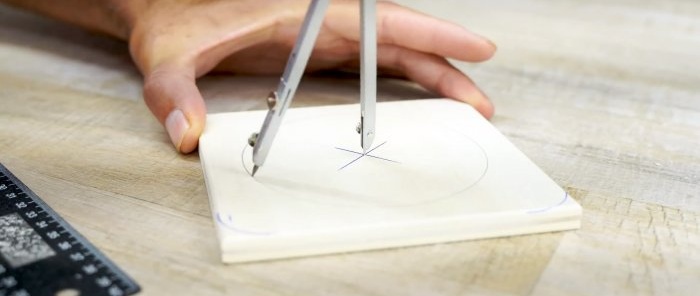
Next, 2 spacers are cut out of plywood with a hole for the diffuser.
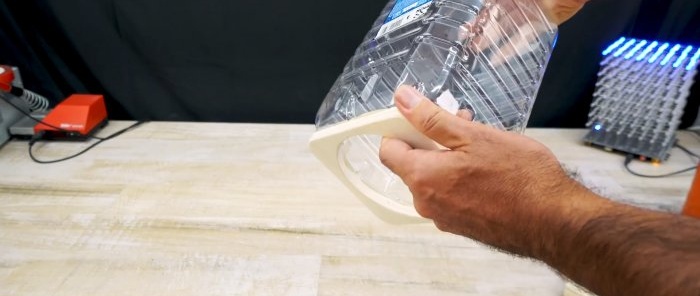
Their outer size should be the same as the bottom of the bottle. One spacer is glued to the diffuser on the air blowing side. The second one is glued to the bottom of the bottle. Then they are twisted together with self-tapping screws through a rubber gasket.
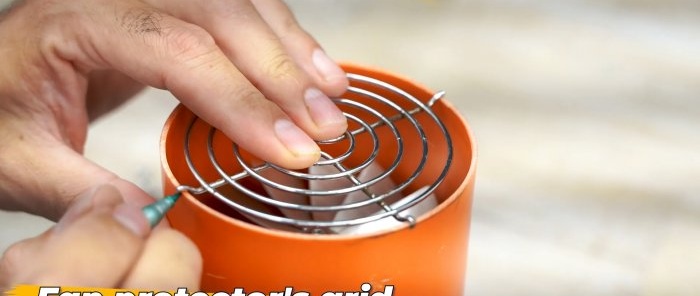
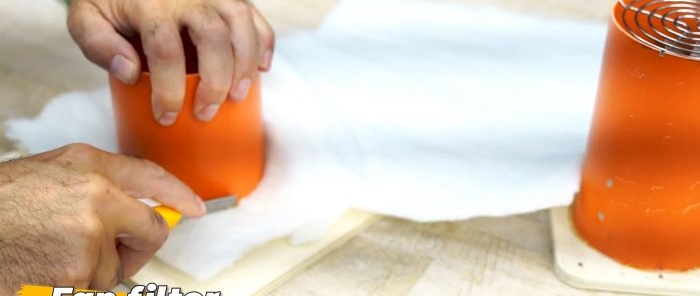
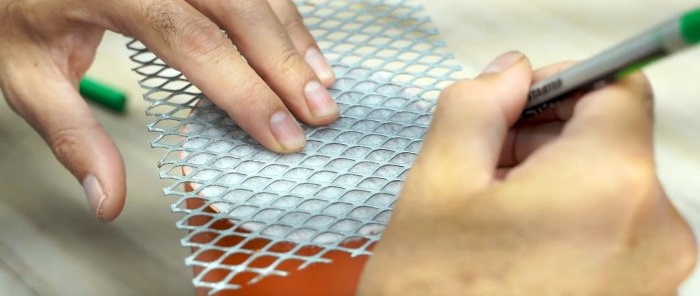
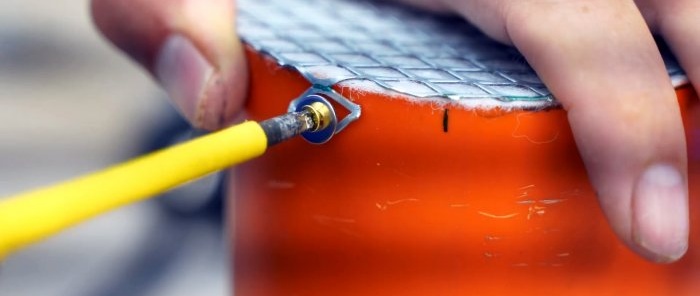
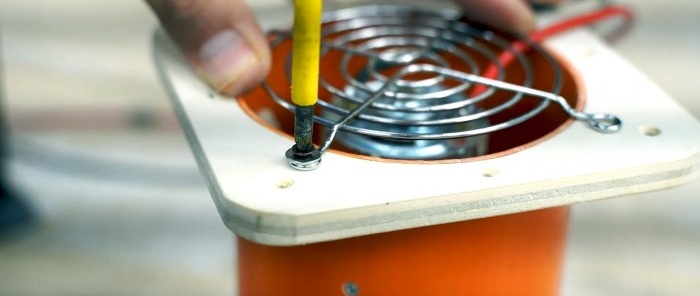
After adjusting the main parts, you need to start protecting the engine. To do this, a grille is installed on the diffuser on the air intake side. A thin layer of synthetic padding is laid on it, then it is pressed with an overlay made of mesh with a fine mesh.
Next, wires are soldered to the motor contacts, then it is covered with a second grille.
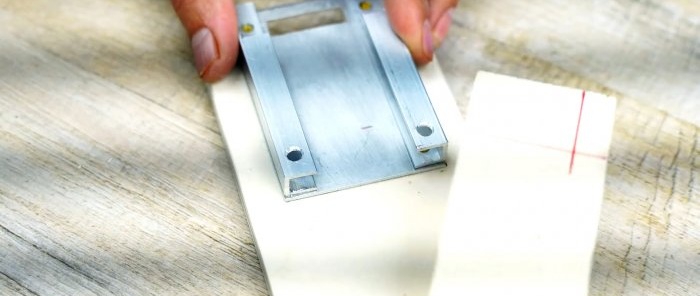
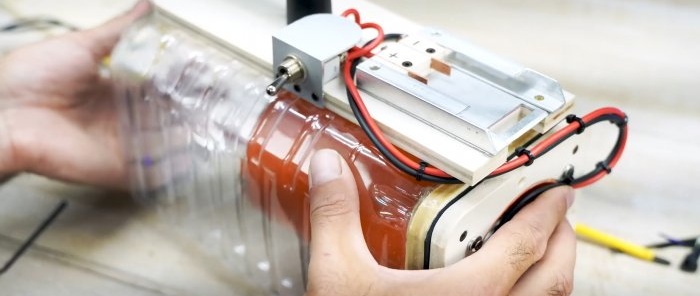
At the next stage, a platform for the handle and battery for the screwdriver is cut out of plywood. You need to make a socket for the battery from sheet aluminum and corners.
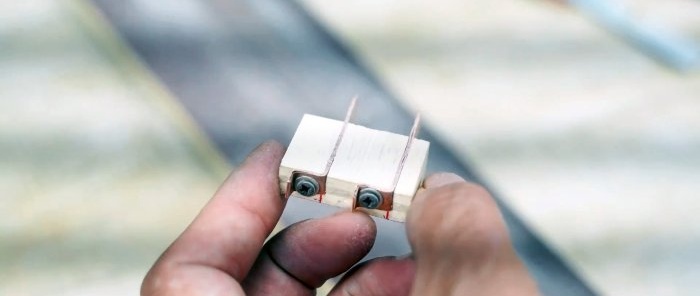
Next, contacts are made from copper strips. They are inserted into cuts on a wooden block and screwed into an aluminum socket. As a result, when installing the battery, voltage must be supplied to the homemade terminal block.
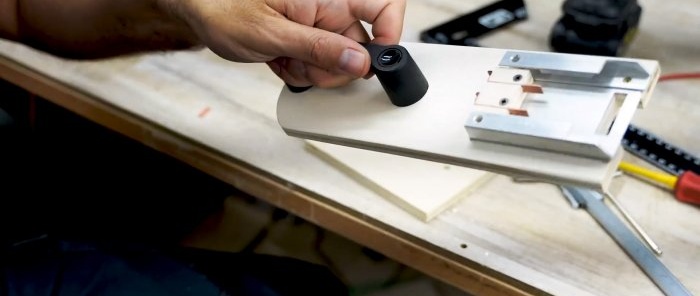
A stand with a socket and a handle is glued to the side of the bottle. Wires from the engine are soldered to it through a toggle switch.
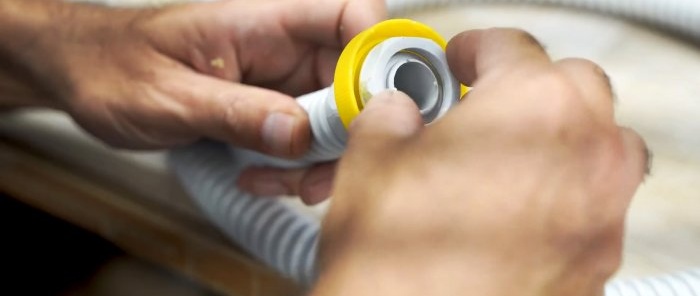
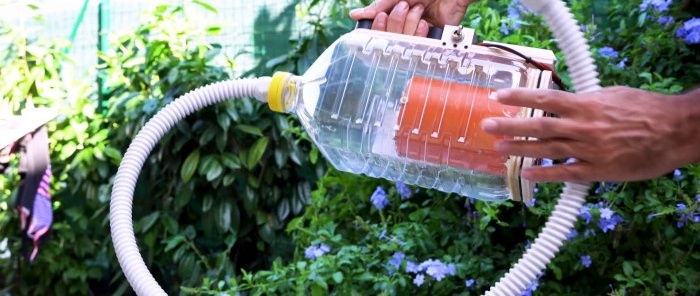
Now all that remains is to deal with the sleeve. You can use corrugated wire for laying electrical wiring. It is connected to the bottle cap using an oil seal.
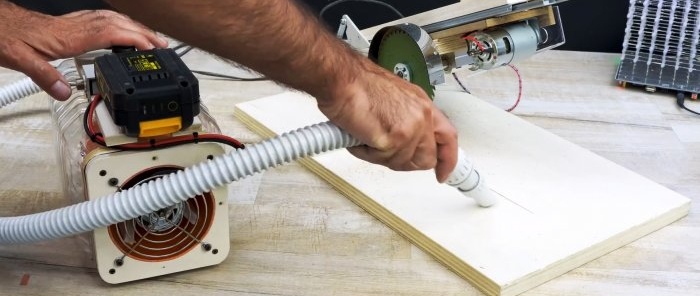
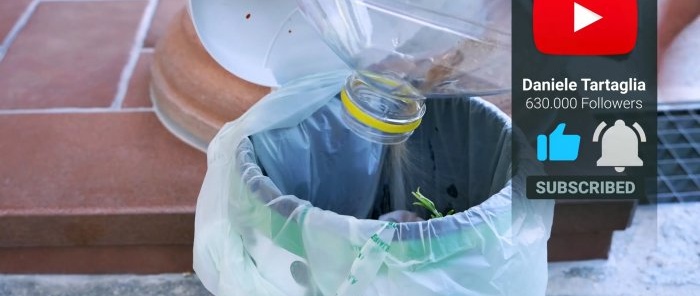
It will be more convenient to vacuum with a pipe, since you can reach hard-to-reach places. The garbage from the vacuum cleaner is shaken out through the lid.
You should also be interested in the article on how to make a powerful 220 V vacuum cleaner for a workshop - https://home.washerhouse.com/en/2427-pylesos-dlya-masterskoy.html
Basic materials:
- High-speed electric motor 12-18V -
- flange on the motor shaft;
- thin sheet metal;
- PET bottle 5 l;
- sewer pipe 95 mm;
- plywood up to 12 mm;
- fan grilles – 2 pcs.;
- rubber for gasket;
- padding polyester;
- fine mesh;
- toggle switch;
- corrugation 20 mm with oil seal.
Vacuum cleaner manufacturing process
An impeller with a diameter of 90 mm is cut out and bent from thin sheet metal.
A hole is drilled in its center. Through it, it must be screwed to the flange for installation on the motor shaft.
A diffuser is made from a piece of 95 mm pipe.
To attach a fan to it, you need to cut a disk out of plywood and cut windows in it to allow air to pass through. The engine is screwed to the resulting part.
The mount itself will be mounted into the pipe.To prevent the motor from moving in the diffuser, you need to support it with plywood gussets. They will allow you to position the engine exactly in the center of the pipe.
The diffuser is applied to the bottom of a plastic bottle. You need to cut a hole along it so that the pipe fits freely inside.
Next, 2 spacers are cut out of plywood with a hole for the diffuser.
Their outer size should be the same as the bottom of the bottle. One spacer is glued to the diffuser on the air blowing side. The second one is glued to the bottom of the bottle. Then they are twisted together with self-tapping screws through a rubber gasket.
After adjusting the main parts, you need to start protecting the engine. To do this, a grille is installed on the diffuser on the air intake side. A thin layer of synthetic padding is laid on it, then it is pressed with an overlay made of mesh with a fine mesh.
Next, wires are soldered to the motor contacts, then it is covered with a second grille.
At the next stage, a platform for the handle and battery for the screwdriver is cut out of plywood. You need to make a socket for the battery from sheet aluminum and corners.
Next, contacts are made from copper strips. They are inserted into cuts on a wooden block and screwed into an aluminum socket. As a result, when installing the battery, voltage must be supplied to the homemade terminal block.
A stand with a socket and a handle is glued to the side of the bottle. Wires from the engine are soldered to it through a toggle switch.
Now all that remains is to deal with the sleeve. You can use corrugated wire for laying electrical wiring. It is connected to the bottle cap using an oil seal.
It will be more convenient to vacuum with a pipe, since you can reach hard-to-reach places. The garbage from the vacuum cleaner is shaken out through the lid.
Watch the video
You should also be interested in the article on how to make a powerful 220 V vacuum cleaner for a workshop - https://home.washerhouse.com/en/2427-pylesos-dlya-masterskoy.html
Similar master classes
Particularly interesting
Comments (0)

