How to make a miter saw with a broach for an angle grinder from bicycle bushings
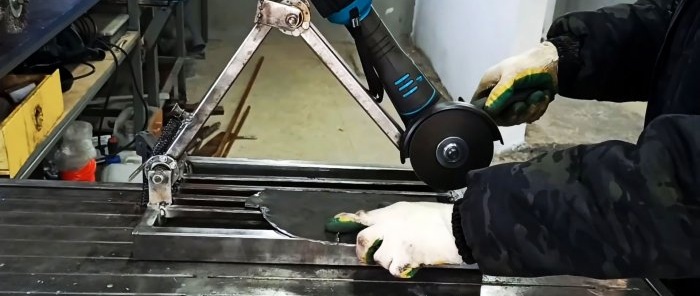
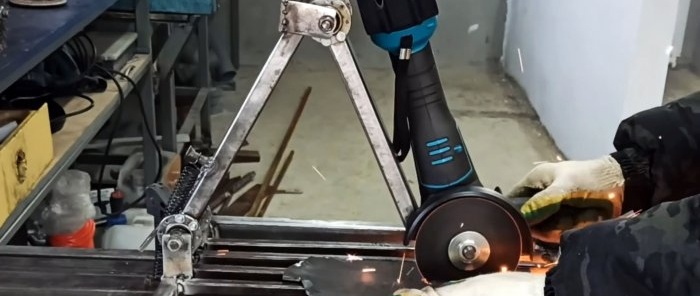
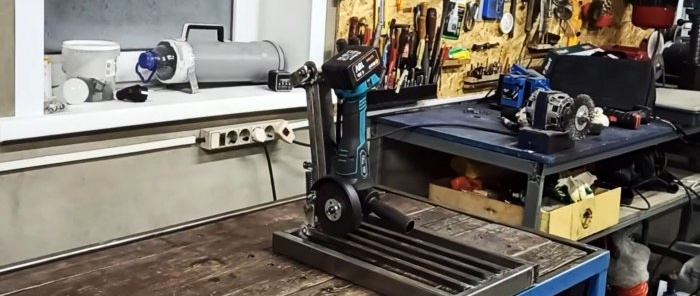
For quick and accurate cutting of metal workpieces, it is convenient to use a miter saw with a broach. Since this is not a cheap tool, you can simply make a special stand for installing an angle grinder on it. This device almost completely replaces the trimmer.
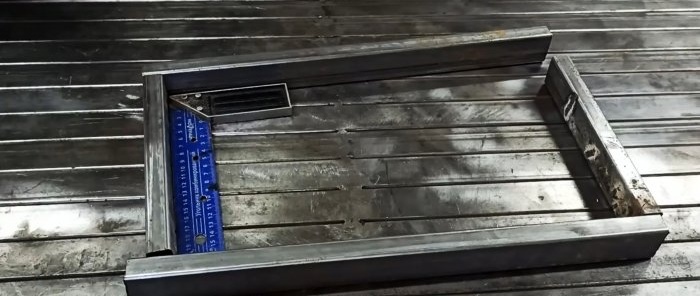
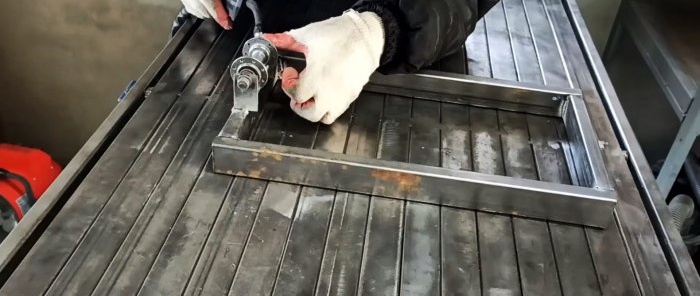
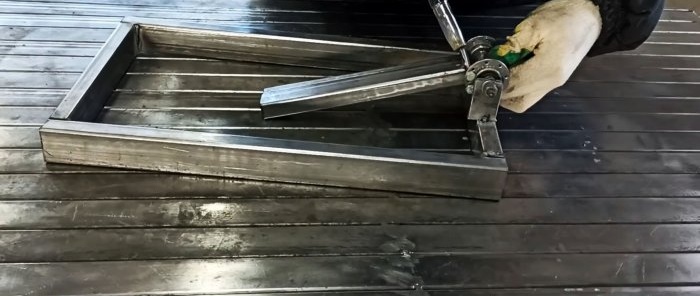
From a profile pipe you need to weld the base of the machine in the form of a frame. Its width is arbitrary, and its length is around 450 mm.
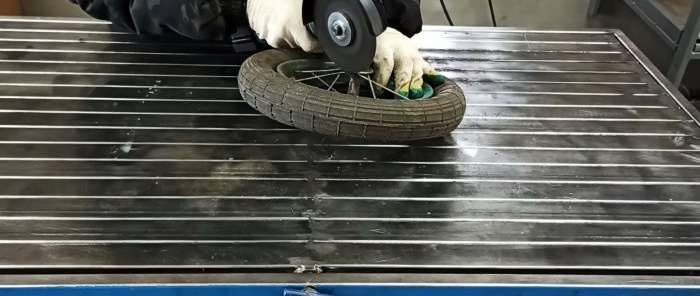
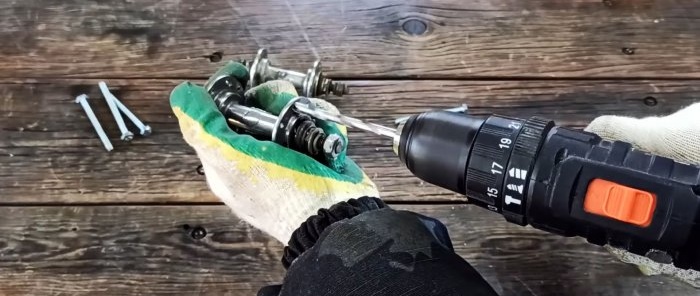
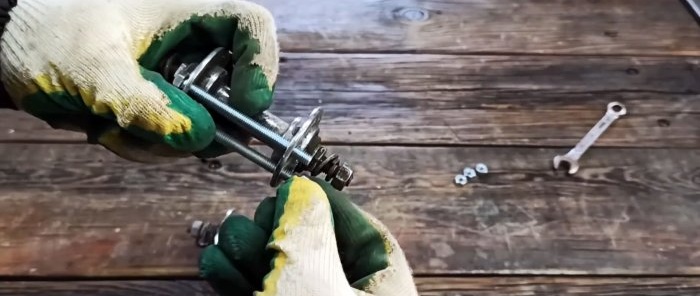
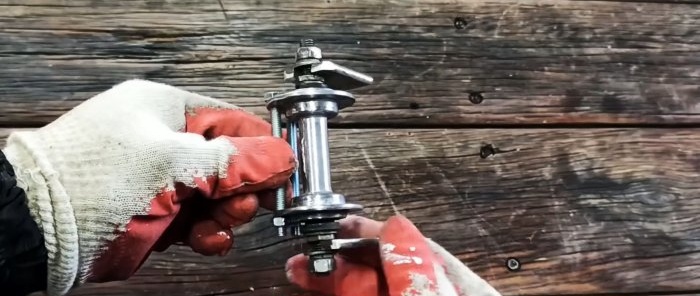
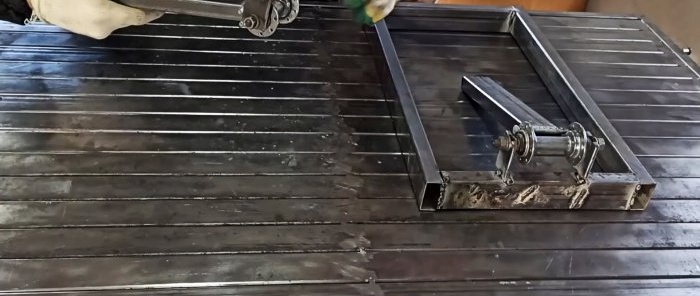
In bicycle hubs, you need to widen the holes for 2 adjacent spokes and insert a bolt into them.
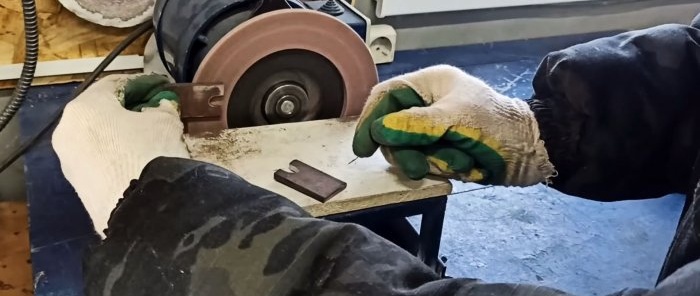
Then eyes with slots for attaching the bushings are cut out of the strip.
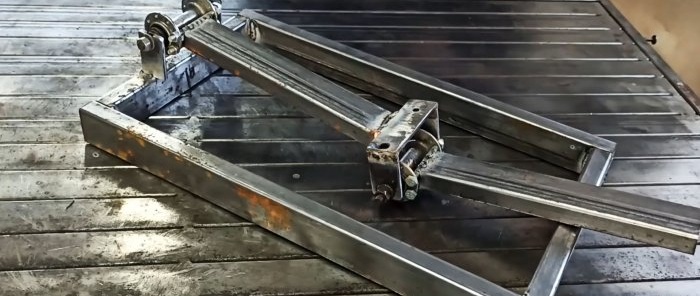
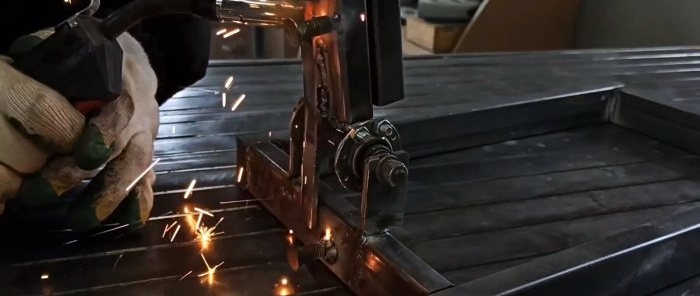
One bushing is welded with eyes to the frame. A 230 mm pipe section is welded to its bolts. Similarly, you need to weld the second free bushing with another piece of pipe.
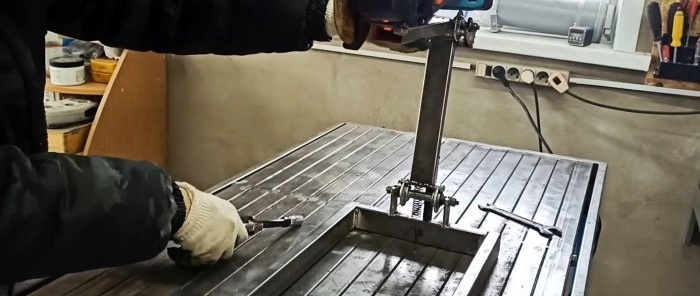
A piece of strip is welded to the eyes installed on the last bushing.The result should be a U-shaped bracket, which must be welded to the pipe on a fixed sleeve. This is done so that the arms can fold completely together.
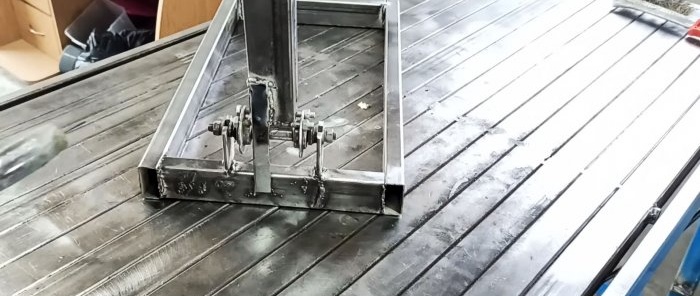
Next, a piece of strip is welded to the beginning of the lower arm. It will serve as a limiter to prevent tipping backwards.
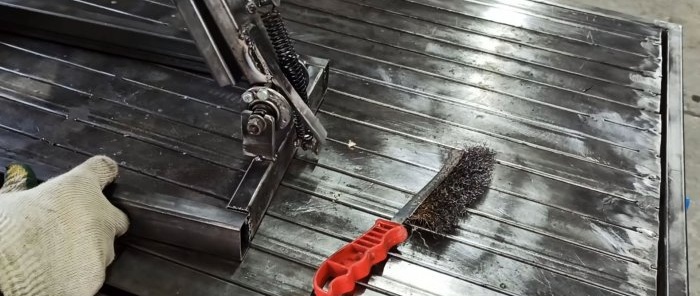
A screw is welded to the frame and the lever with the strip. They will serve as hooks for the spring.
An eyelet is cut out of the strip, which is screwed to the grinder into a hole for installing a removable handle. It will need to be welded to the lever so that the fixed angle grinder moves strictly parallel to the edges of the frame when pulled.
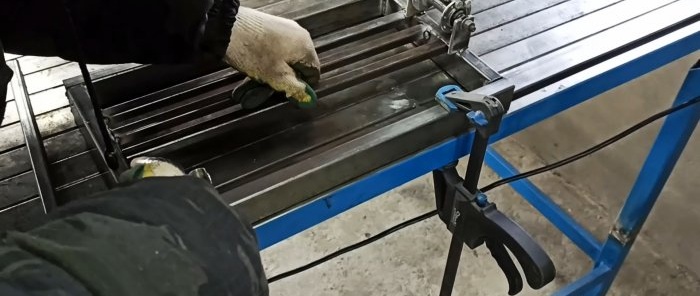
Next, all that remains is to weld the longitudinal tubes into the frame in order to rest the parts against them when cutting.
After this, the machine is used for its intended purpose.
Materials:
- front bicycle hubs – 2 pcs.;
- profile pipe 20x40 mm;
- strip 20 mm;
- spring;
- bolts.
Manufacturing process
From a profile pipe you need to weld the base of the machine in the form of a frame. Its width is arbitrary, and its length is around 450 mm.
In bicycle hubs, you need to widen the holes for 2 adjacent spokes and insert a bolt into them.
Then eyes with slots for attaching the bushings are cut out of the strip.
One bushing is welded with eyes to the frame. A 230 mm pipe section is welded to its bolts. Similarly, you need to weld the second free bushing with another piece of pipe.
A piece of strip is welded to the eyes installed on the last bushing.The result should be a U-shaped bracket, which must be welded to the pipe on a fixed sleeve. This is done so that the arms can fold completely together.
Next, a piece of strip is welded to the beginning of the lower arm. It will serve as a limiter to prevent tipping backwards.
A screw is welded to the frame and the lever with the strip. They will serve as hooks for the spring.
An eyelet is cut out of the strip, which is screwed to the grinder into a hole for installing a removable handle. It will need to be welded to the lever so that the fixed angle grinder moves strictly parallel to the edges of the frame when pulled.
Next, all that remains is to weld the longitudinal tubes into the frame in order to rest the parts against them when cutting.
After this, the machine is used for its intended purpose.
Watch the video
Similar master classes
Do-it-yourself miter saw based on a grinder with a broach

How to make a band saw from bicycle wheels
Do-it-yourself electric grinder file from a grinder
A very simple drilling machine made from the most affordable materials
The simplest grinder made from a grinder, a bicycle hub and a roller

How to weld a beautiful honeycomb partition from a square one
Particularly interesting
Comments (0)

