Snow curtain
You can decorate your apartment for the New Year yourself: all you need is a desire to create and, of course, a little free time. You can give your room a fabulous look with the help of an unusual paper snow curtain.
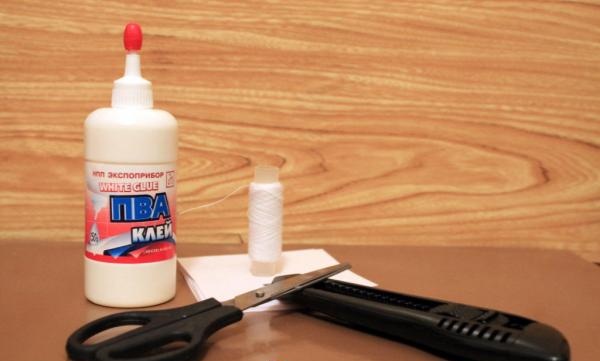
To create it you will need: PVA glue, scissors, a stationery knife, light thread and squares of white paper. It is worth noting that for greater effectiveness of the finished work, you can use transparent threads.
So, first we take a piece of paper (it’s most convenient to take ready-made sheets for notes - they are square and fit better in size) and fold it in half.
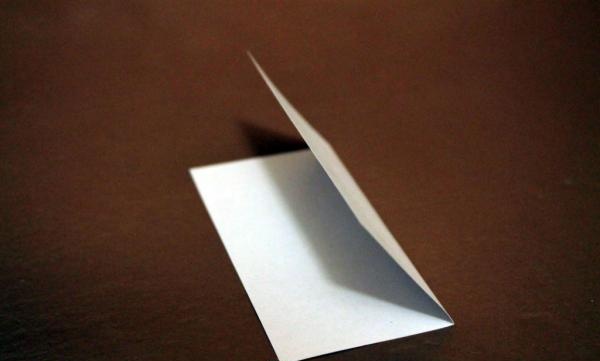
Then fold it again so that you get a square.
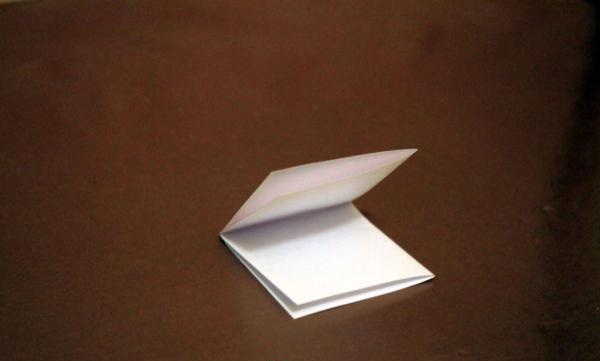
And finally, fold it in half to create a triangle.
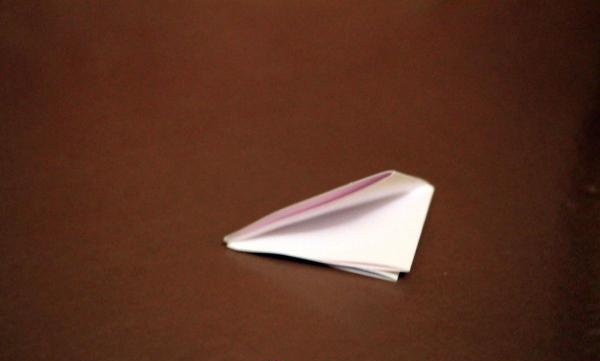
Now, using scissors and a utility knife, you can start cutting out the snowflakes. This can be done by figuratively cutting out the middle part of the triangle (be careful not to accidentally cut off the center of the future snowflake!), and turning it into a regular paper “corner”, like this:
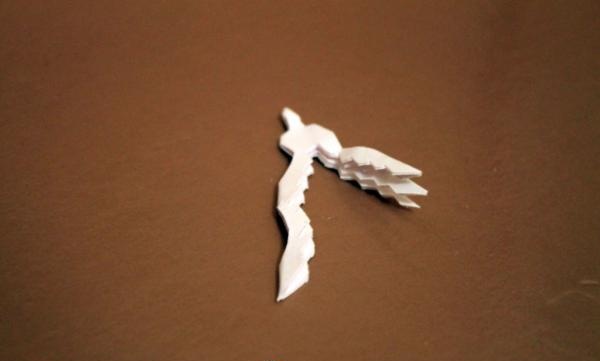
By unfolding the “corner” you will get a beautiful snowflake! Depending on how you cut out the “corner” you can get many options for snowflakes!
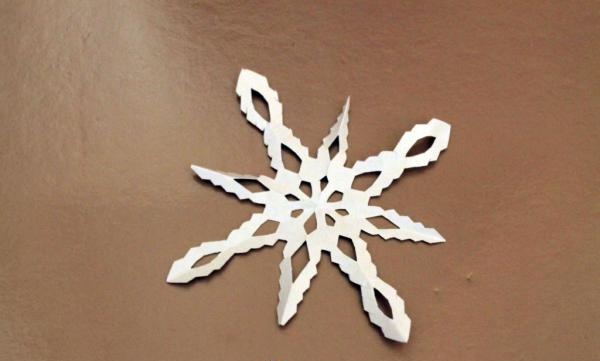
A thread should be attached to the finished snowflakes using PVA glue, and this should be done so that the snowflake does not deform - everything should look neat. You can also string several snowflakes on one thread - it all depends on your desire.
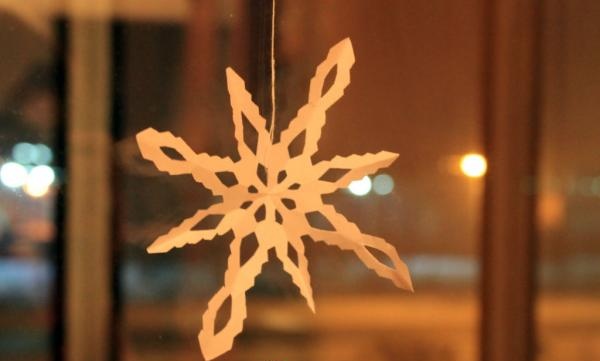
Now that you have prepared the threads, with snowflakes glued to them, you can proceed to the last stage - actually decorating the windows. The most convenient way is to secure the threads on the curtain rod - this can be done with tape or by tying each thread.
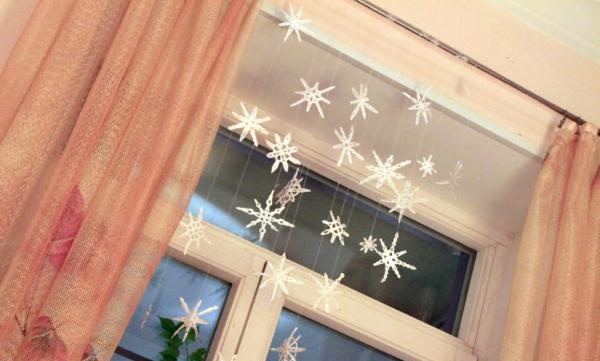
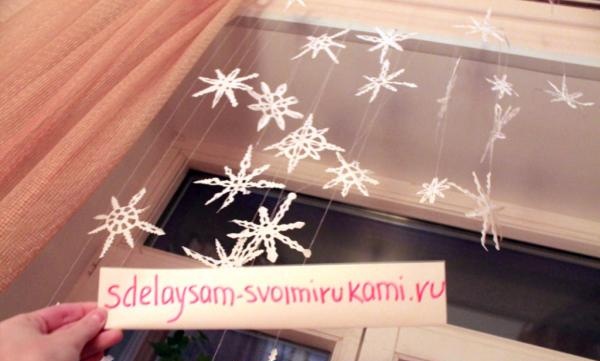
By spending about forty minutes of free time, you will receive a unique window decoration that will help create a fabulous holiday atmosphere!
To create it you will need: PVA glue, scissors, a stationery knife, light thread and squares of white paper. It is worth noting that for greater effectiveness of the finished work, you can use transparent threads.

So, first we take a piece of paper (it’s most convenient to take ready-made sheets for notes - they are square and fit better in size) and fold it in half.

Then fold it again so that you get a square.

And finally, fold it in half to create a triangle.

Now, using scissors and a utility knife, you can start cutting out the snowflakes. This can be done by figuratively cutting out the middle part of the triangle (be careful not to accidentally cut off the center of the future snowflake!), and turning it into a regular paper “corner”, like this:

By unfolding the “corner” you will get a beautiful snowflake! Depending on how you cut out the “corner” you can get many options for snowflakes!

A thread should be attached to the finished snowflakes using PVA glue, and this should be done so that the snowflake does not deform - everything should look neat. You can also string several snowflakes on one thread - it all depends on your desire.

Now that you have prepared the threads, with snowflakes glued to them, you can proceed to the last stage - actually decorating the windows. The most convenient way is to secure the threads on the curtain rod - this can be done with tape or by tying each thread.


By spending about forty minutes of free time, you will receive a unique window decoration that will help create a fabulous holiday atmosphere!
Similar master classes
Particularly interesting
Comments (0)


