How to make a disc leaf cutter
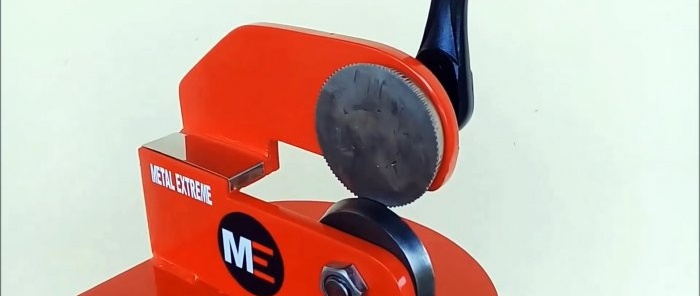
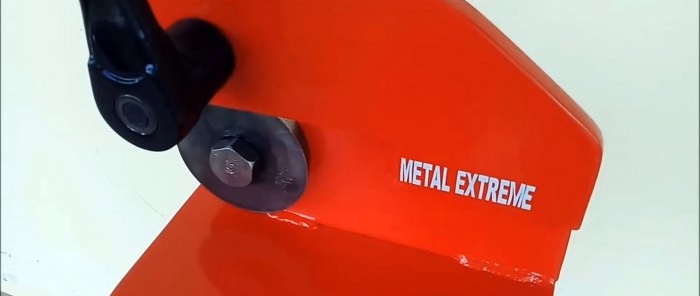
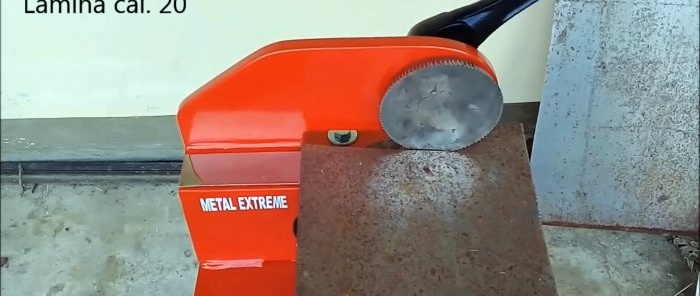
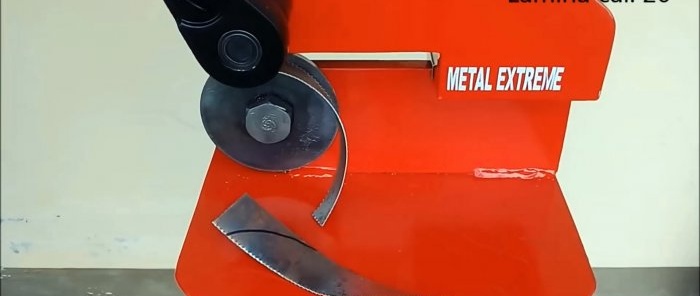
With this device it is easy and simple to cut sheet metal not only along straight but also curved lines, and even cut out circles, ovals and other complex shapes. It can be made without great expense, using simple tools and having average skills in working with metal.
We will need the following materials and products:
In this work you will need: marking compass, plasma cutter, drilling and lathe, grinder, welding, tap with crank, drill, hacksaw for metal, triangular file, spray gun, etc.
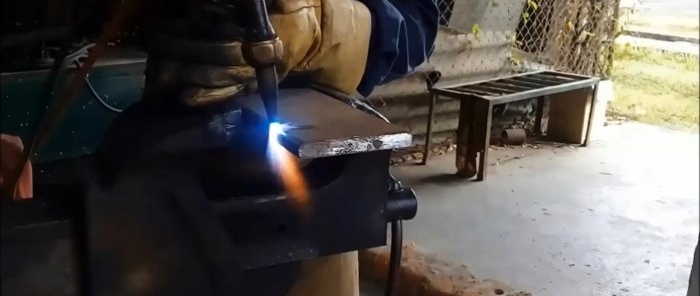
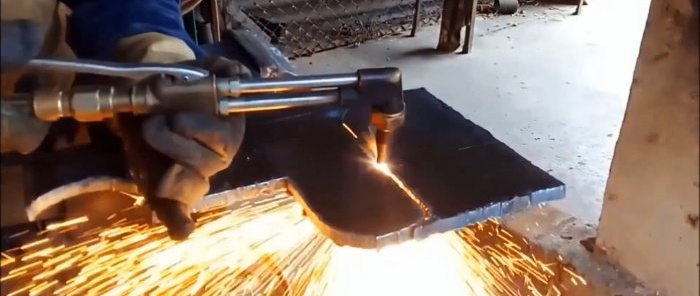
We begin the work with the manufacture of cutting discs. To do this, we draw two equal circles on a strip of tool steel using a marking compass, and holding the strip in a vice, we cut out round blanks with a plasma cutter.
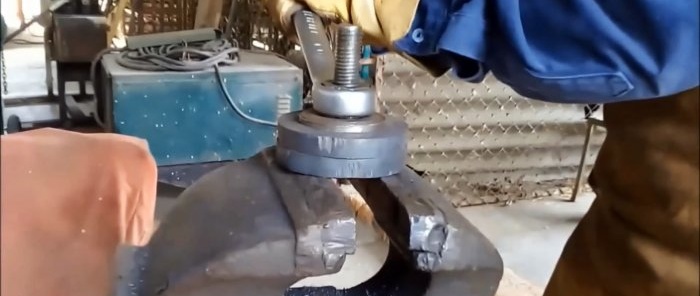
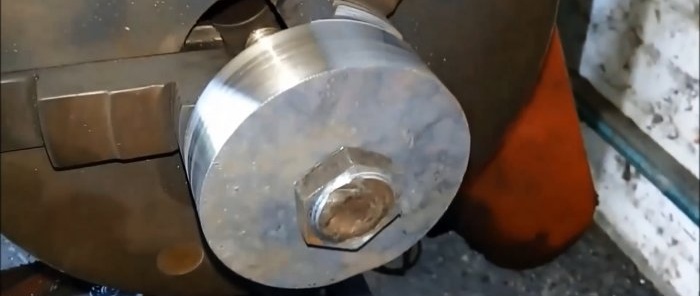
We make holes in the center into which we insert the bolt and, using a pressure washer and nut, firmly compress it.
Next, we grind both blanks and trim them on a lathe to the required dimensions.
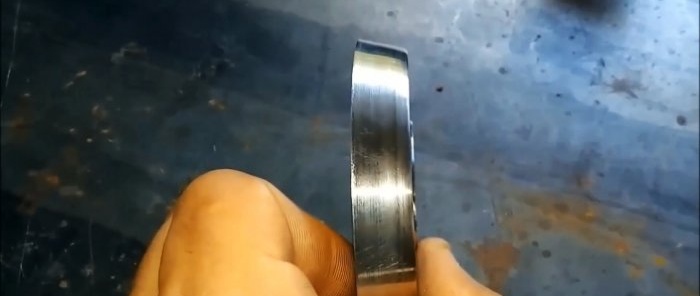
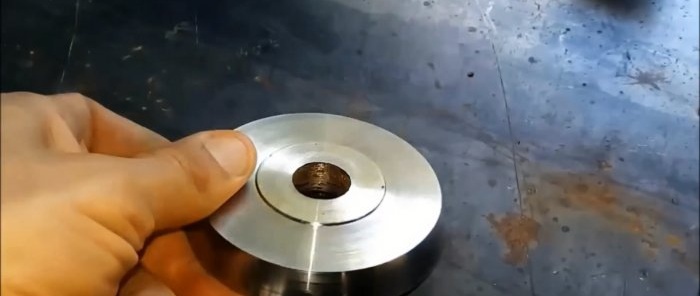
After turning the outer diameters onto a cone, the workpieces acquire the properties of knife disks in terms of geometry, and after hardening and strength.
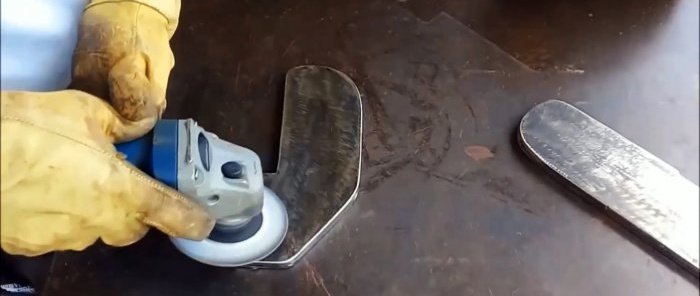
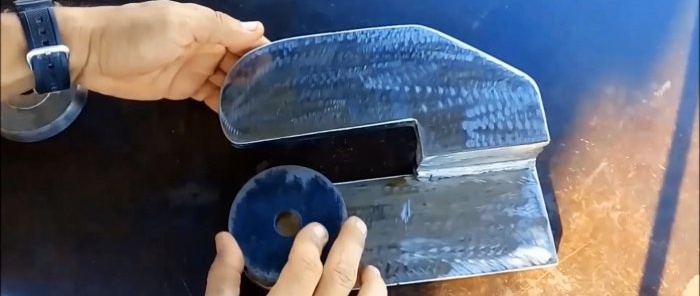
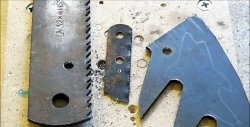
Using a plasma cutter, we cut out two blanks of different shapes from a steel sheet, which, after processing, will become supports for the cutting disks and the basis of the power circuit of the sheet cutter.
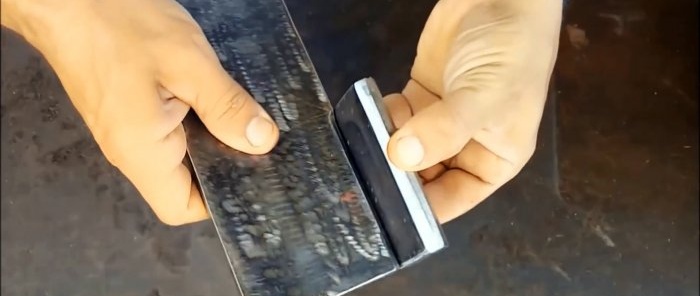
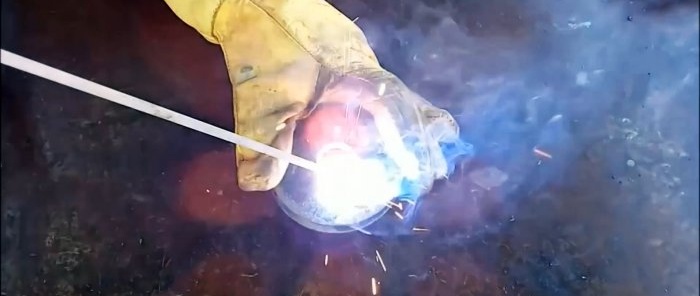
Next, we use a grinder to process these blanks and a small rectangular plate on all sides, making selections and cutting the edges for welding. We place the plate with a beveled edge against the recess of the workpiece with a rounded side and, aligning it vertically, weld it.
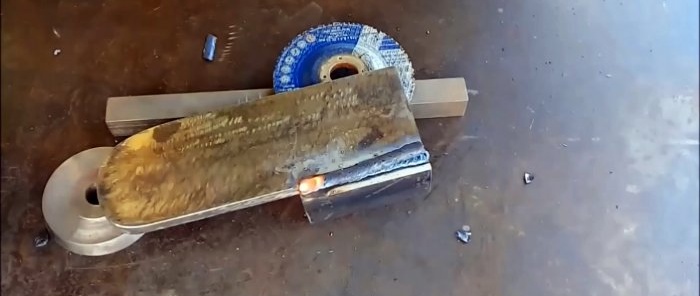
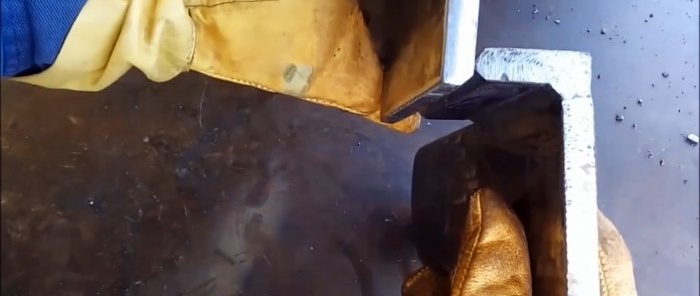
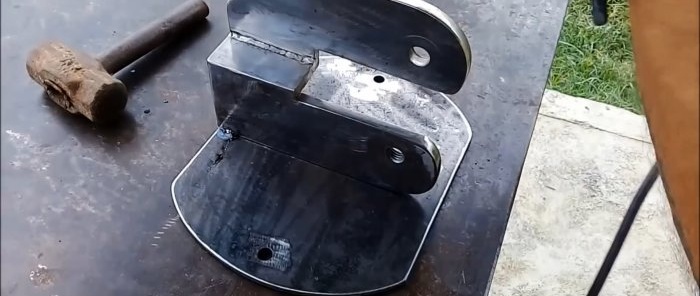
We apply a rectangular protrusion of the second workpiece to this plate on top and, after checking the right angle, weld it on both sides. We clean the weld seams with a grinder and remove defects.
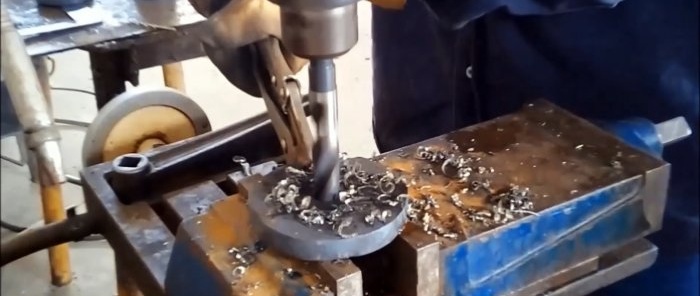
We lay the knife discs to the installation sites with the necessary overlap of the cutting edges and mark the centers of the holes for fastening the discs, made on a drilling machine.
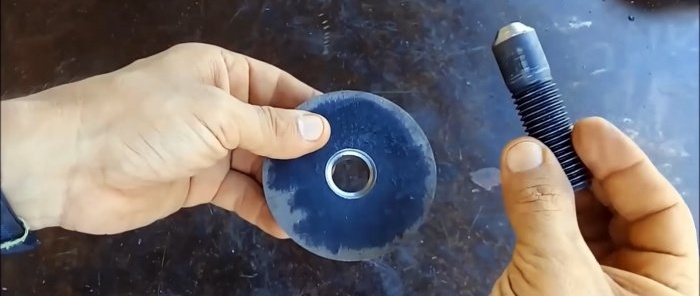
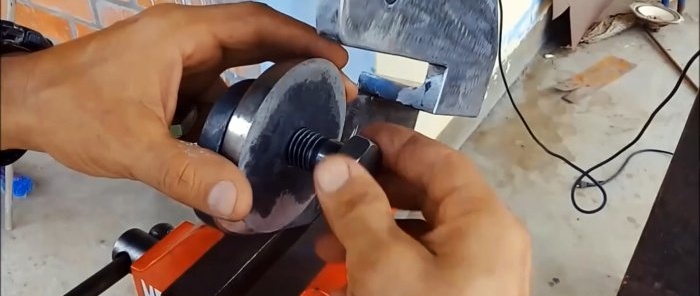
In the hole for securing the driven disk, cut a thread with a tap. We screw the bolt with the knife into it and secure it on the reverse side with a nut.
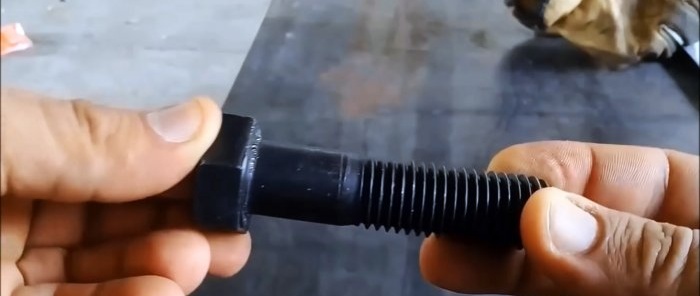
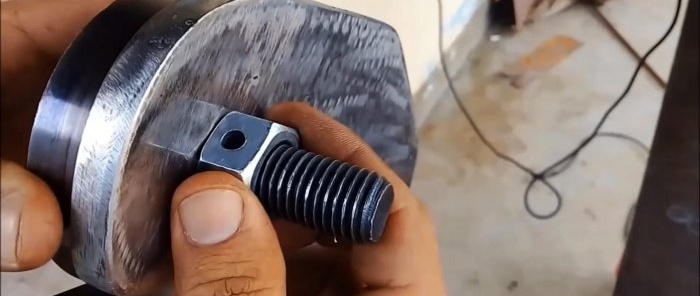
We insert the axis of the drive disk in the form of a bolt without a head into the hole in the center and weld it on the back side. We pass the bolt rod through the stand and on the reverse side we tighten the nut with holes in the opposite edges, onto which we screw the second one.
Using the hole in the first nut, drill a hole for the pin in the bolt shaft. Remove the second nut and cut off the end of the bolt with a metal saw flush with the remaining hardware.
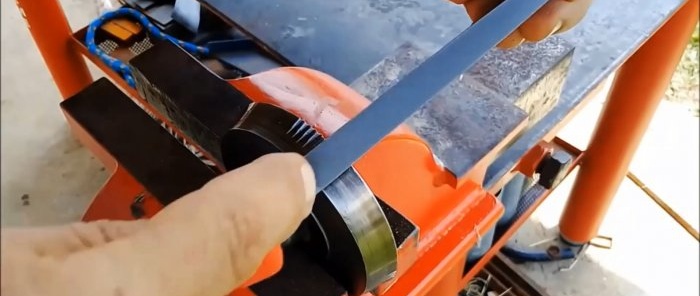
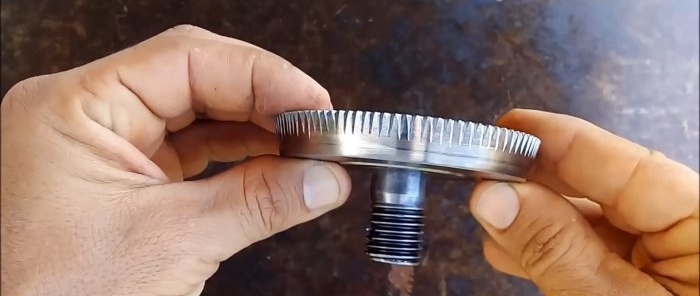
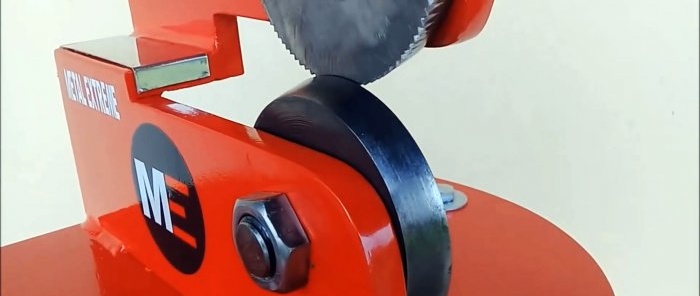
We clamp the drive disk in a vice and use a triangular file on the cutting edge along the entire circumference to cut transverse grooves with which the sheet will be cut and moved.
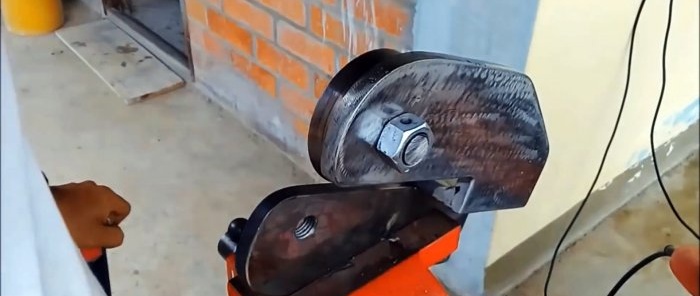
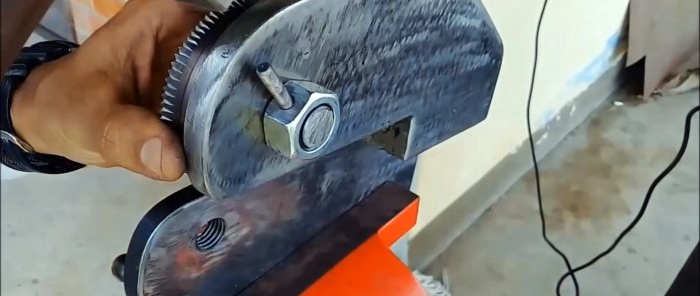
We install the drive disk in place, screw the nut onto the bolt, aligning the holes where we insert the pin and hammer it in flush with the surface of the nut.
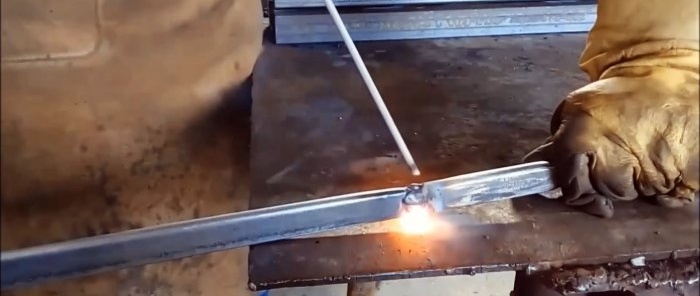
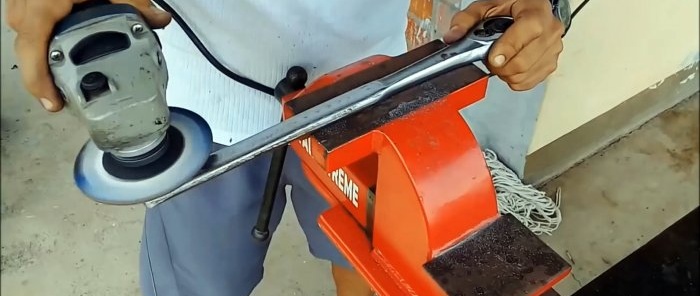
We weld an extension to the handle of the key with a square - a rigid rod to increase the leverage. We clean the welding area with a grinder to remove beads and burrs.
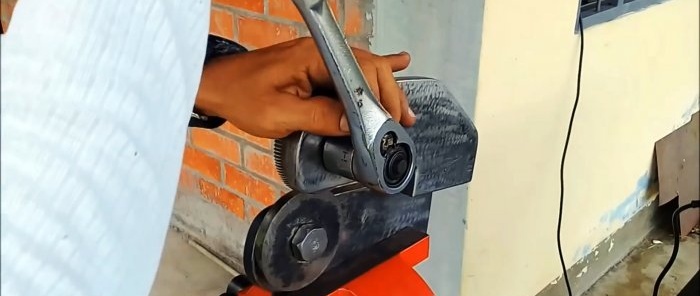
We put a hex head on the drive disk nut, which we rotate with a key with an outer square, inserting it into the square hole of the head.
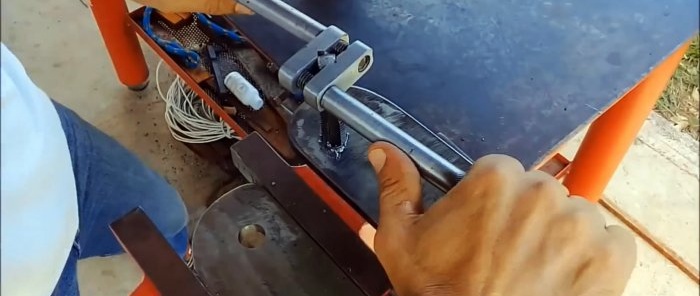
We cut out the base for the sheet cutter from sheet metal and drill two holes in the center closer to the edges. We place the power unit of the device across the base, and, having aligned the vertical, weld it.
We paint the basic parts of the sheet cutter in one color, and the moving parts in another. Let the paint dry and put them back together. The base of the device is bolted to a strong and stable mass.
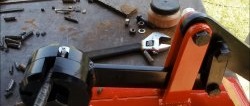
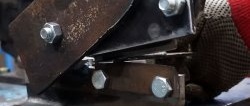
The sheet saw cuts black, galvanized and stainless steel sheets in both straight and curved paths and even cuts out circles, ovals and other complex shapes. To do this, we bring the material to the disc knives and rotate the drive disk.
Will need
We will need the following materials and products:
- tool steel strip;
- steel sheet;
- bolts and nuts;
- pin;
- square wrench;
- steel strip;
- hex head;
- paint in two colors.
In this work you will need: marking compass, plasma cutter, drilling and lathe, grinder, welding, tap with crank, drill, hacksaw for metal, triangular file, spray gun, etc.
Sheet cutter manufacturing process
We begin the work with the manufacture of cutting discs. To do this, we draw two equal circles on a strip of tool steel using a marking compass, and holding the strip in a vice, we cut out round blanks with a plasma cutter.
We make holes in the center into which we insert the bolt and, using a pressure washer and nut, firmly compress it.
Next, we grind both blanks and trim them on a lathe to the required dimensions.
After turning the outer diameters onto a cone, the workpieces acquire the properties of knife disks in terms of geometry, and after hardening and strength.
Using a plasma cutter, we cut out two blanks of different shapes from a steel sheet, which, after processing, will become supports for the cutting disks and the basis of the power circuit of the sheet cutter.
Next, we use a grinder to process these blanks and a small rectangular plate on all sides, making selections and cutting the edges for welding. We place the plate with a beveled edge against the recess of the workpiece with a rounded side and, aligning it vertically, weld it.
We apply a rectangular protrusion of the second workpiece to this plate on top and, after checking the right angle, weld it on both sides. We clean the weld seams with a grinder and remove defects.
We lay the knife discs to the installation sites with the necessary overlap of the cutting edges and mark the centers of the holes for fastening the discs, made on a drilling machine.
In the hole for securing the driven disk, cut a thread with a tap. We screw the bolt with the knife into it and secure it on the reverse side with a nut.
We insert the axis of the drive disk in the form of a bolt without a head into the hole in the center and weld it on the back side. We pass the bolt rod through the stand and on the reverse side we tighten the nut with holes in the opposite edges, onto which we screw the second one.
Using the hole in the first nut, drill a hole for the pin in the bolt shaft. Remove the second nut and cut off the end of the bolt with a metal saw flush with the remaining hardware.
We clamp the drive disk in a vice and use a triangular file on the cutting edge along the entire circumference to cut transverse grooves with which the sheet will be cut and moved.
We install the drive disk in place, screw the nut onto the bolt, aligning the holes where we insert the pin and hammer it in flush with the surface of the nut.
We weld an extension to the handle of the key with a square - a rigid rod to increase the leverage. We clean the welding area with a grinder to remove beads and burrs.
We put a hex head on the drive disk nut, which we rotate with a key with an outer square, inserting it into the square hole of the head.
We cut out the base for the sheet cutter from sheet metal and drill two holes in the center closer to the edges. We place the power unit of the device across the base, and, having aligned the vertical, weld it.
We paint the basic parts of the sheet cutter in one color, and the moving parts in another. Let the paint dry and put them back together. The base of the device is bolted to a strong and stable mass.
The sheet saw cuts black, galvanized and stainless steel sheets in both straight and curved paths and even cuts out circles, ovals and other complex shapes. To do this, we bring the material to the disc knives and rotate the drive disk.
Watch the video
Similar master classes
Particularly interesting
Comments (0)

