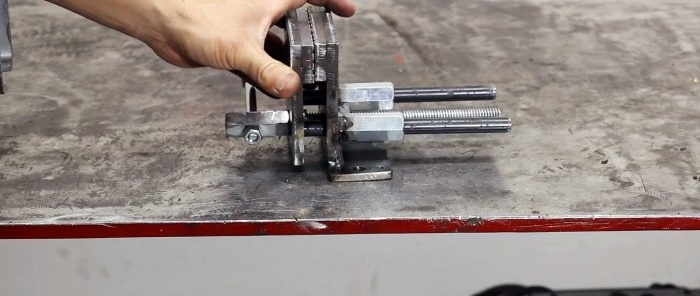
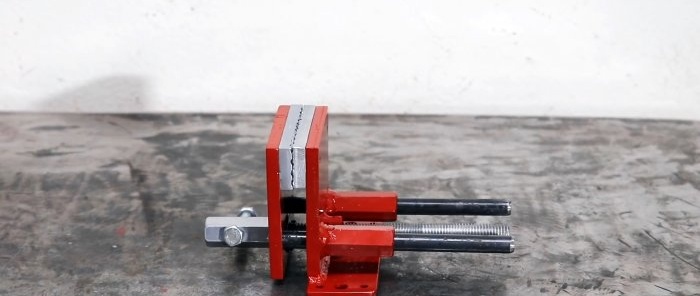
A simple vice design that is easy to replicate with your own hands
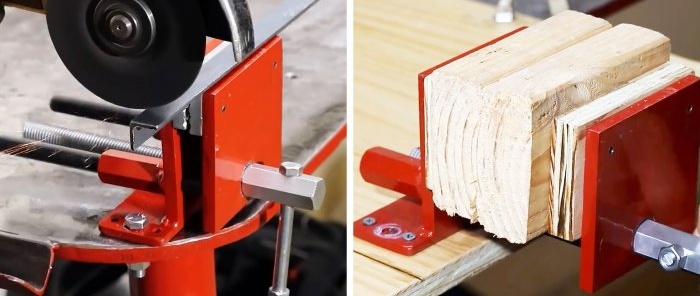
A vice is an integral attribute of a workshop, be it a metalworking or carpentry shop. Unfortunately, this is not a cheap instrument that may not be practical for an amateur to purchase. In this case, it is better to make a vice yourself. There are many master classes on assembling them, but many of them are too complicated and require more than one day of time. We offer a simpler method that allows you to make a very convenient vice that is comfortable to use.
Materials:
- Steel plate 6-12 mm;
- stud M8, M20;
- strip 50 mm;
- rod 18-20 mm;
- extended nuts M20 – 3 pcs.;
- nut M20 – 1 pc.;
- M8 nuts – 2 pcs.;
- cotter pin
Vise manufacturing process
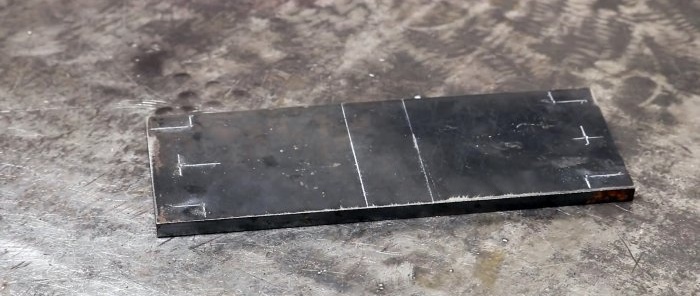
It is necessary to make vise jaws of a convenient size for yourself from a thick-walled steel plate.
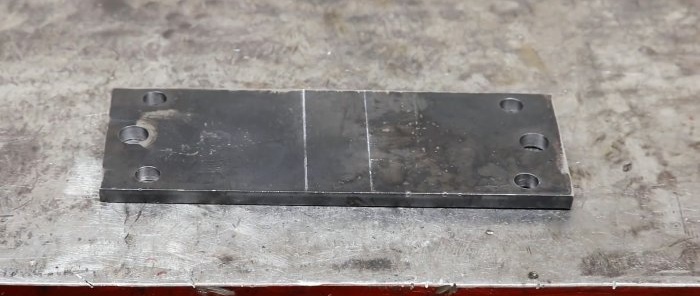
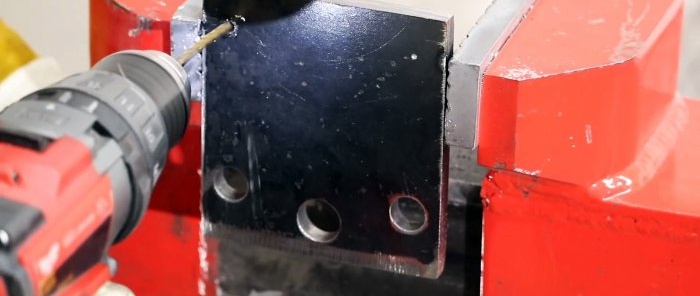
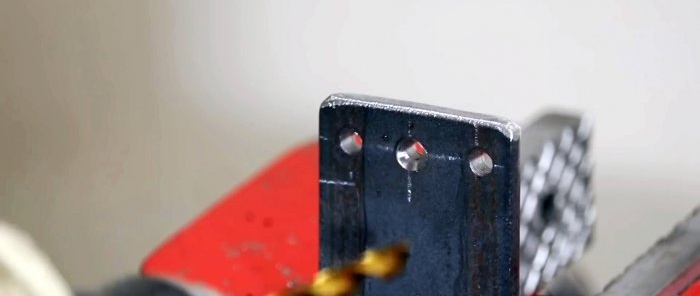
They require 3 holes to be drilled. The central one is made for a screw, and the side ones for guides.
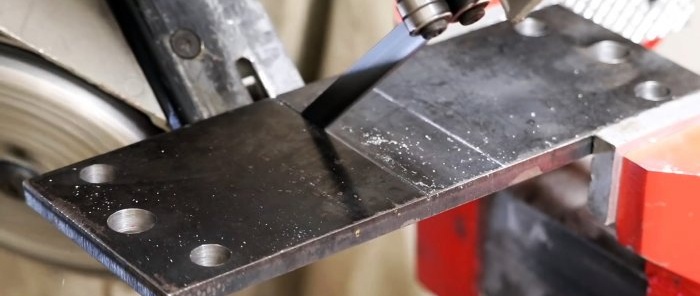
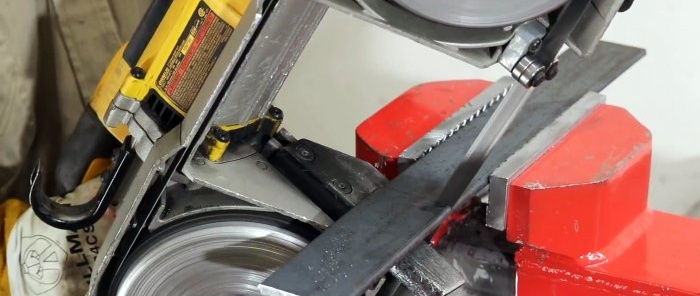
The workpiece is sawn.
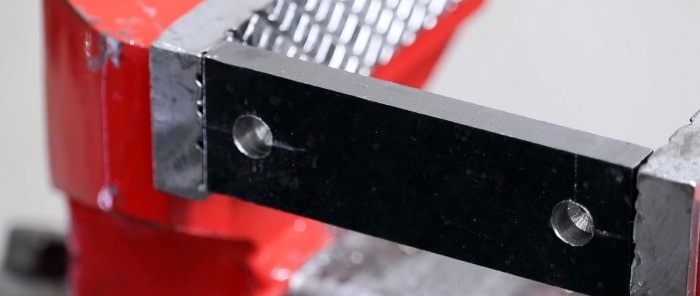
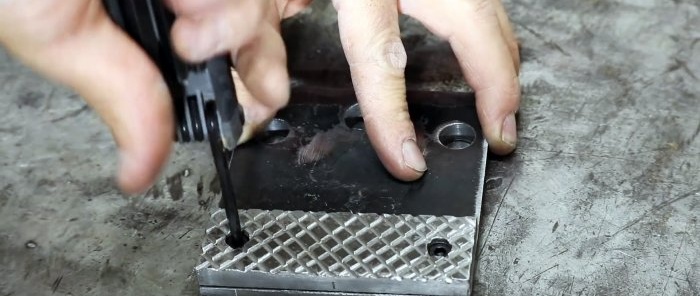
From the other end of the jaws, the corners are drilled with a thin drill. An M6 thread is cut into the resulting holes for attaching the linings.
The linings themselves are cut from the same steel plate.They need to be drilled and countersunk holes for a countersunk screw.
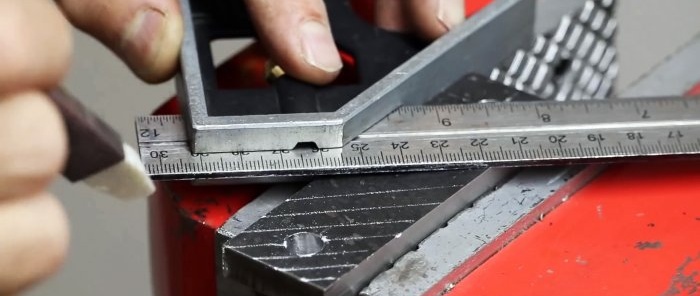
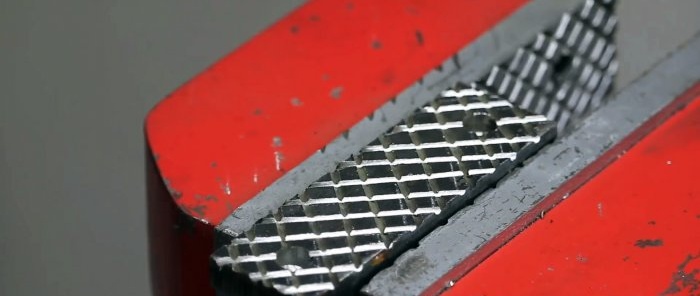
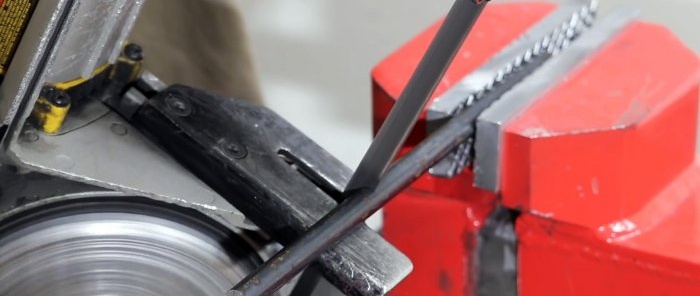
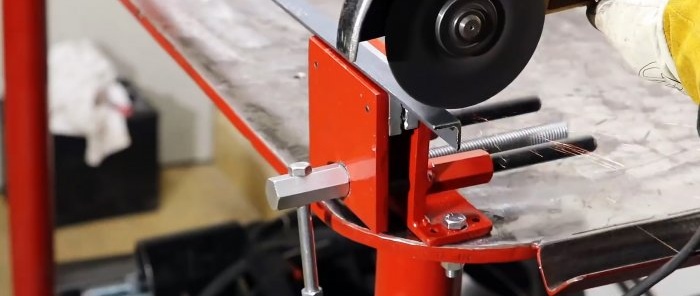
The overlays must be marked with intersecting lines at 45 degrees. According to the markings, cuts are made with a grinder.
After this, the pads are screwed to the jaws.
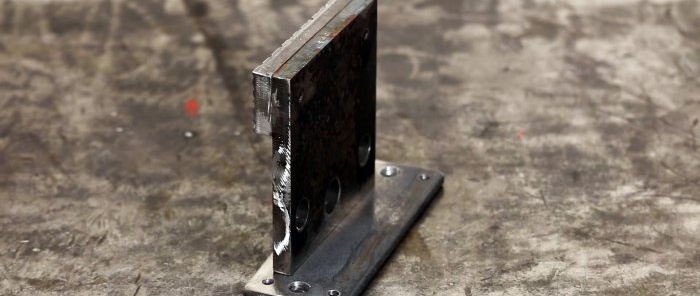
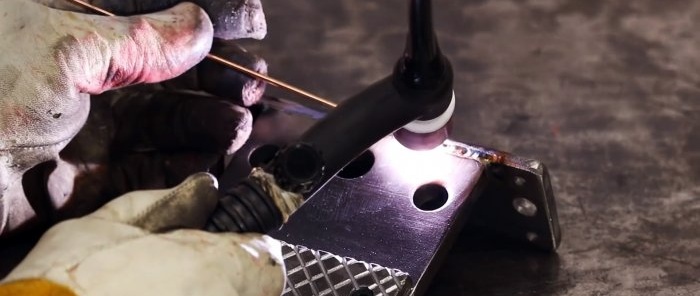
A workpiece longer than the width of the vice jaw is cut from a steel strip. It needs to be drilled along the edges to attach it to the table.
It is then welded at right angles to one of the jaws.
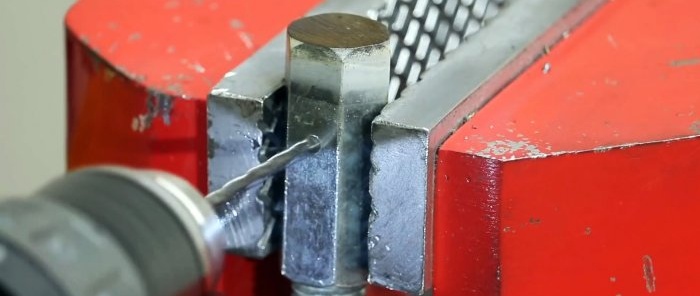
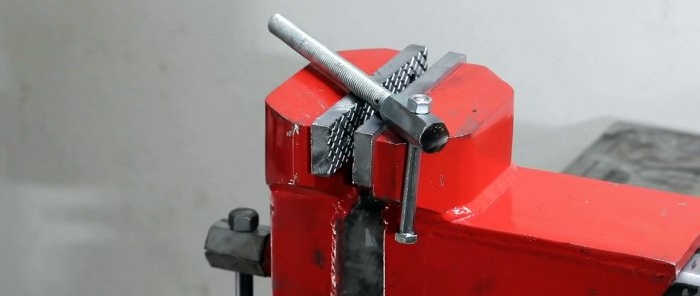
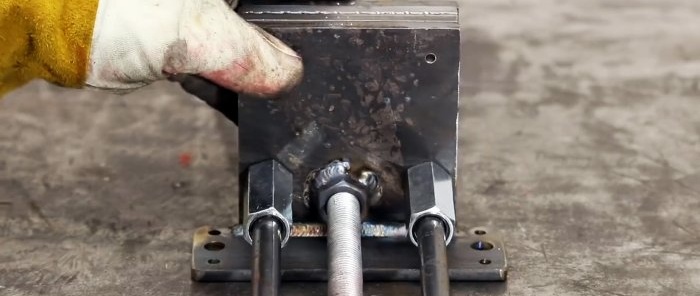
Next you should deal with the screw. To do this, use a threaded rod. An extended nut is screwed onto it and welded. The nut is then drilled. A thin pin is inserted into the hole, and nuts are attached to the edges. As a result, we get a handle.
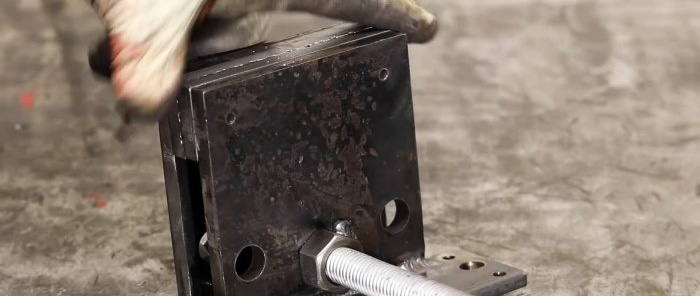
The jaws of the vice must be tightened with a screw by screwing a regular nut onto it. To compensate for the presence of overlays, a temporary spacer of the same cross-section is used below. Next you need to weld the nut to the second jaw.
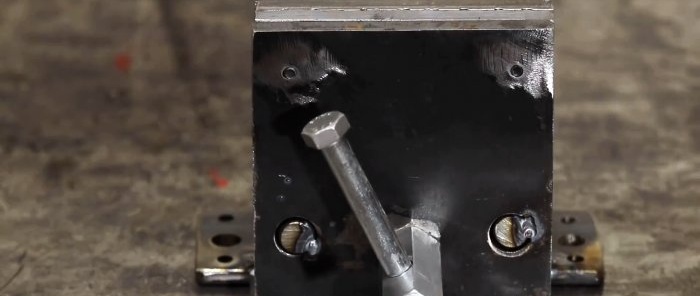
Now you should work on the guides. Take 2 rods and weld them into the holes of the first jaw. Thus, they will not allow the vice halves to warp when the screw rotates. On the reverse side, elongated nuts or tubes are put on them. They must be welded to the second sponge.
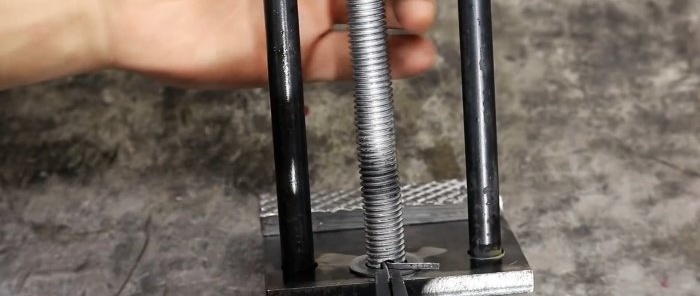
The vice is disassembled. Then you need to fix the screw on the first jaw. To do this, it is drilled immediately behind it. A washer is put on the screw and a cotter pin is inserted. With it, the vice will already open and close.
Now all that remains is to paint them and screw them to the table.
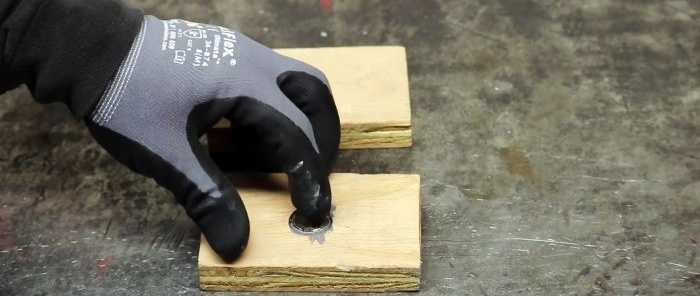
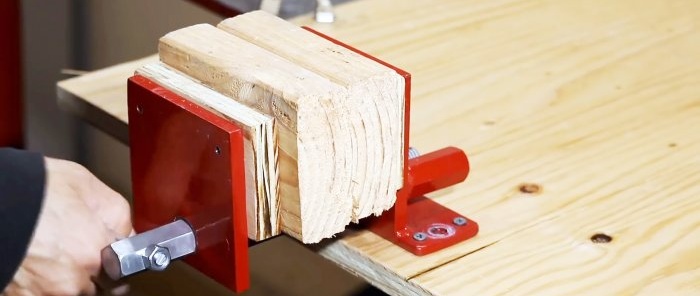
If you plan to use a vice for working with wood, you can make soft pads. To do this, take 2 wooden planks or pieces of plywood, and neodymium magnets are glued into them.
Due to this, they can be placed on the jaws, having first removed the notched locking pads.

