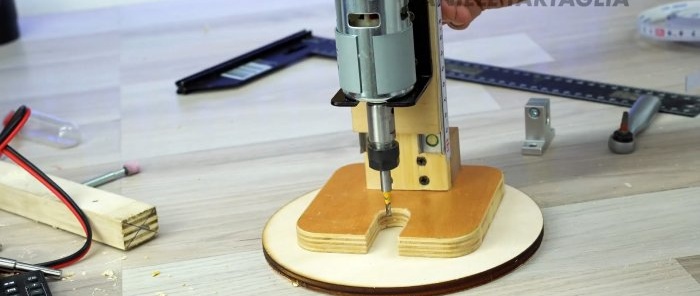
How to make a mini router with low voltage power for a variety of tasks
Power tools are often not suitable for fine woodworking. It removes too much wood at once and is difficult to control. However, if you make such a mini router, you will be able to carry out even wood engraving accurately and efficiently.
Materials:
- Ball guides for drawers – 2 pcs.;
- electric motor 775 with bracket -
- collet chuck with cutter - http://alii.pub/5x87f3
- power supply with connector - http://alii.pub/5nigpc
- wires;
- power button;
- board 10x50 mm, plywood 20 mm, lath 40x40 mm;
- M6 bolt and M6 wing nut.
Milling cutter manufacturing process
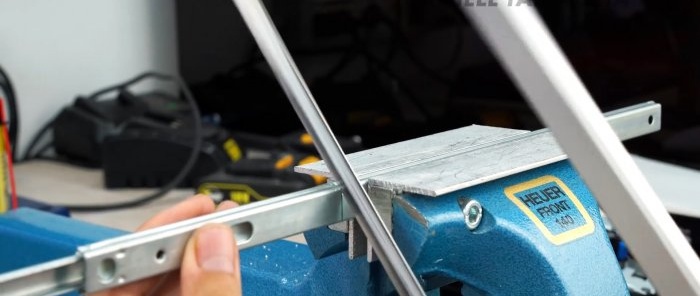
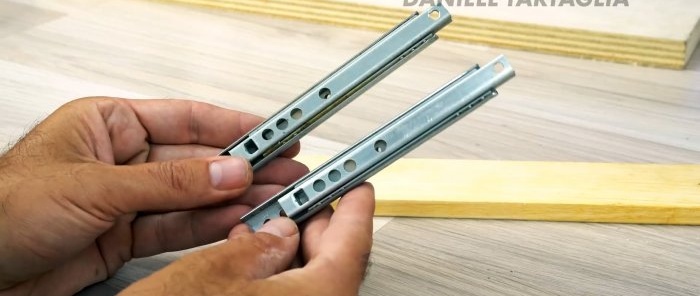
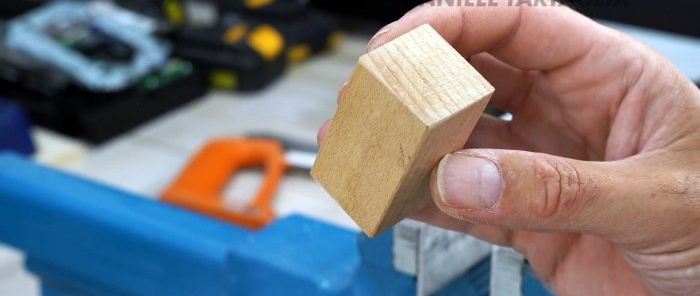
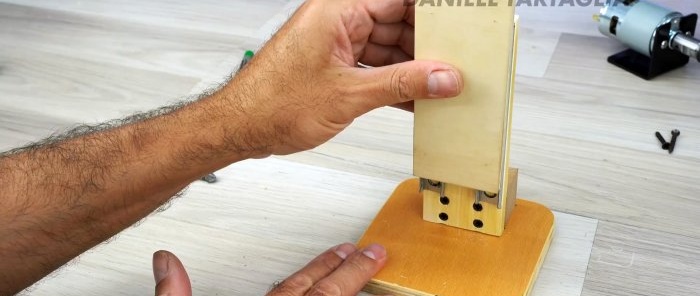
You need to take a pair of ball telescopic drawer slides and shorten them to a length of 125 mm. Next, 2 parts with a length of 125 mm and 155 mm are cut out of a thin board 50 mm wide.
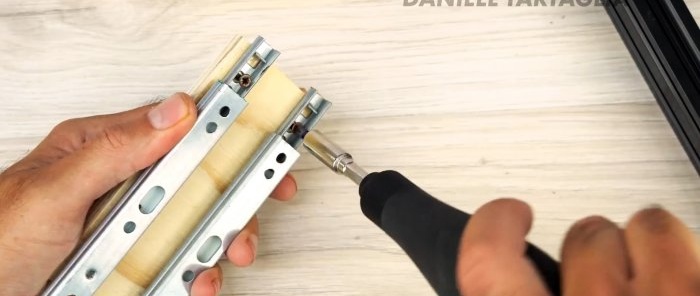
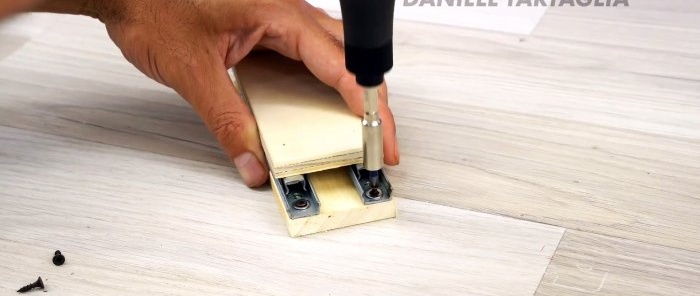
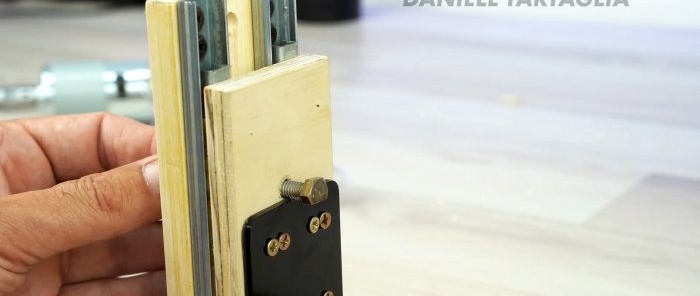
Now we have to fasten the boards to each other through ball guides. To do this, the latter must first be glued with double-sided tape, and then screwed with self-tapping screws.
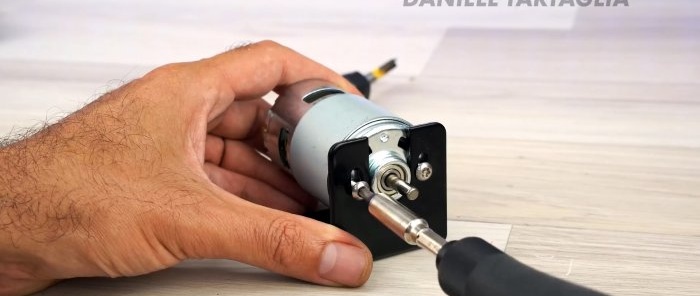
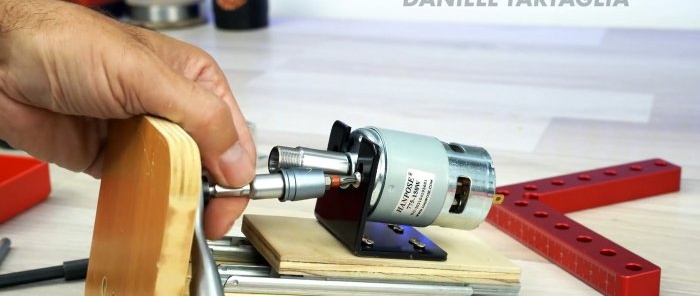
Now the bracket is screwed to the electric motor.
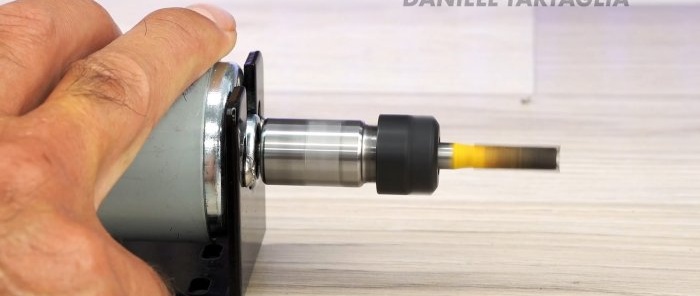
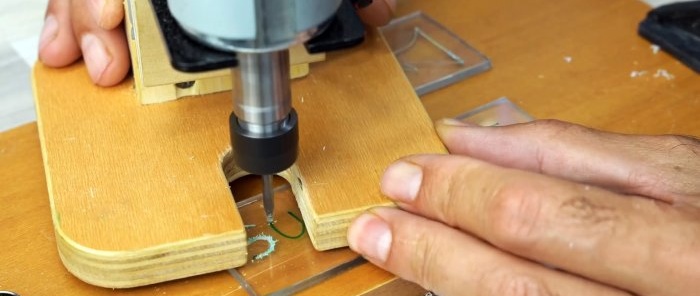
A collet chuck with a cutter is installed on its shaft.
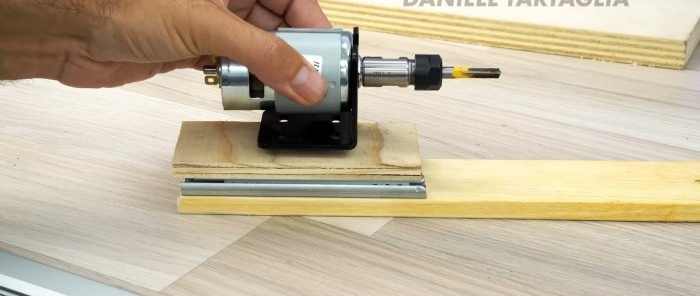
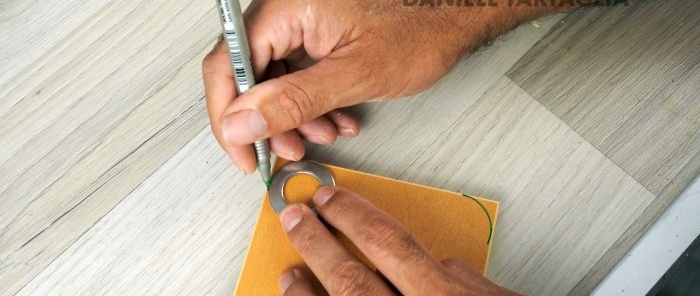
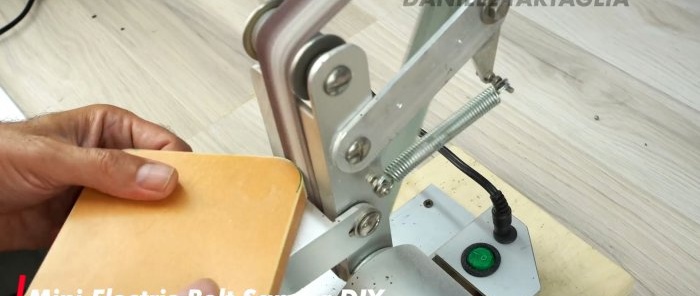
The base of the router is cut out of plywood. Its corners are rounded and polished.
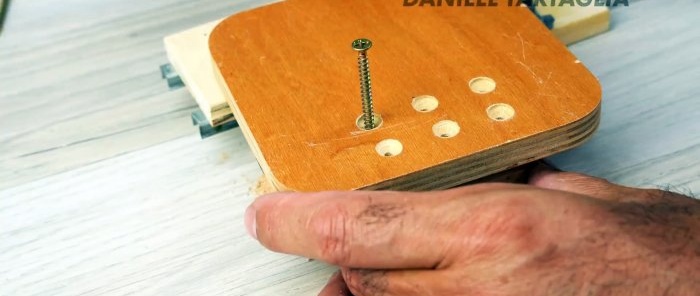
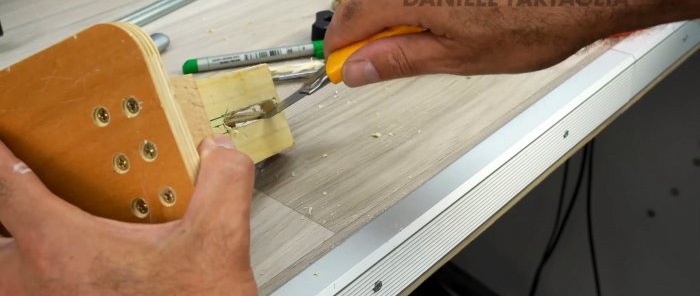
The block is screwed to the sole with self-tapping screws from below. To do this, you will first need to drill and countersink the holes so that the screw heads do not protrude.
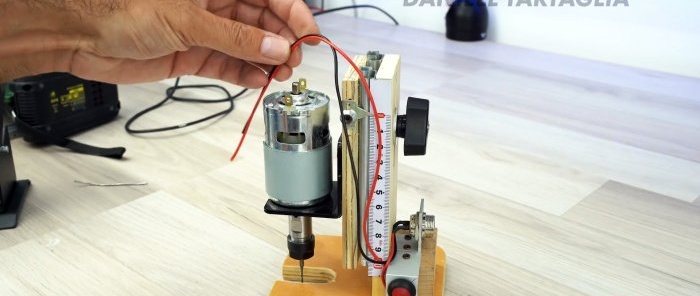
Then a stand with guides for the drawer is screwed to the block on the sole. Everything is set at right angles. The engine bracket is then attached to the rack. The latter is equipped with a motor with a chuck and a cutter.
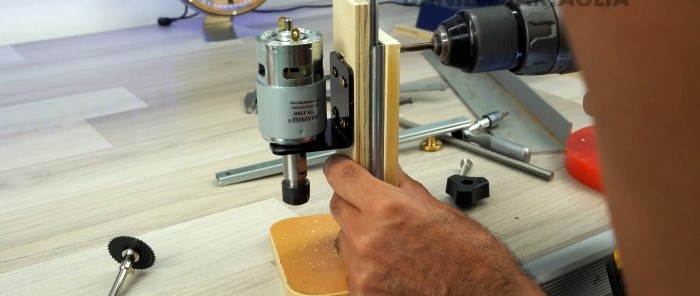
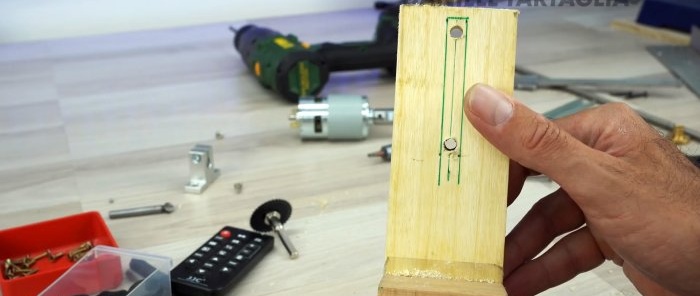
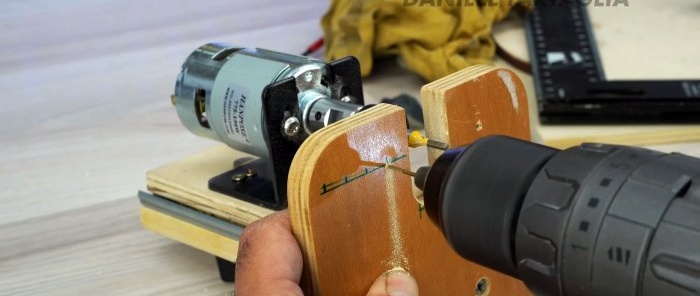
Next, we need to make a mechanism for adjusting the reach of the cutter. To do this, both racks are drilled immediately above the motor bracket. The long board is additionally drilled on top. Then a through groove is made in it between the holes.
Then the adjusting screw is installed on the stand. It is a bolt with a wing nut. If the bolt head is machined, it will fit closely to the bracket and, accordingly, will not be able to rotate when tightened.
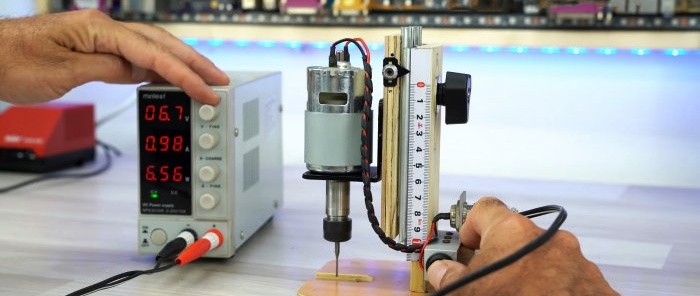
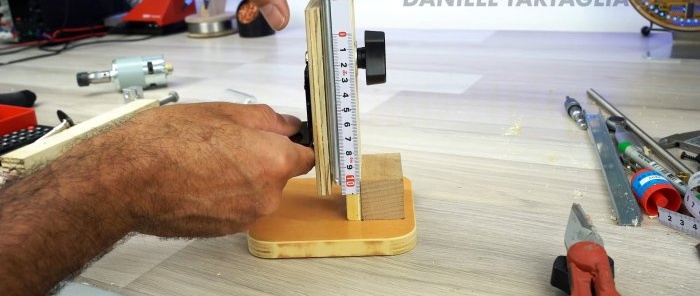
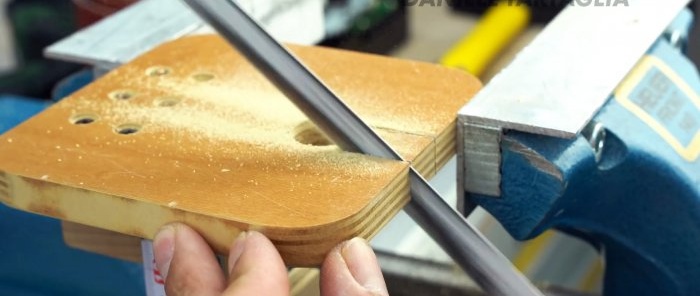
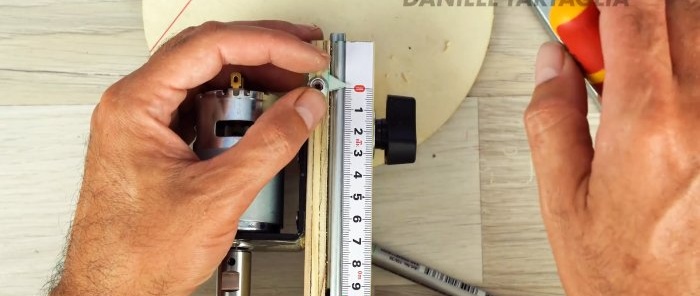
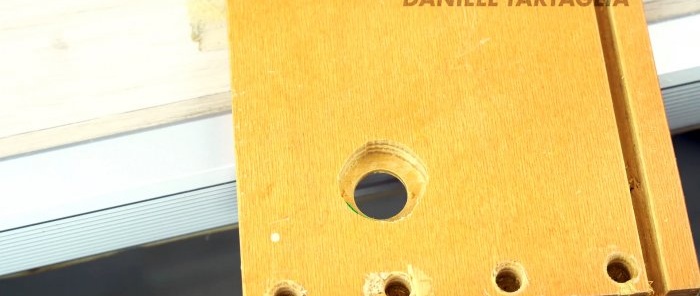
A centimeter scale is glued to the side of the long stand to accurately adjust the reach of the cutter. Then you need to drill the sole and make a wide cut on it for easy installation of cutters.
An indicator flag is made from tin, which is screwed onto the short half of the rack with the engine. It needs to have a groove, not a hole. This will allow you to adjust the pointer relative to the scale if you need to install a longer or shorter cutter.
It is also necessary to drill thin holes on the base of the router in one line relative to the center of rotation of the cutter. In the future, it will be possible to install a needle made from a blind rivet in them. This allows you to use it as the center of a compass and cut out circles with a router.
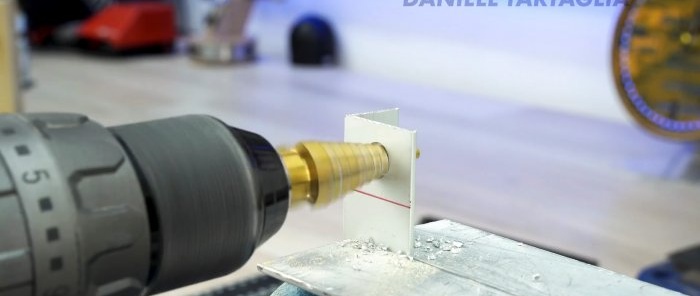
A bracket for the connector of the electric motor power supply is made from an aluminum corner. It is attached to a block. Then you can make another bracket using the same principle to install the power button. Wires are routed from the connector through the button to the motor contacts.
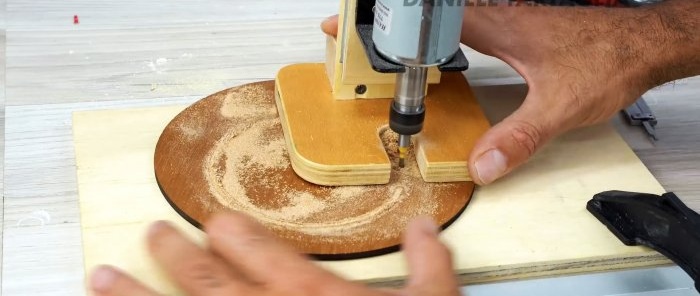
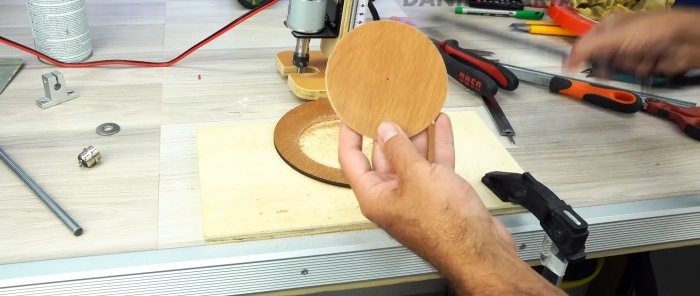
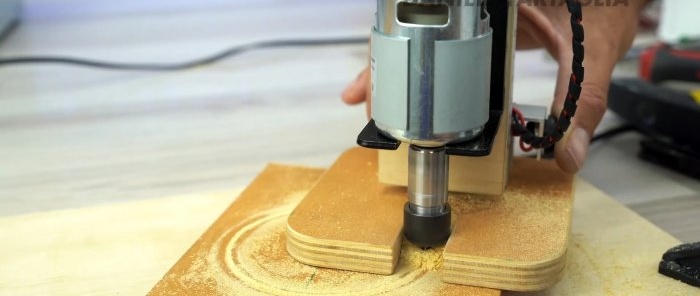
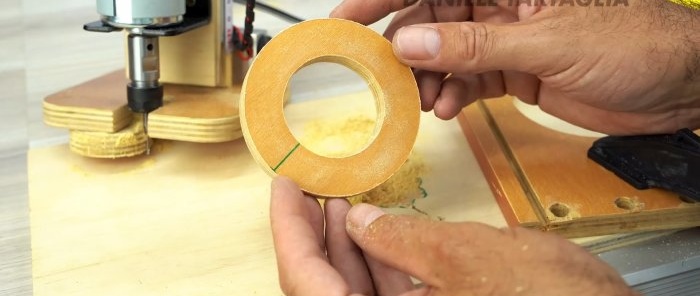
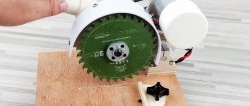
Thus, the resulting router can be used to cut disks from plywood or boards.
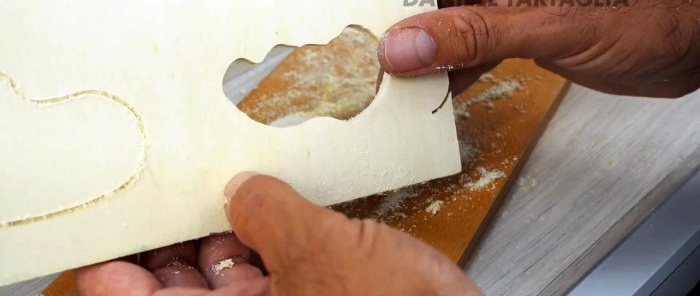
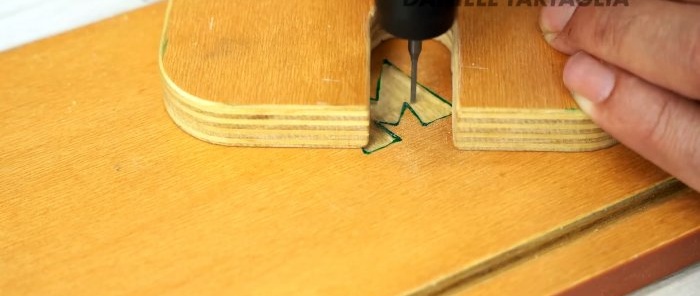
It also does an excellent job with engraving, drilling, grooves and other similar work.

