Chamomile made from uninflated balloons
Balloons are strongly associated with childhood and holidays and carry an amazing aura of magic. Once you inflate it, the house immediately becomes more cheerful and bright. But the life of an inflated balloon is, unfortunately, short. Therefore, flowers made from non-inflated balloons, Fantasy Flowers, are extremely popular abroad. The technique for making them is very simple. But it’s better to try once than to hear many times. I suggest you make a daisy from uninflated balloons and fill your home with the magic of the balloons. This summer flower will delight you for a very long time, and in the cold and slush it will give you the warmth of the sun. Or maybe you would like to share this piece of summer and make such a miracle in present to a loved one. Believe me, such a gift will raise you to unattainable heights in the eyes of others. Shall we try?

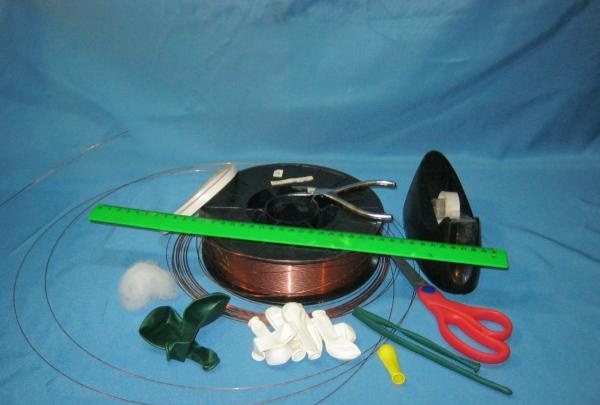
Materials and tools.
1. Wire (0.8 mm, for welding)
2. Narrow tape (width 0.5 – 0.8 cm)
3. Double-sided tape (width 0.8 - 1 cm.)
4. Wire cutters, pliers
5. Scissors (very sharp)
6. Ruler
7. A small piece of padding polyester or cotton wool.
8. Balls 5 inches pastel (preferably made in Mexico, they are the softest but most durable) – 8 pieces
9. Yellow ball 2 inches (or 5) – 1 piece
10. Balls 9 inches green – 2 pieces
11. Modeling ball 260 Q – 1 piece
Manufacturing stages.
1. Take the wire and cut 9 pieces of 30 cm long
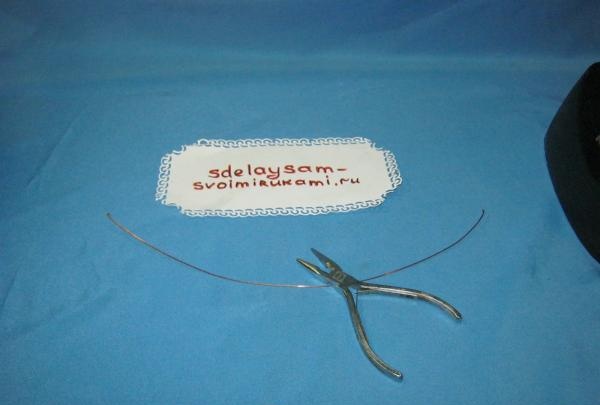
2. Using pliers, bend the ends of 8 pieces of wire on both sides and carefully clamp them. The bend should be small, no more than 3-4 mm.
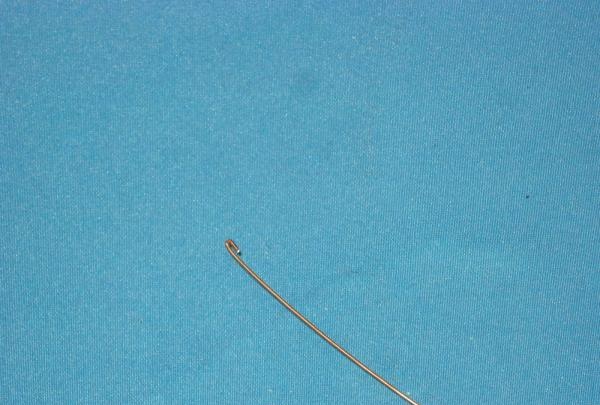
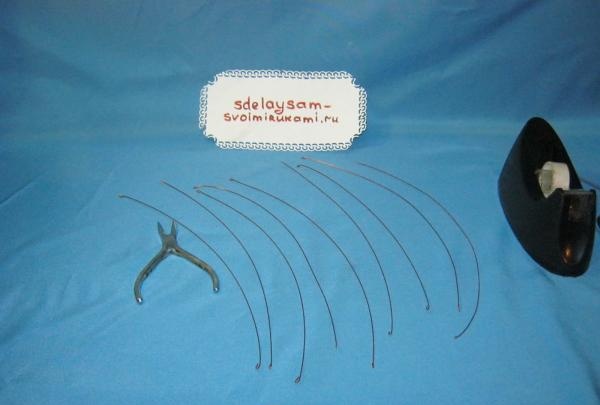
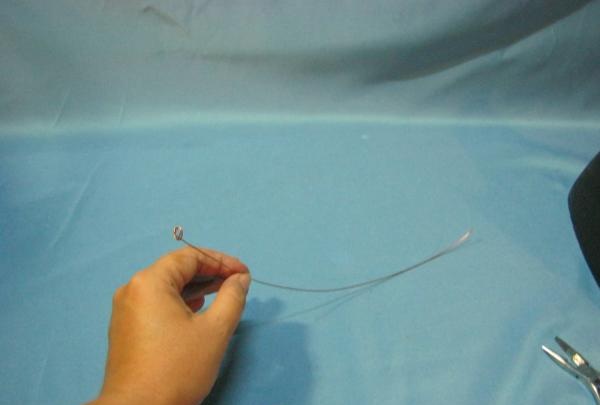
3. On the 9th workpiece, from one end, using pliers, we twist the spiral, and on the other side we make a bend similar to the previous frames. And put it aside for now. This will be the core of our chamomile.
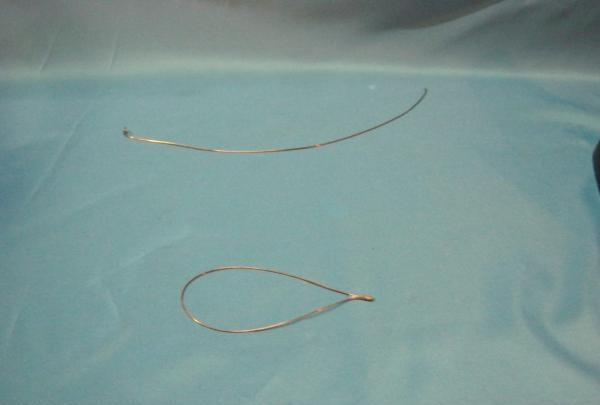
4. We make loops from 8 main pieces of wire. We fold the workpiece in half, trying not to make an acute angle on the fold, connect the ends together, lay it out evenly in relation to each other and secure with several rolls of tape. An important point: we do not wind the tape straight, but at an angle of 45 degrees from top to bottom. This makes the twisted area more durable and prevents it from slipping and unwinding.
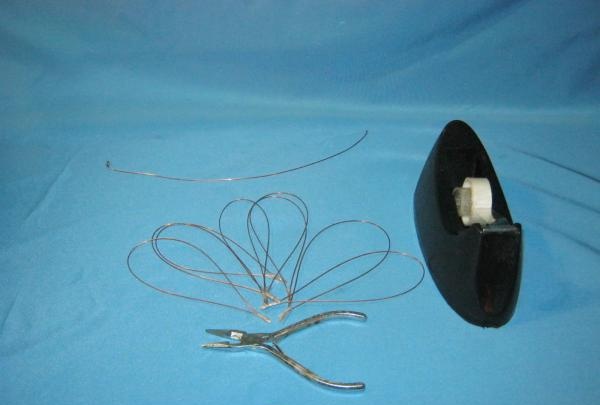
5. The frames are ready. Balls are next. For all balls we cut off the putzki at a distance of 1 cm from the edge, and for the modeling ball (SDM) only the putzku.
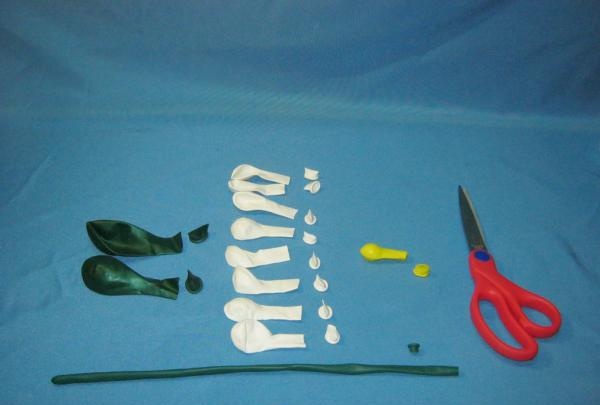
6. Gently squeezing the frame on the sides, we put on the white ball. Pull it all the way and throw it onto the fixed loops. Once again we tighten it tightly with several rolls of tape. We make the remaining 7 petals in the same way.
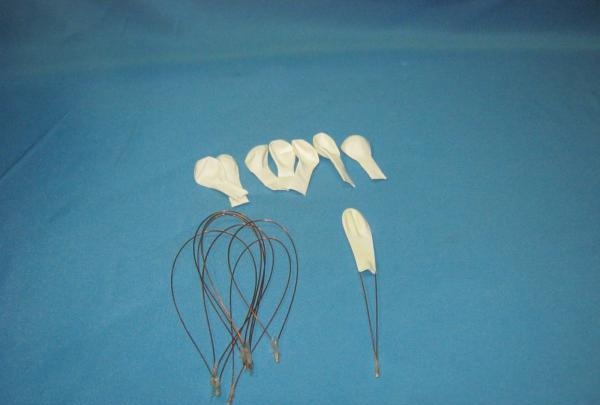
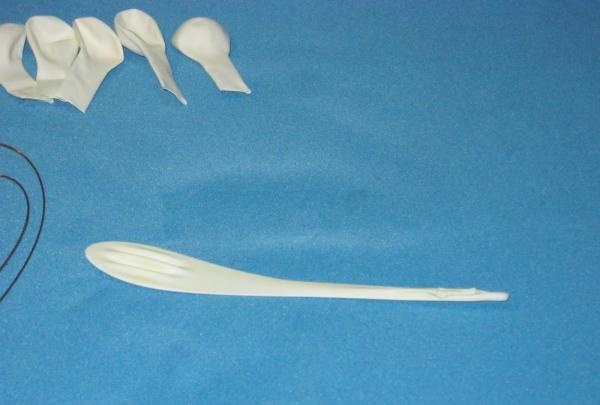
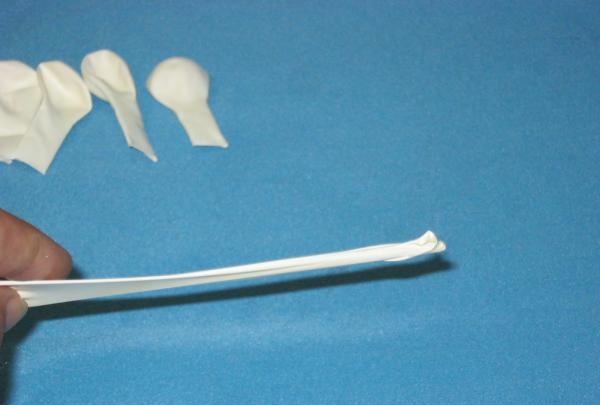
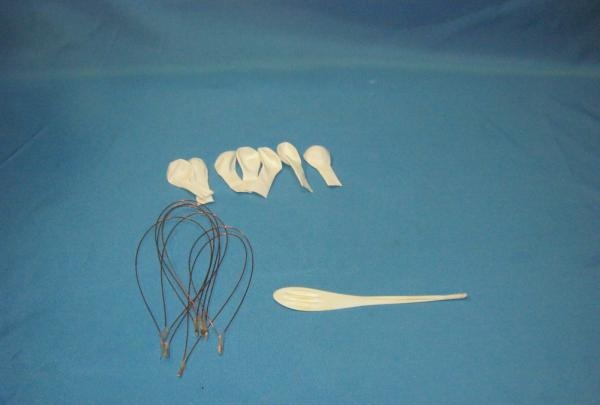
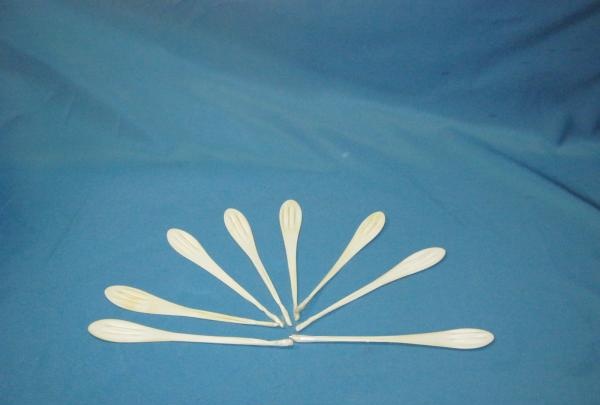
7. We wrap padding polyester around the spiral of the core frame, forming the center of the flower. The more you want to get it, the more filler you need to wind.
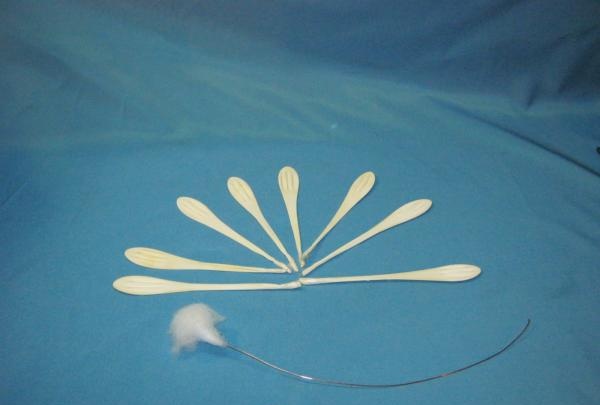
8. Having stretched the neck of the yellow ball, we put it on the resulting blank. We fix the ball on the stem with tape. If it turns out a little uneven, use your fingers to distribute the padding polyester inside the ball until you get a result that suits you.
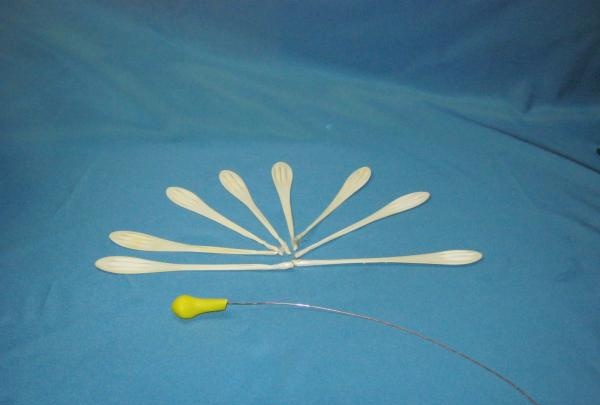
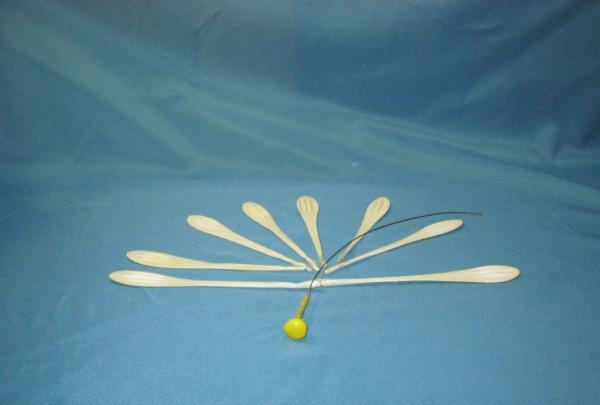
9. We begin assembling the flower.Layer the petals on top of each other and place them around the core. Align the height of the petals along the top edge. Check the uniformity of the layout, and tighten tightly, secure with tape. Wrap the duct tape tightly to the end of the petals.
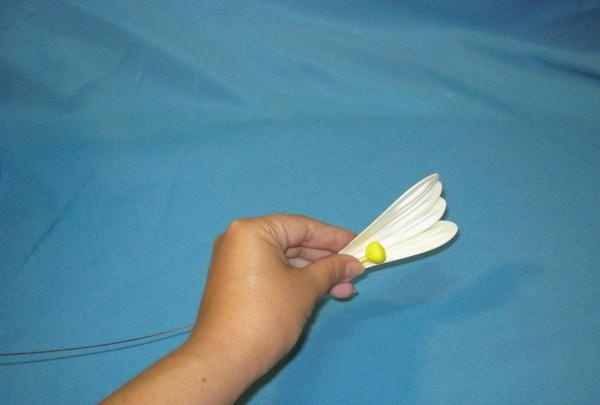
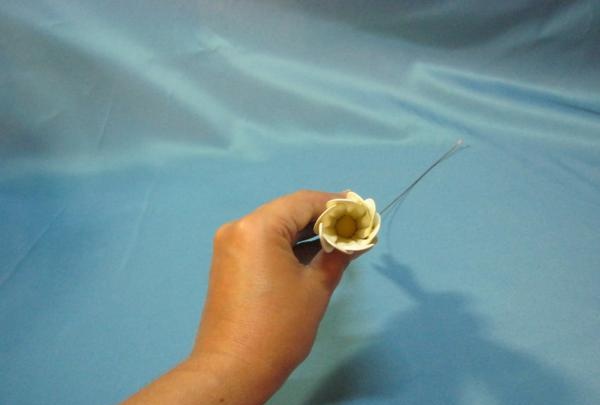
10. One by one, carefully open all the petals of the resulting flower.
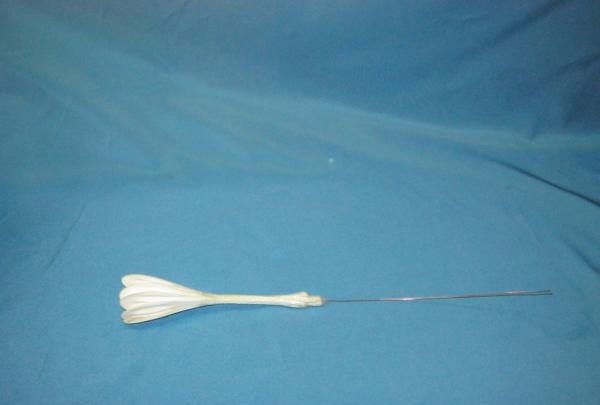
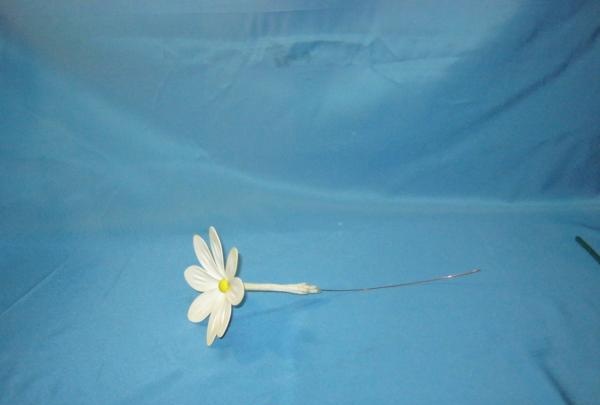
11. Take a modeling ball (SDM) and cut it lengthwise, leaving 1 cm uncut near the tip.
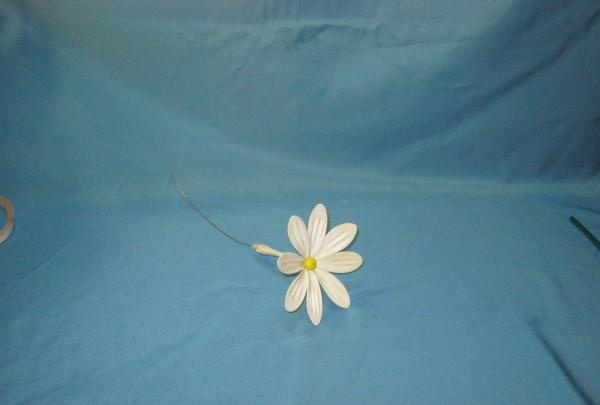
12. Cut off the top of one green ball and cut out the sepals.
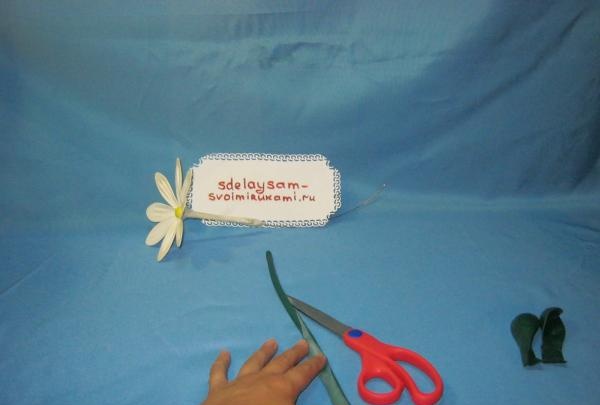
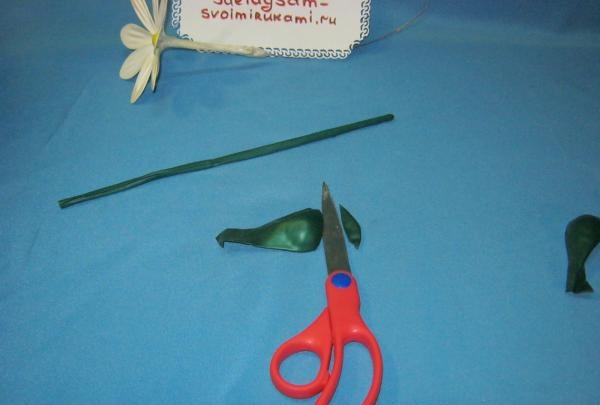
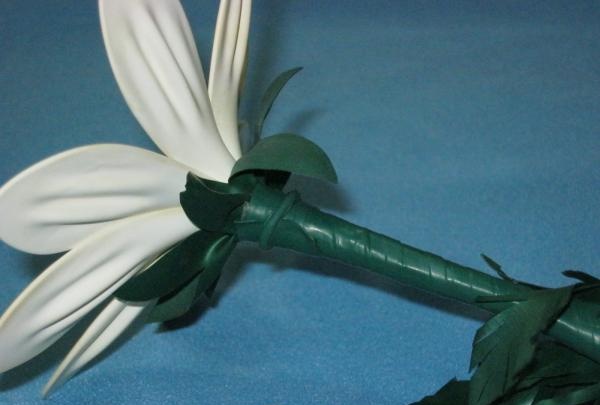
13. Apply 1 turn of double-sided tape to the border of the bend of the petals, and put the resulting sepal on this place. Secure with tape.
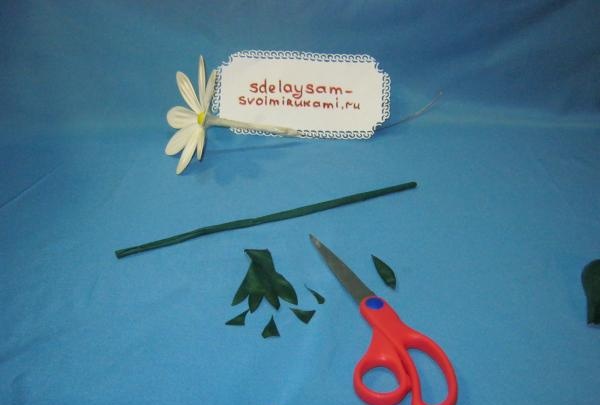
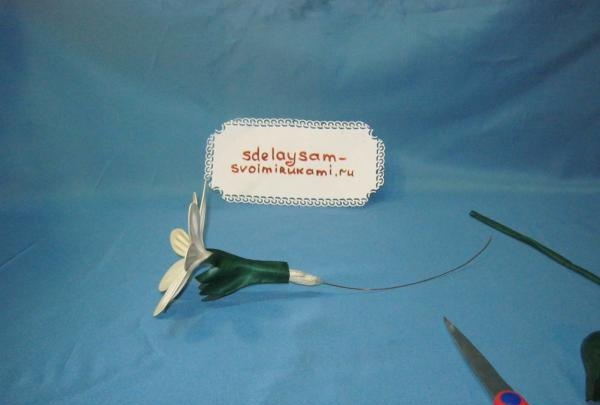
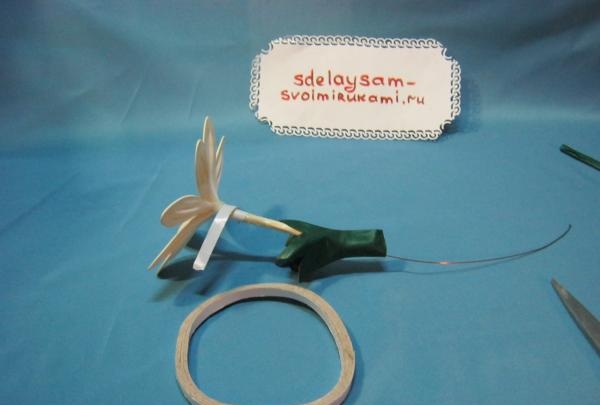
14. On the second green ball, make cuts on the top and sides, then finely cut into strips, forming chamomile leaves. Using double-sided and regular tape, we attach it to the transition point from the petals to the stem.
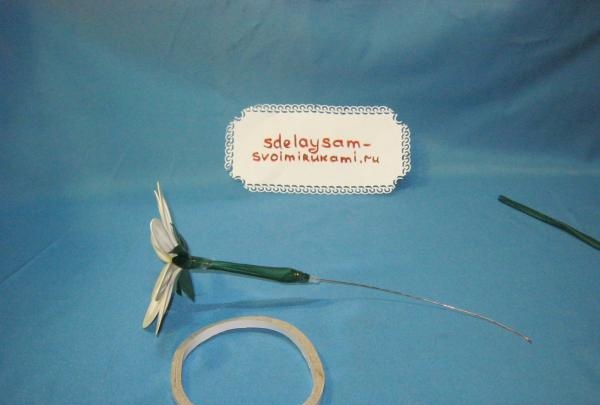
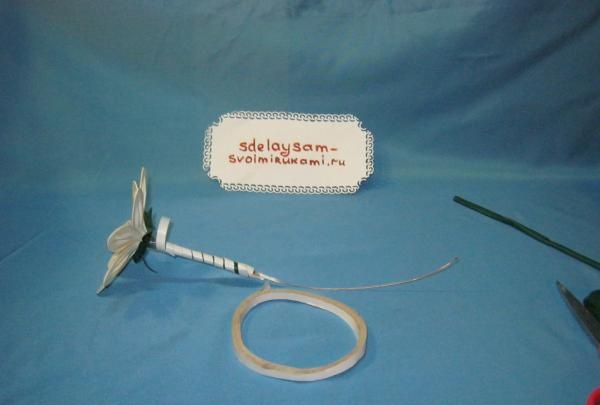
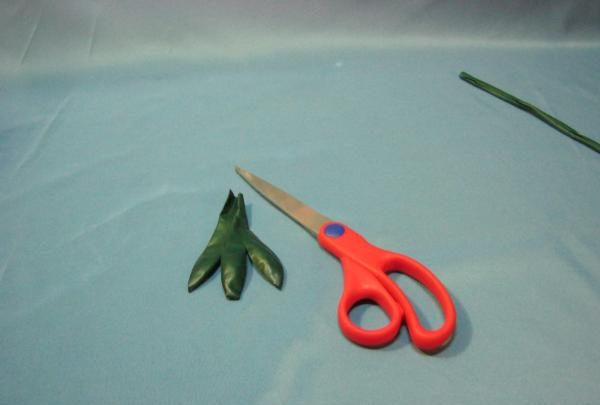
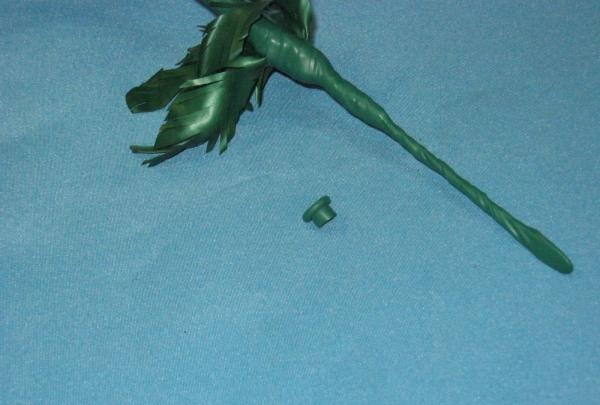
Let's start decorating the stem. For this we need a modeling ball that we have already prepared. We string it onto the stem and twist it in a spiral until it reaches the petal. Be sure to tighten the ball and lay it evenly so that there are no gaps. Having reached the petal, first scroll a little above it, then, continuing to wind, go back a little (under the petal), and after that move to the very top. This will allow you to fix it correctly (crosswise).
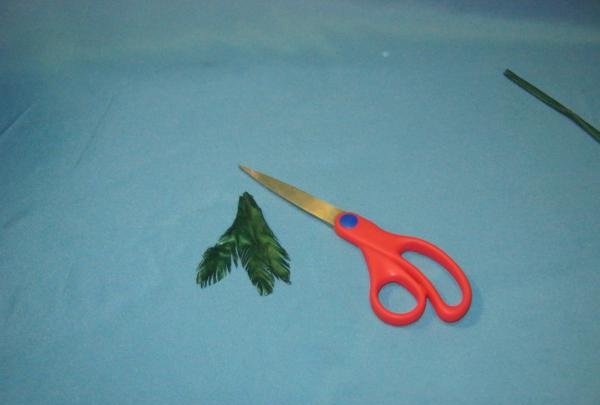
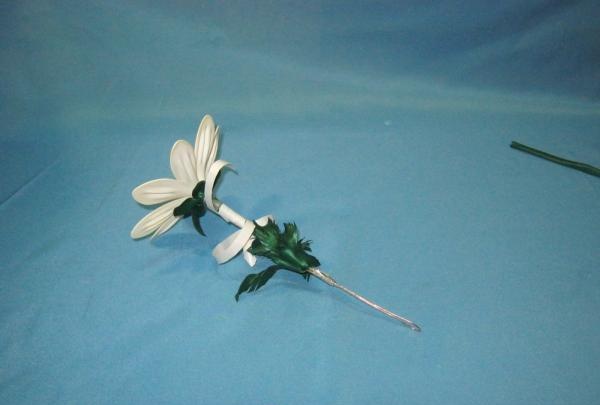
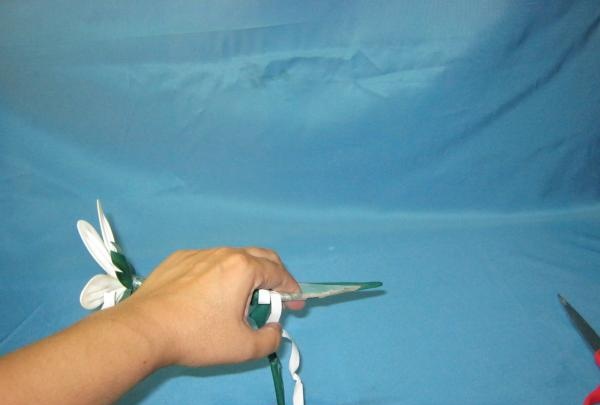
15. If you have an extra ball left, don’t reel it in until you run out. Just cut off the rest. Using a small piece of double-sided tape, glue the end of the SDM and additionally secure it by putting a hook from the ball itself onto the stem in this place.
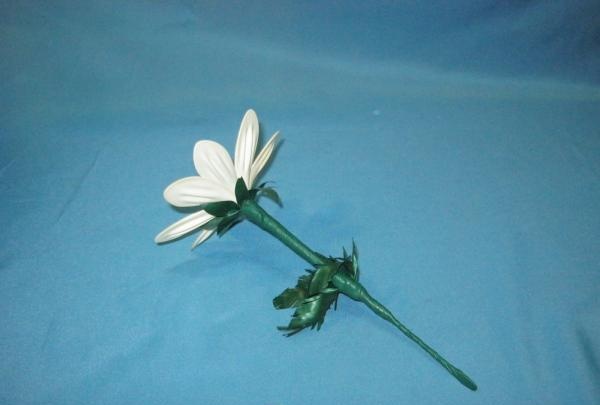
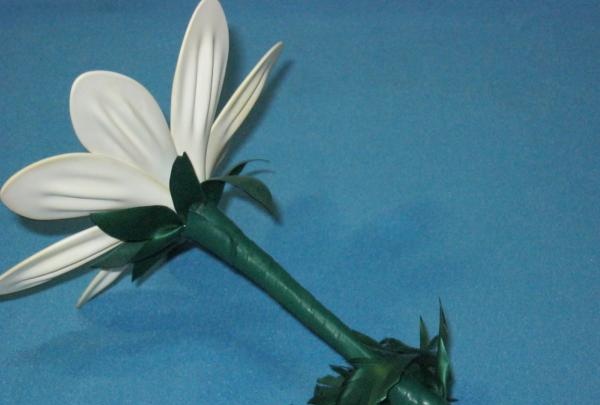
16. Our flower is ready!
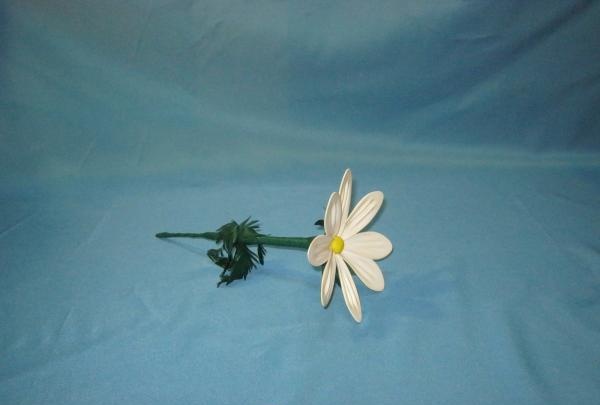
Such flowers live for six months or more. They do not like dust, moisture and direct sunlight.Happy creativity!


Materials and tools.
1. Wire (0.8 mm, for welding)
2. Narrow tape (width 0.5 – 0.8 cm)
3. Double-sided tape (width 0.8 - 1 cm.)
4. Wire cutters, pliers
5. Scissors (very sharp)
6. Ruler
7. A small piece of padding polyester or cotton wool.
8. Balls 5 inches pastel (preferably made in Mexico, they are the softest but most durable) – 8 pieces
9. Yellow ball 2 inches (or 5) – 1 piece
10. Balls 9 inches green – 2 pieces
11. Modeling ball 260 Q – 1 piece

Manufacturing stages.
1. Take the wire and cut 9 pieces of 30 cm long

2. Using pliers, bend the ends of 8 pieces of wire on both sides and carefully clamp them. The bend should be small, no more than 3-4 mm.


3. On the 9th workpiece, from one end, using pliers, we twist the spiral, and on the other side we make a bend similar to the previous frames. And put it aside for now. This will be the core of our chamomile.

4. We make loops from 8 main pieces of wire. We fold the workpiece in half, trying not to make an acute angle on the fold, connect the ends together, lay it out evenly in relation to each other and secure with several rolls of tape. An important point: we do not wind the tape straight, but at an angle of 45 degrees from top to bottom. This makes the twisted area more durable and prevents it from slipping and unwinding.

5. The frames are ready. Balls are next. For all balls we cut off the putzki at a distance of 1 cm from the edge, and for the modeling ball (SDM) only the putzku.

6. Gently squeezing the frame on the sides, we put on the white ball. Pull it all the way and throw it onto the fixed loops. Once again we tighten it tightly with several rolls of tape. We make the remaining 7 petals in the same way.


7. We wrap padding polyester around the spiral of the core frame, forming the center of the flower. The more you want to get it, the more filler you need to wind.

8. Having stretched the neck of the yellow ball, we put it on the resulting blank. We fix the ball on the stem with tape. If it turns out a little uneven, use your fingers to distribute the padding polyester inside the ball until you get a result that suits you.


9. We begin assembling the flower.Layer the petals on top of each other and place them around the core. Align the height of the petals along the top edge. Check the uniformity of the layout, and tighten tightly, secure with tape. Wrap the duct tape tightly to the end of the petals.


10. One by one, carefully open all the petals of the resulting flower.


11. Take a modeling ball (SDM) and cut it lengthwise, leaving 1 cm uncut near the tip.

12. Cut off the top of one green ball and cut out the sepals.


13. Apply 1 turn of double-sided tape to the border of the bend of the petals, and put the resulting sepal on this place. Secure with tape.


14. On the second green ball, make cuts on the top and sides, then finely cut into strips, forming chamomile leaves. Using double-sided and regular tape, we attach it to the transition point from the petals to the stem.


Let's start decorating the stem. For this we need a modeling ball that we have already prepared. We string it onto the stem and twist it in a spiral until it reaches the petal. Be sure to tighten the ball and lay it evenly so that there are no gaps. Having reached the petal, first scroll a little above it, then, continuing to wind, go back a little (under the petal), and after that move to the very top. This will allow you to fix it correctly (crosswise).


15. If you have an extra ball left, don’t reel it in until you run out. Just cut off the rest. Using a small piece of double-sided tape, glue the end of the SDM and additionally secure it by putting a hook from the ball itself onto the stem in this place.


16. Our flower is ready!

Such flowers live for six months or more. They do not like dust, moisture and direct sunlight.Happy creativity!

Similar master classes
Particularly interesting
Comments (0)


