Disassembling a modern iron
Despite the apparent simplicity of the iron, not all owners are able to disassemble it. It's all about the numerous fasteners hidden under the decorative trim. In order not to break anything when disassembling the iron, you need to be calm and resourceful. By completely disassembling the iron, it becomes possible to eliminate many simple problems.
Let's look at the sequence of disassembling a modern iron using the VES 1616 model as an example. The iron should be cold and without water.
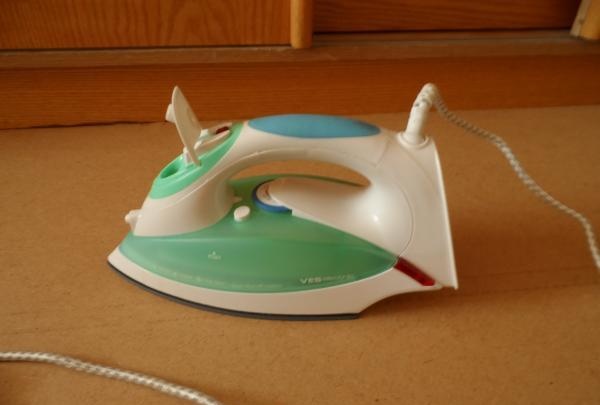
There is a “tricky” screw at the end of the iron, to unscrew it you will need a flat-head screwdriver with a slot in the middle. Such a slot can be made in a regular screwdriver using a file or grinder.
The following screws are hidden under the water supply buttons. The buttons can be easily removed by pressing on them at the front. The back of the button lifts up so you can remove it from the iron body.
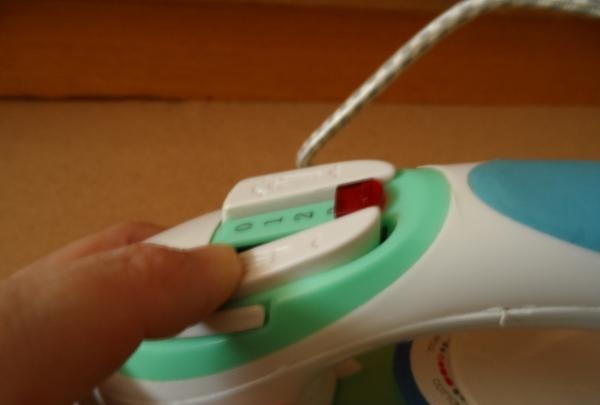
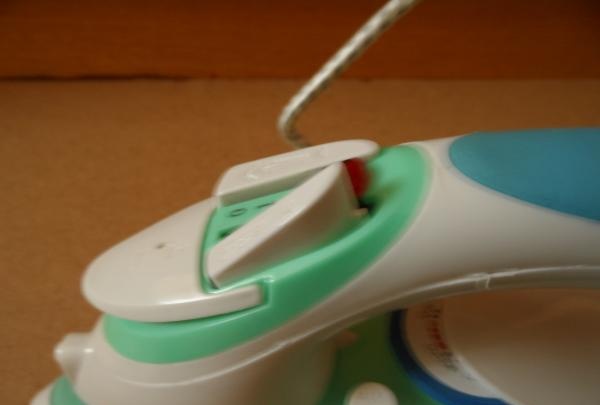
Now you need to unscrew the top two screws and remove the top element.
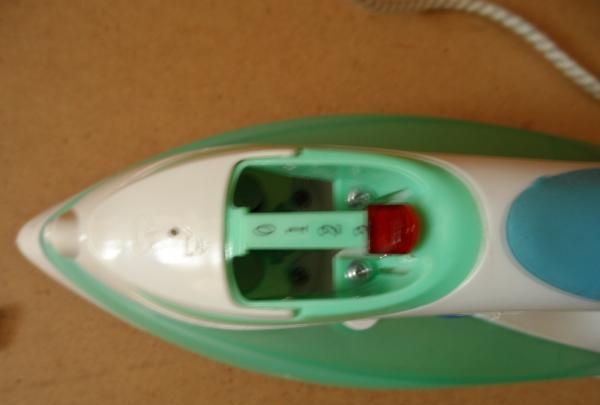
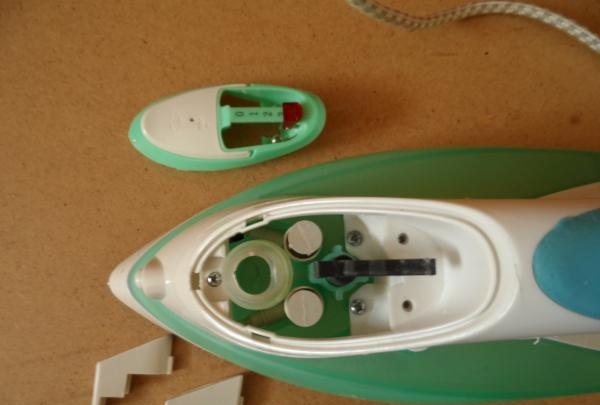
Next, unscrew 3 more screws and remove the lever that regulates the water supply.
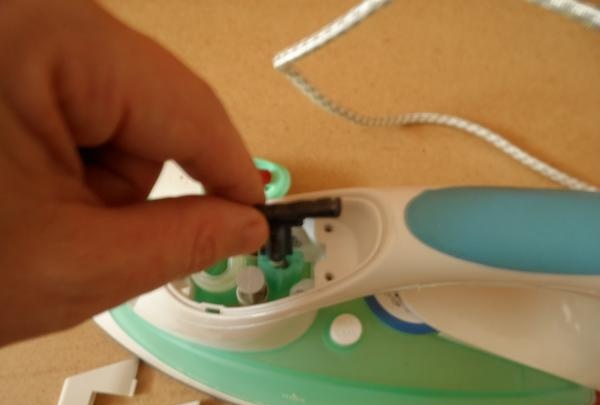
Now we remove the back cover, where the “tricky” screw has already been removed, and unscrew the 2 screws at the top of the iron.
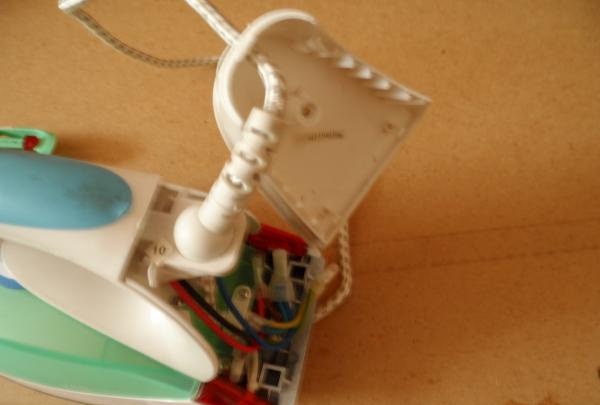
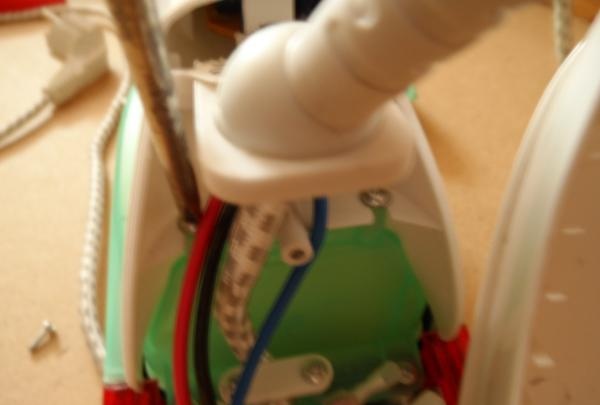
Using a screwdriver, pry up the upper part of the handle and halve it.
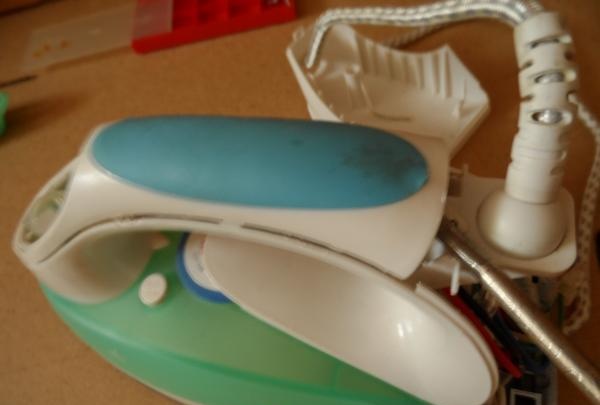
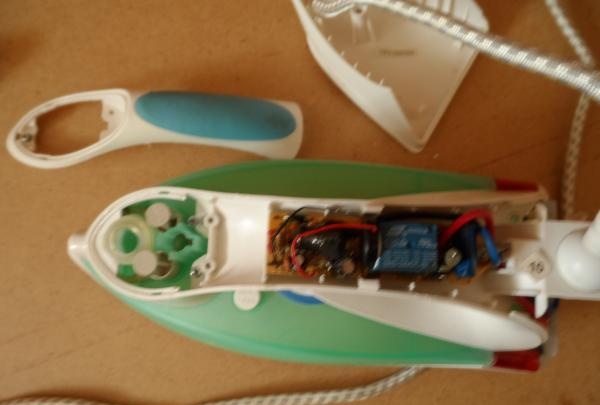
Next, we pry up the heating regulator and remove the regulator and the lower part of the handle.
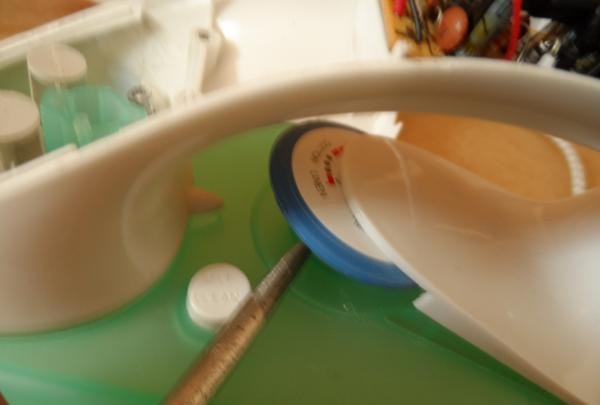
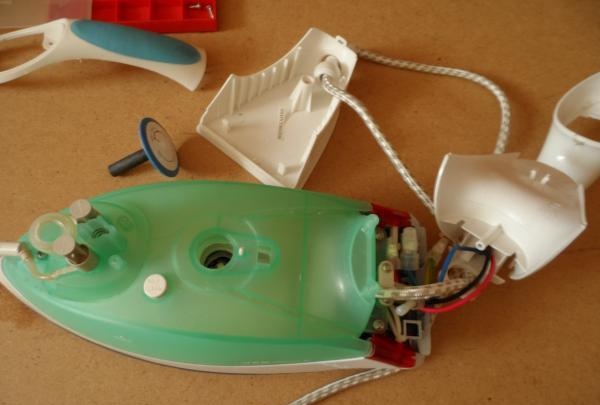
Now you can see 3 screws that secure the “aqua housing” to the platform. We unscrew them, disconnect the tube through which water is supplied to the “sole” and remove the housing for containing the water.
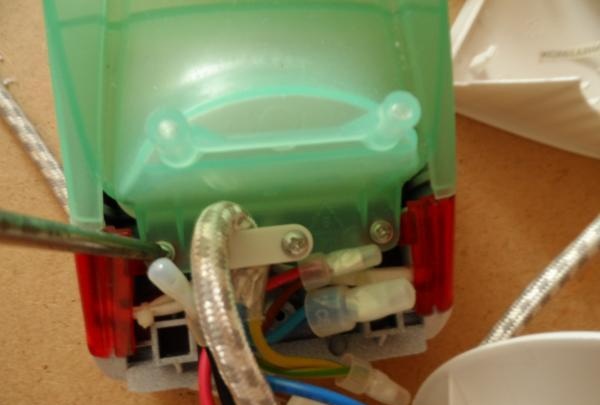
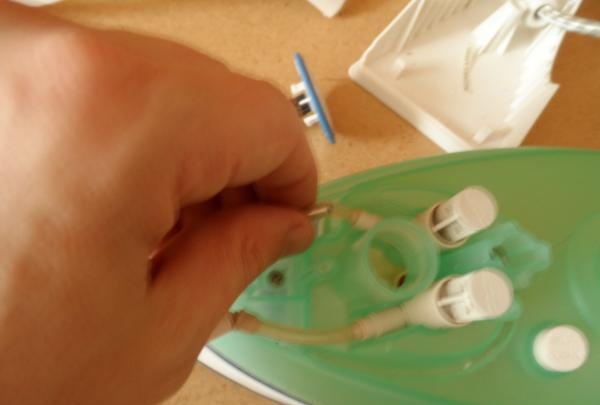
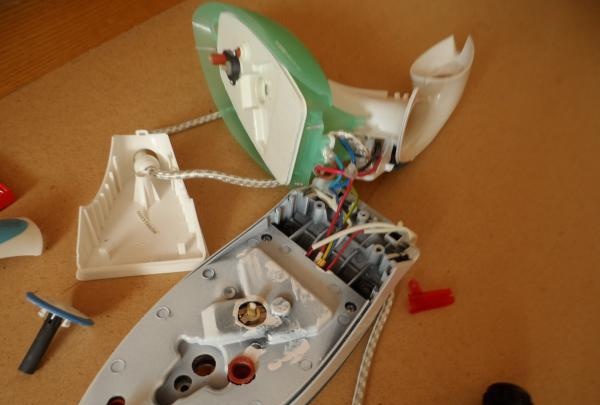
It remains to unscrew 3 more screws and perform the final dismantling of the element.
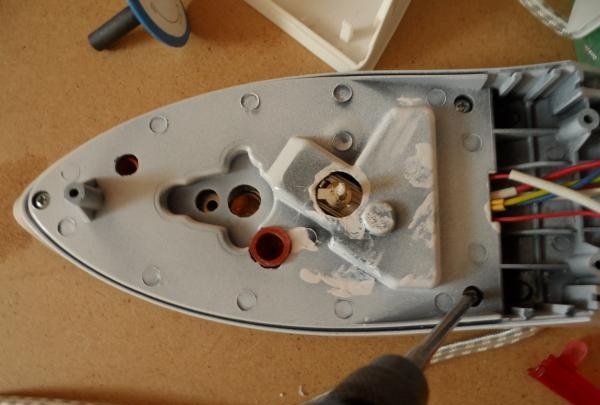
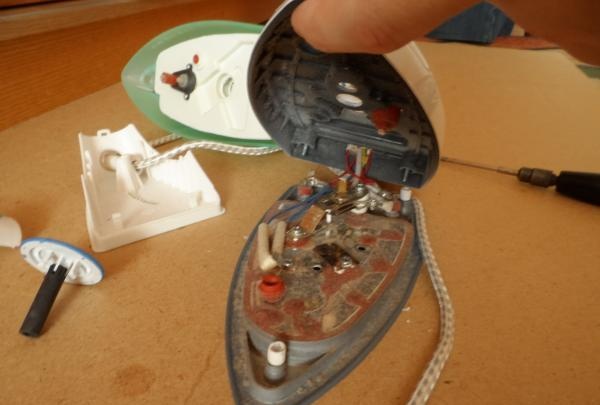
Now, using a vacuum cleaner with a narrow nozzle, we clean everything from accumulated dust.
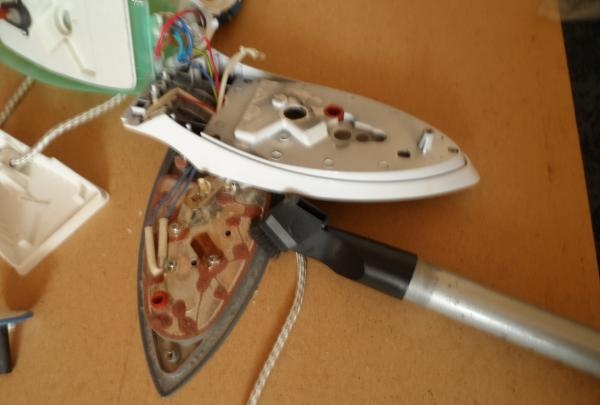
After this, some problems with the iron are eliminated. And then, armed with a tester, you can “ring” the heating element, wiring, conduct a visual inspection, etc.
It is convenient to put all fasteners and small parts of the iron in a box.
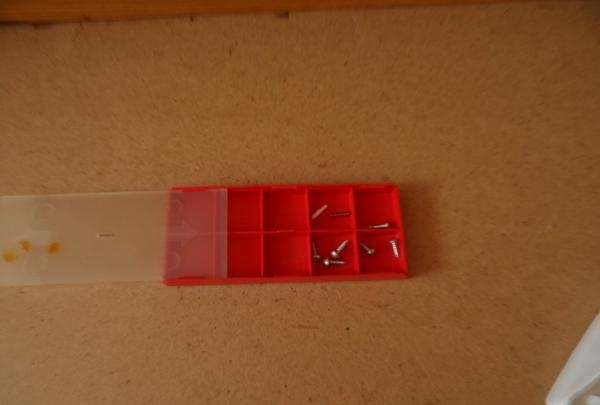
Assembling the iron is done slowly in the reverse order.
Let's look at the sequence of disassembling a modern iron using the VES 1616 model as an example. The iron should be cold and without water.

There is a “tricky” screw at the end of the iron, to unscrew it you will need a flat-head screwdriver with a slot in the middle. Such a slot can be made in a regular screwdriver using a file or grinder.


The following screws are hidden under the water supply buttons. The buttons can be easily removed by pressing on them at the front. The back of the button lifts up so you can remove it from the iron body.


Now you need to unscrew the top two screws and remove the top element.


Next, unscrew 3 more screws and remove the lever that regulates the water supply.

Now we remove the back cover, where the “tricky” screw has already been removed, and unscrew the 2 screws at the top of the iron.


Using a screwdriver, pry up the upper part of the handle and halve it.


Next, we pry up the heating regulator and remove the regulator and the lower part of the handle.


Now you can see 3 screws that secure the “aqua housing” to the platform. We unscrew them, disconnect the tube through which water is supplied to the “sole” and remove the housing for containing the water.


It remains to unscrew 3 more screws and perform the final dismantling of the element.


Now, using a vacuum cleaner with a narrow nozzle, we clean everything from accumulated dust.

After this, some problems with the iron are eliminated. And then, armed with a tester, you can “ring” the heating element, wiring, conduct a visual inspection, etc.
It is convenient to put all fasteners and small parts of the iron in a box.

Assembling the iron is done slowly in the reverse order.
Similar master classes
Particularly interesting
Comments (1)

