Magnet Christmas
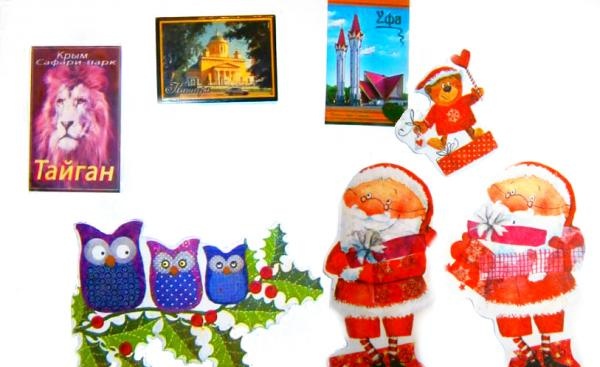
Few people know that holly is a symbol of Christmas. Christmas winter owls sit on this holly tree, guarding the house. I want to tell you how to make a magnet with these little owls. Napkins can be bought at stationery stores and supermarkets. If you don’t have a napkin with images of owls, you can take any other one, for example, one with Santa Claus.
What you will need:
• napkins,
• magnetic paper,
• Polish for hair,
• transparent glue Globus (glue for shoes).
1 step.
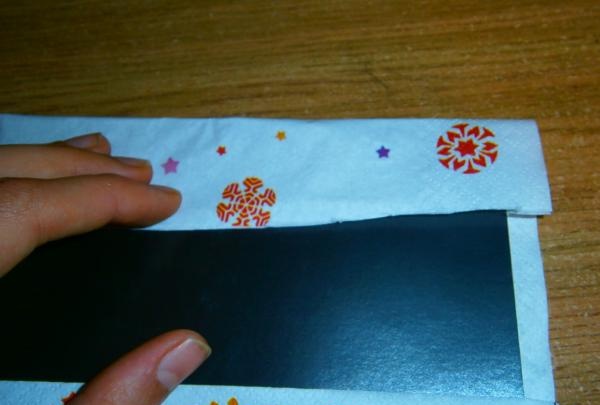
Let's take a sheet of magnetic paper 10*15 cm (I bought it at a computer store, where regular photo paper is sold).
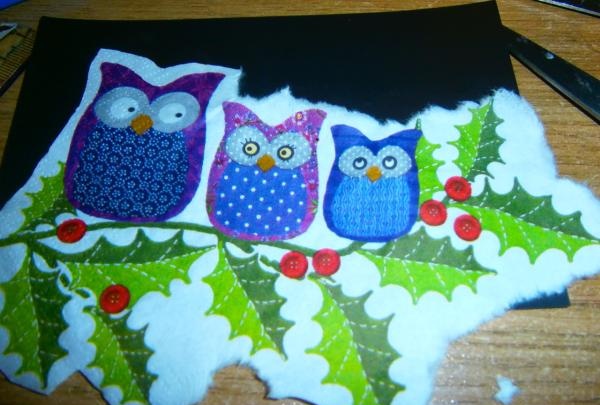
Now we apply a napkin and see if the image of the owls will fit. We outline with a pencil and cut off the unnecessary from the back side
Step 2.
Now we tear off the edges so that unnecessary snowflakes are not visible.
Step 3.
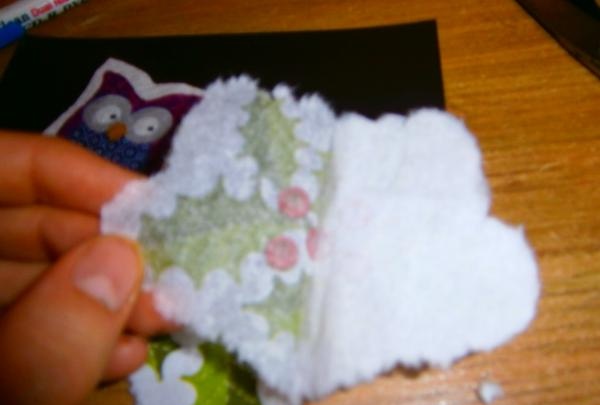
Separate the two bottom layers from the napkin.
Step 4
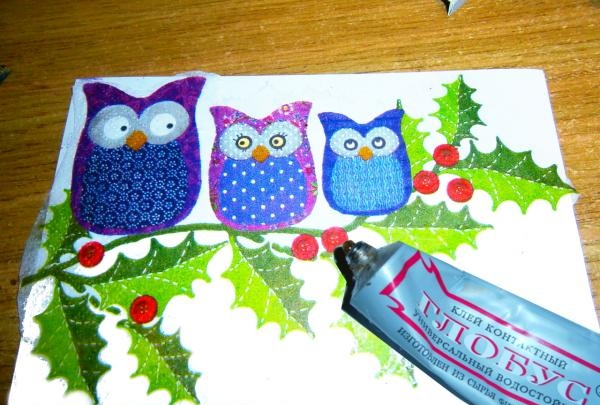
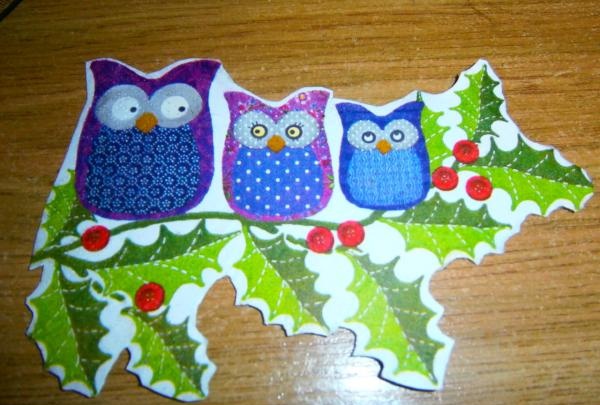
We will place the napkin on a magnetic sheet. I found that I can’t work with PVA glue because it’s too liquid and wrinkles the napkin, and too thick leaves lumps under the image. Therefore, I decided to use transparent Globus glue.It dries quickly, does not leave wrinkles, the only negative is that it leaves streaks on the napkin. We do not apply the glue all at once, but a little at a time - apply one area, smooth it out, and move on to another. Because the glue dries very quickly.
Step 5
We couldn’t avoid smudges, so we cut the edge to shape. First, we roughly cut out the main part of the image with simple scissors, then we trim the edges figuratively with nail scissors to emphasize the leaves of the holly plant on which the owls are sitting. This plant is a symbol of Christmas.
Step 6
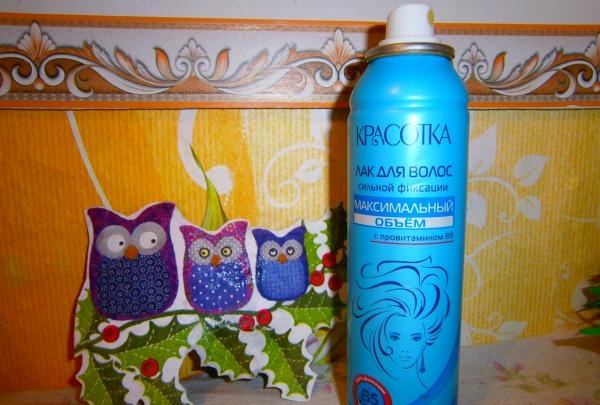
To protect the napkin from moisture, apply a layer of strong hold hairspray.
Step 7
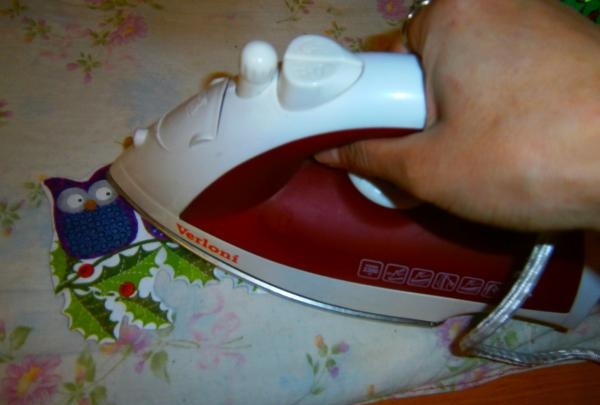
The owls dry, after which we finally fix the varnish with an iron to dry the varnish. You must wait until the varnish evaporates, otherwise the magnet will stick when ironing. So we apply 3 layers, although more is possible. Now the Winter Owls are ready!
What you will need:
• napkins,
• magnetic paper,
• Polish for hair,
• transparent glue Globus (glue for shoes).

1 step.
Let's take a sheet of magnetic paper 10*15 cm (I bought it at a computer store, where regular photo paper is sold).
Now we apply a napkin and see if the image of the owls will fit. We outline with a pencil and cut off the unnecessary from the back side


Step 2.
Now we tear off the edges so that unnecessary snowflakes are not visible.

Step 3.
Separate the two bottom layers from the napkin.

Step 4
We will place the napkin on a magnetic sheet. I found that I can’t work with PVA glue because it’s too liquid and wrinkles the napkin, and too thick leaves lumps under the image. Therefore, I decided to use transparent Globus glue.It dries quickly, does not leave wrinkles, the only negative is that it leaves streaks on the napkin. We do not apply the glue all at once, but a little at a time - apply one area, smooth it out, and move on to another. Because the glue dries very quickly.

Step 5
We couldn’t avoid smudges, so we cut the edge to shape. First, we roughly cut out the main part of the image with simple scissors, then we trim the edges figuratively with nail scissors to emphasize the leaves of the holly plant on which the owls are sitting. This plant is a symbol of Christmas.

Step 6
To protect the napkin from moisture, apply a layer of strong hold hairspray.

Step 7
The owls dry, after which we finally fix the varnish with an iron to dry the varnish. You must wait until the varnish evaporates, otherwise the magnet will stick when ironing. So we apply 3 layers, although more is possible. Now the Winter Owls are ready!
Similar master classes
Particularly interesting
Comments (0)

