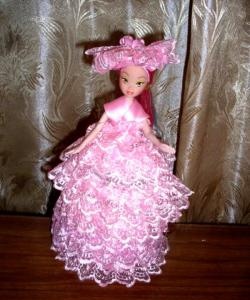
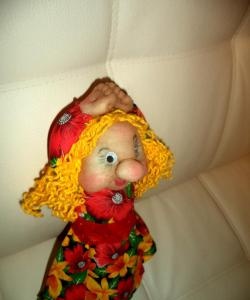
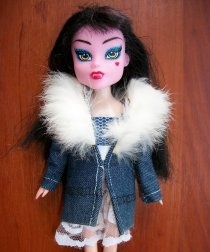
Rag doll with inset eyes
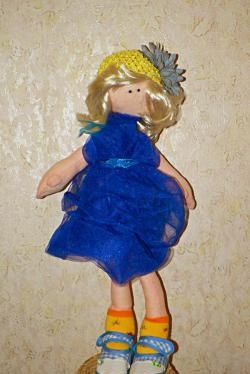
I’ve long wanted to make myself—yes, yes, exactly myself—a doll the size of a newborn child. The girl turned out to be soft, the grandchildren willingly play with her, and for me she reminds me of a granddaughter in her absence.
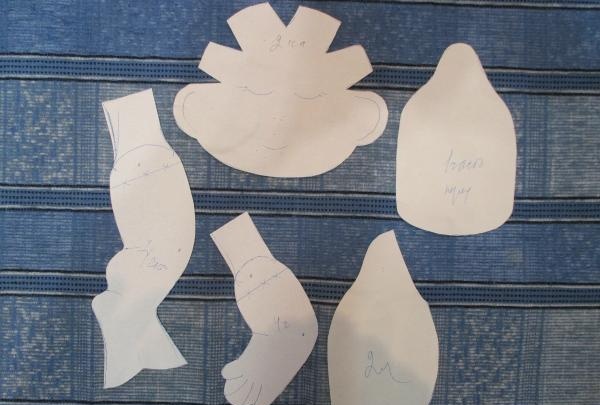
Increase the pattern to a distance of 18 cm between the ears, the size of the doll will be 45 cm. You can easily sew removable clothes on it, it will not be difficult for children to undress and dress it.
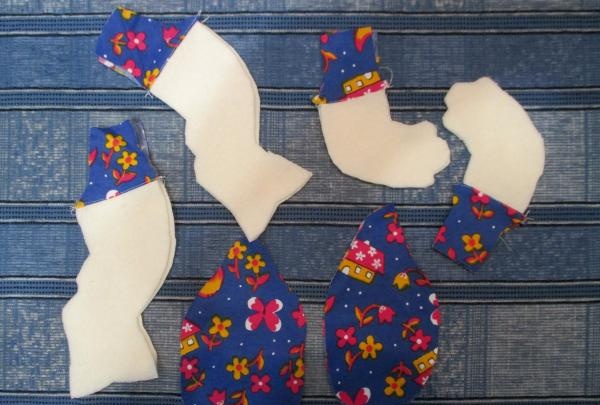
Cut out all the details on the fabric with seam allowances, you can make her a swimsuit right away. But you don’t have to bother and cut out all the details from a single piece of fabric. I sewed from milky fleece. Although linen or thick cotton would also work well.
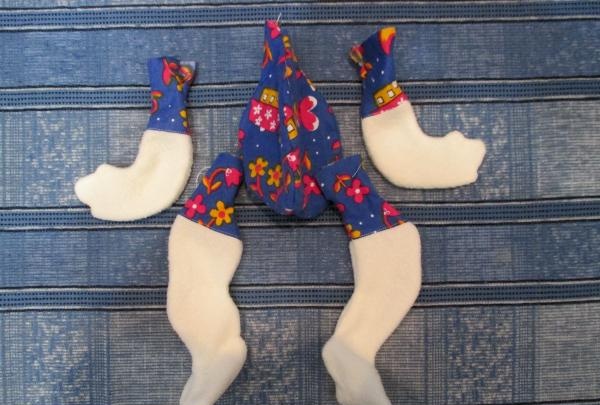
Sew and turn out the parts.
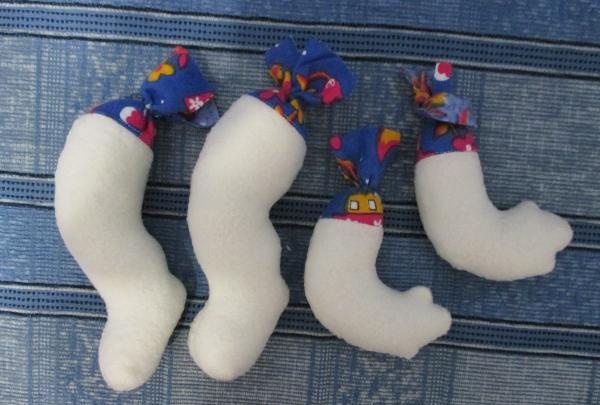
Stuff the inside with holofiber or synthetic padding, not necessarily tightly on the arms and legs, but preferably on the head and torso more tightly.
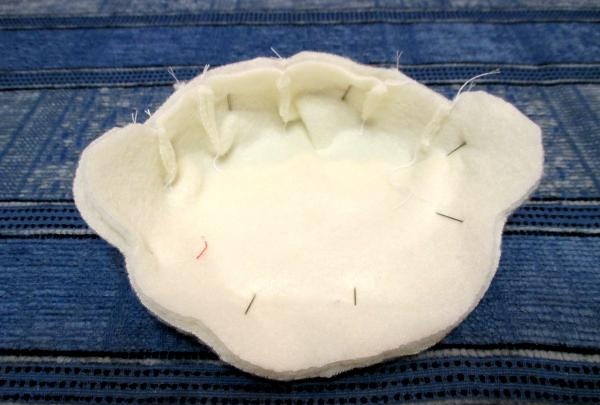
To prevent the head pieces from slipping when stitching, secure them with safety pins and sew directly on them.
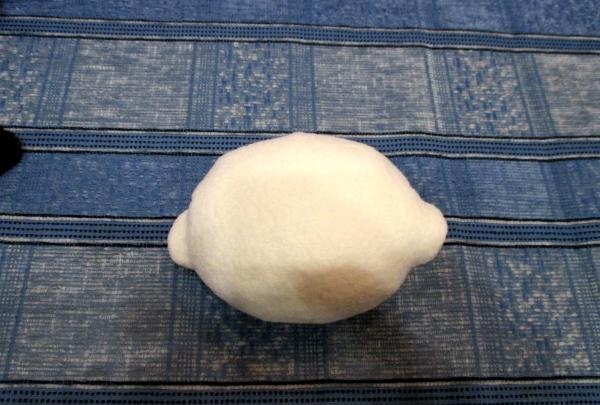
Turn the head inside out and stuff it tightly with filling.
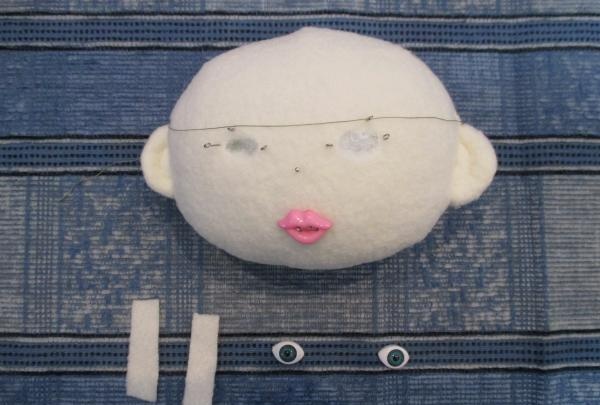
Pull the thread at the level of the eye line so that they do not skew on the face later. Mark their locations with pins, just like the nose and lips. Make special slits under the eyes.
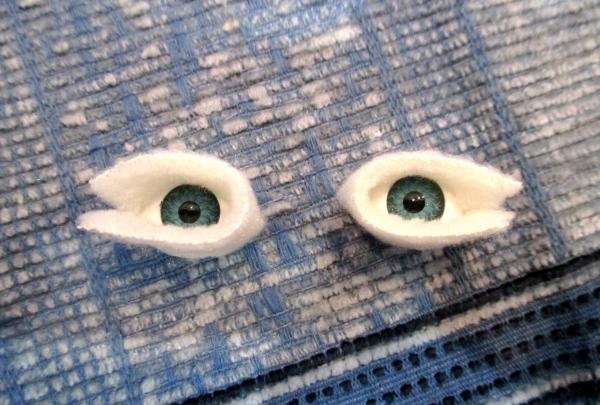
For the eyelids, cut strips of fabric along the contour of the eyes, 1.5 cm long and 1.5 cm wide, and glue them with the front part of the fabric to the side of the blanks.
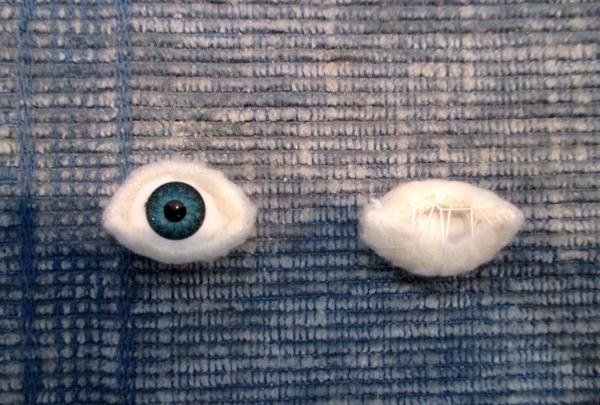
Turn the strip of fabric back, close it and sew it at the back. If you are using a fabric other than fleece, then place a little padding polyester inside the strip to add volume to your eyelids.
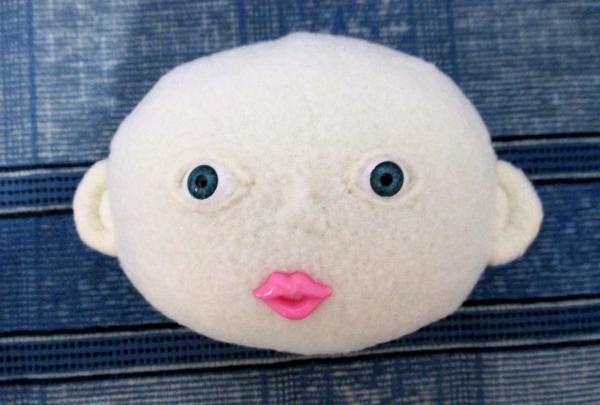
Carefully glue the eyes inside the slits, push them in so that the eyelids are flush with the face and you can secure them with a needle and thread in a hidden seam.
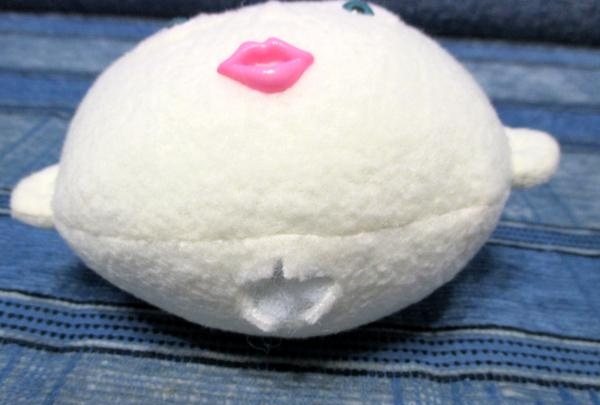
At the bottom of the head, make a cross-shaped cut for the neck so that the place where the body is sewn to the head is neat.
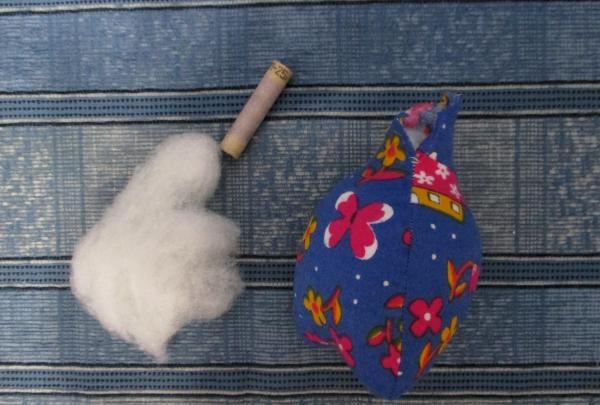
Prepare a padding polyester and an empty spool; if you don’t have one, you can simply roll the cardboard into a tube or even a sheet of newspaper.
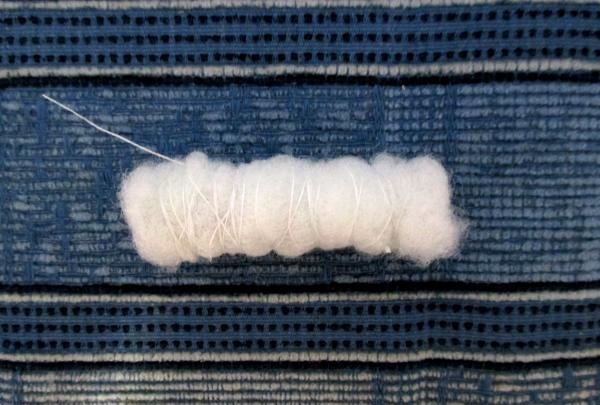
Wrap the spool in filler and wrap it tightly with thread.
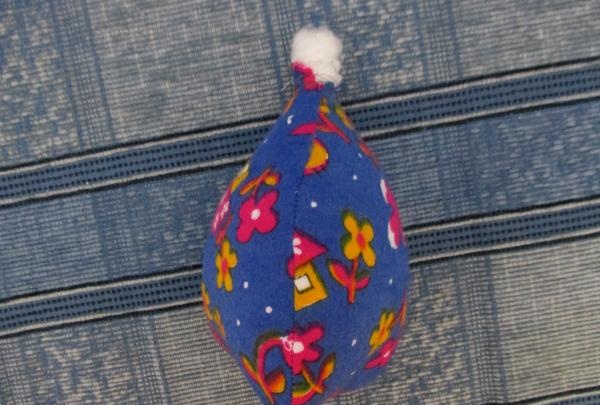
Insert it into a tightly stuffed body and wrap it with threads, grabbing the fabric of the body, then lightly apply glue to secure it.
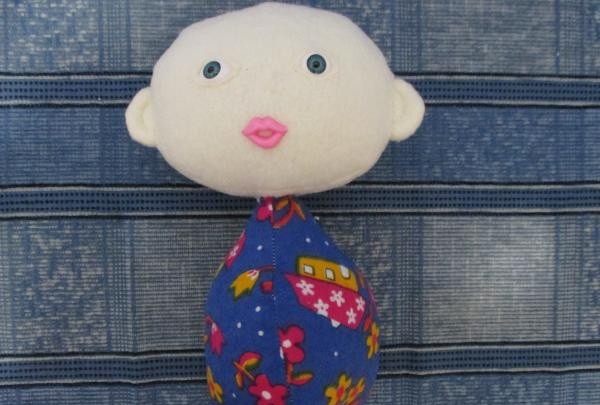
Use scissors to make a hole through the cross-shaped hole for the tube and place the head on it. Seal with glue and sew with thread using a hidden seam. This head sits tightly on the neck.
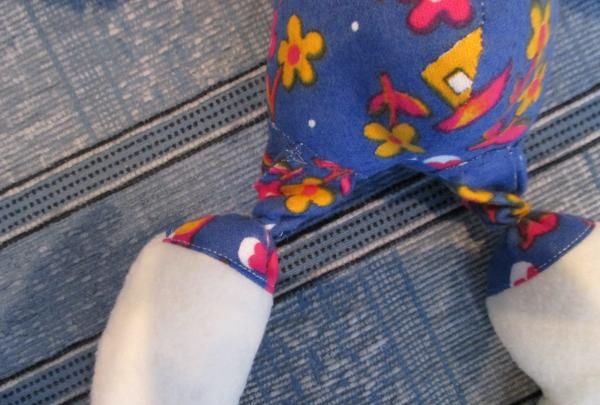
Here you can see how the joints of the arms and legs are sewn onto the loose tails of the fabric; you can use any seam, but you will still be dressing the doll. And such movable arms and legs provide great scope for play.
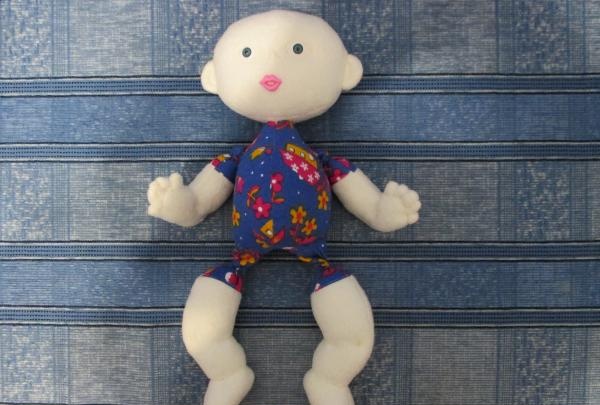
Now it is already assembled, in principle, at this stage you can put it on, and it will be ready.
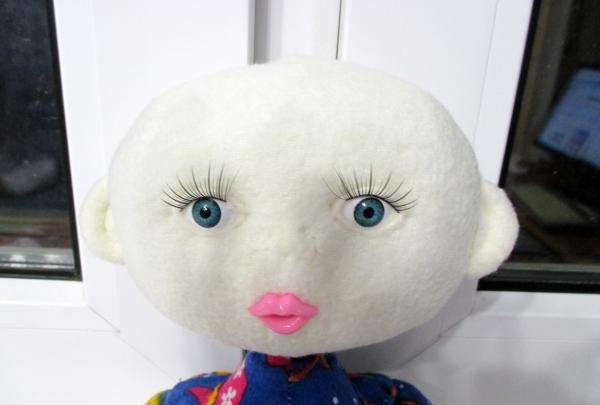
Yes, buy the cheapest eyelashes and cut one in half. Glue each half to the eyelids - our girl was immediately transformed.
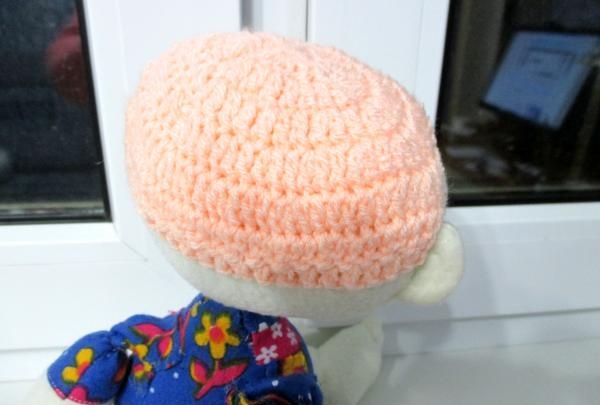
Now we will make her a wig, hair that can be combed and styled. To do this, we crochet the hat using double crochets.
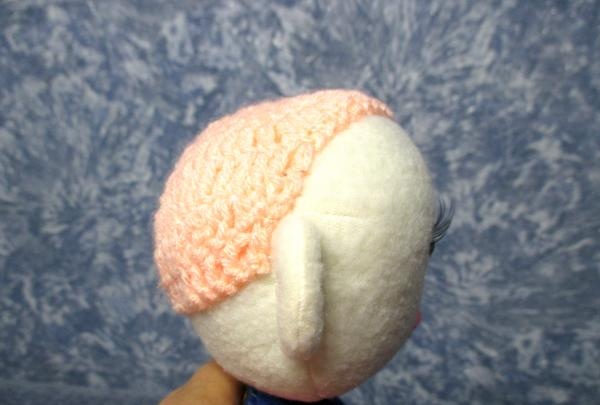
Side view.
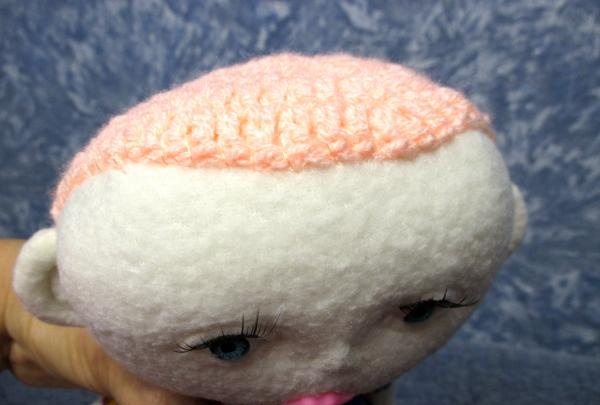
Front view.
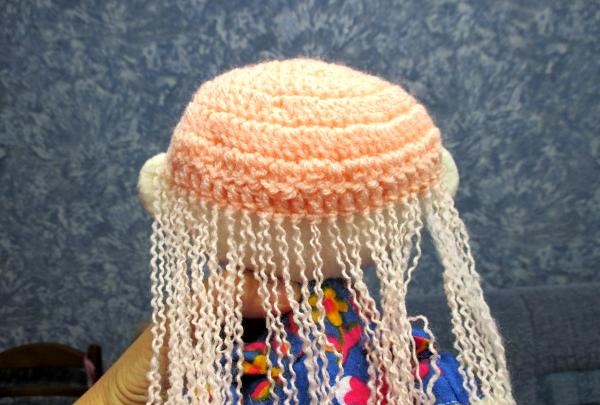
Cut the threads to the length you need. Divide each into three components if it is a thick thread.Then, using a hook, hooking it by the knitted edge, we hang the threads over the entire hat, having first folded it in half, starting from the bottom row. We hook the threads to each column and reach the top of the head. Here you can hang more between the rows.
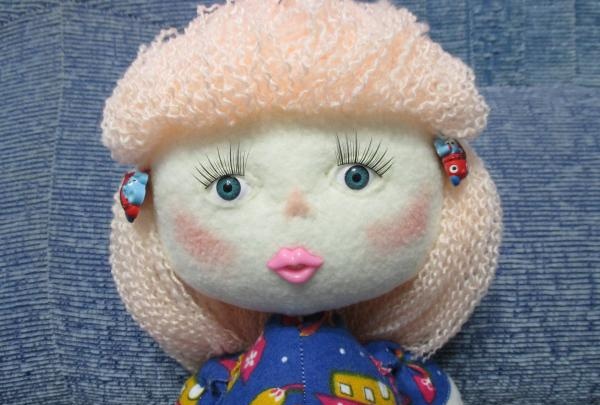
The hair turned out voluminous, you can pin it up, make bangs, a haircut or another hairstyle. Revive your doll with powder blush.
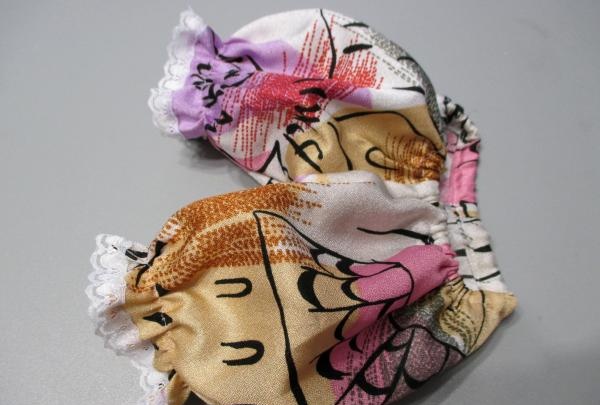
Let's sew her pantaloons with elastic bands and lace.
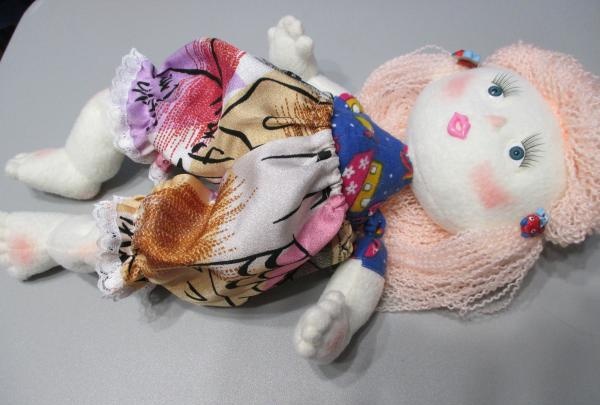
Let's get dressed.
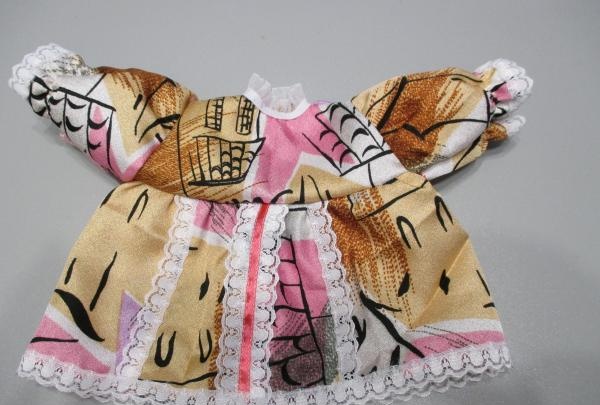
The dress matches the trousers.
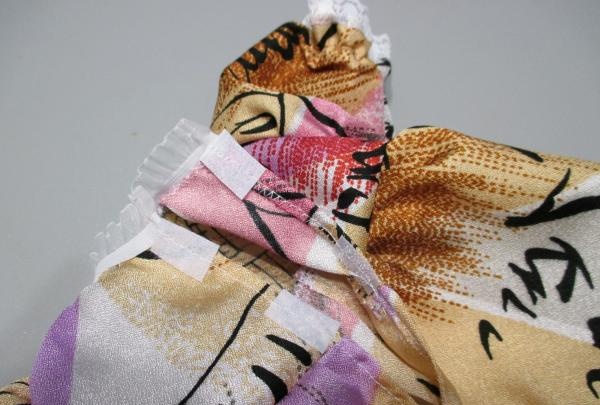
Don't forget the Velcro fasteners at the back.
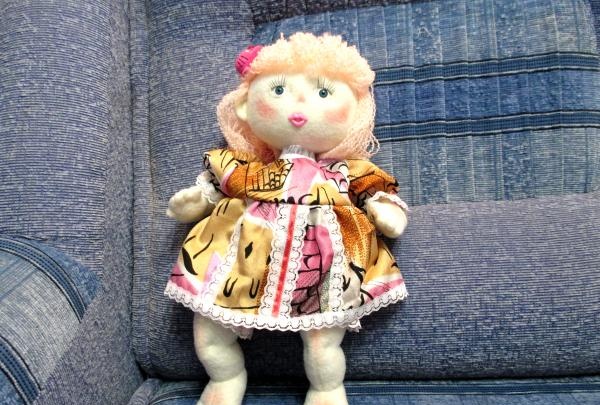
We dress our treasure.
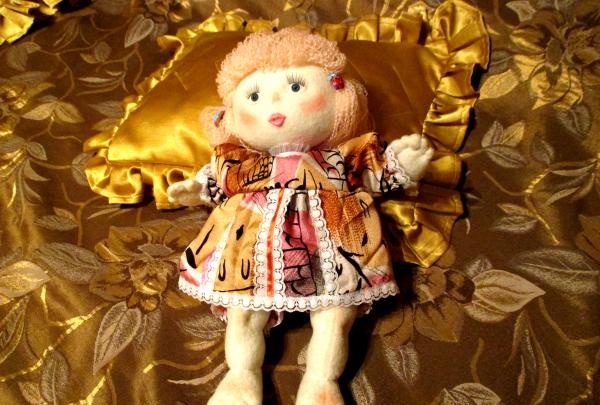
Or put it on soft pillows.

Increase the pattern to a distance of 18 cm between the ears, the size of the doll will be 45 cm. You can easily sew removable clothes on it, it will not be difficult for children to undress and dress it.

Cut out all the details on the fabric with seam allowances, you can make her a swimsuit right away. But you don’t have to bother and cut out all the details from a single piece of fabric. I sewed from milky fleece. Although linen or thick cotton would also work well.

Sew and turn out the parts.

Stuff the inside with holofiber or synthetic padding, not necessarily tightly on the arms and legs, but preferably on the head and torso more tightly.

To prevent the head pieces from slipping when stitching, secure them with safety pins and sew directly on them.

Turn the head inside out and stuff it tightly with filling.

Pull the thread at the level of the eye line so that they do not skew on the face later. Mark their locations with pins, just like the nose and lips. Make special slits under the eyes.

For the eyelids, cut strips of fabric along the contour of the eyes, 1.5 cm long and 1.5 cm wide, and glue them with the front part of the fabric to the side of the blanks.

Turn the strip of fabric back, close it and sew it at the back. If you are using a fabric other than fleece, then place a little padding polyester inside the strip to add volume to your eyelids.

Carefully glue the eyes inside the slits, push them in so that the eyelids are flush with the face and you can secure them with a needle and thread in a hidden seam.

At the bottom of the head, make a cross-shaped cut for the neck so that the place where the body is sewn to the head is neat.

Prepare a padding polyester and an empty spool; if you don’t have one, you can simply roll the cardboard into a tube or even a sheet of newspaper.

Wrap the spool in filler and wrap it tightly with thread.

Insert it into a tightly stuffed body and wrap it with threads, grabbing the fabric of the body, then lightly apply glue to secure it.

Use scissors to make a hole through the cross-shaped hole for the tube and place the head on it. Seal with glue and sew with thread using a hidden seam. This head sits tightly on the neck.

Here you can see how the joints of the arms and legs are sewn onto the loose tails of the fabric; you can use any seam, but you will still be dressing the doll. And such movable arms and legs provide great scope for play.

Now it is already assembled, in principle, at this stage you can put it on, and it will be ready.

Yes, buy the cheapest eyelashes and cut one in half. Glue each half to the eyelids - our girl was immediately transformed.

Now we will make her a wig, hair that can be combed and styled. To do this, we crochet the hat using double crochets.

Side view.

Front view.

Cut the threads to the length you need. Divide each into three components if it is a thick thread.Then, using a hook, hooking it by the knitted edge, we hang the threads over the entire hat, having first folded it in half, starting from the bottom row. We hook the threads to each column and reach the top of the head. Here you can hang more between the rows.

The hair turned out voluminous, you can pin it up, make bangs, a haircut or another hairstyle. Revive your doll with powder blush.

Let's sew her pantaloons with elastic bands and lace.

Let's get dressed.

The dress matches the trousers.

Don't forget the Velcro fasteners at the back.

We dress our treasure.

Or put it on soft pillows.
Similar master classes
Particularly interesting
Comments (0)


