Paper flower
The idea came by chance. Looking at the stained wall with peeled wallpaper, imagining the costs of cosmetic repairs, the brain began to look for any alternative ways to solve the problem. At first I wanted to paste posts from a magazine, but they looked strange, since the stains on the wallpaper were in a chaotic order. A little later the thought came about flowers that could be used to cover all the stains on the walls. For this purpose, 12 identical flowers were made, which a little later decorated the wall in the children's room. Oddly enough, the flowers were in place, like a design idea, and not an attempt to hide greasy stains on the wallpaper.
The example will show how to make one flower. For the frame, I used paper adhesive on one side, purchased at an office supply store. It seemed very convenient, there was no need to spend money on glue, but a little later it turned out that adhesive paper is not very practical, its glue dries quickly, and the glued elements fall off. Therefore, all subsequent flowers were made from ordinary cardboard, and the elements were attached with paper glue. So, you need to draw a flower or any other shape on a sheet of adhesive paper or cardboard. Using a utility knife, cut out the part.
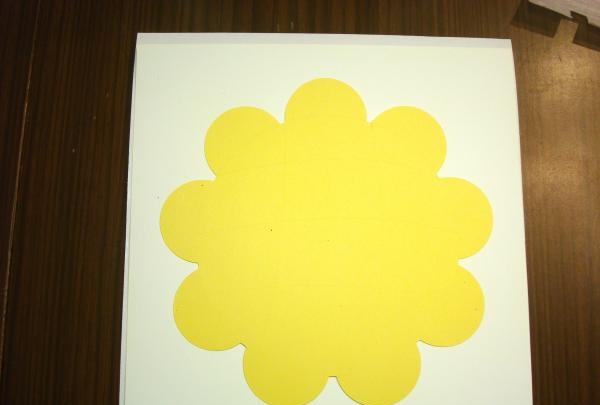
Draw with a pencil the boundaries allocated for different colors of paper if you are planning a multi-color design. For monochromatic products, borders are not needed. In the case of adhesive paper, draw the borders with a stationery knife so that it is convenient to tear off one sector at a time. This will prevent the adhesive base from drying out prematurely. We cut out cardboard, which will serve as a template for all the details, and cut thin paper of different colors along it.
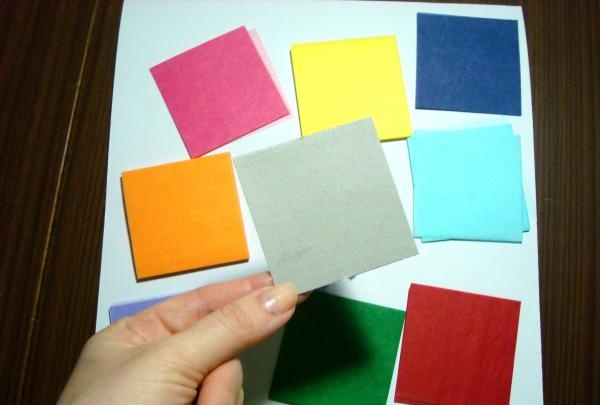
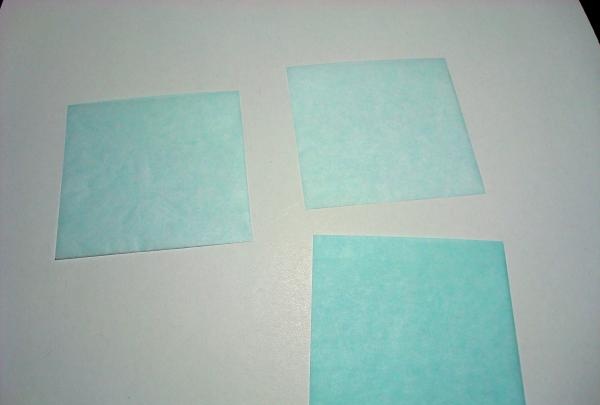
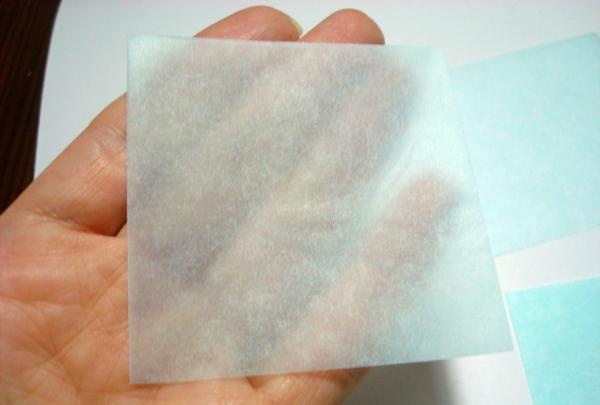
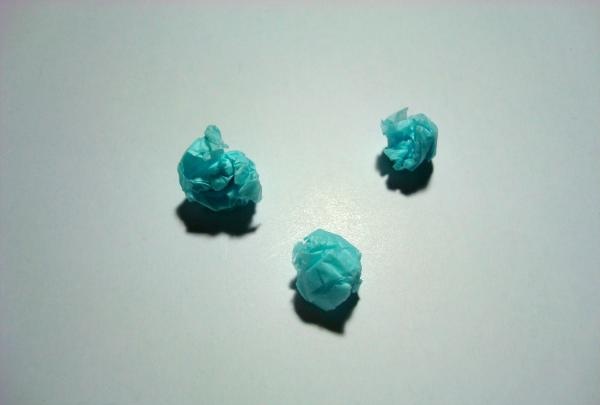
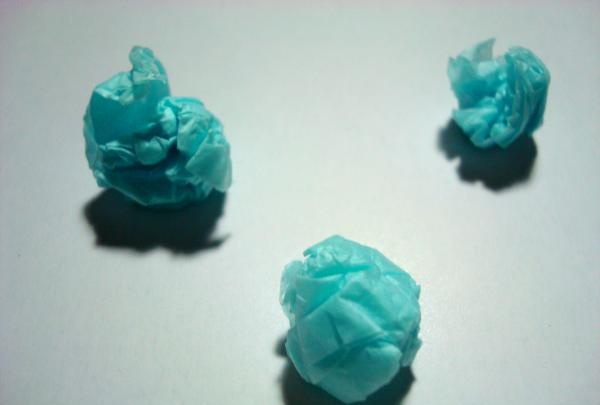
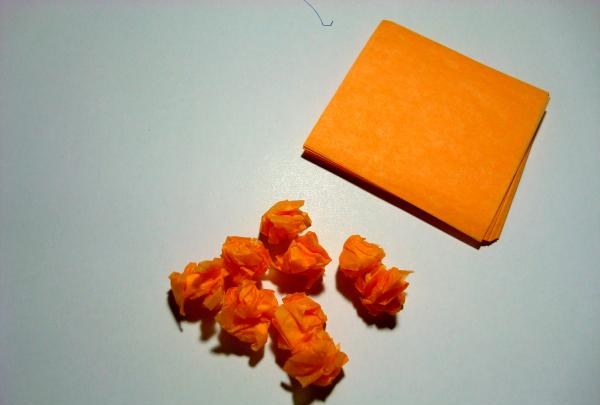
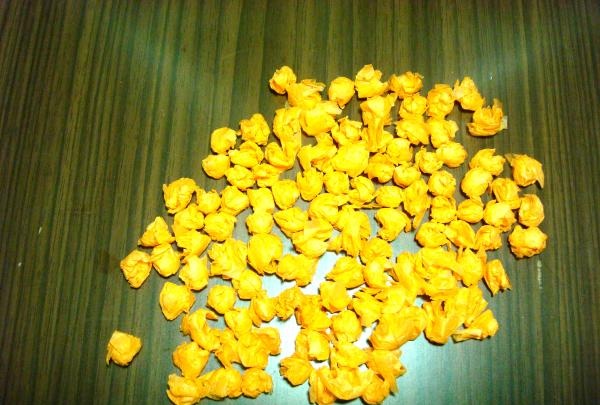
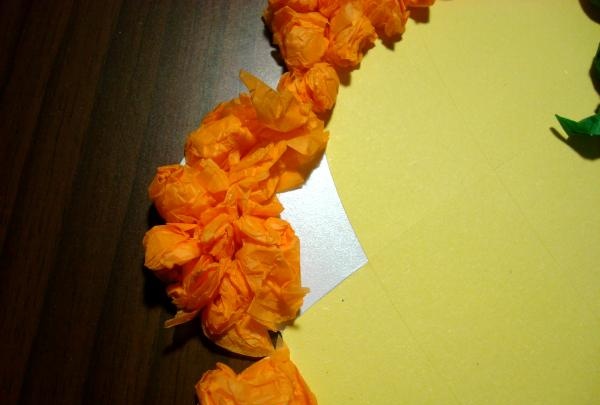
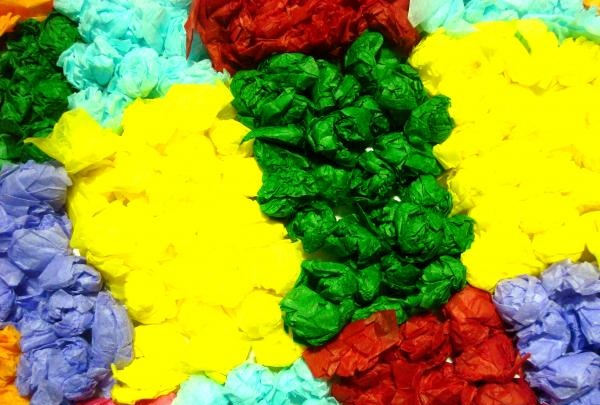
Crumple the cut paper and roll into balls.
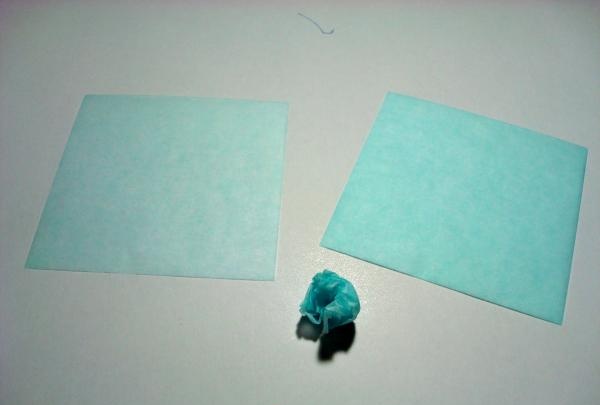
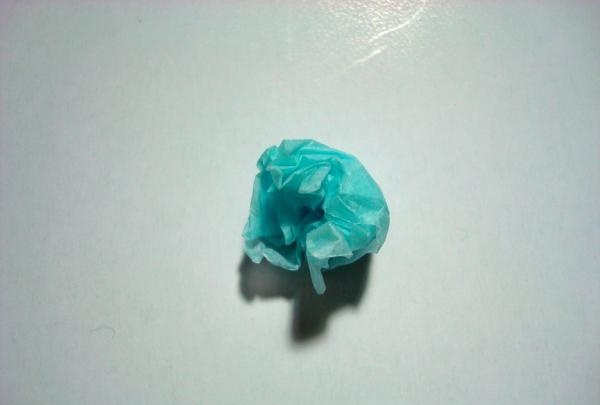
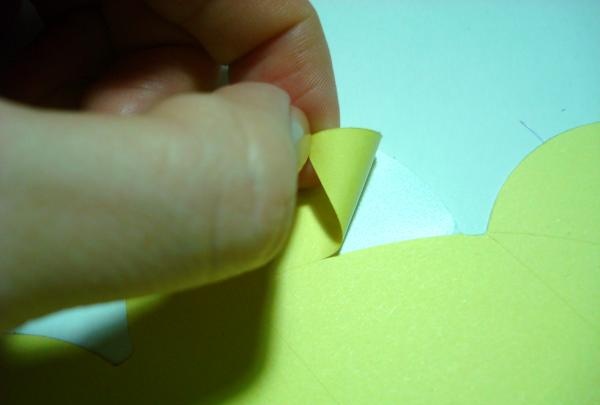
Remove one square of paper from the product at a time, exposing the adhesive side, and if cardboard is used, apply glue to a small area.
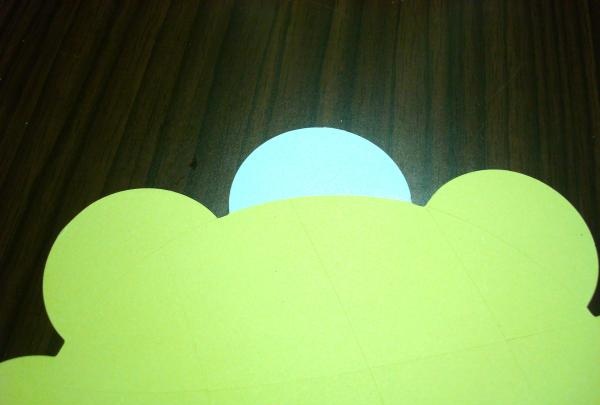
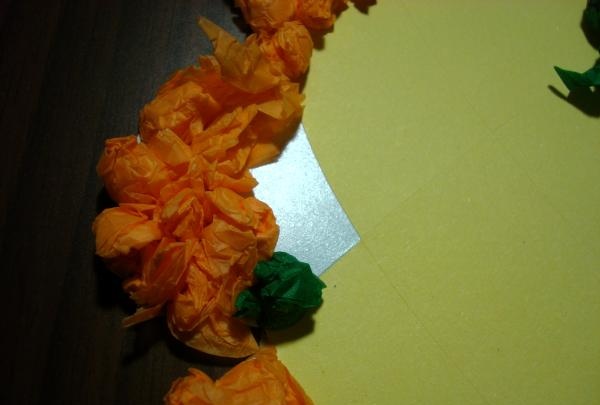
Stick on colored balls.
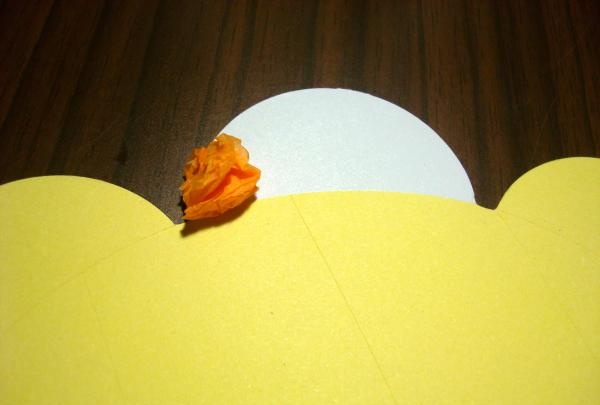
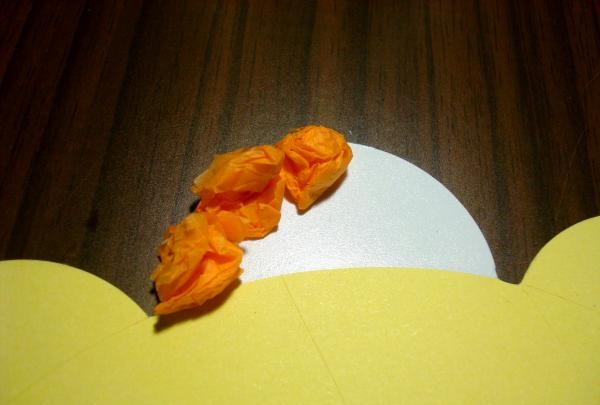
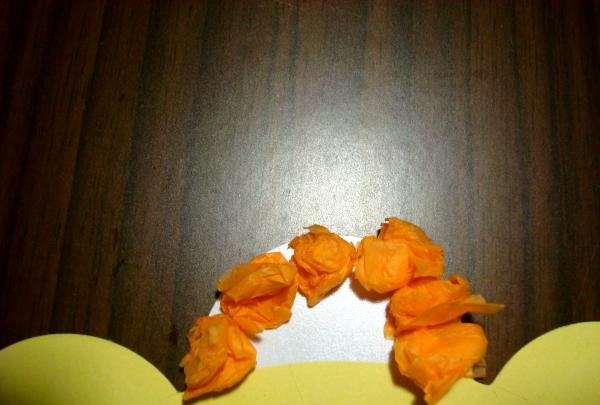
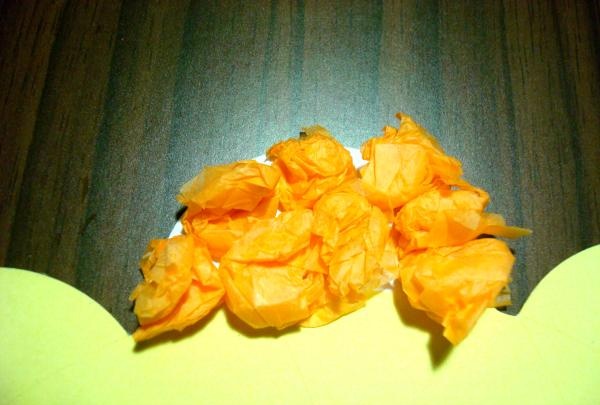
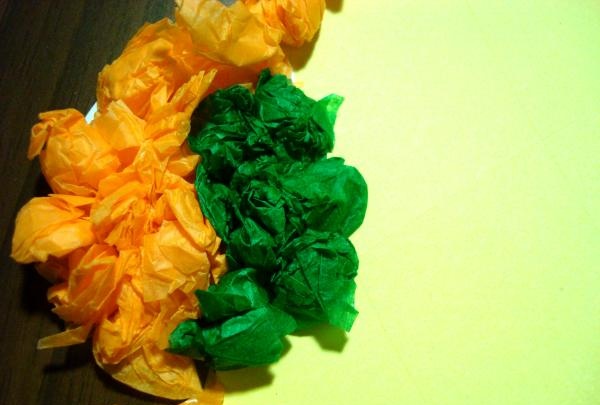
Expose the adhesive paper again or apply glue to the cardboard and stick the paper balls.
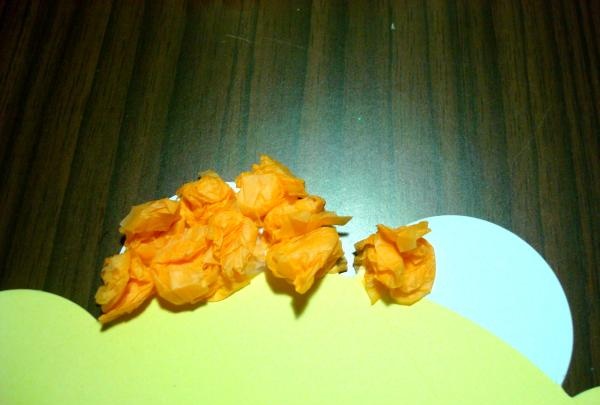
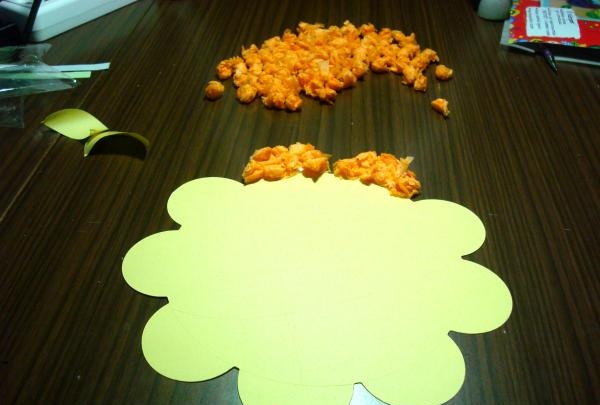
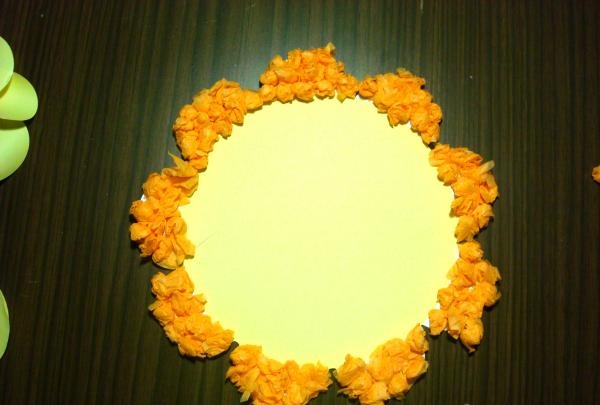
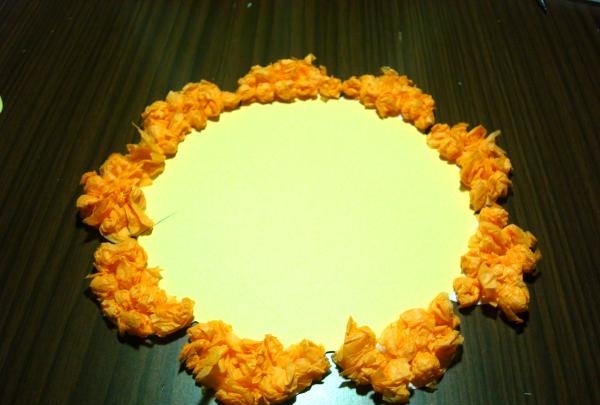
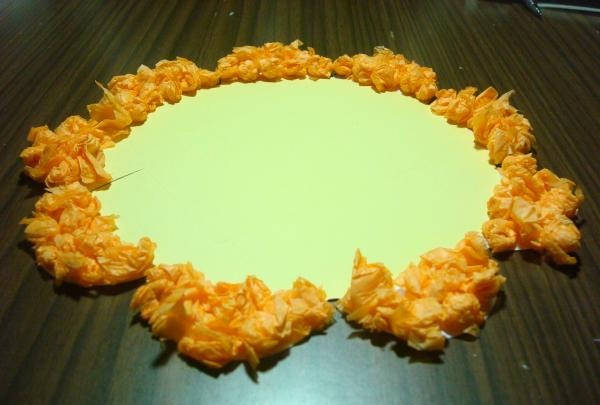
Cover the entire product with paper balls.
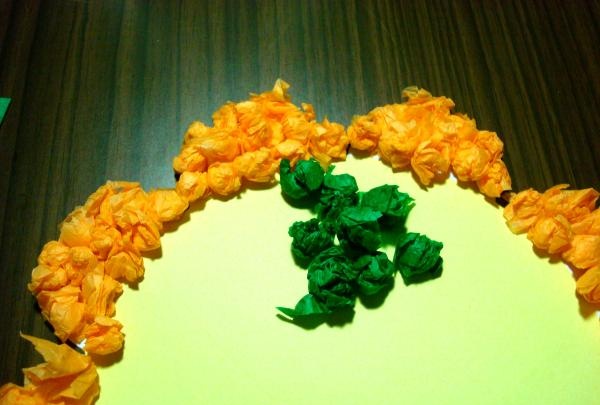
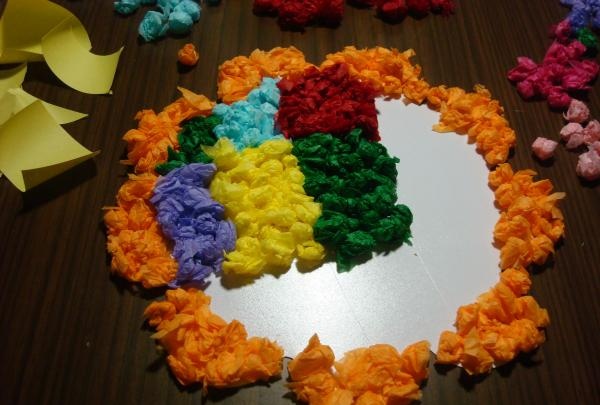
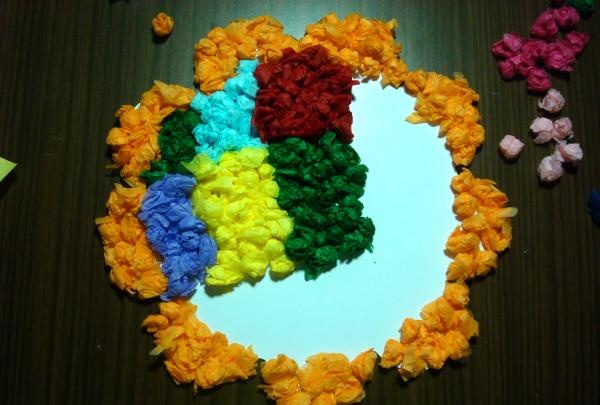
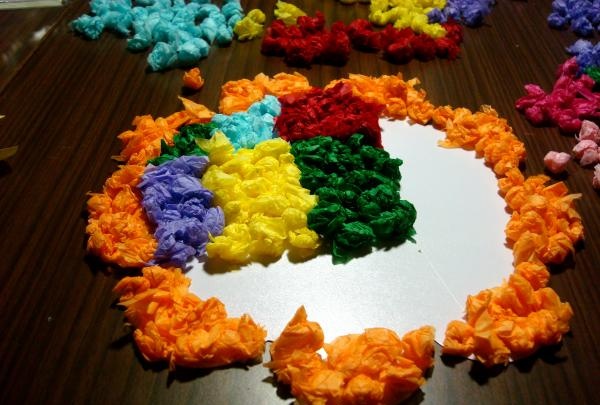
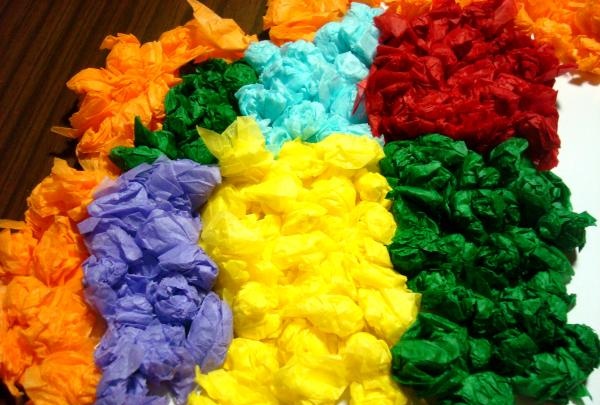
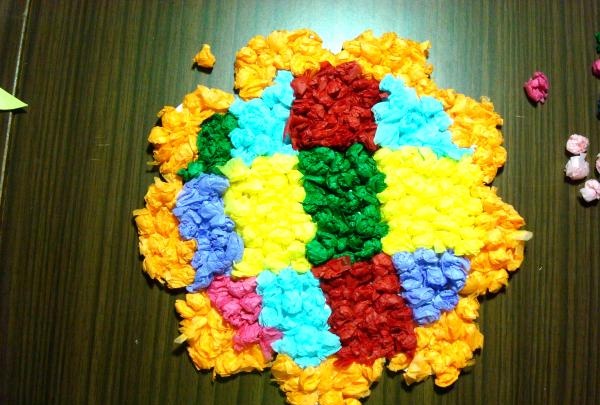
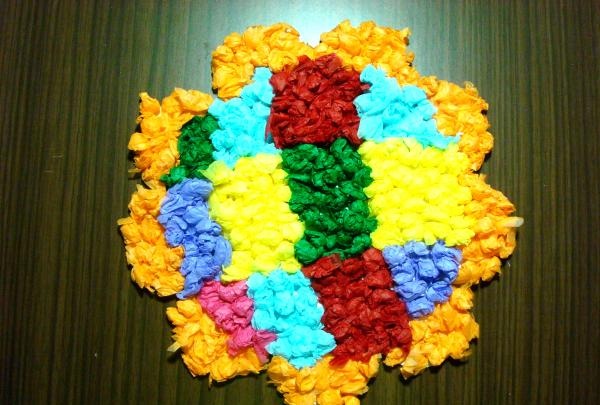
The product is ready and will soon go on the wall to cover the large greasy stain that was left after the kids played. And since there were so many paper flowers, the children's room turned into a flower greenhouse.
The example will show how to make one flower. For the frame, I used paper adhesive on one side, purchased at an office supply store. It seemed very convenient, there was no need to spend money on glue, but a little later it turned out that adhesive paper is not very practical, its glue dries quickly, and the glued elements fall off. Therefore, all subsequent flowers were made from ordinary cardboard, and the elements were attached with paper glue. So, you need to draw a flower or any other shape on a sheet of adhesive paper or cardboard. Using a utility knife, cut out the part.

Draw with a pencil the boundaries allocated for different colors of paper if you are planning a multi-color design. For monochromatic products, borders are not needed. In the case of adhesive paper, draw the borders with a stationery knife so that it is convenient to tear off one sector at a time. This will prevent the adhesive base from drying out prematurely. We cut out cardboard, which will serve as a template for all the details, and cut thin paper of different colors along it.


Crumple the cut paper and roll into balls.


Remove one square of paper from the product at a time, exposing the adhesive side, and if cardboard is used, apply glue to a small area.


Stick on colored balls.


Expose the adhesive paper again or apply glue to the cardboard and stick the paper balls.


Cover the entire product with paper balls.


The product is ready and will soon go on the wall to cover the large greasy stain that was left after the kids played. And since there were so many paper flowers, the children's room turned into a flower greenhouse.


Similar master classes
Particularly interesting
Comments (0)


