Christmas tree made of cardboard
I make different crafts with my own hands and I like to make them from unnecessary things. Today my master class is dedicated to this. New Year is coming soon, so the craft will be New Year's. Let's make a Christmas tree.
For production we will need:
- Pencil (felt-tip pen).
- Cardboard (no box required).
- Stationery knife.
- Glue.
- Polyethylene of different colors (garbage bags or food bags).
- Beads.
- New Year's decor.
- Magnet.
- Your free time.
First you need to decide on the size of the tree. It is best to draw it first on a newspaper, and then trace it on cardboard and cut it out. The base of my Christmas tree is from an unnecessary box. Yes, we will need to leave a small stick on the top of the head. We will then glue a star onto it. It’s better to make the stick wider and longer than mine, otherwise the star won’t hold on well.
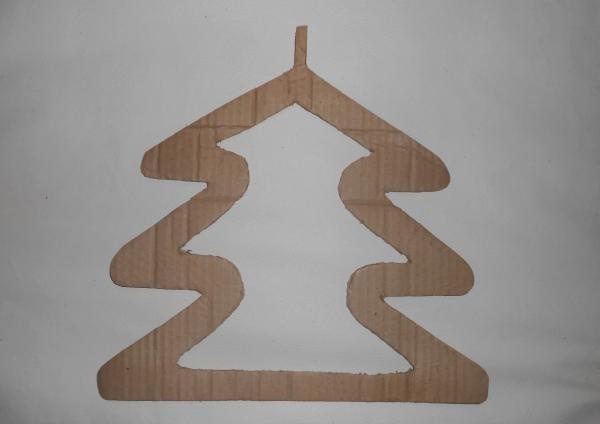
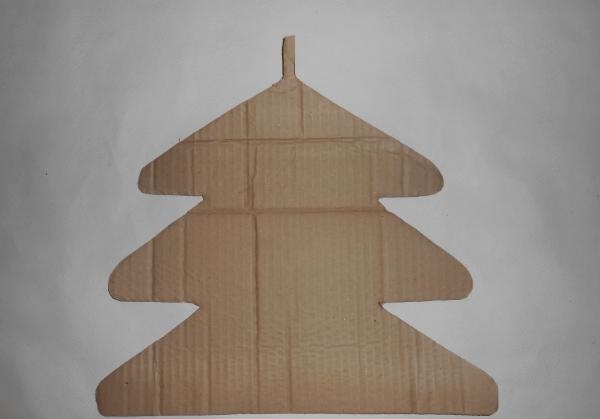 Now we retreat three to four centimeters inward from the edges of the tree and draw a line along the entire perimeter. Then we cut it out using a knife. This is what happened.
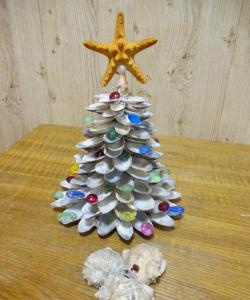
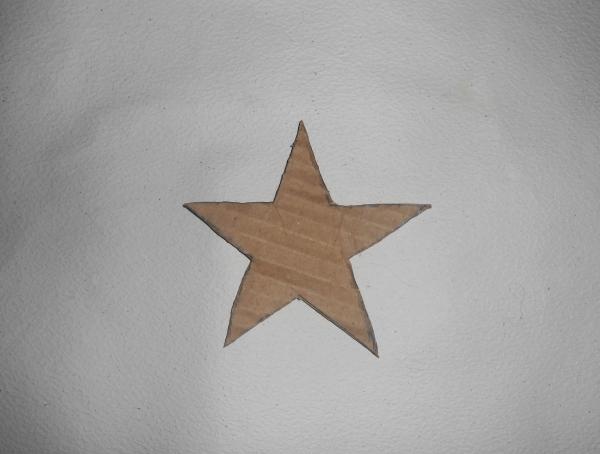
We also cut out a star of the required size from cardboard. Its size depends on the size of your tree. You can draw the star yourself, or you can download it on the Internet. Of course, we cut it out too.
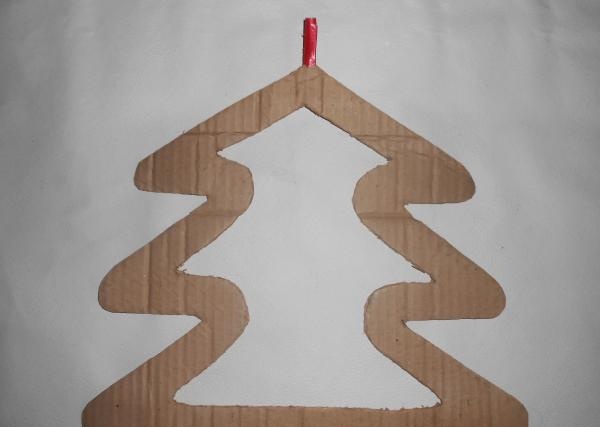
Now we need a strip of red polyethylene (garbage bags), we use it to paste a stick on the top of the tree.
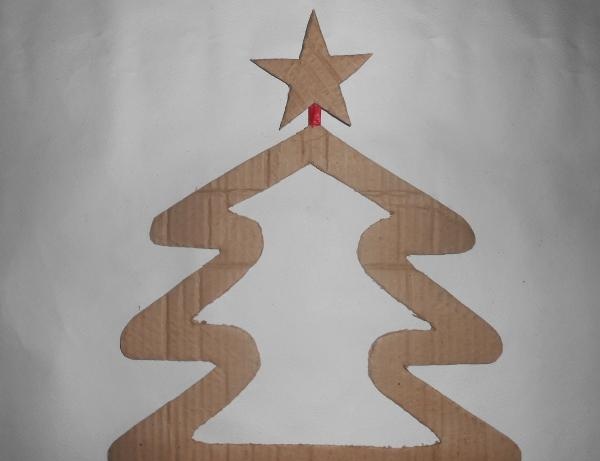
Glue the star onto the stick. I used hot glue.
Again, take red polyethylene and cut it into equal squares.
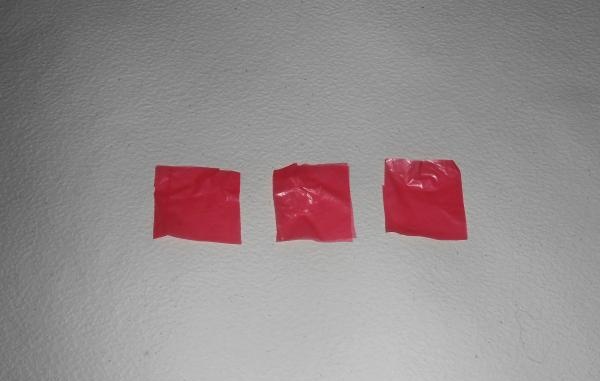
We take one square, place it with the angle up and bend it in half.
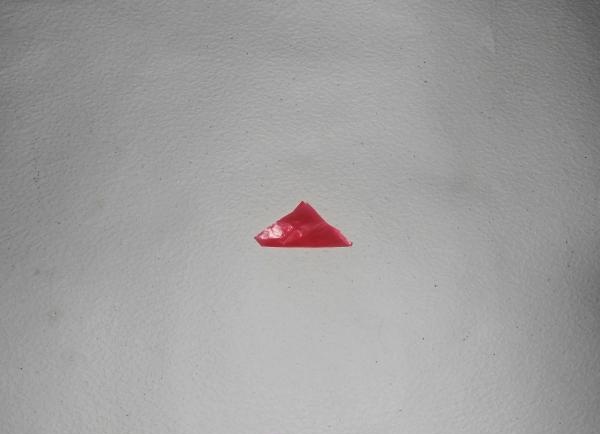
Now we bend the extreme corners so that they are on par with the upper corners. In general, we should get a diamond shape.
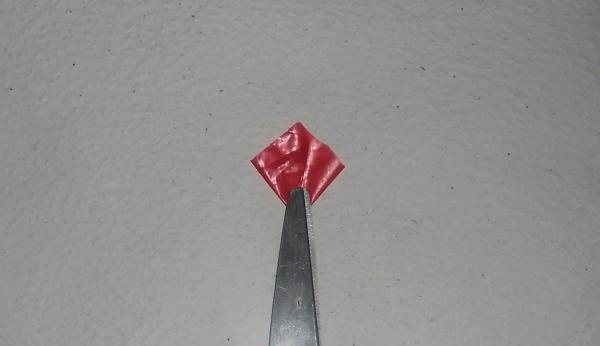
We do this with all the squares and glue them tightly to each other to the star.
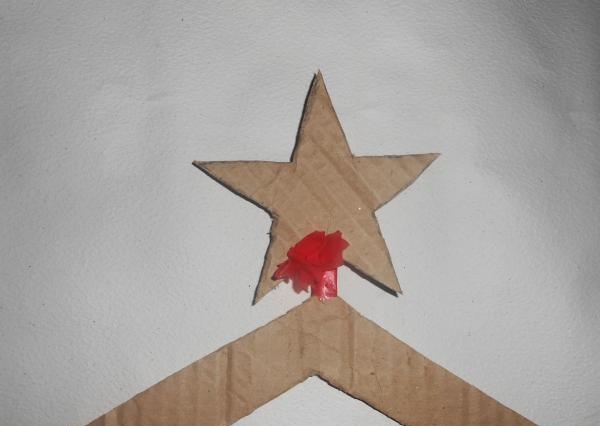
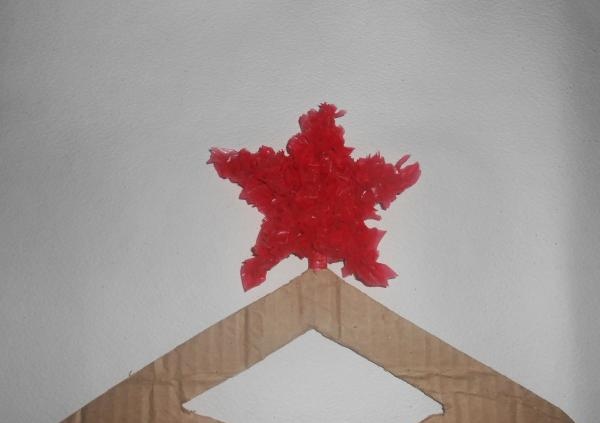
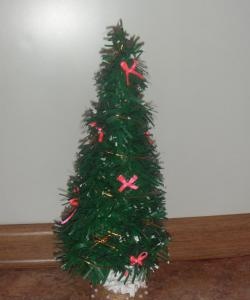
We glue the Christmas tree in exactly the same way, only we use polyethylene of a different color. My Christmas tree will be blue. And the squares can be cut out in different sizes, so our New Year’s beauty will turn out more magnificent.
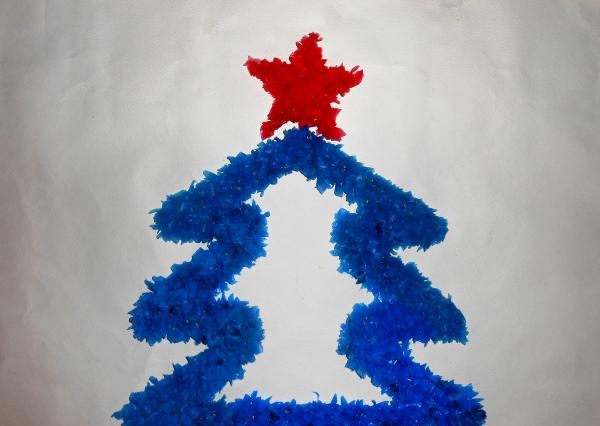
The Christmas tree is ready, now let's decorate it. There is room here to let your imagination run wild. You can glue beads.
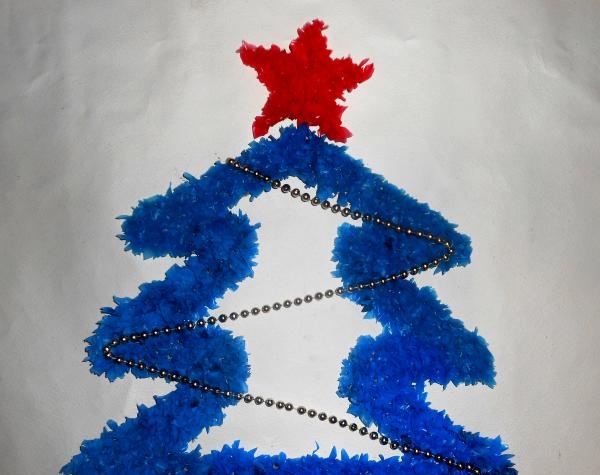
Bows can be made from yellow and white polyethylene.
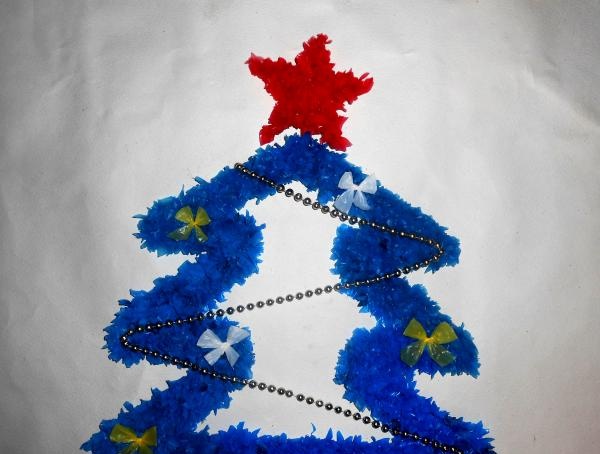
You can also decorate it with New Year's confetti. You can glue a magnet to the back of the Christmas tree and hang it on the front door or refrigerator.
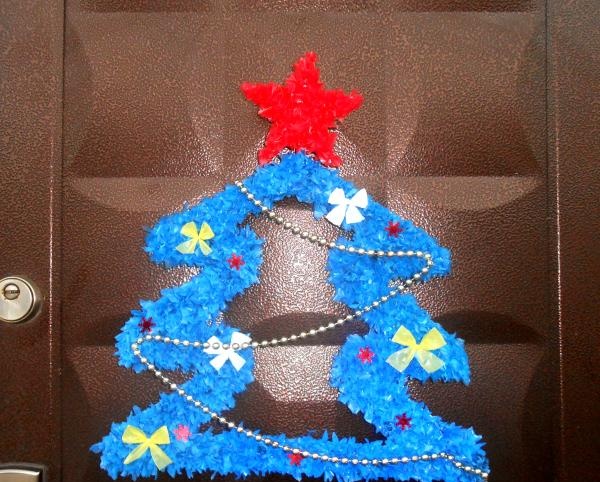
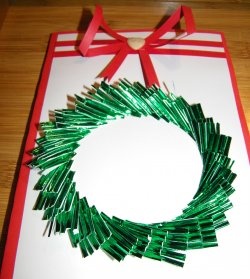
Many people make New Year's wreaths with their own hands, but they are usually round in shape. And today we learned with you that such wreaths can be of different shapes, whatever you want. Experiment with the shape of the wreath (for example, it could be a horseshoe, a star, or even the face of Santa Claus) and you will get unique crafts every time.
Goodbye, see you again, have a successful New Year to you and your family.
For production we will need:
- Pencil (felt-tip pen).
- Cardboard (no box required).
- Stationery knife.
- Glue.
- Polyethylene of different colors (garbage bags or food bags).
- Beads.
- New Year's decor.
- Magnet.
- Your free time.
First you need to decide on the size of the tree. It is best to draw it first on a newspaper, and then trace it on cardboard and cut it out. The base of my Christmas tree is from an unnecessary box. Yes, we will need to leave a small stick on the top of the head. We will then glue a star onto it. It’s better to make the stick wider and longer than mine, otherwise the star won’t hold on well.


We also cut out a star of the required size from cardboard. Its size depends on the size of your tree. You can draw the star yourself, or you can download it on the Internet. Of course, we cut it out too.

Now we need a strip of red polyethylene (garbage bags), we use it to paste a stick on the top of the tree.

Glue the star onto the stick. I used hot glue.

Again, take red polyethylene and cut it into equal squares.

We take one square, place it with the angle up and bend it in half.

Now we bend the extreme corners so that they are on par with the upper corners. In general, we should get a diamond shape.

We do this with all the squares and glue them tightly to each other to the star.


We glue the Christmas tree in exactly the same way, only we use polyethylene of a different color. My Christmas tree will be blue. And the squares can be cut out in different sizes, so our New Year’s beauty will turn out more magnificent.

The Christmas tree is ready, now let's decorate it. There is room here to let your imagination run wild. You can glue beads.

Bows can be made from yellow and white polyethylene.

You can also decorate it with New Year's confetti. You can glue a magnet to the back of the Christmas tree and hang it on the front door or refrigerator.

Many people make New Year's wreaths with their own hands, but they are usually round in shape. And today we learned with you that such wreaths can be of different shapes, whatever you want. Experiment with the shape of the wreath (for example, it could be a horseshoe, a star, or even the face of Santa Claus) and you will get unique crafts every time.
Goodbye, see you again, have a successful New Year to you and your family.
Similar master classes
Particularly interesting
Comments (0)


